Mystery Detective Adventure (Mystery Detective 1)
By: FIVE-BN STUDIO

Mystery Detective Adventure is a point-and-click mystery game in which you play as John Woodbray, a new detective solving cases that no one else wanted to bother with. You need to find clues, solve puzzles and get to the bottom of what’s happening. It can be tricky at times, so this walkthrough guide should help if you get stuck. Feel free to ask for extra help in the comments section.
This walkthrough will take you through the first case, in which a farmer reports strange happenings on his farm. For the other cases, see the rest of my walkthrough here.
Walkthrough:
Case 1 | Case 2 | Case 3
Case 1, Troubles on the Farm:
This is not a great video. I still have to make a new one. But I have a step-by-step guide below.
Note: Collection items will be highlighted here in green. Evidence will be highlighted in blue.
1. We’re in Easttown on our first case. Talk to the farmer, Harry. His chickens were killed, but he believes someone’s pranking him and made it look like it was done by some fabled creature. He won’t give you much more info, so you’ll have to investigate yourself. He tells you to talk to his wife Maria and unpack your stuff inside.
New task: Collect evidence in the yard. (File: Farm inspection)
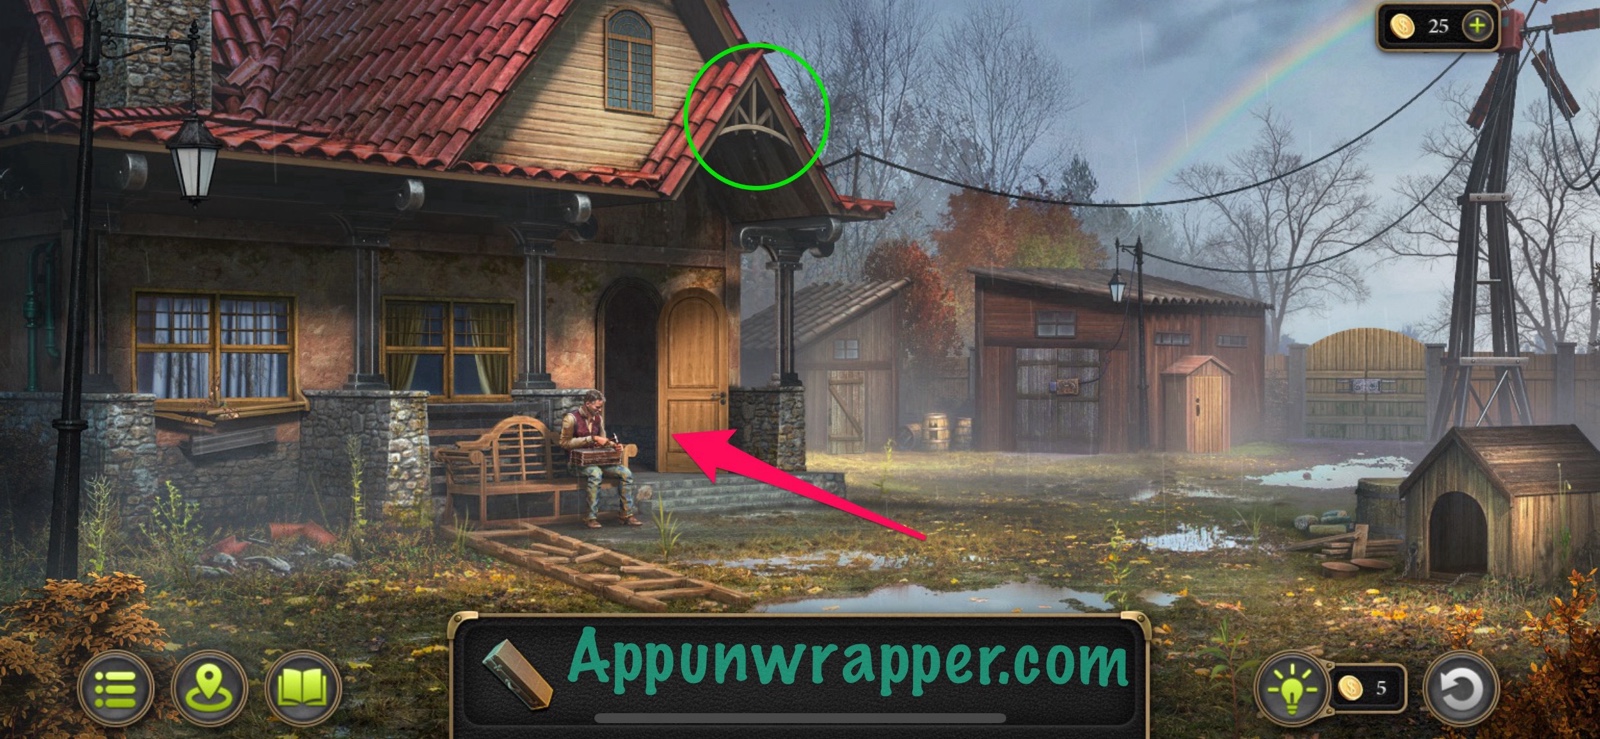
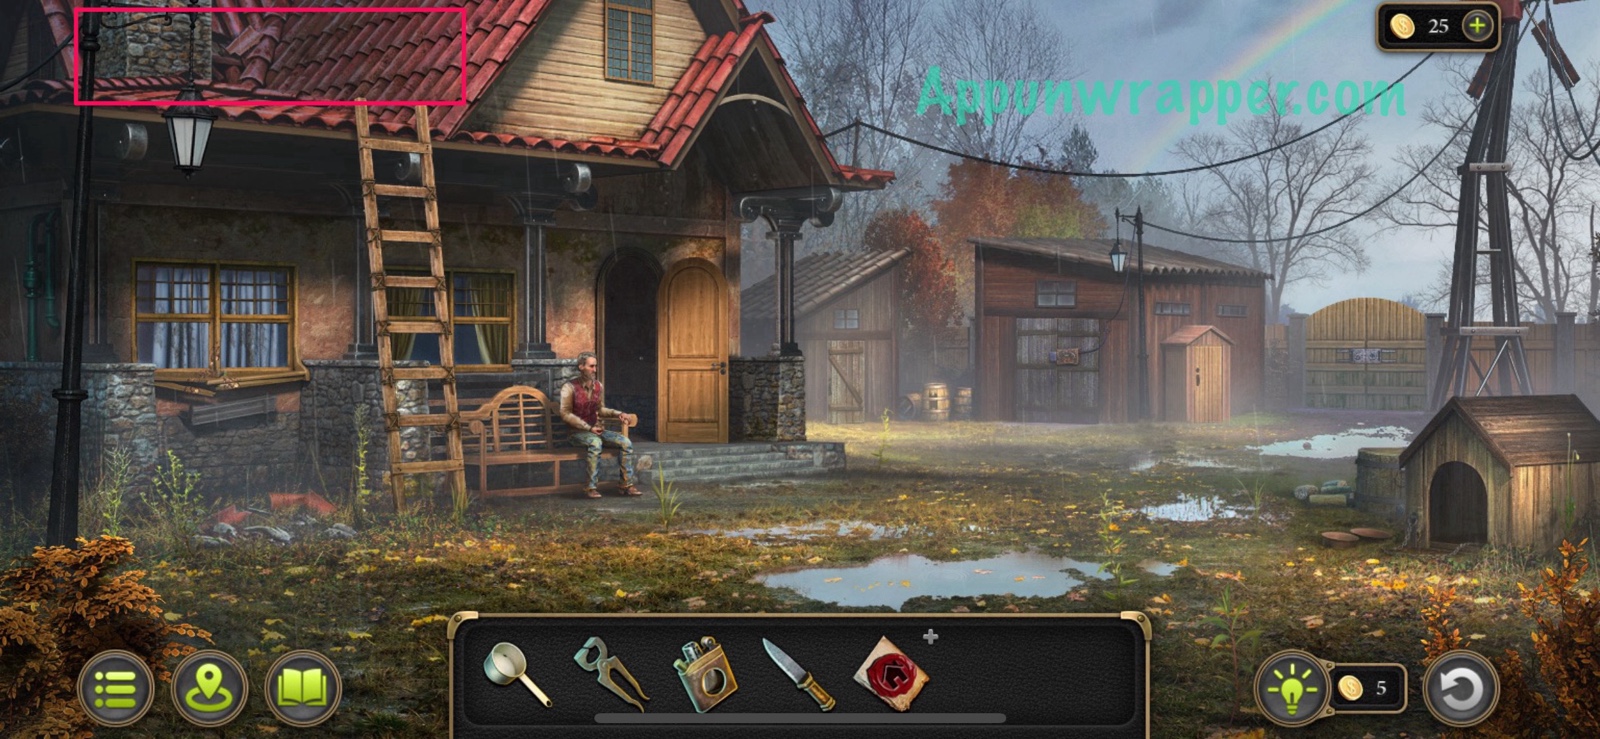
2. There’s a lot going on in this scene. But first, grab the morphing object collectible on the roof and then enter the farmer’s house.
Collection: Morphing object on the roof of the farmer’s house. (1/49)
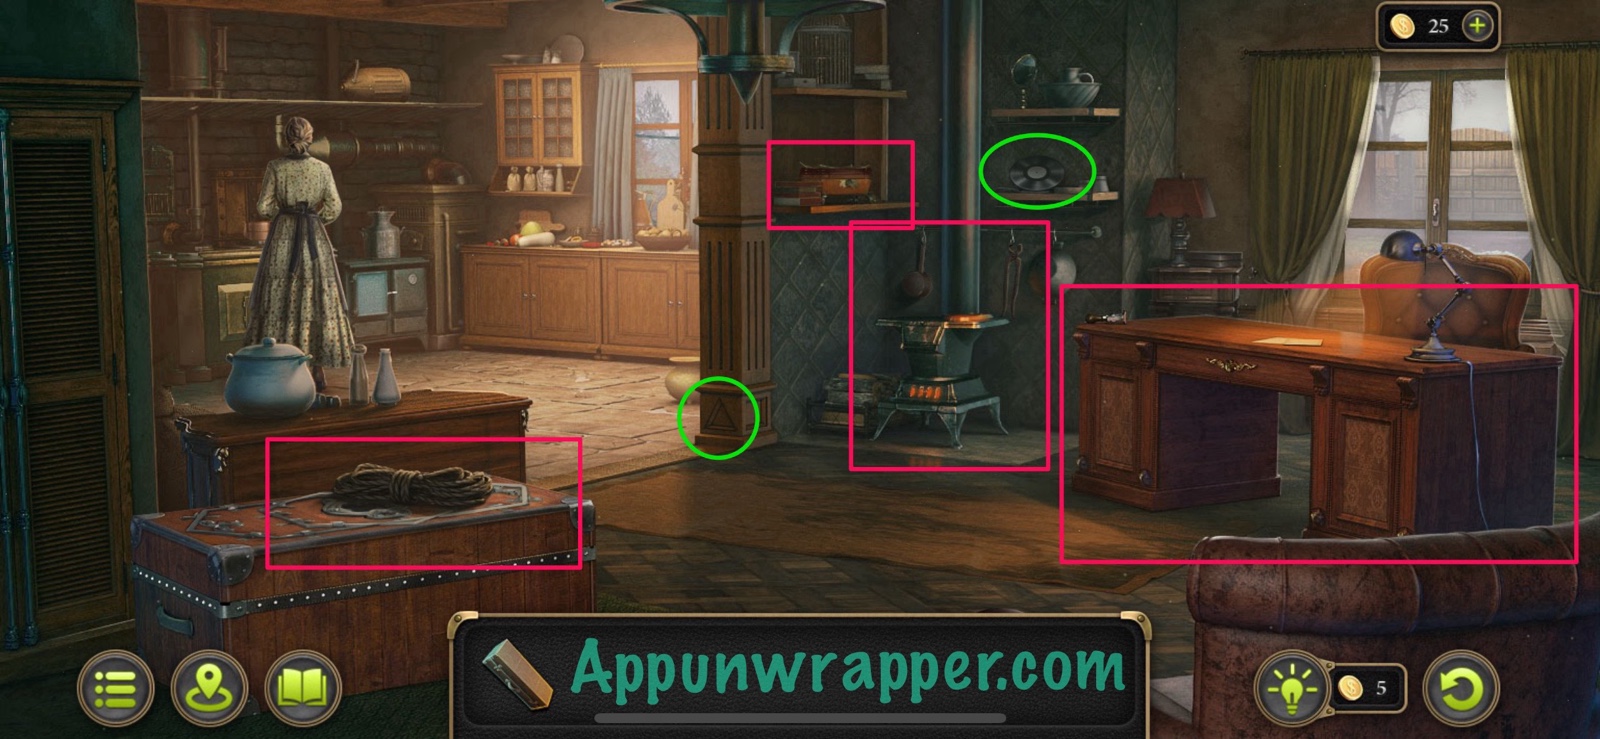
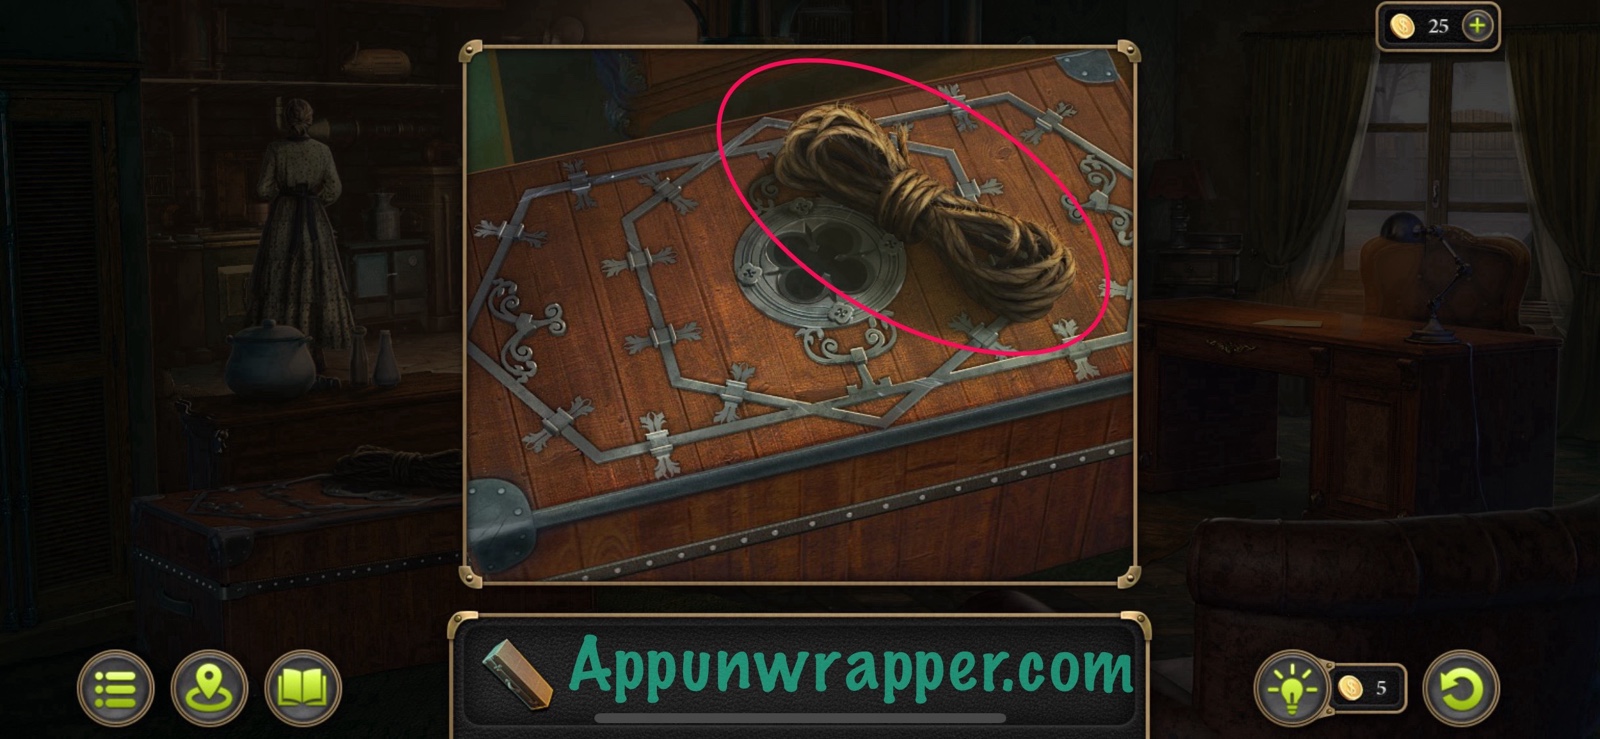
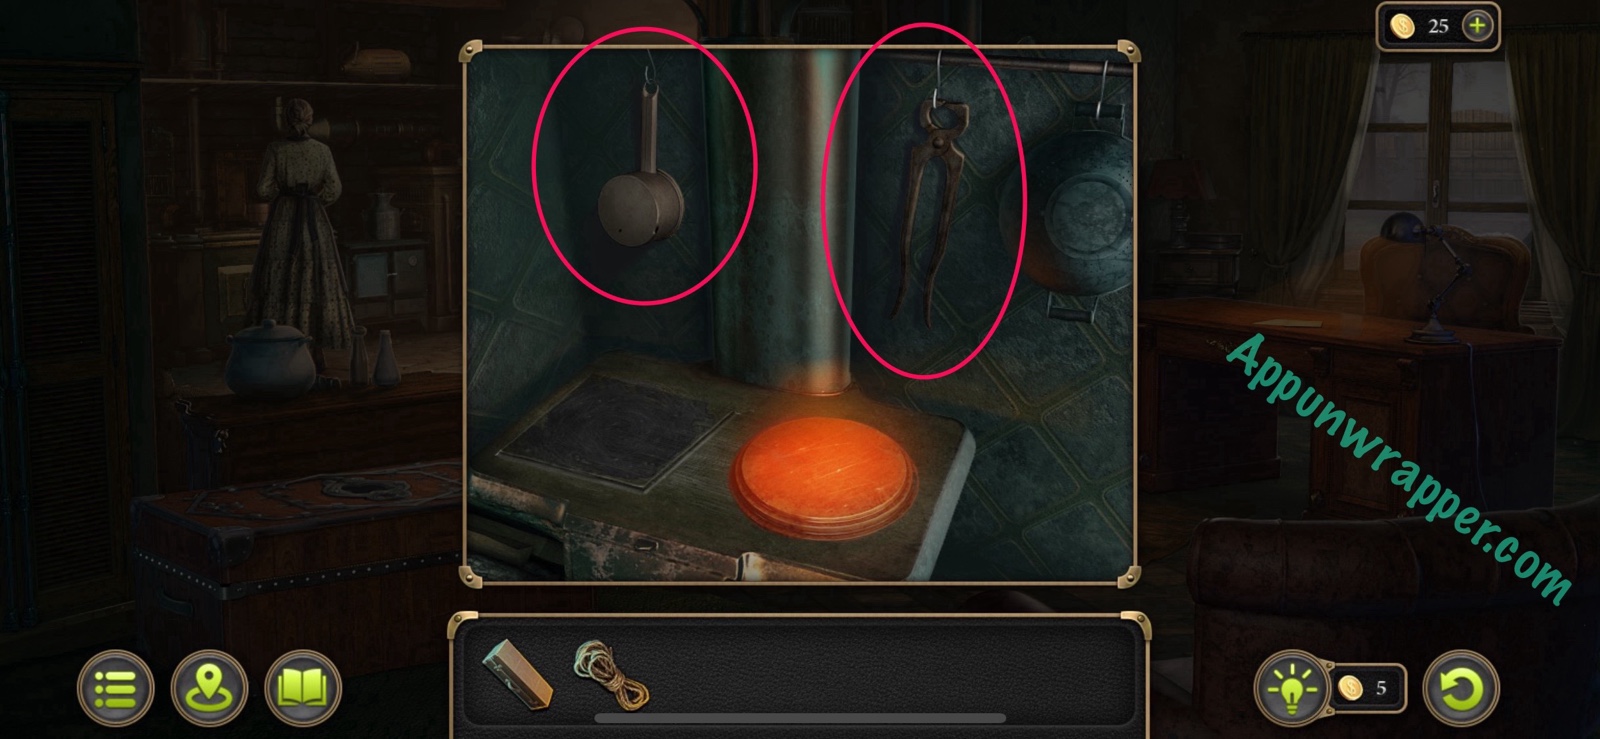
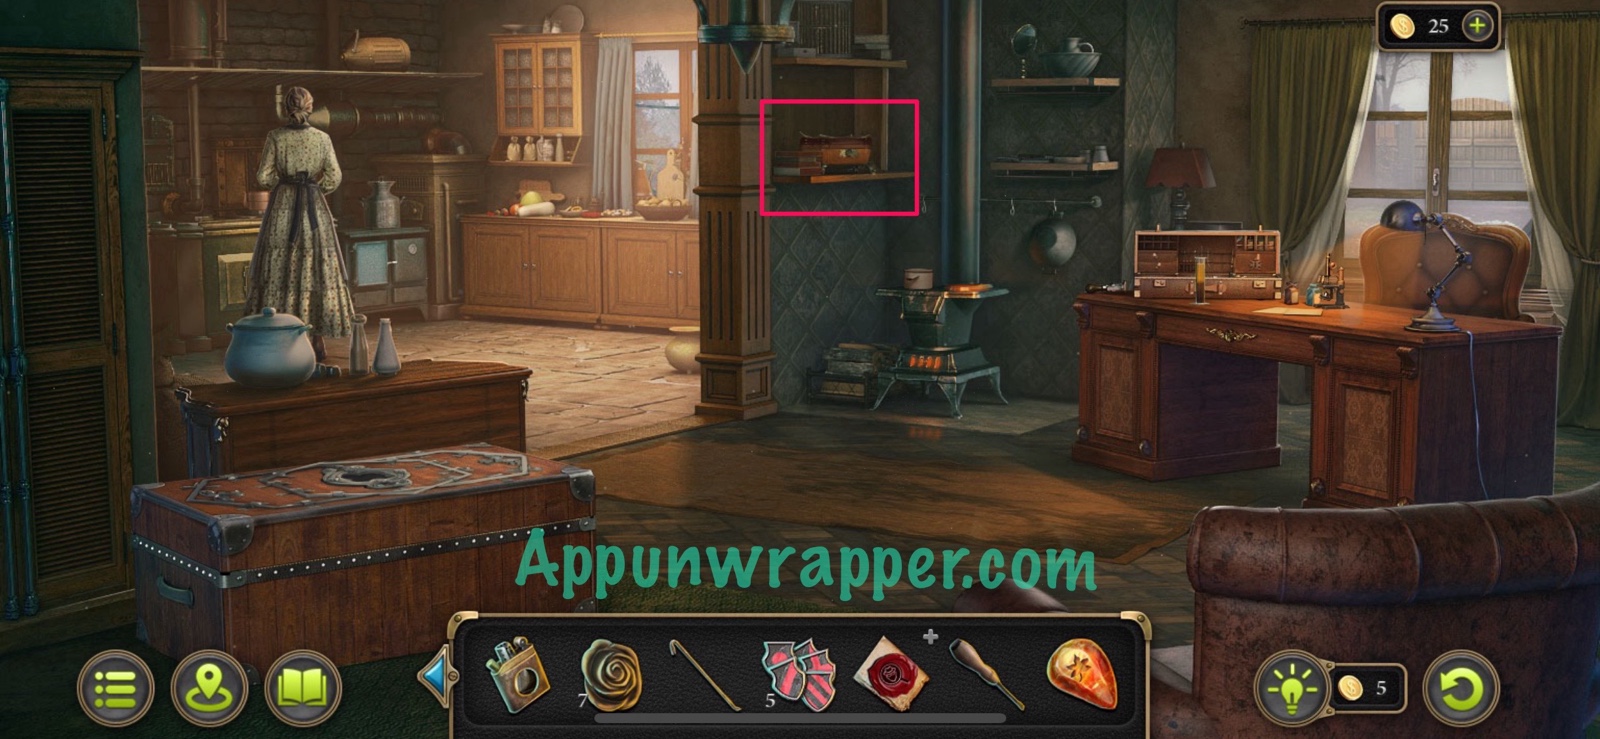
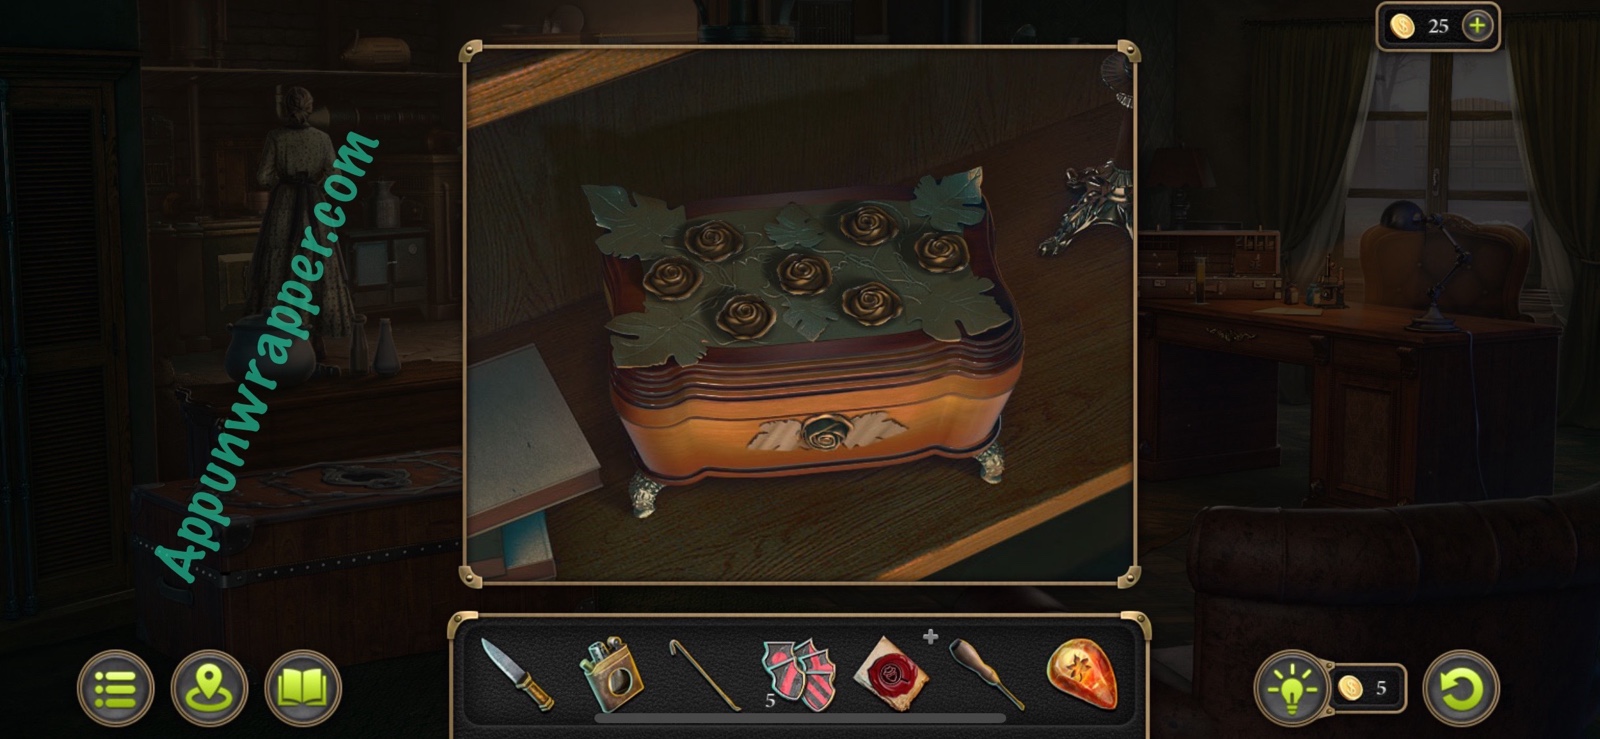
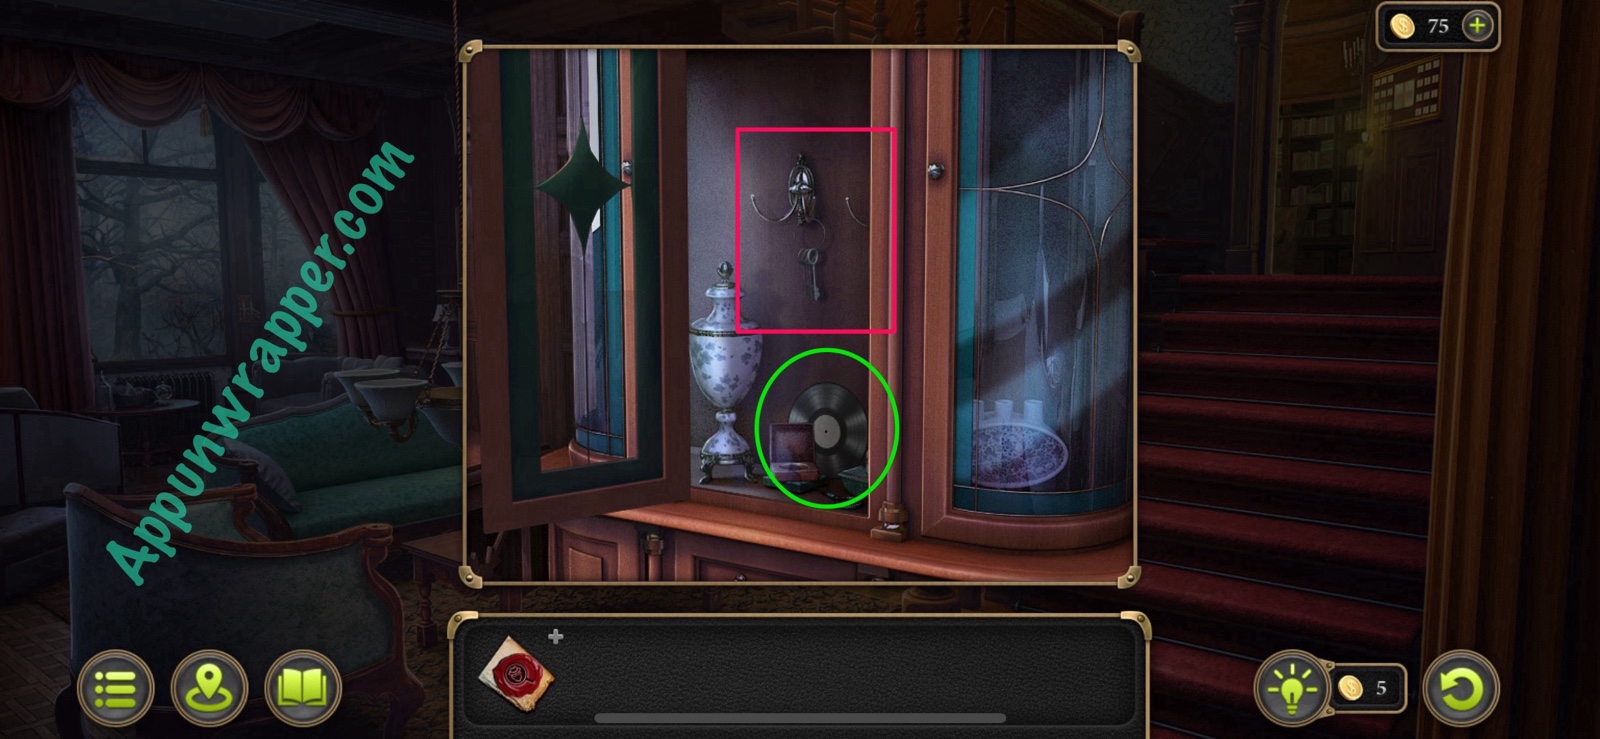
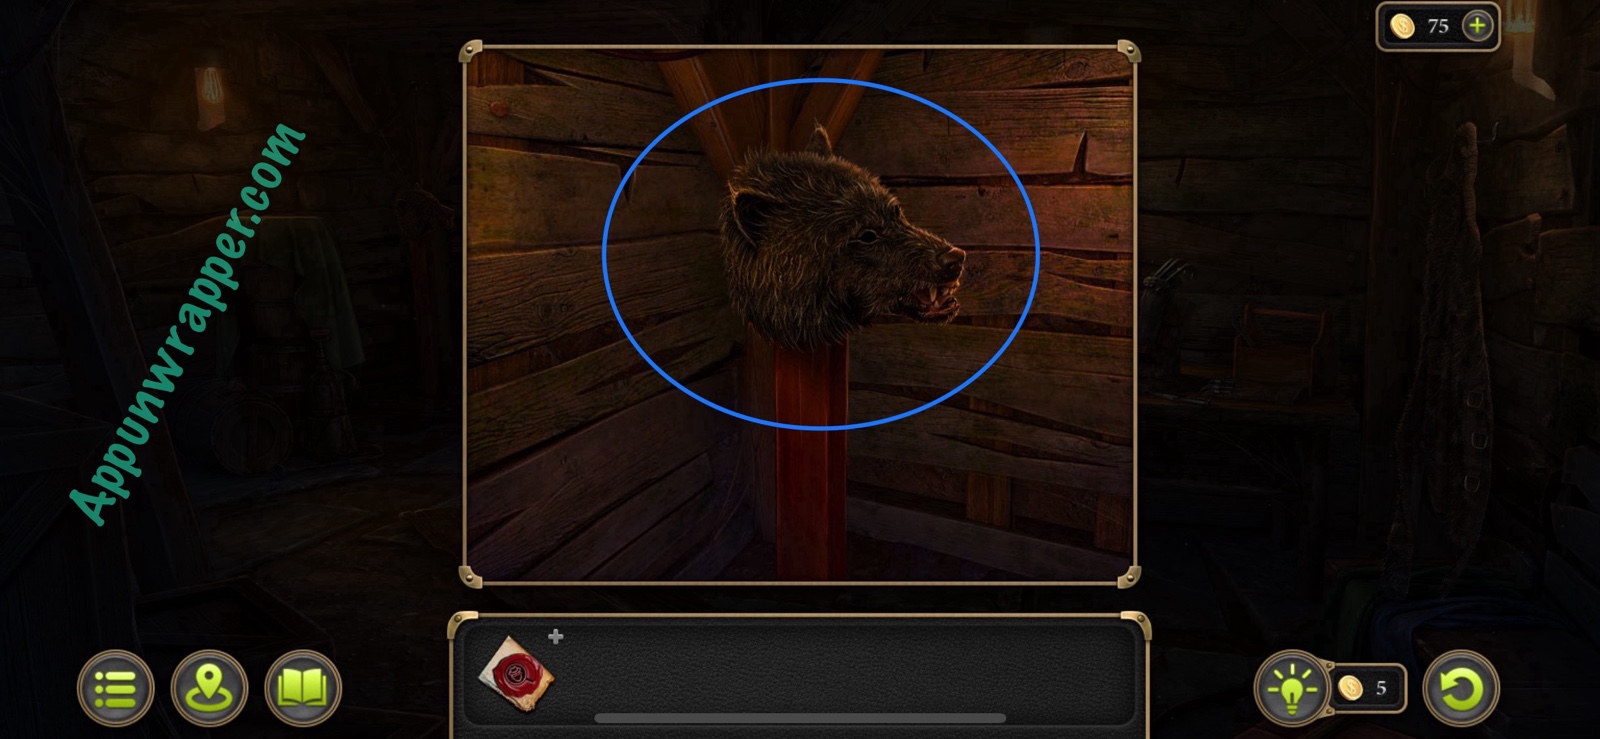
3. Talk to his wife, Maria. She’s more willing to believe in the creature and even thinks she saw it through the window last night. She also tells you to unpack your suitcase on the desk. First, grab the morphing object and the vinyl record collectibles. Then, grab the Rope from on top of the trunk in the lower left. Also, zoom in on the stove and grab the Ladle and Pincers. There’s also a locked box on the shelf but we can’t open it until we collect 7 Flowers. Head over to the desk.
Collection: Morphing object at base of column. (2/49)
Collection: Vinyl record on shelf. (1/9)
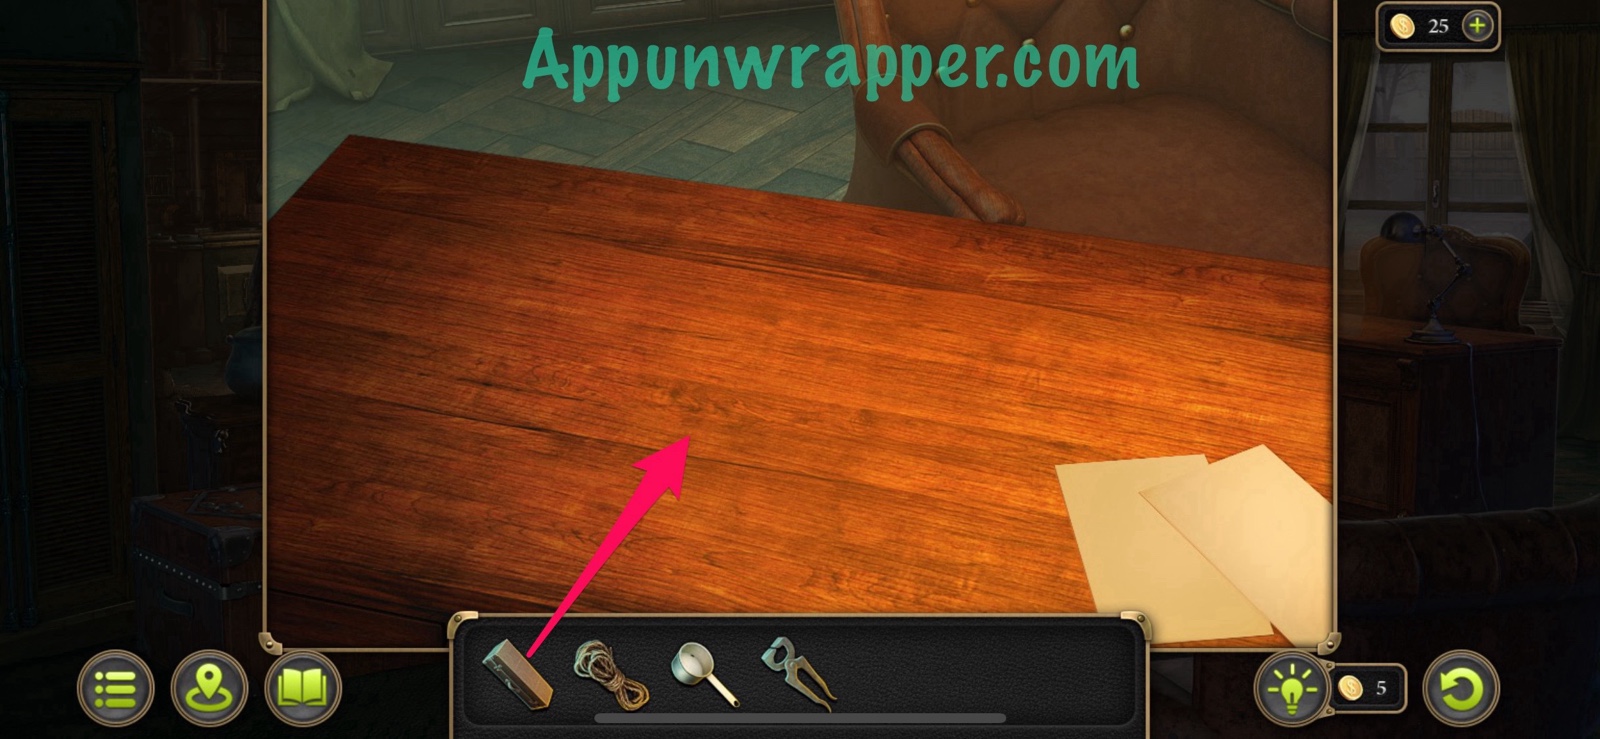
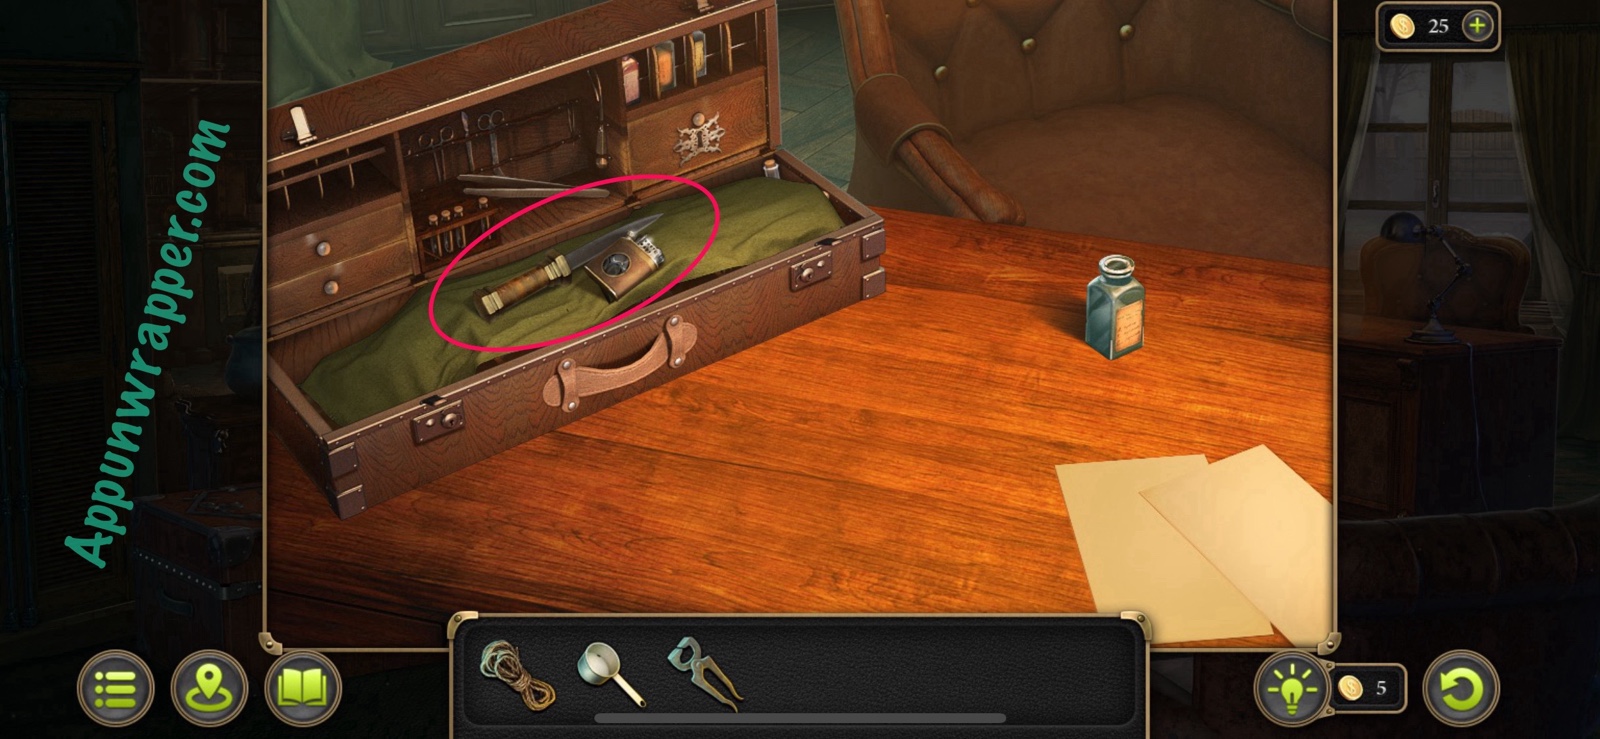
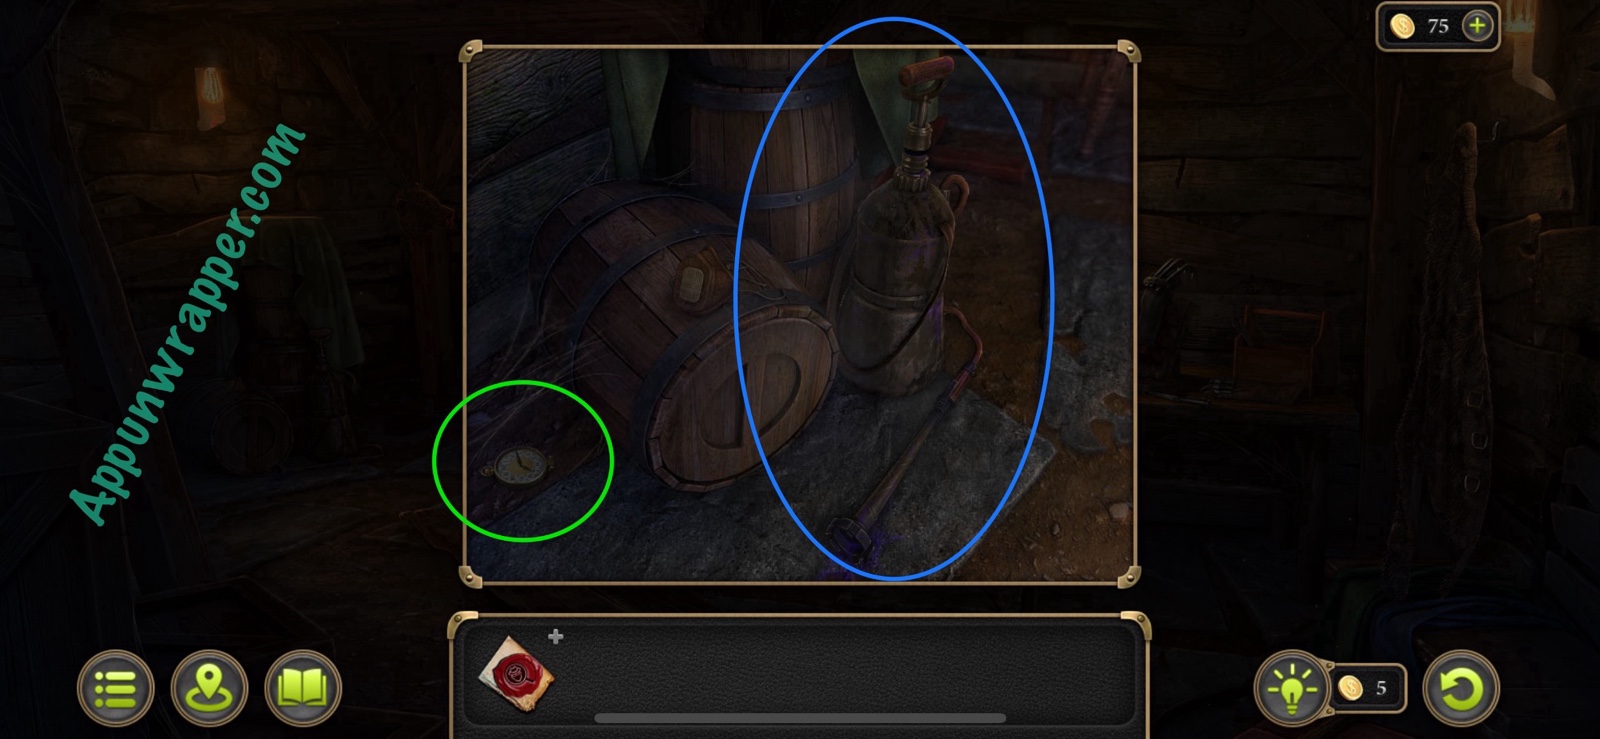
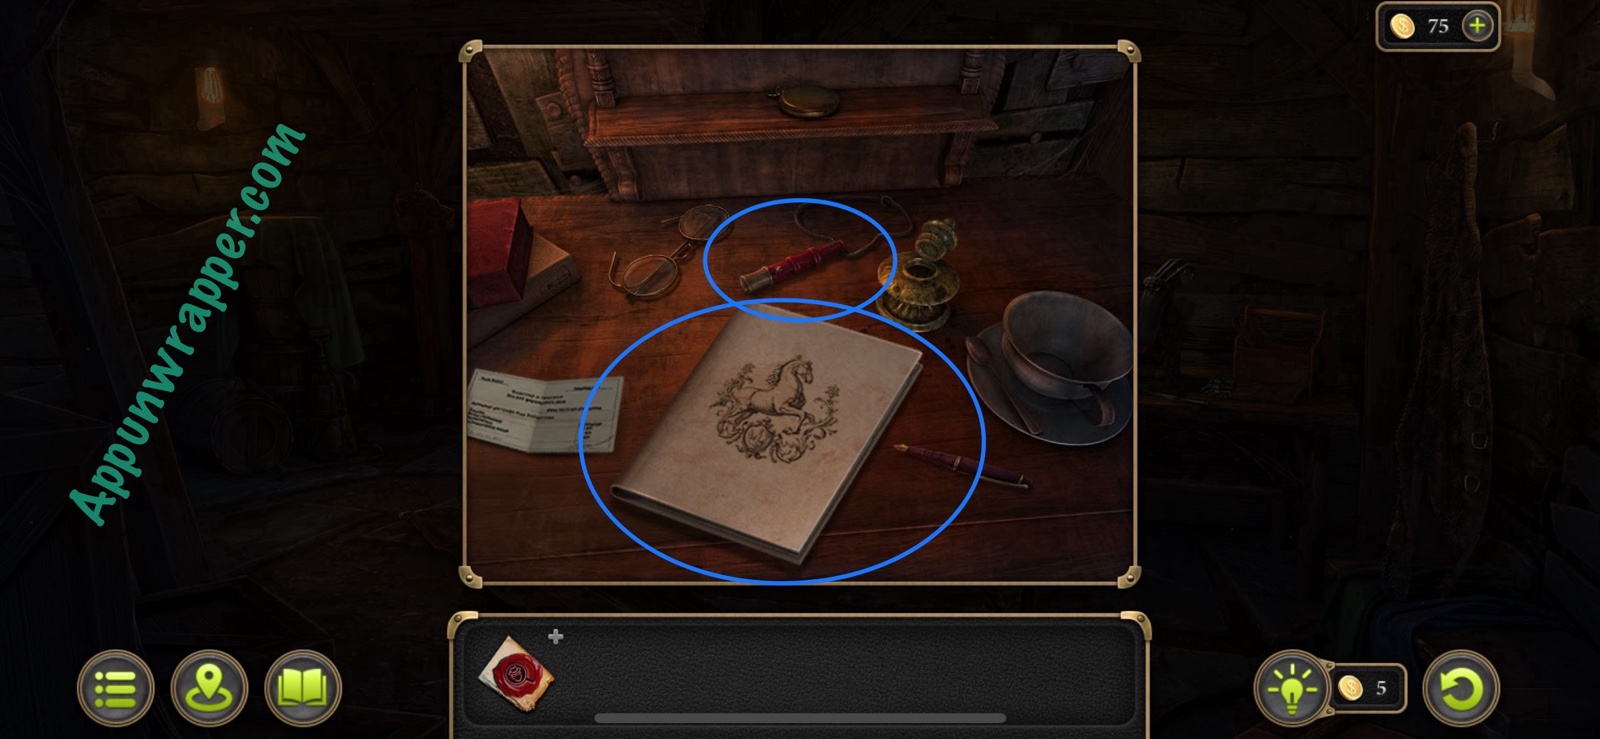
4. Place your suitcase on the desk. Open it and take the Lighter and Knife from inside. Finish unpacking the rest, including your microscope. There’s a few items we’ll have to come back for later, as the game won’t let us take them until we know we need them.

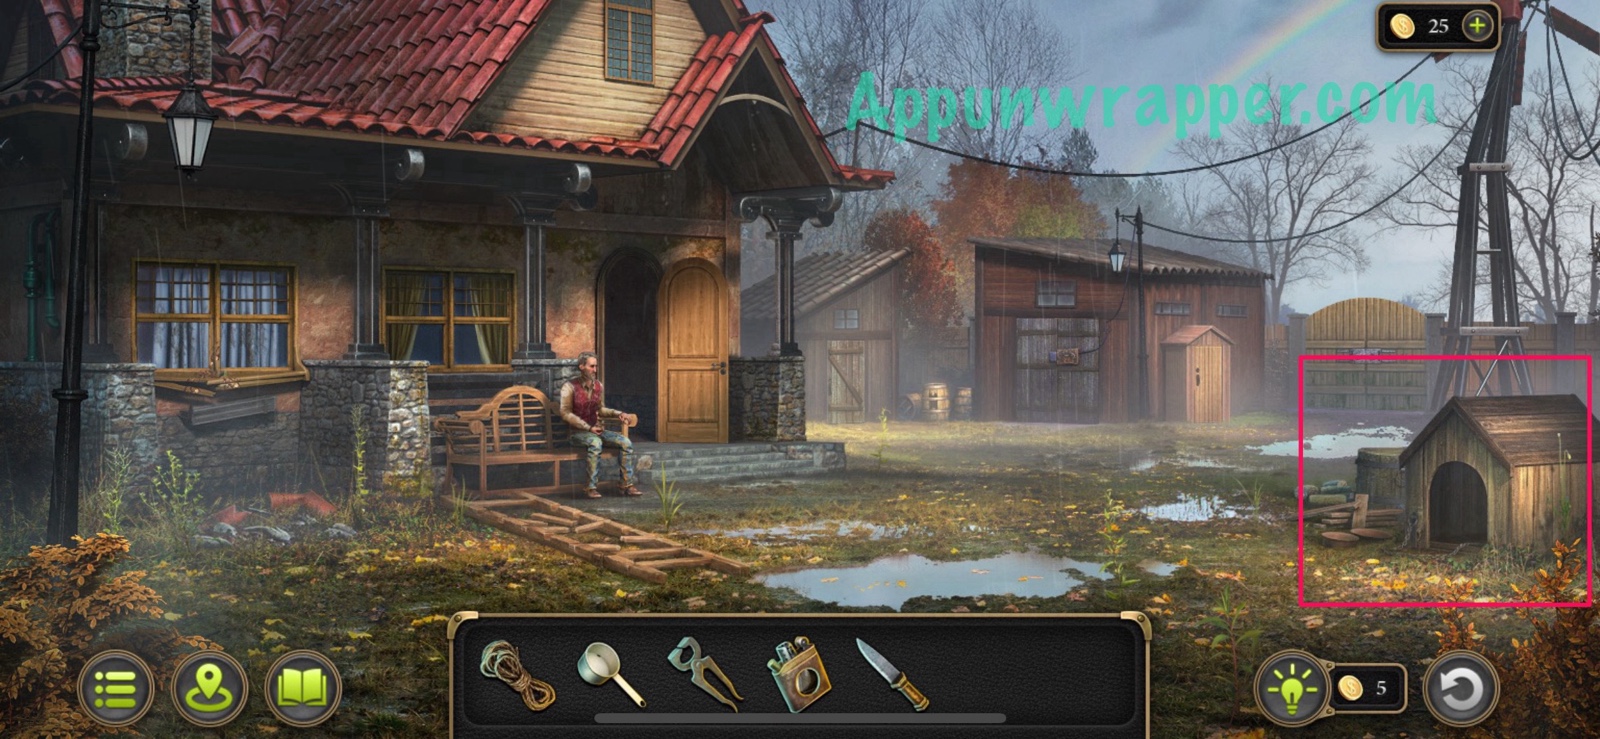
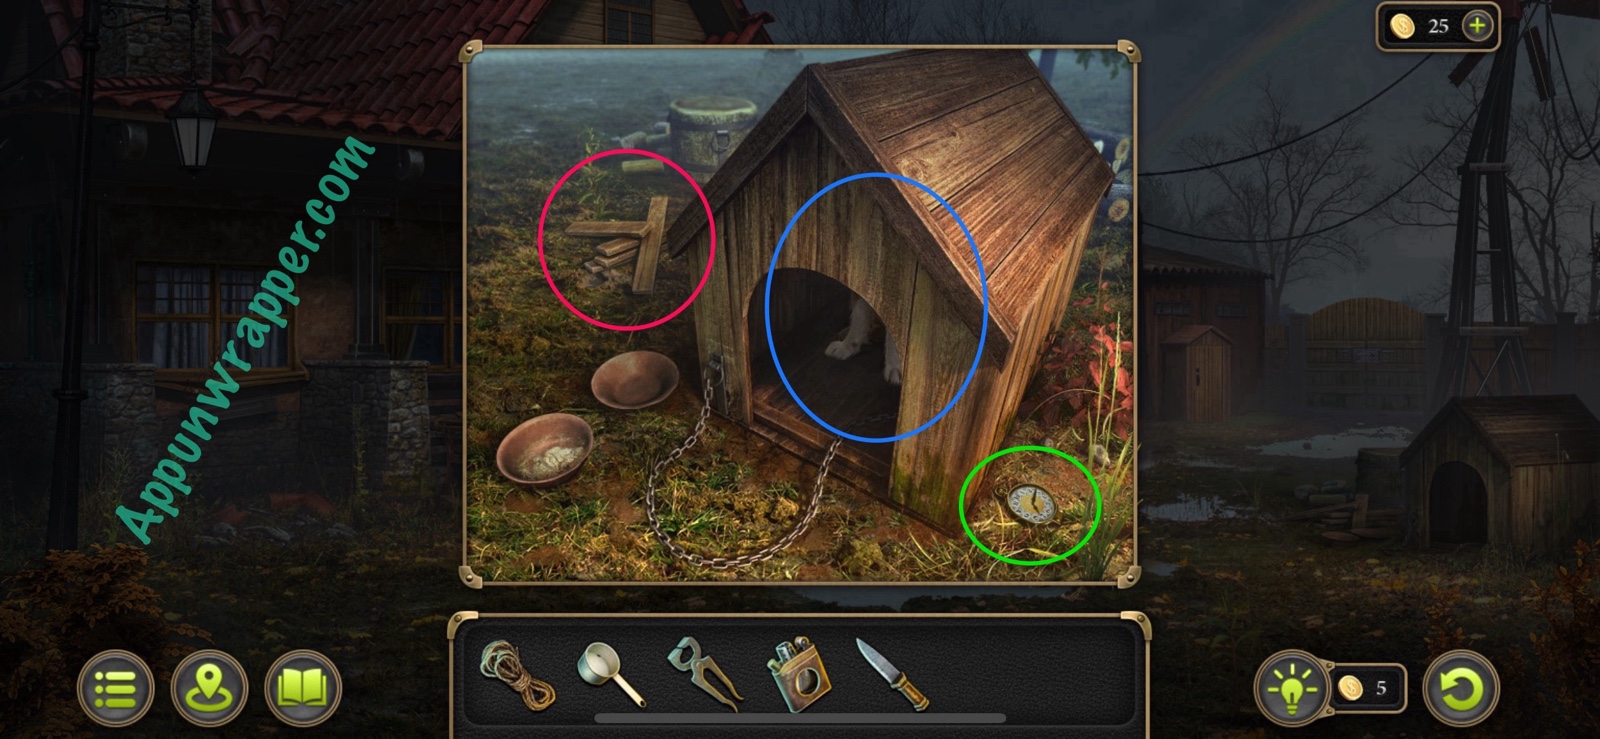
5. Leave the house. There’s a lot to do now. First, examine the dog house. Grab the Boards to the left and tap on the scared dog to collect evidence. There’s also a pocket watch collectible to the right of the dog house.
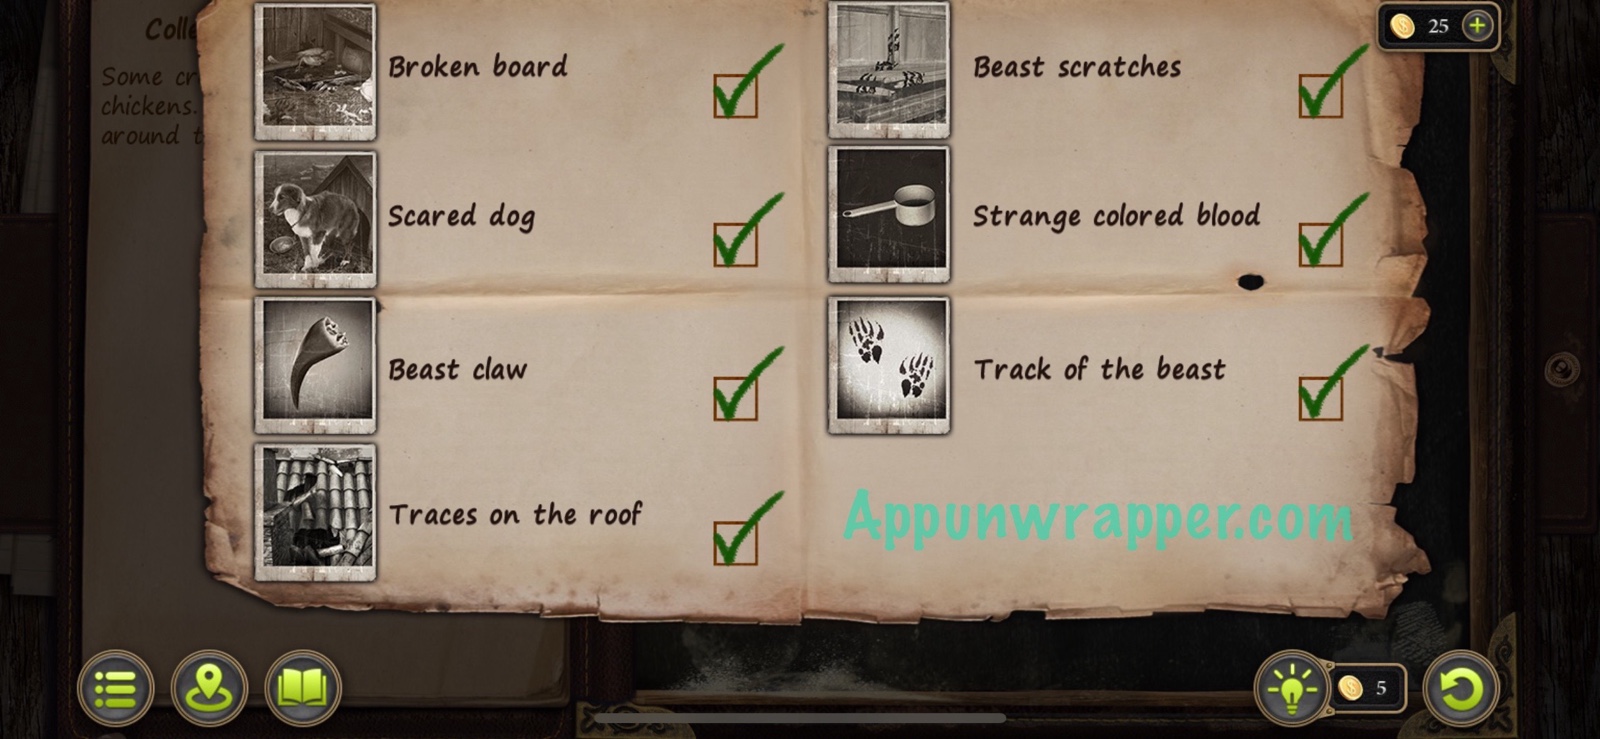
Evidence: Scared dog. (Farm inspection 1/7)
Collection: Pocket watch. (1/9)
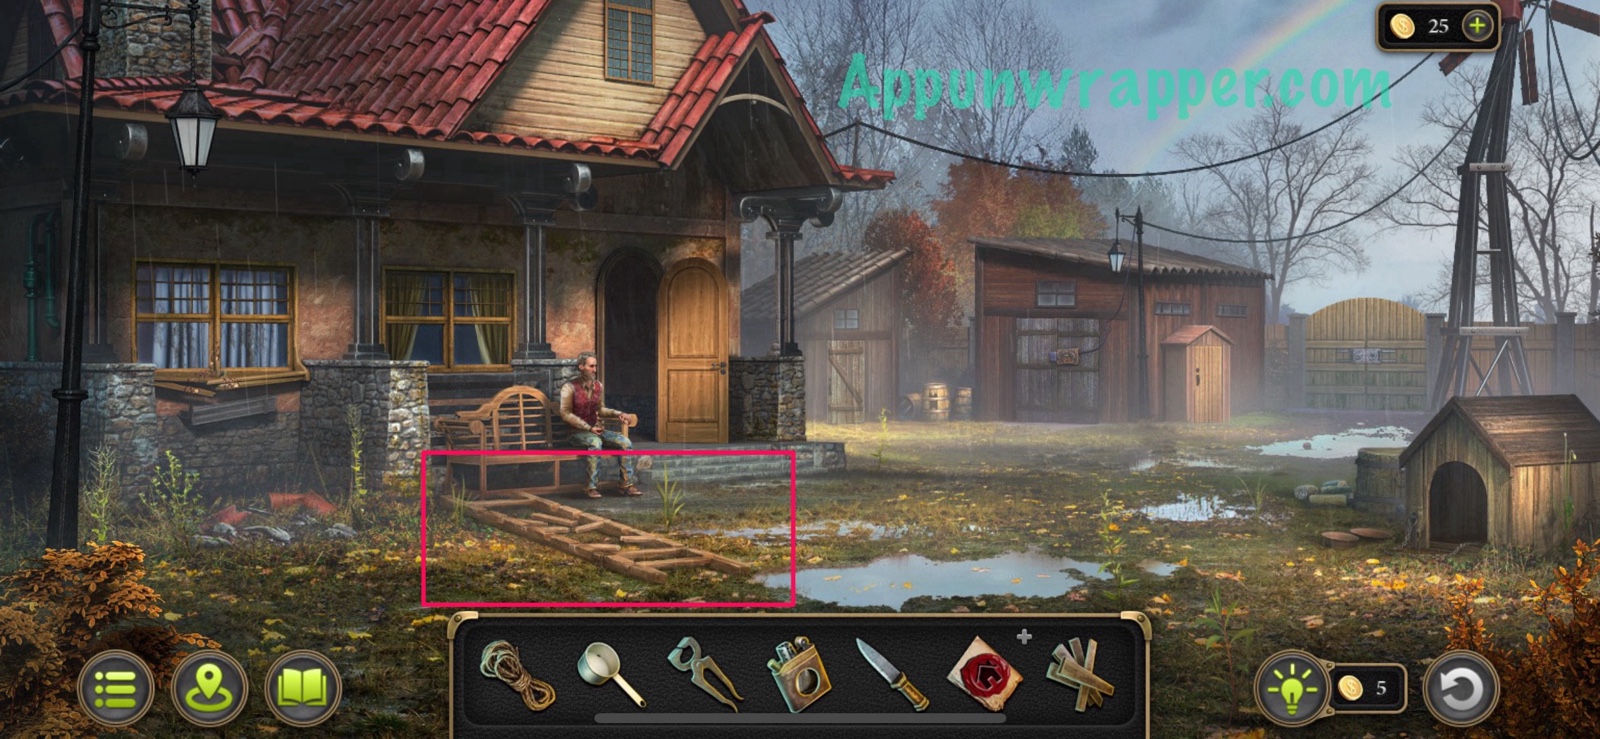
6. Zoom back out. Examine the broken ladder on the ground and remove the broken rungs. Use the boards and rope to fix it up. Then place it up against the house so you can climb up to the roof.

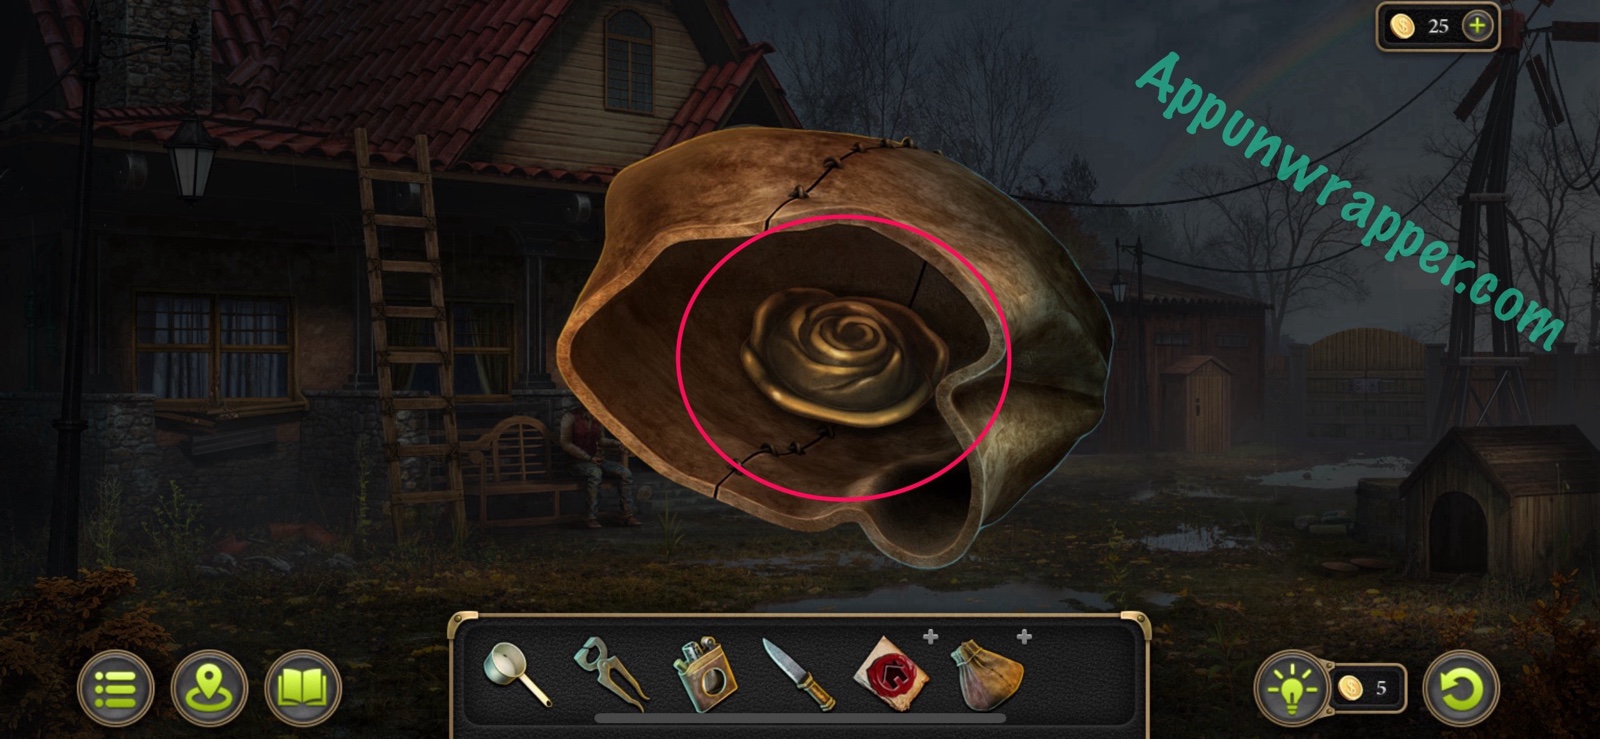
7. Grab the Pouch from the roof and also collect the evidence.
Evidence: Traces on the roof. (Farm inspection 2/7)
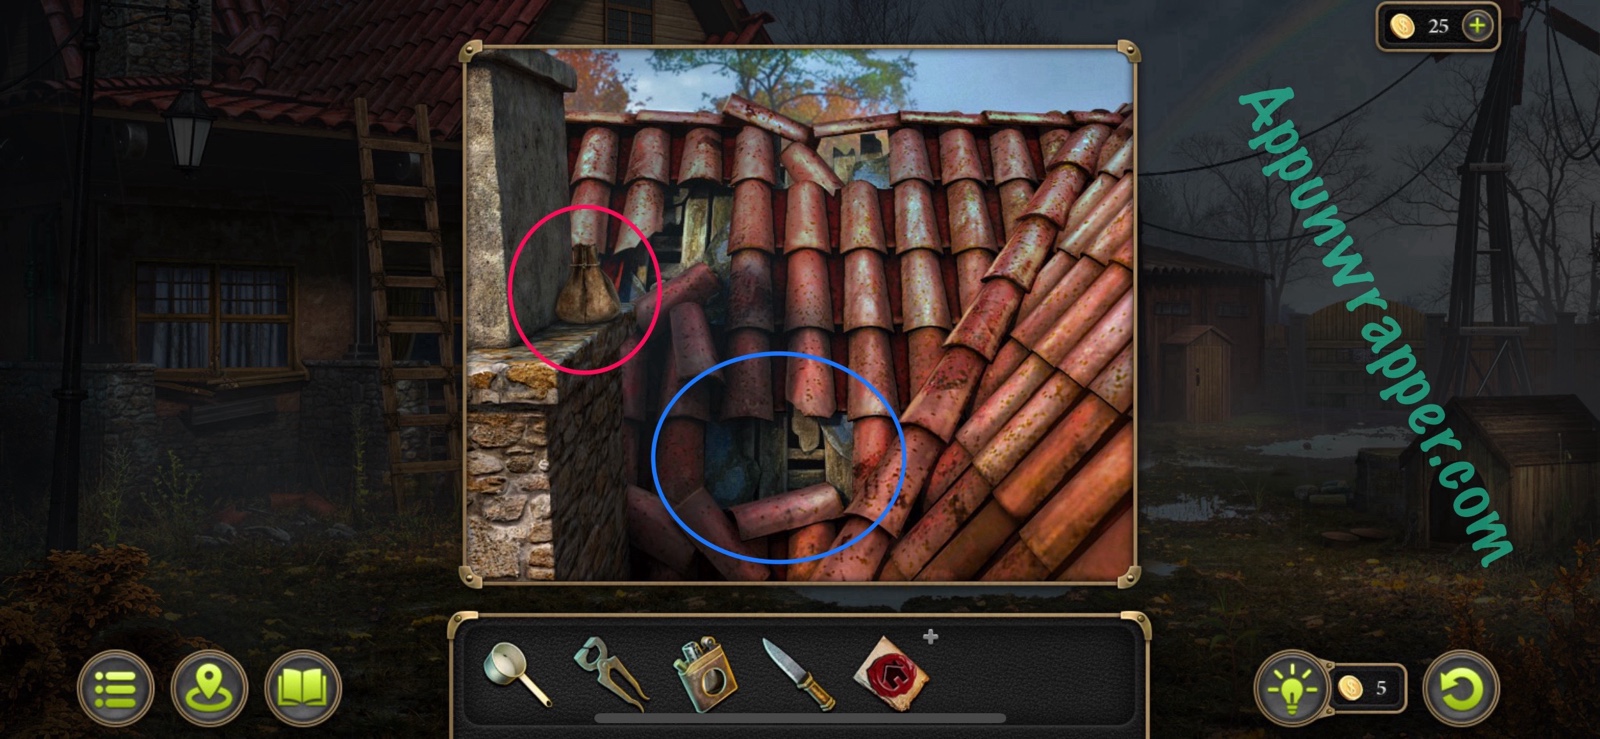
8. Look at the pouch in your bag and use the knife to cut it open. Take the metal Flower from inside.
Items: Flower (1/7)

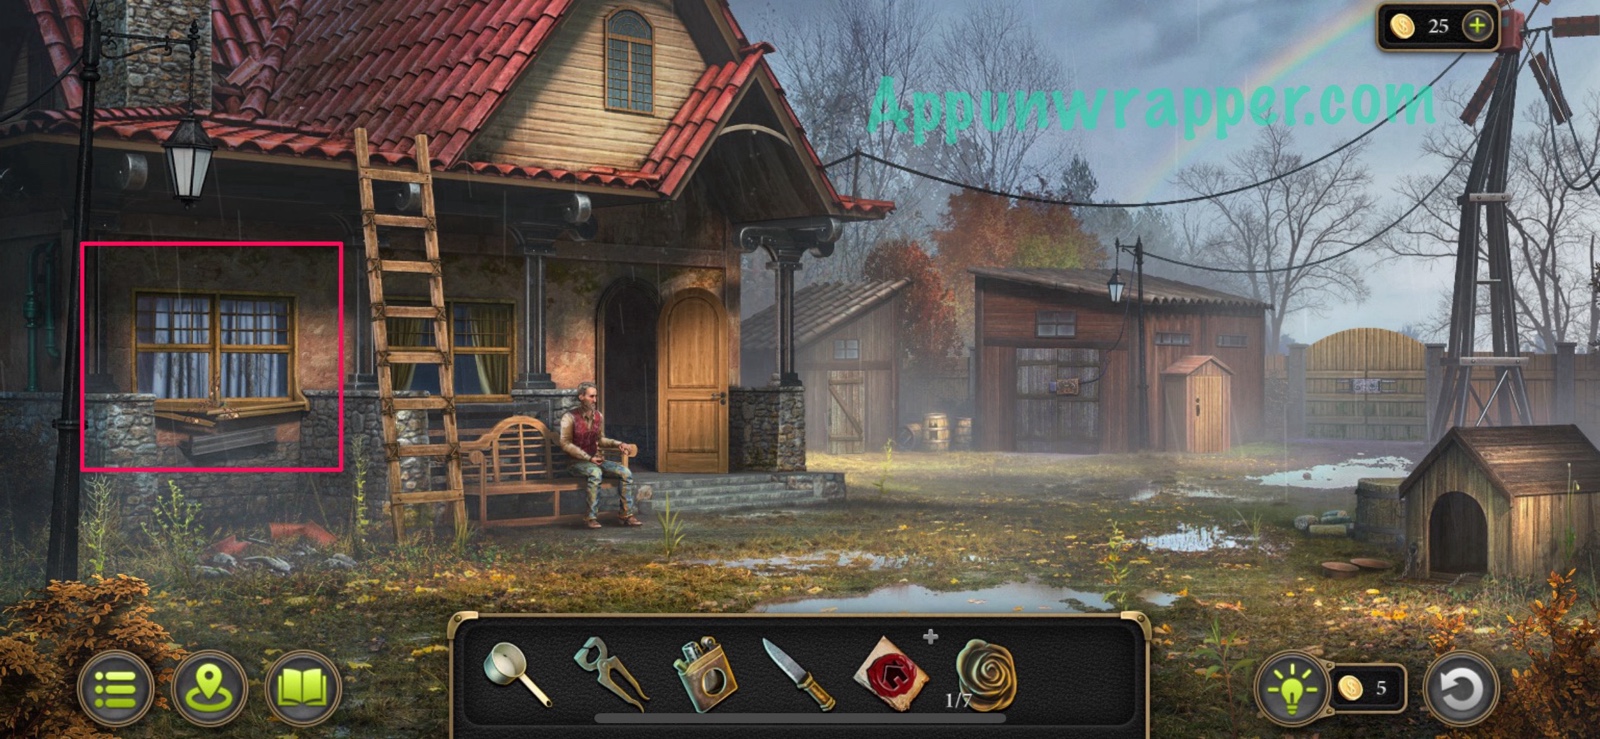
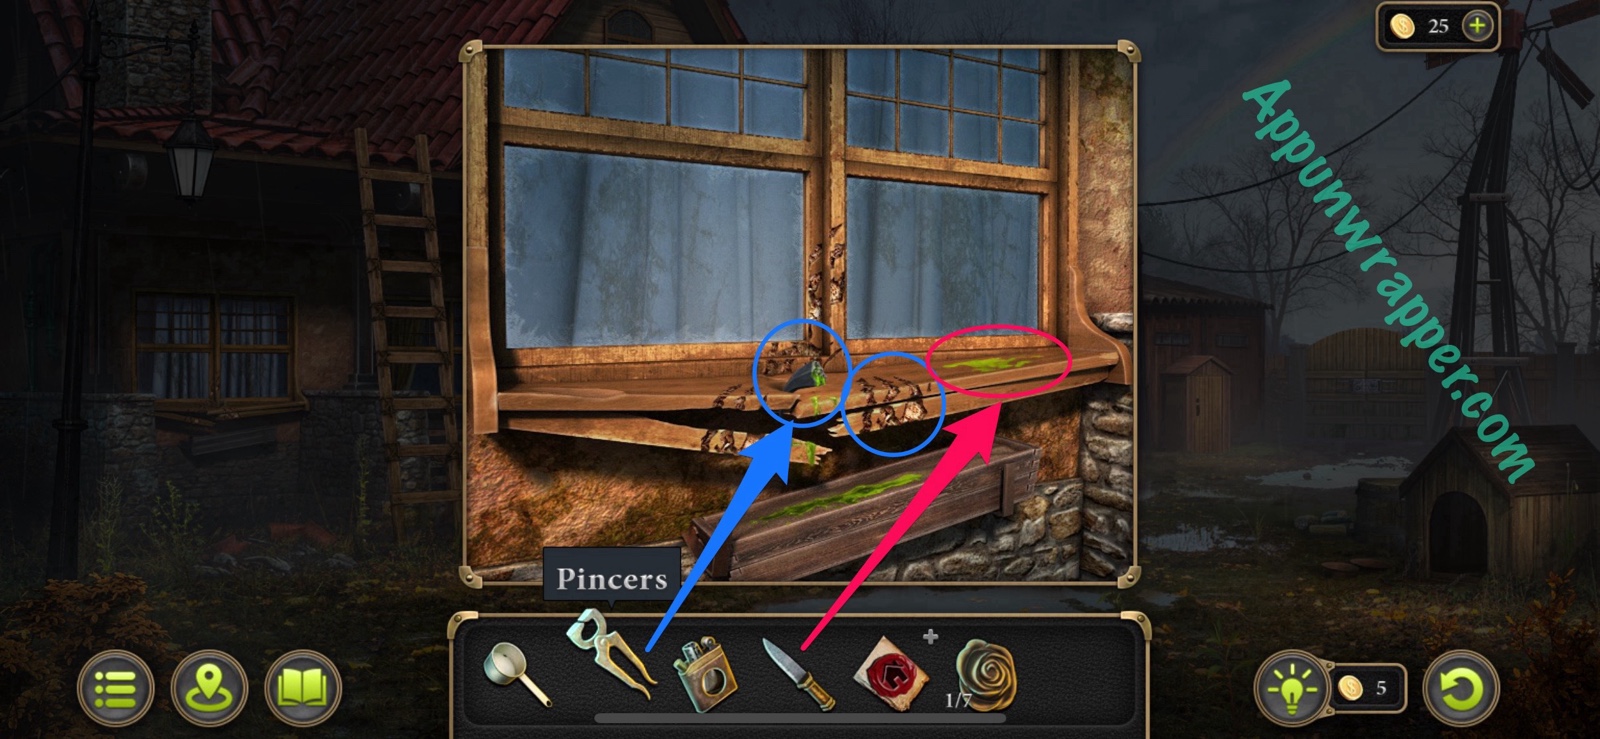
9. Go back down and inspect the window. Notice the beast scratches as evidence. Use the pincers to pull out the claw for another piece of evidence. And use your knife to scrape off some of the green substance to get a substance sample.
Evidence: Beast scratches. (Farm inspection 3/7)
Evidence: Beast claw. (Farm inspection 4/7)
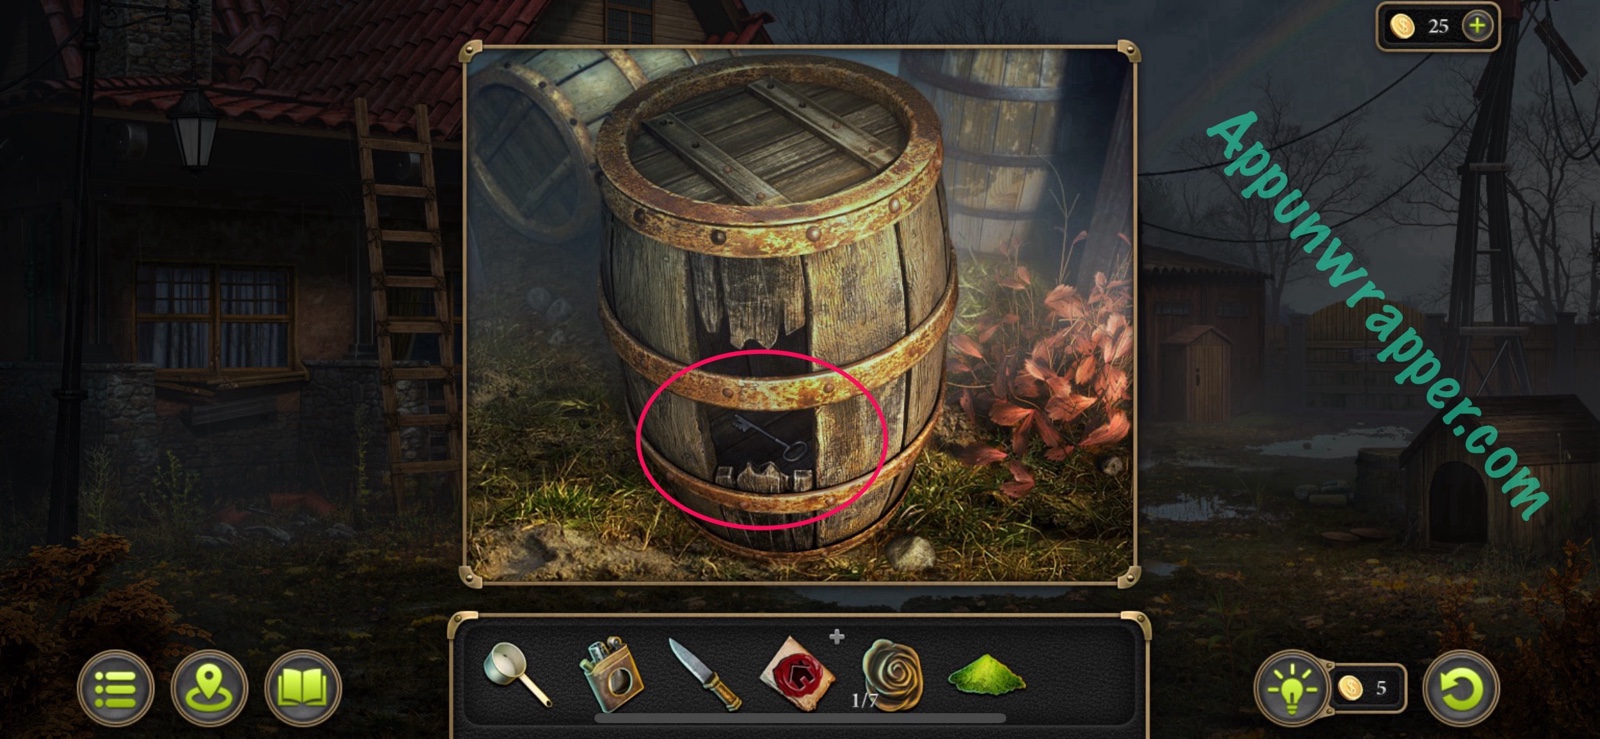
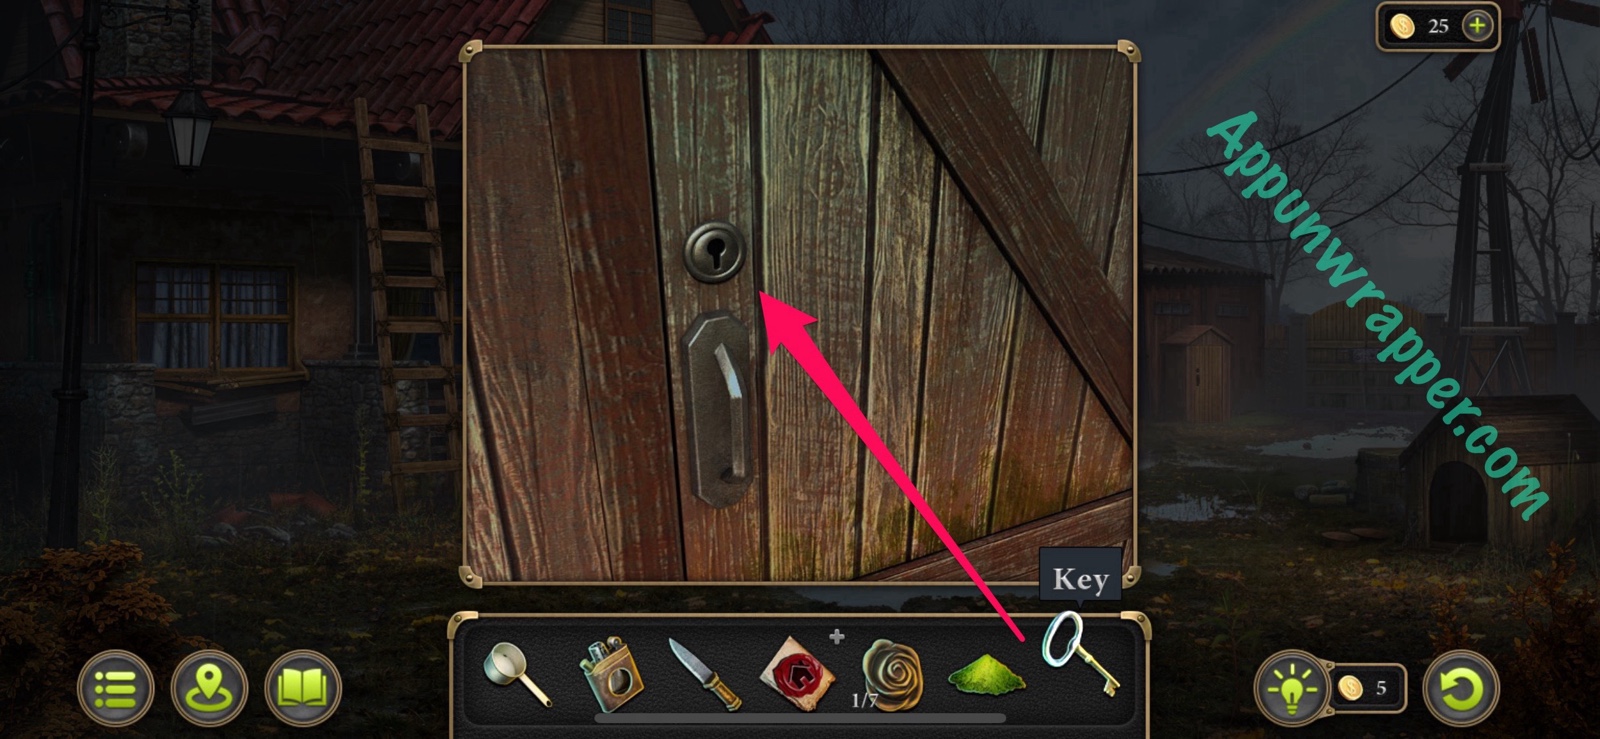
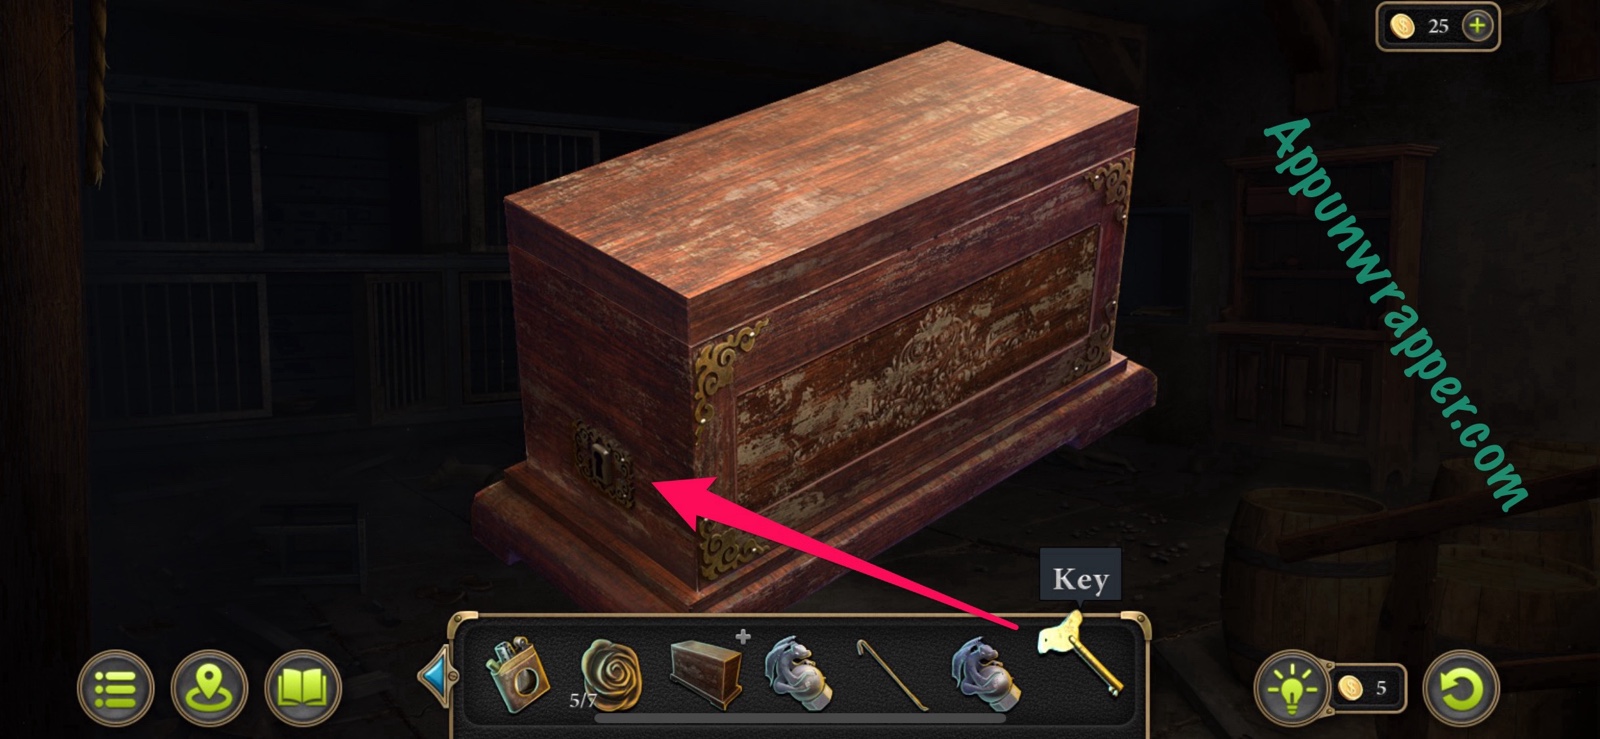
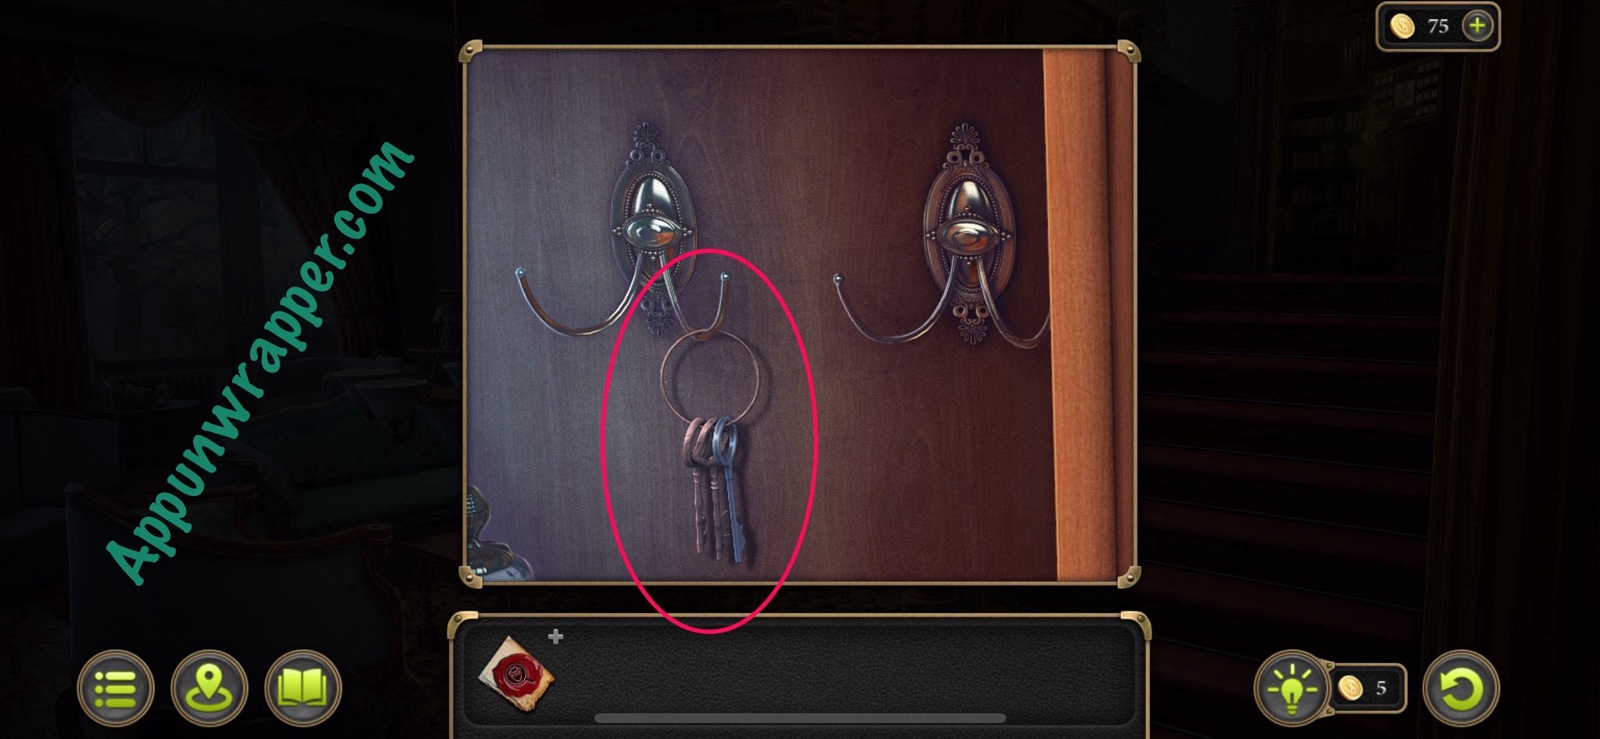
10. Zoom back out. Inspect the broken barrel in the back and grab the Key from inside it. Then use it to unlock the door to the chicken coop.

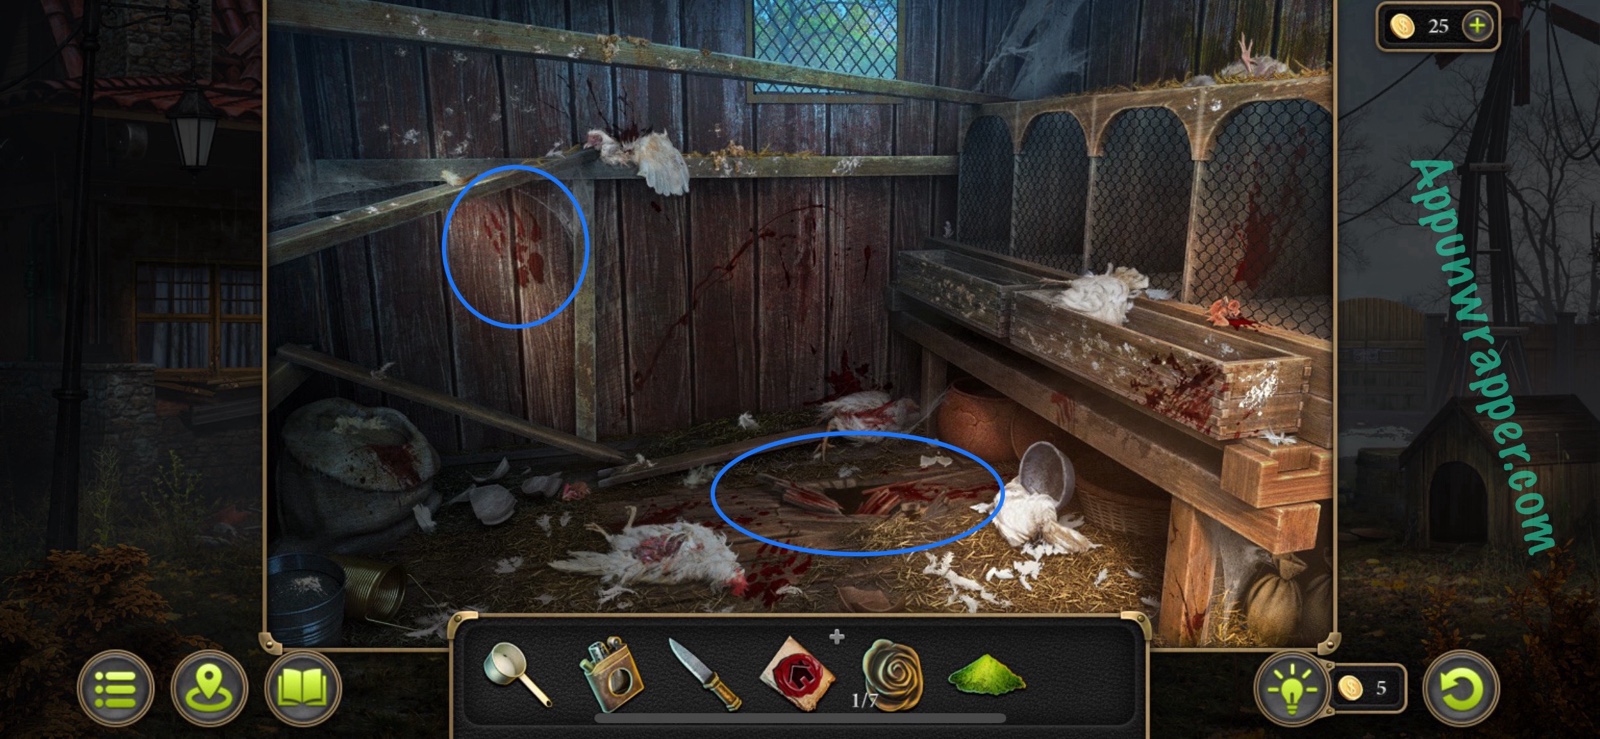
11. Enter the chicken coop. They’re all dead! Tap on the bloody footprints and the broken board to get two more pieces of evidence.
Evidence: Track of the beast. (Farm inspection 5/7)
Evidence: Broken board. (Farm inspection 6/7)
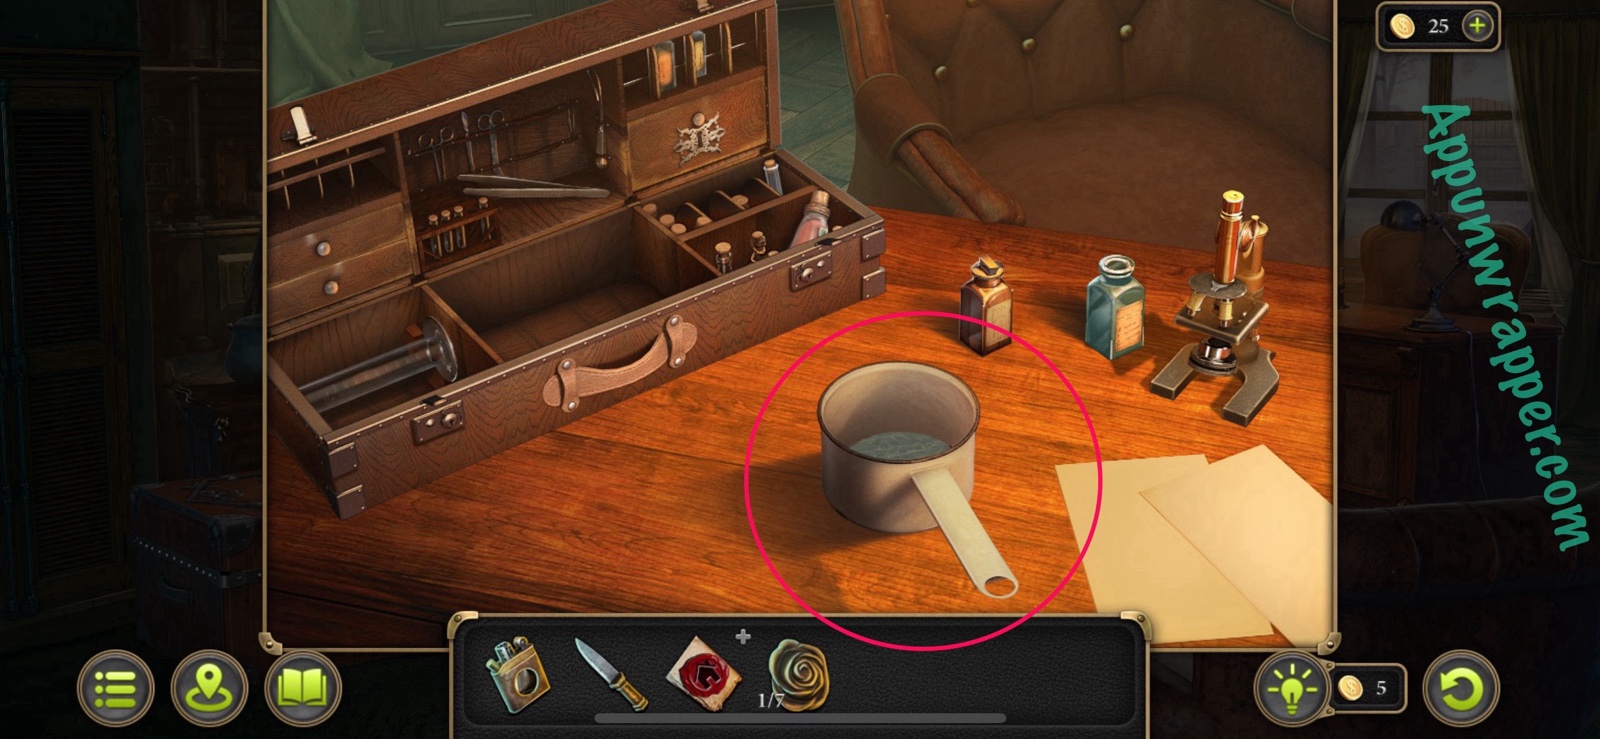
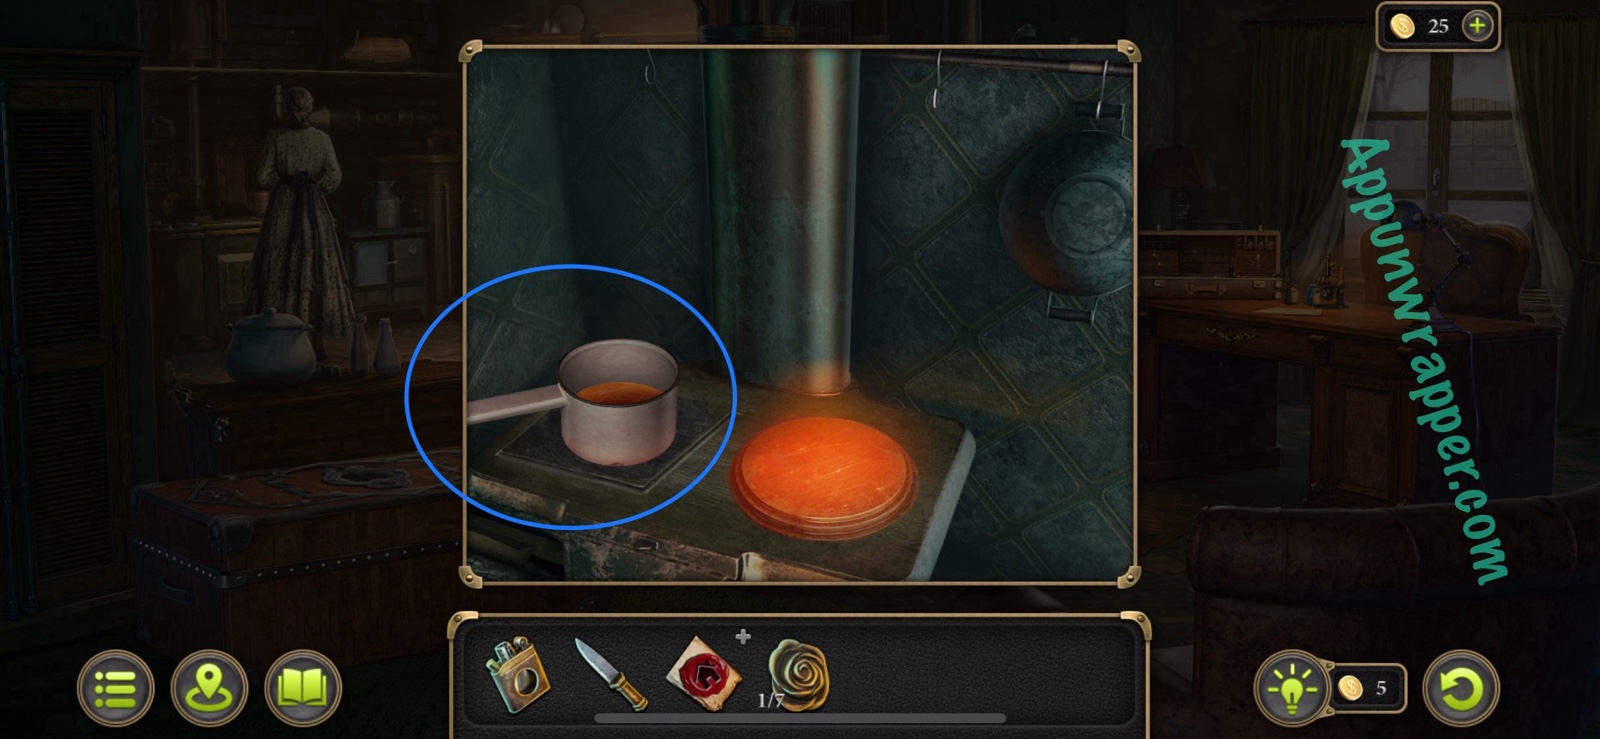
12. Go back inside the farmer’s house. Go to the desk and try to place the substance sample on the microscope. It tells you you need some sort of cookware for it. So place the ladle down and add the sample. When everything’s in it, pick it up and place it on the stove to heat it up. Then tap on the cold ladle to collect the evidence.
Evidence: Strange colored blood. (Farm inspection 7/7)
Task completed: Collect evidence in the yard. (File: Farm inspection)

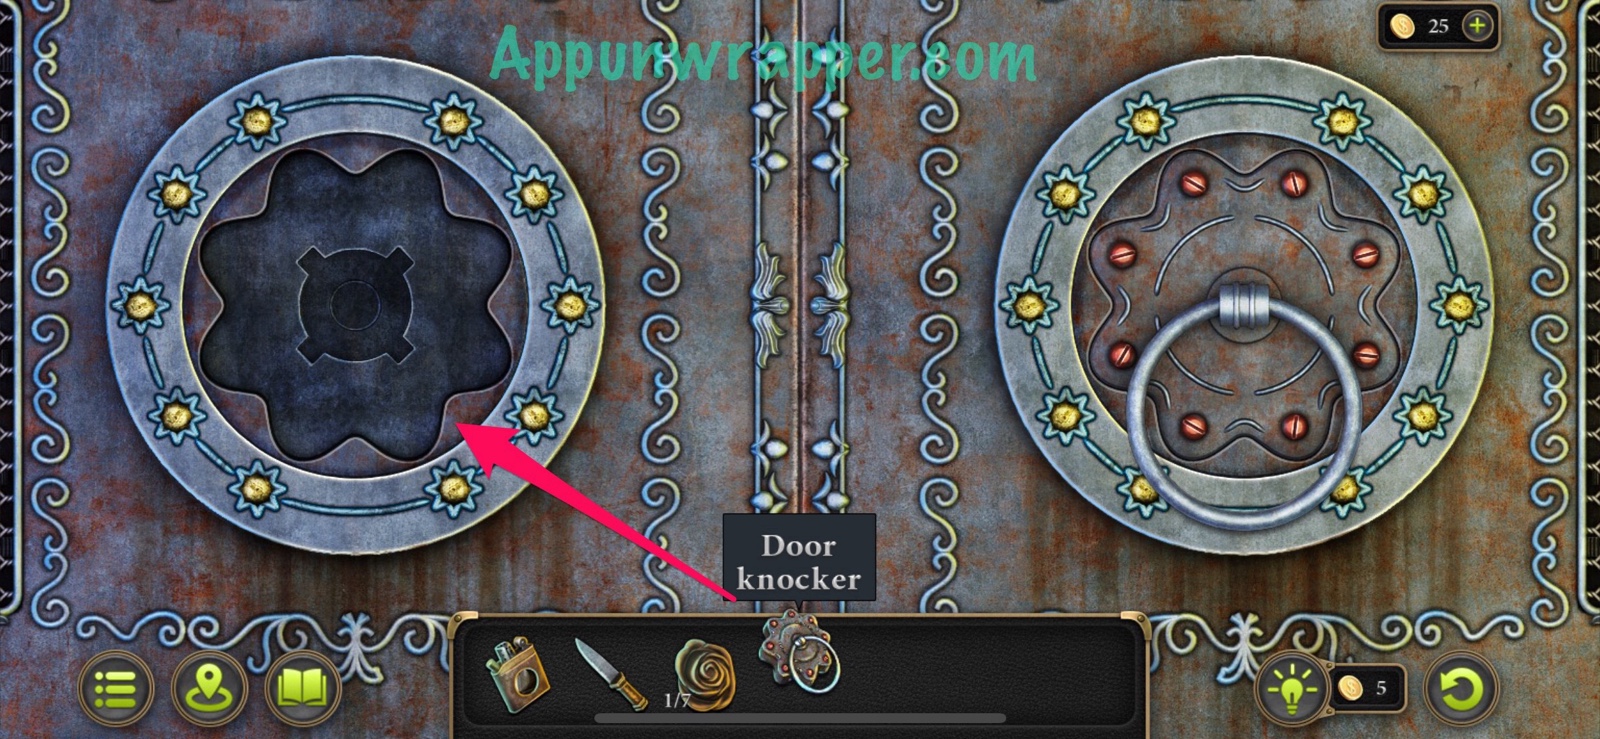
13. Go back outside and talk to Harry again. He’ll give you a whole lot of information about the fields dying and people thinking there’s a curse. He’ll give you a Door Knocker so you can get through the gate.
New task: Explore the dead fields. (File: Lost harvest)
14. Go to the gate and insert the door knocker. Now we have to solve a puzzle that’s a bit annoying.

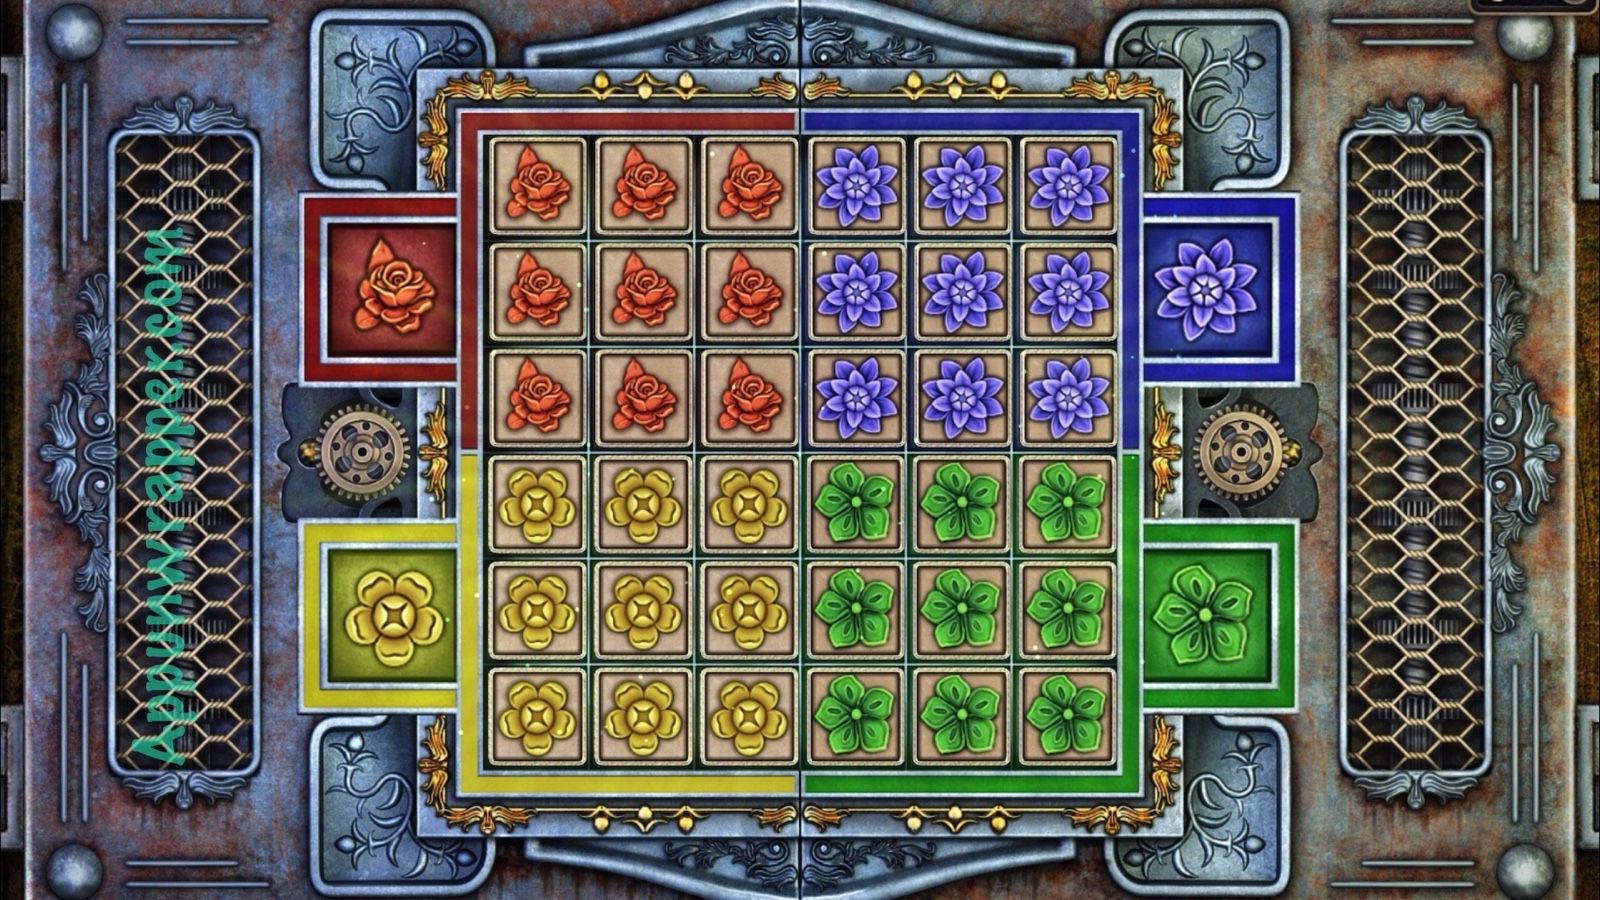
15. For the flower gate puzzle, the idea is that you need to sort all the flowers based on the colors you see along the edges. You move them by tapping on one and all the flowers around it will rotate. Your starting positions might be different from mine, so I can only help you so much. After you solve it, head through the gate.
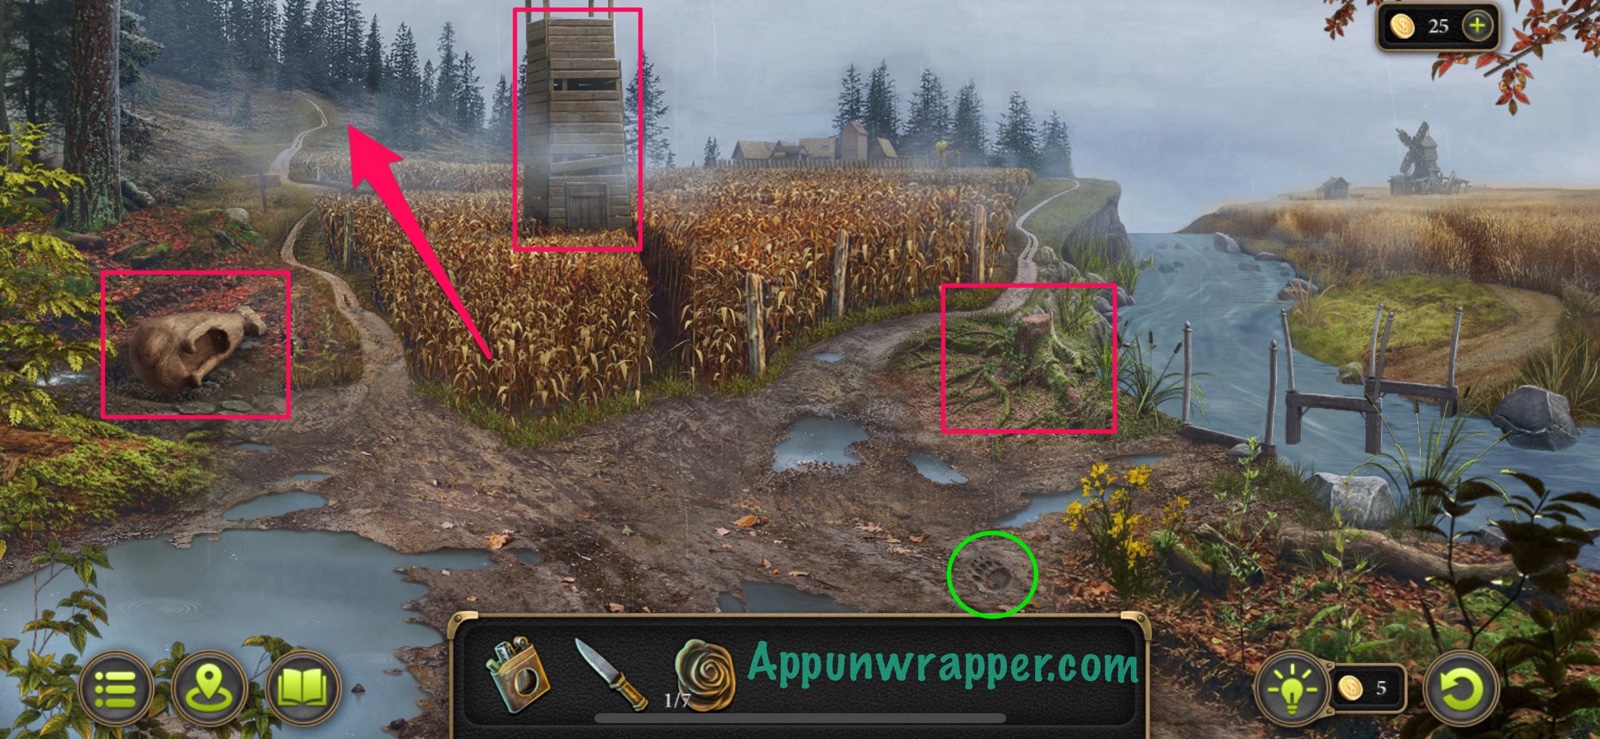
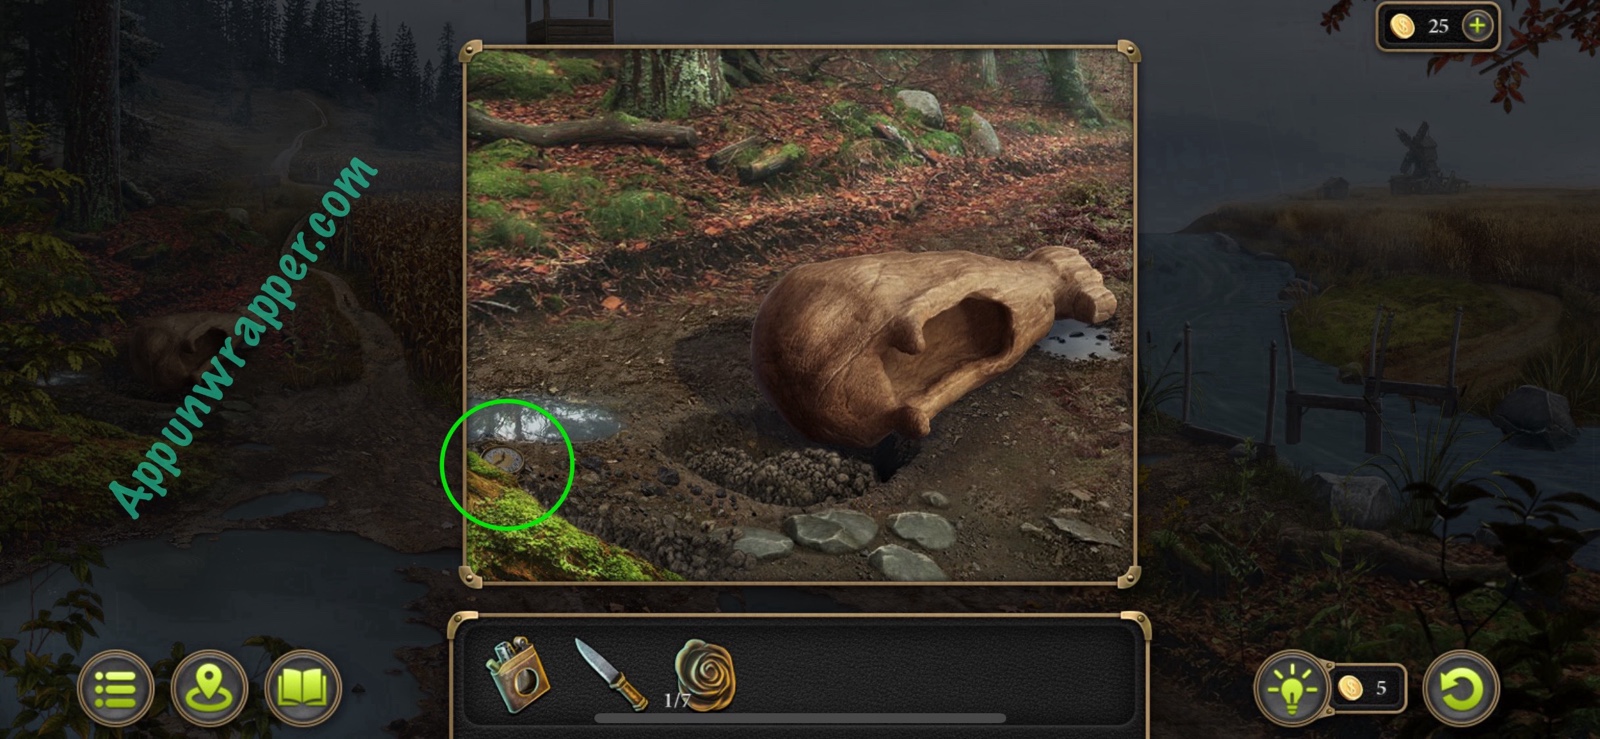
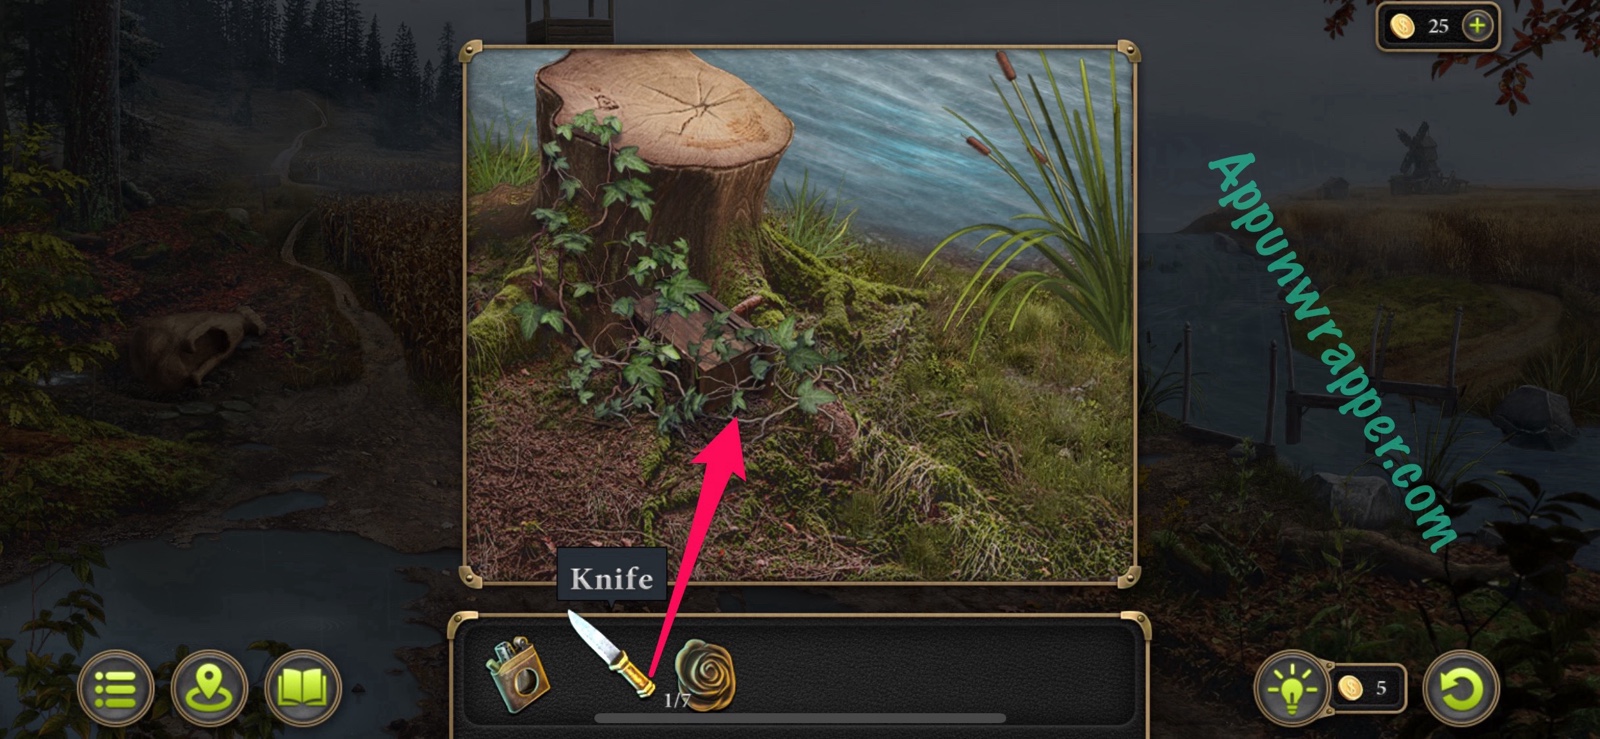
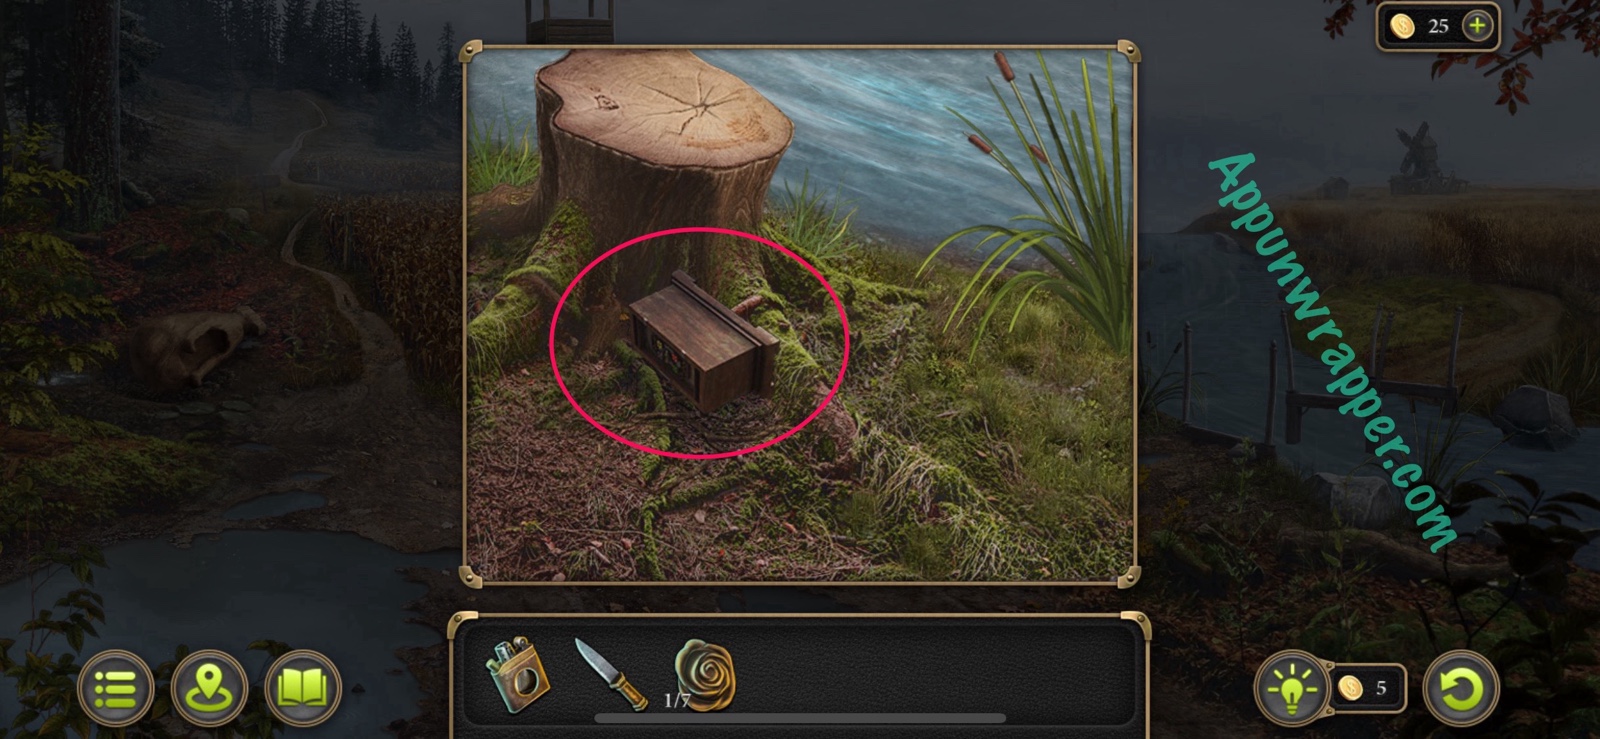
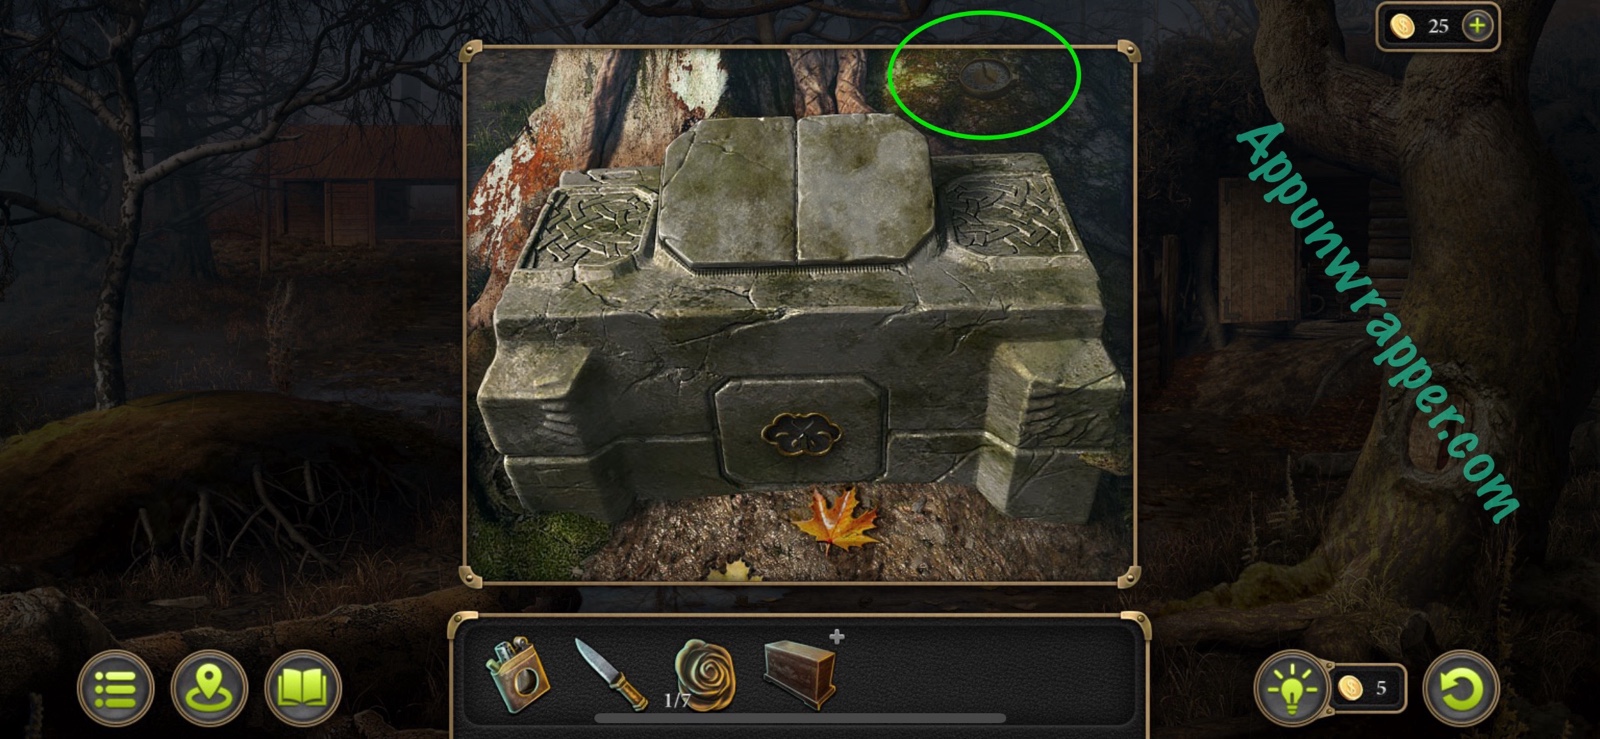
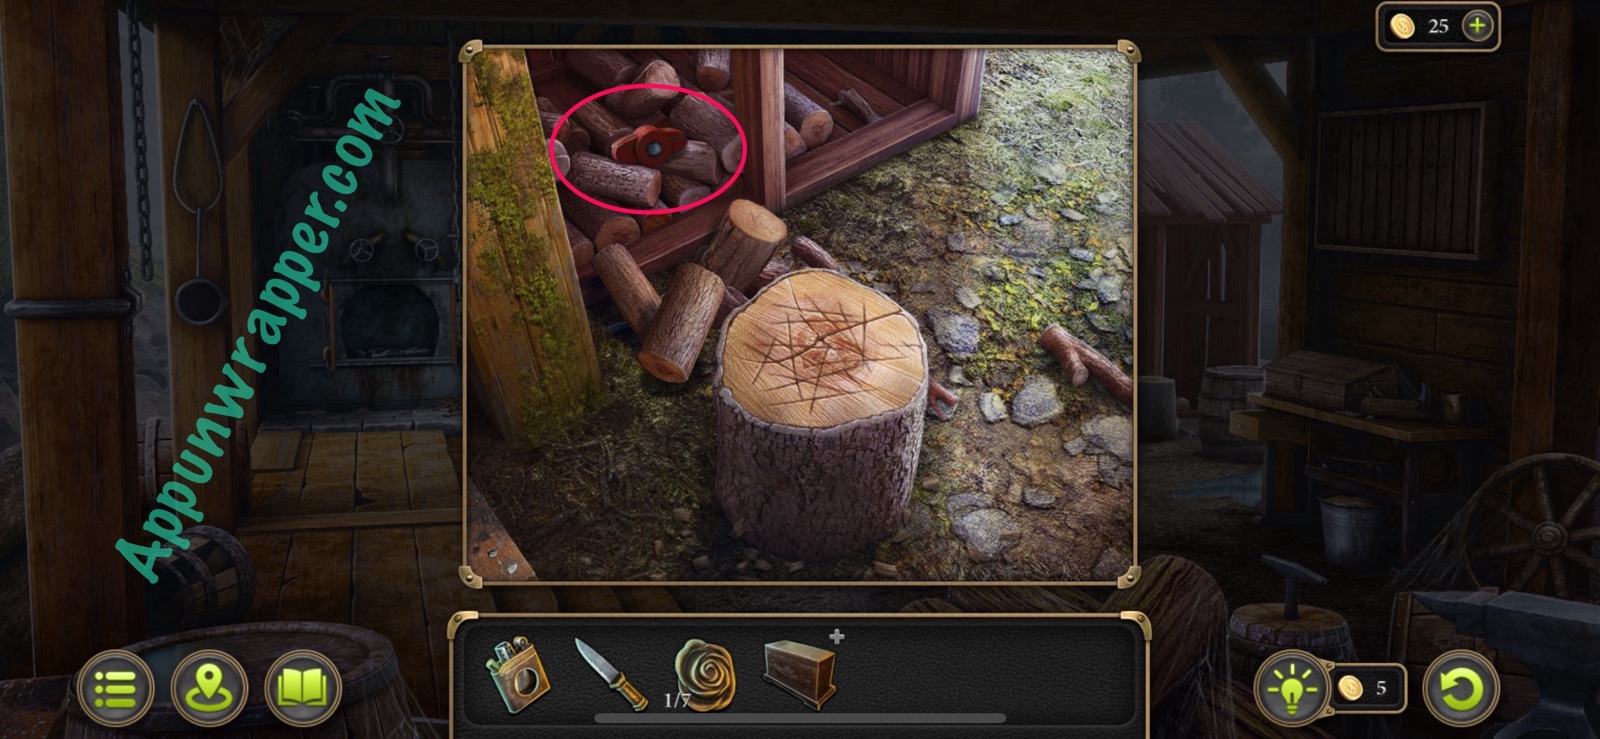
16. First, grab the morphing object collectible in the mud. Then, examine the fallen totem. There’s not much you can do there at the moment, but there is a pocket watch collectible. Also, look at the tree stump. Use the knife to cut the vines and grab the Locked Chest. Also, tap on the fire tower to learn that we need to visit the cleric first. Then head along the left path to the mysterious forest.
Collection: There’s a footprint morphing object in the mud. (3/49)
Collection: Pocket watch by the totem. (2/9)
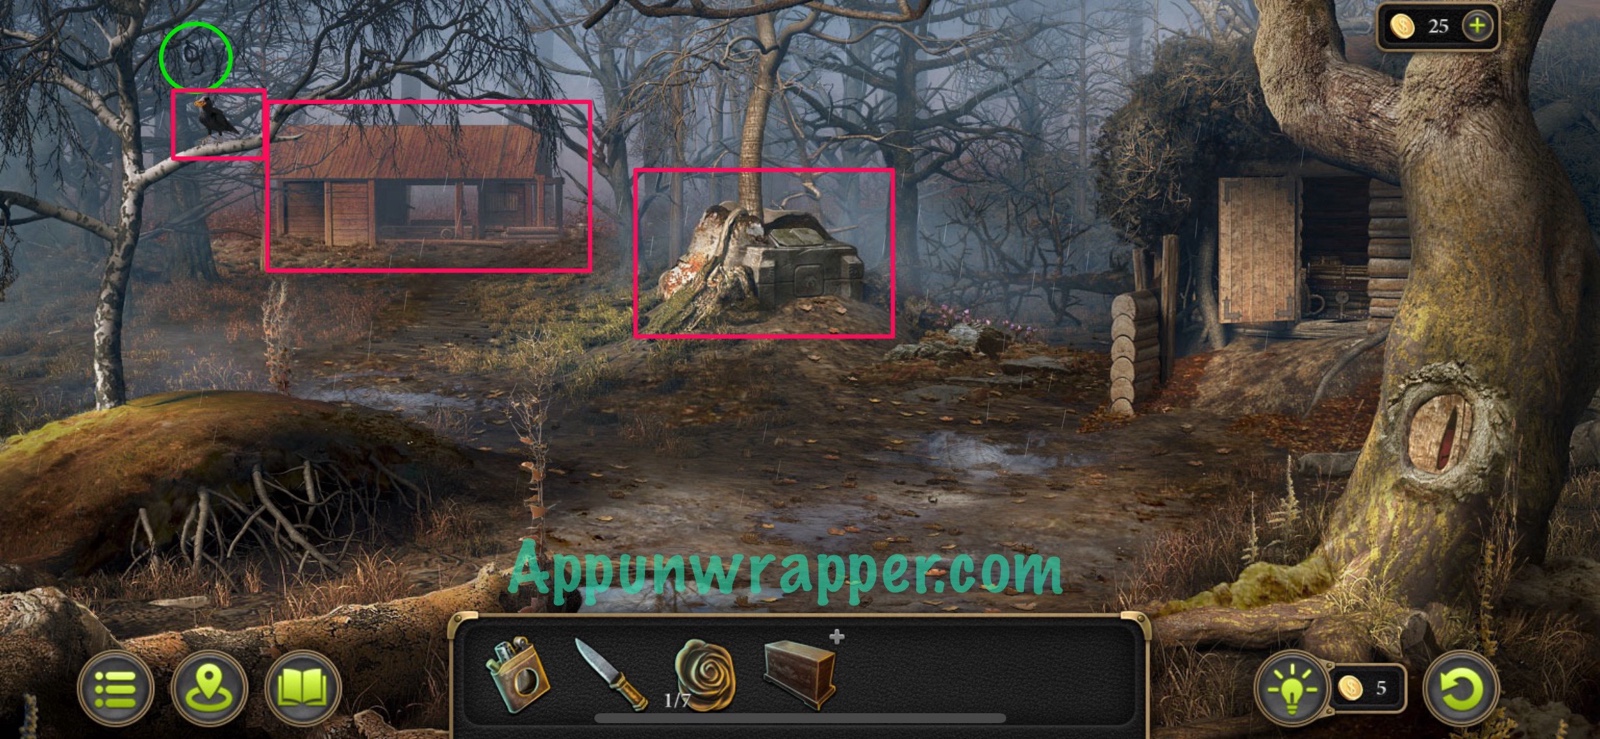
17. Now we’re in the mysterious forest. First, grab the morphing object collectible in the tree. Then, tap on the bird to make it fly off and drop something. You can then look at the roots under the tree, but you won’t be able to cut them yet. Then inspect the stone pedestal and get the pocket watch collectible. Then, head to the saw mill.
Collection: Morphing object in the tree above the bird. (4/49)
Collection: Pocket watch by the stone pedestal. (3/9)
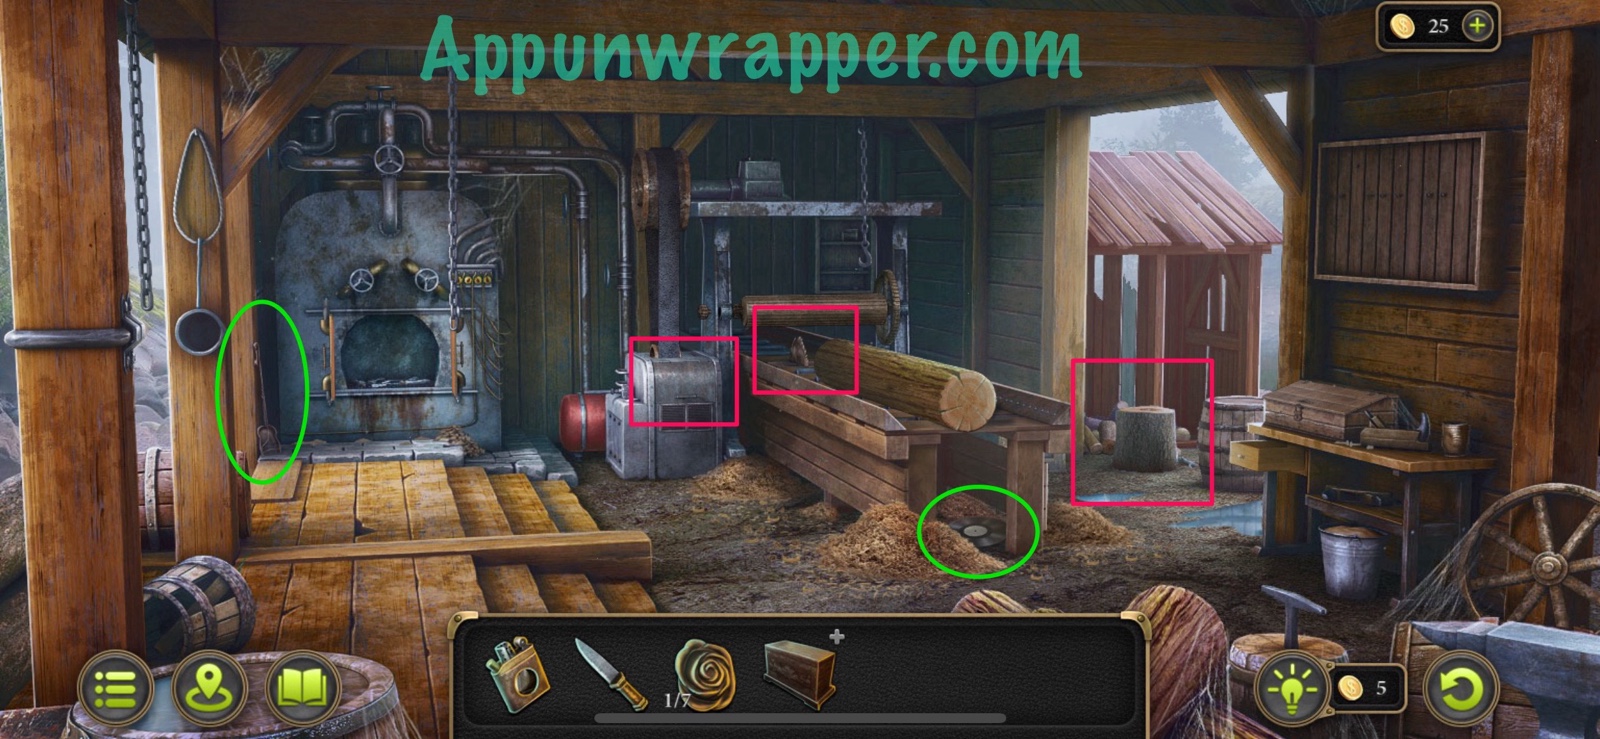
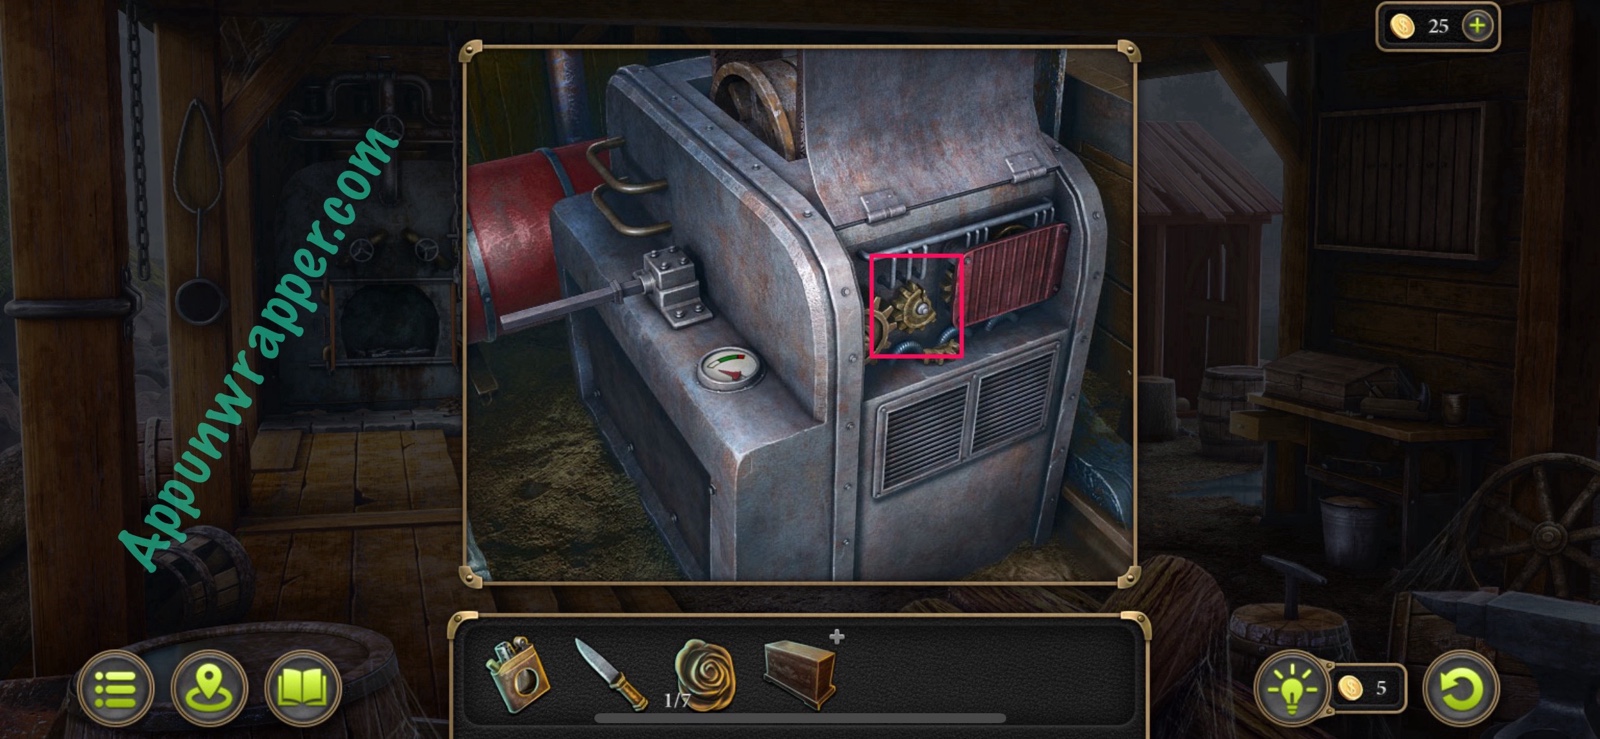
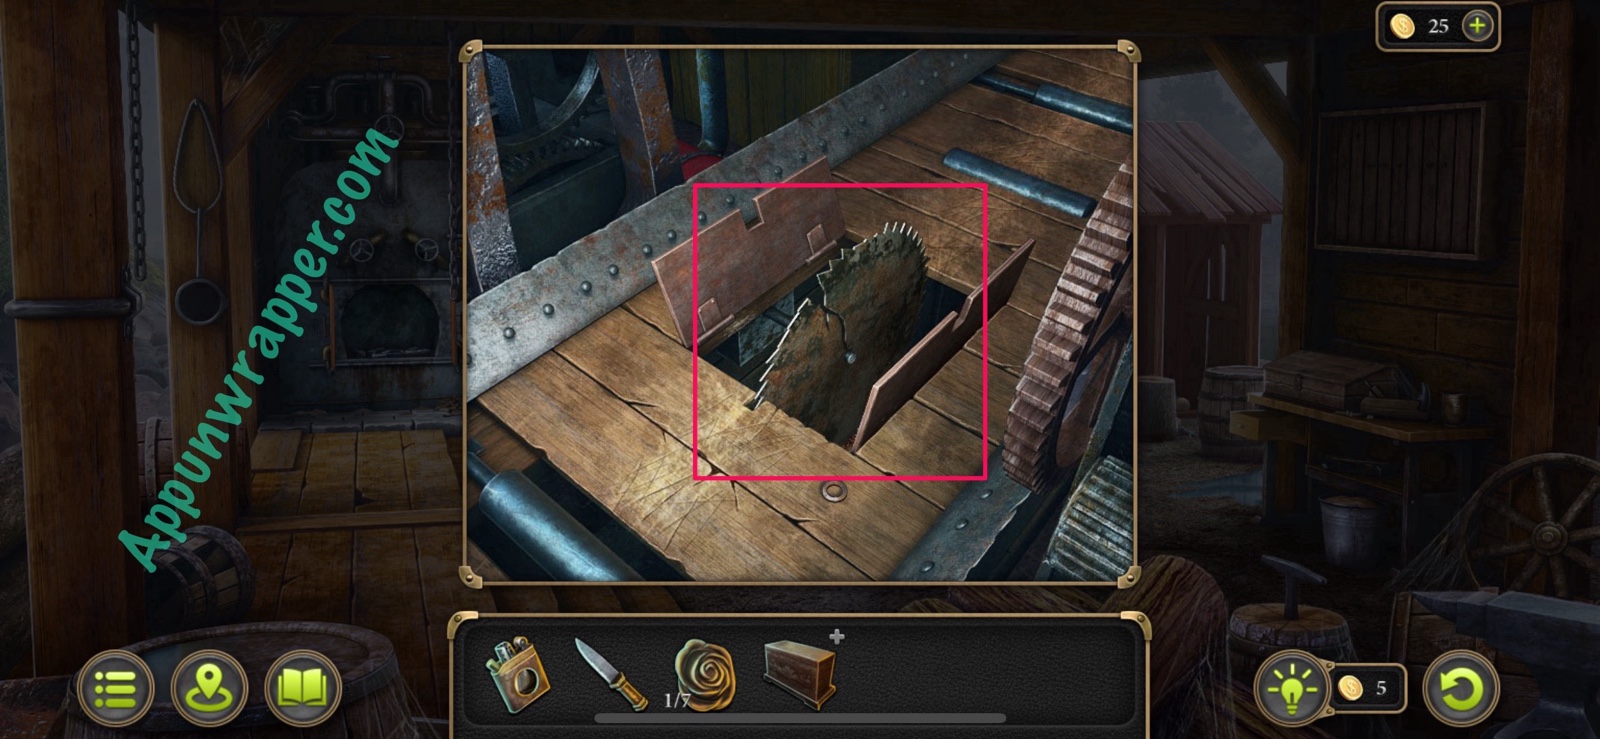
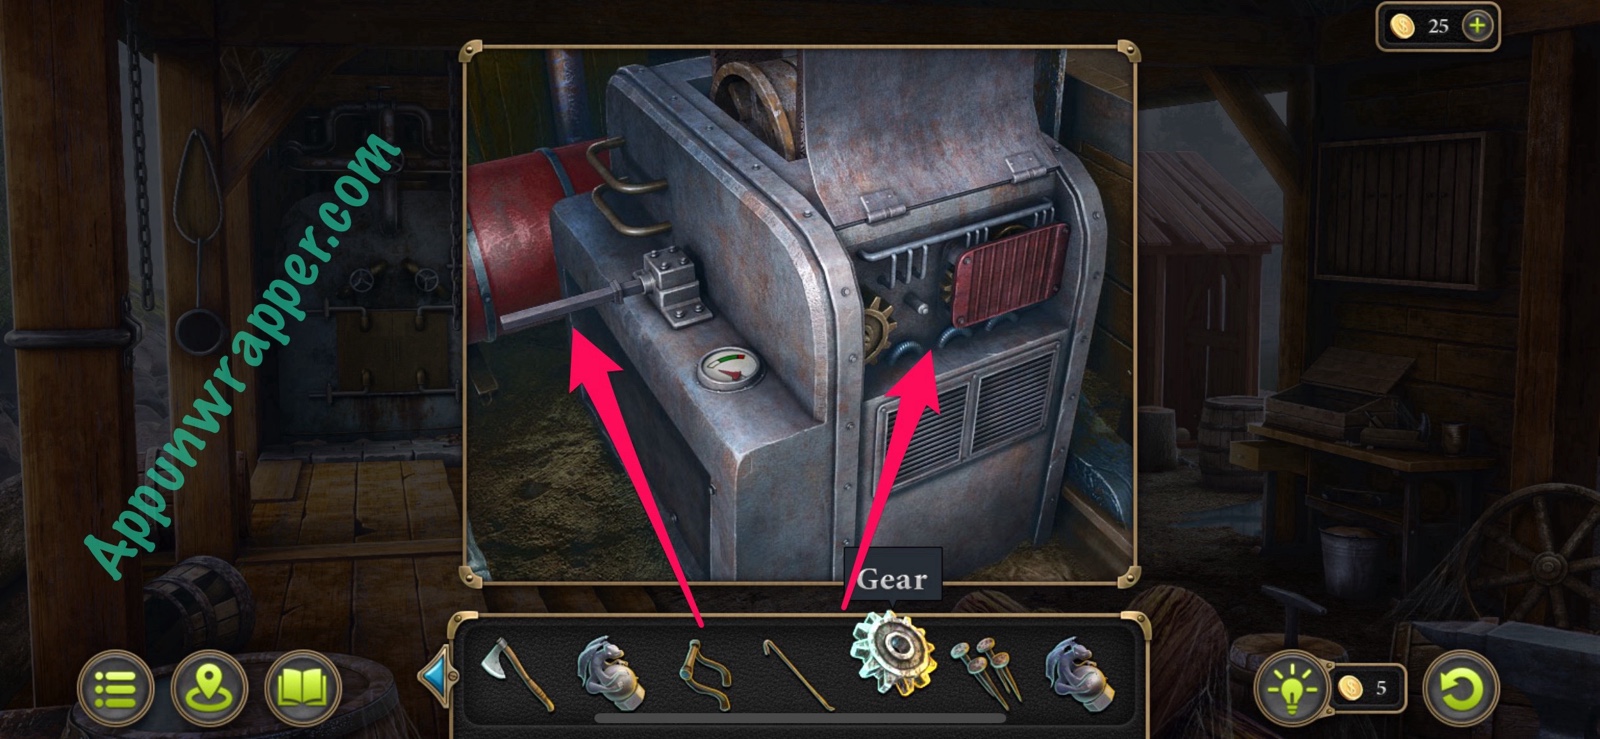
18. Now we’re at the saw mill. Grab the morphing object collectible and the vinyl record collectible. Then tap on controls for the saw and open up the panel to remove the broken cog. Also remove the broken saw blade. We’ll come back later to replace both. Then head outside to the stump wood-chopping station. Grab the Valve and then leave.
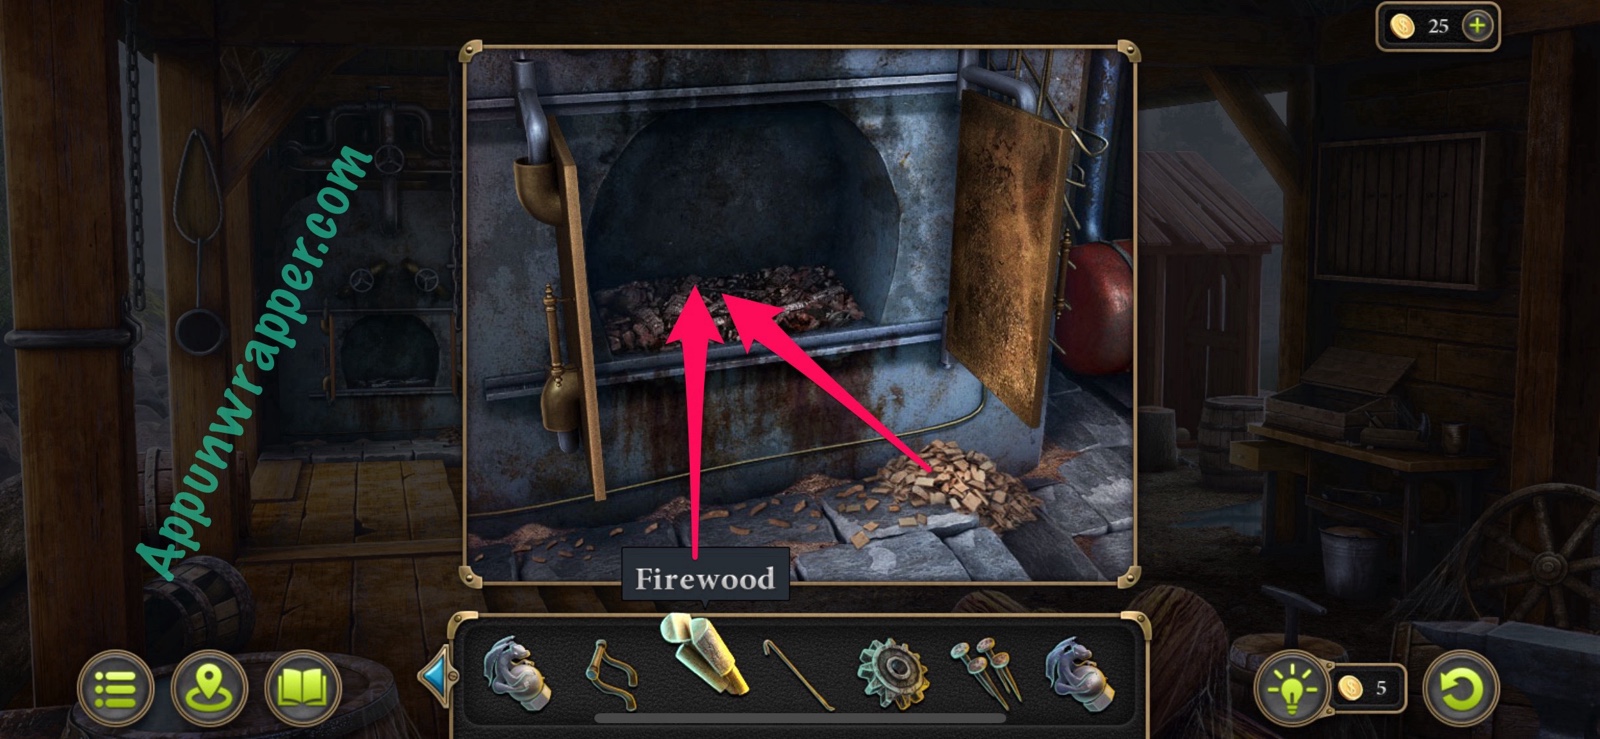
Collection: Morphing object by the furnace. (5/49)
Collection: Vinyl record. (2/9)
Items: Valve (1/2)
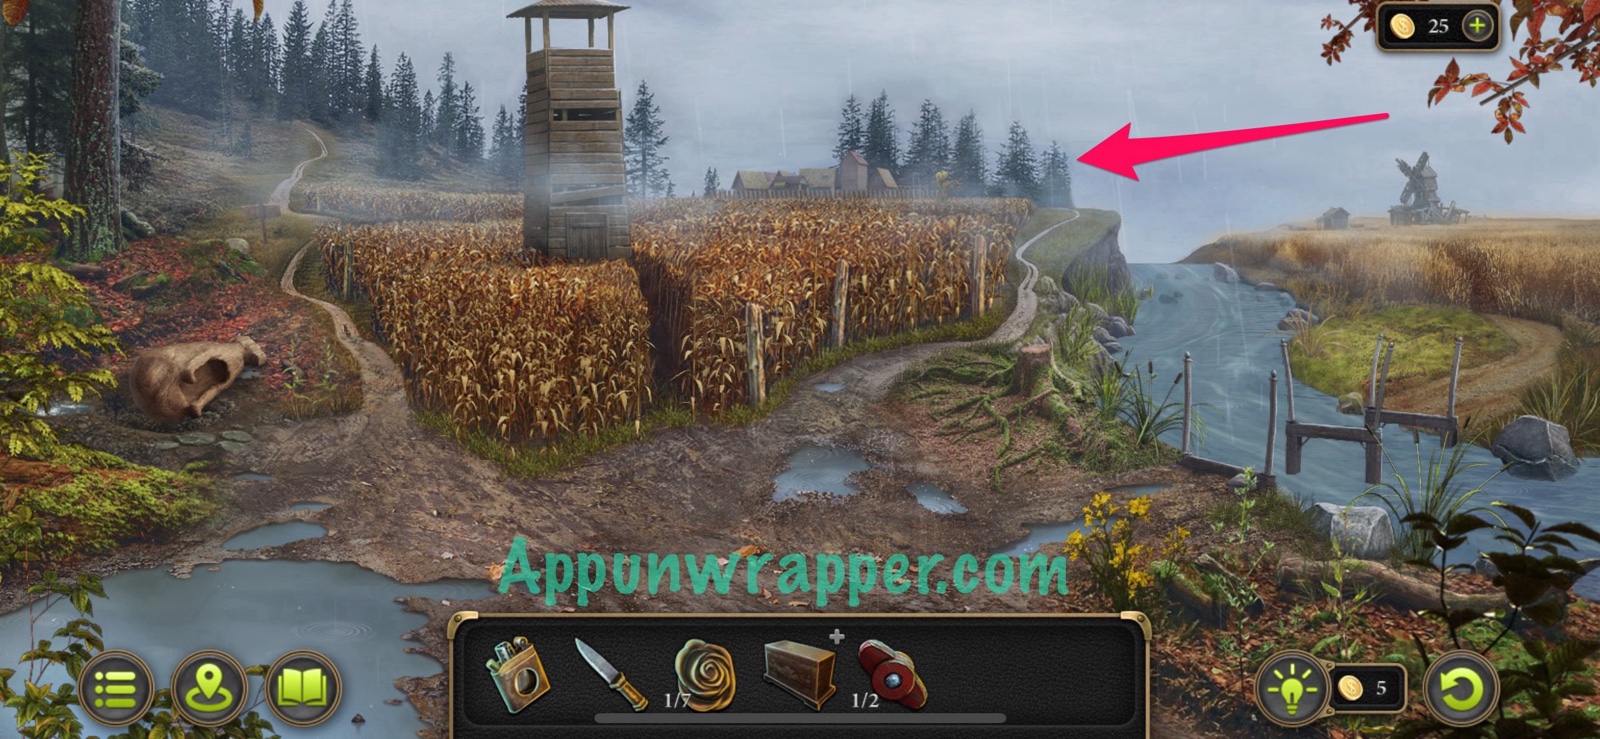
19. Go back to the field. Take the path to the town.
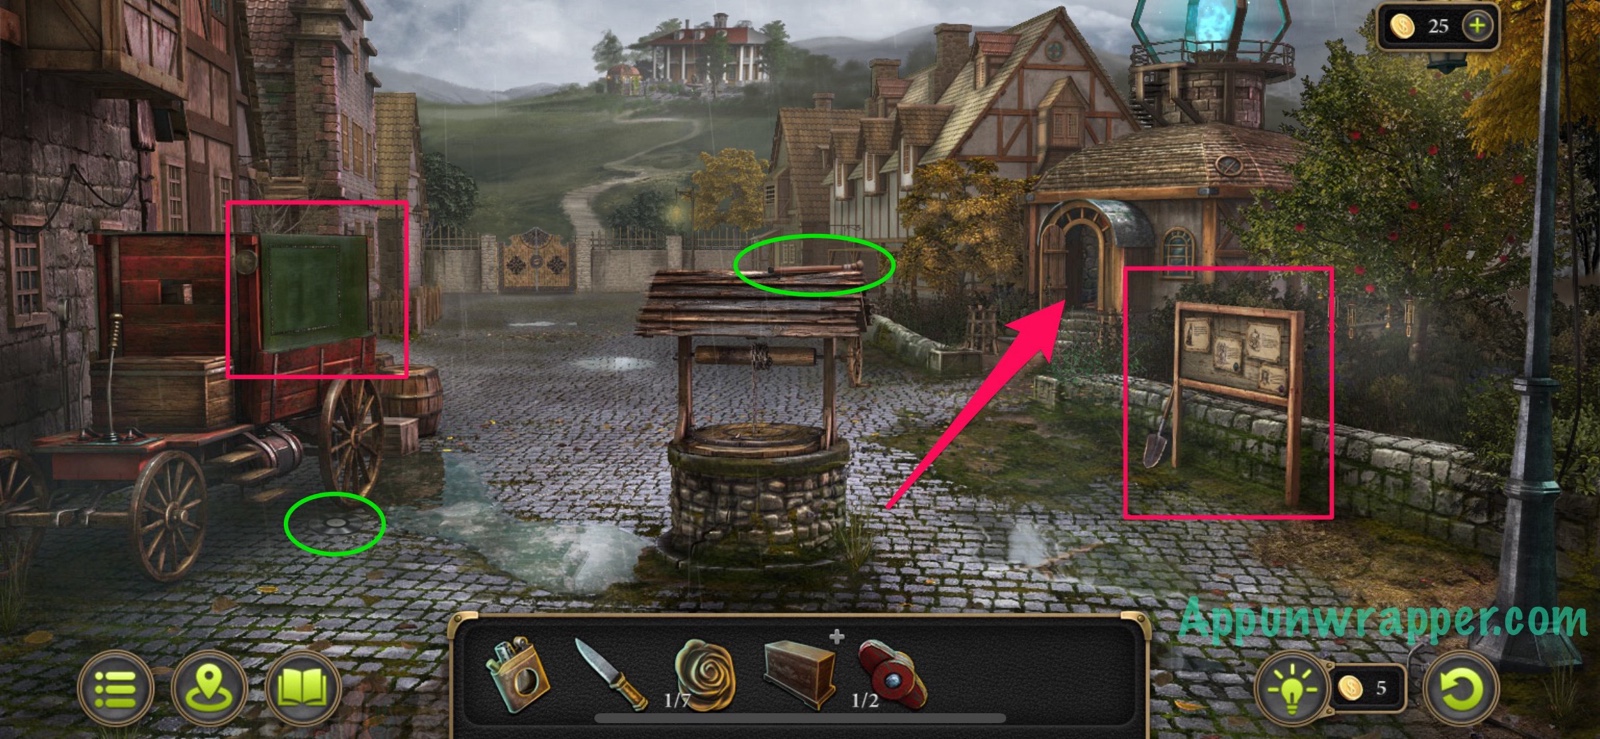
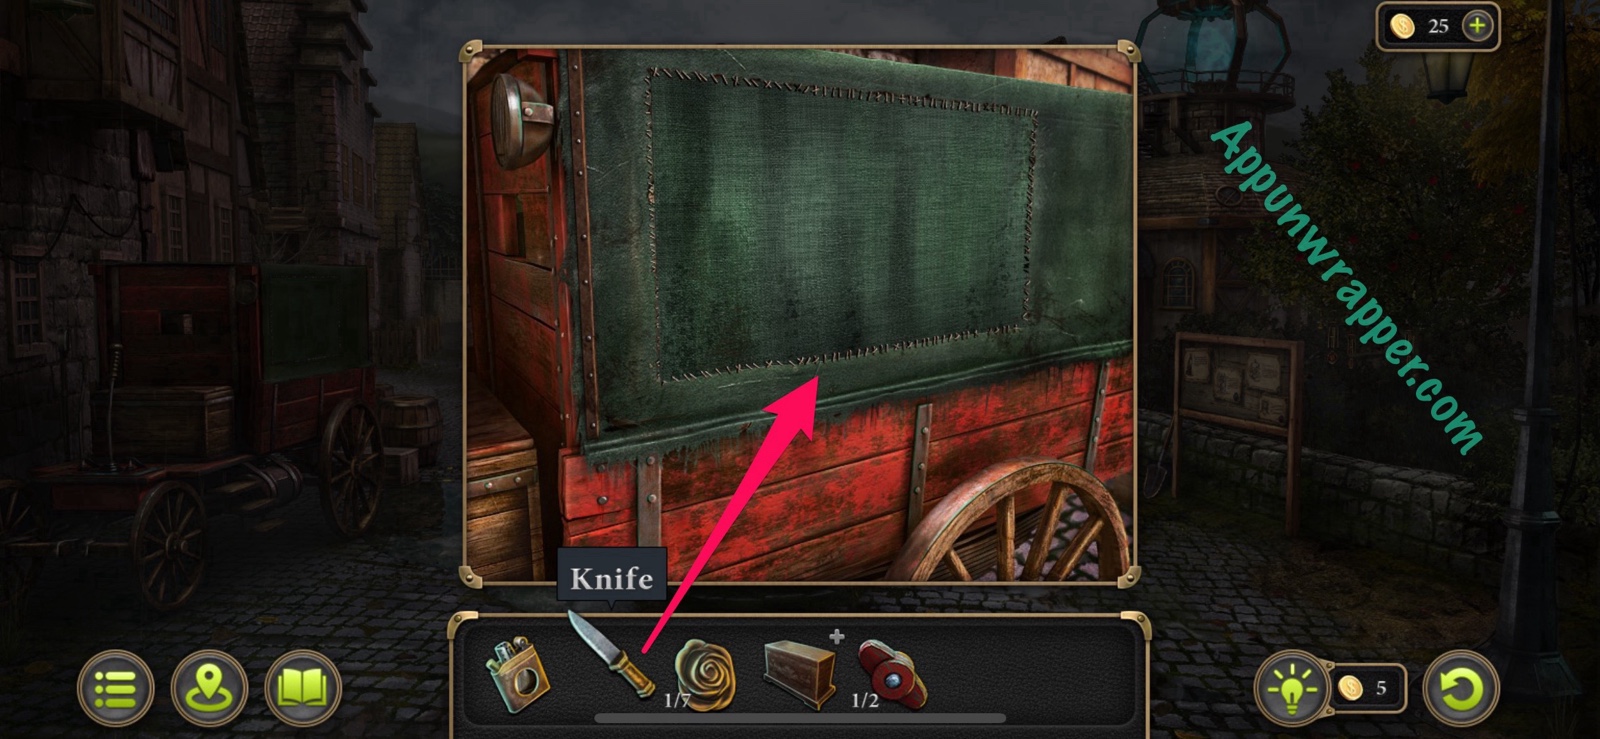
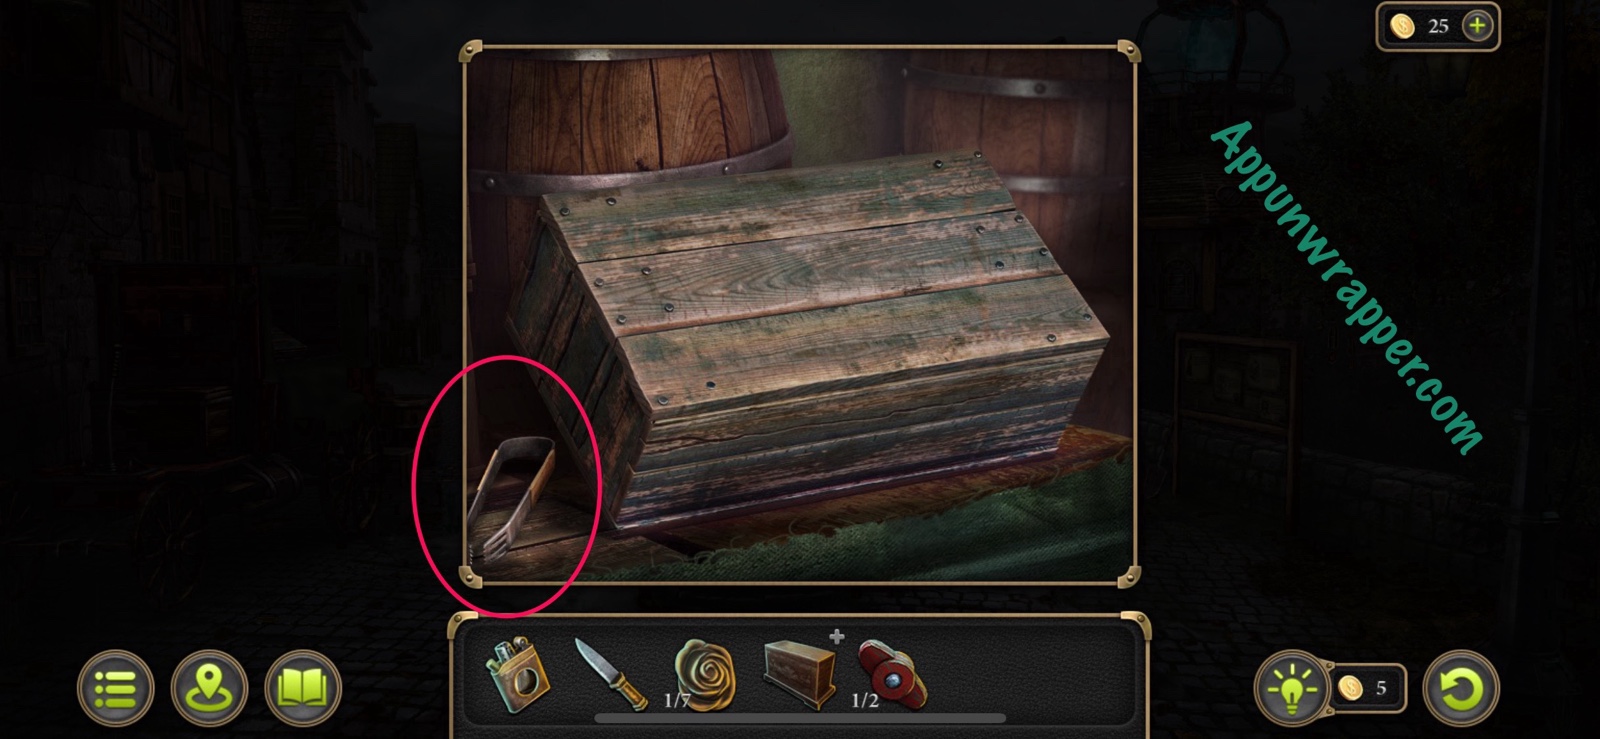
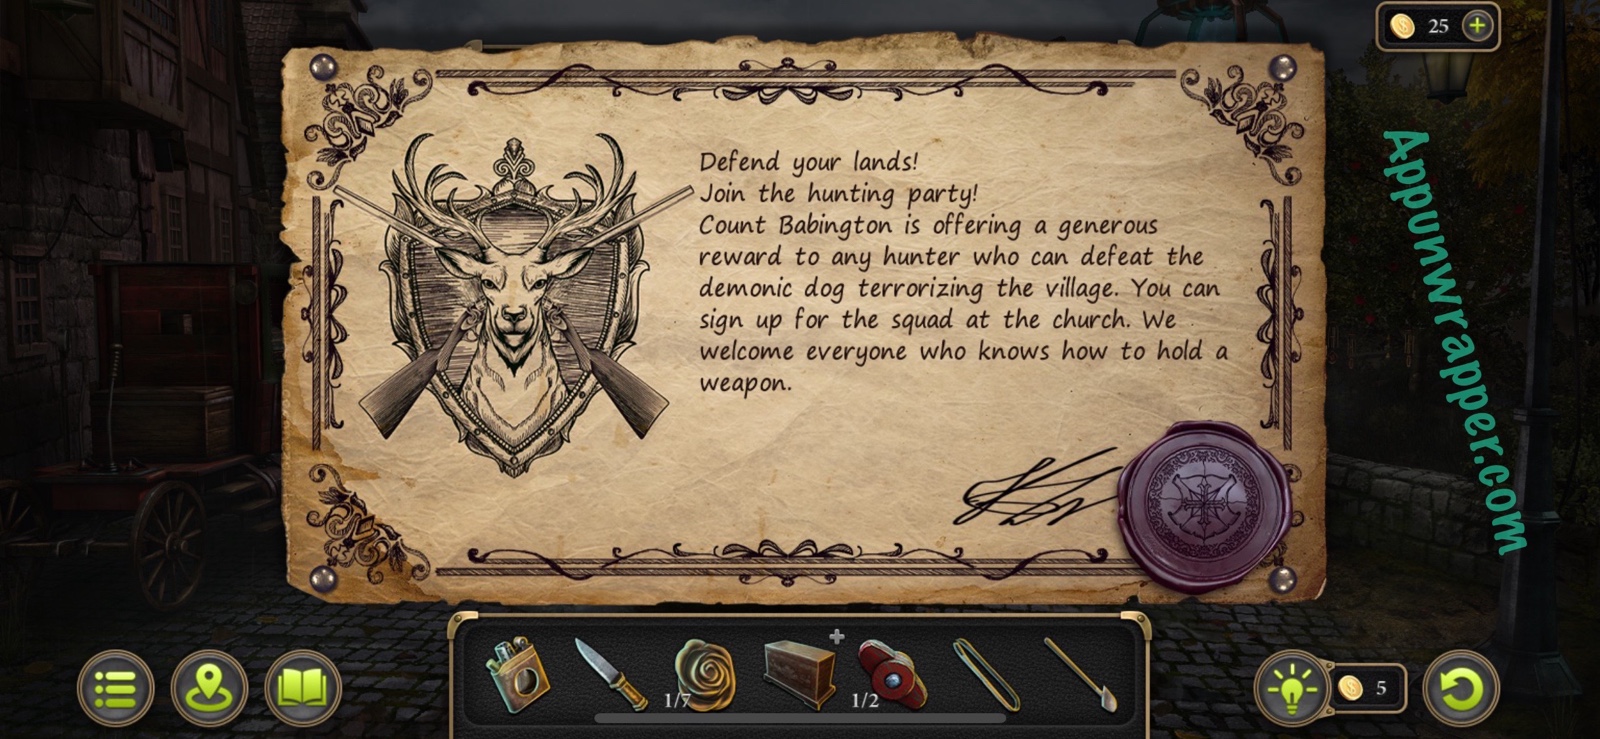
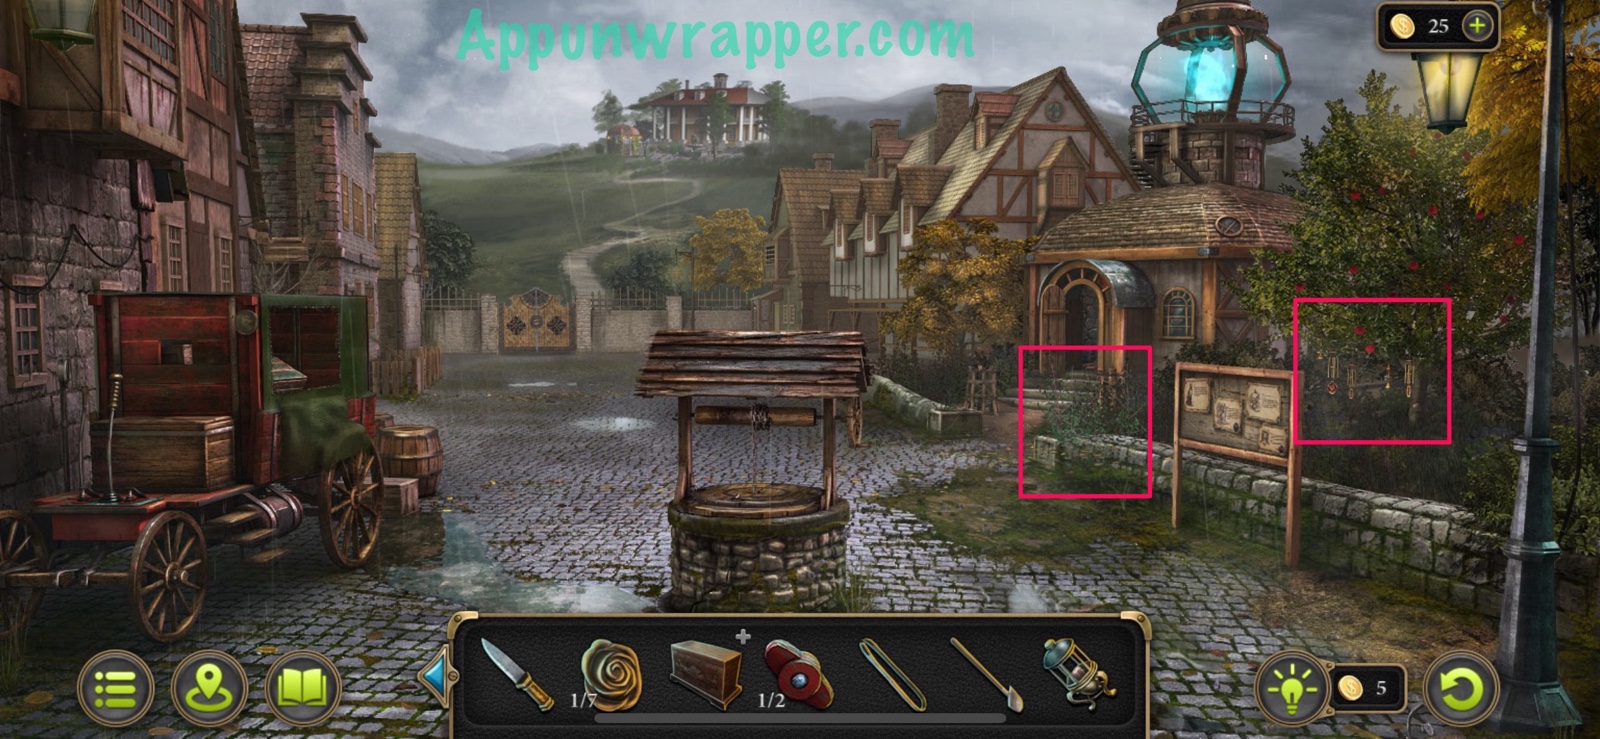
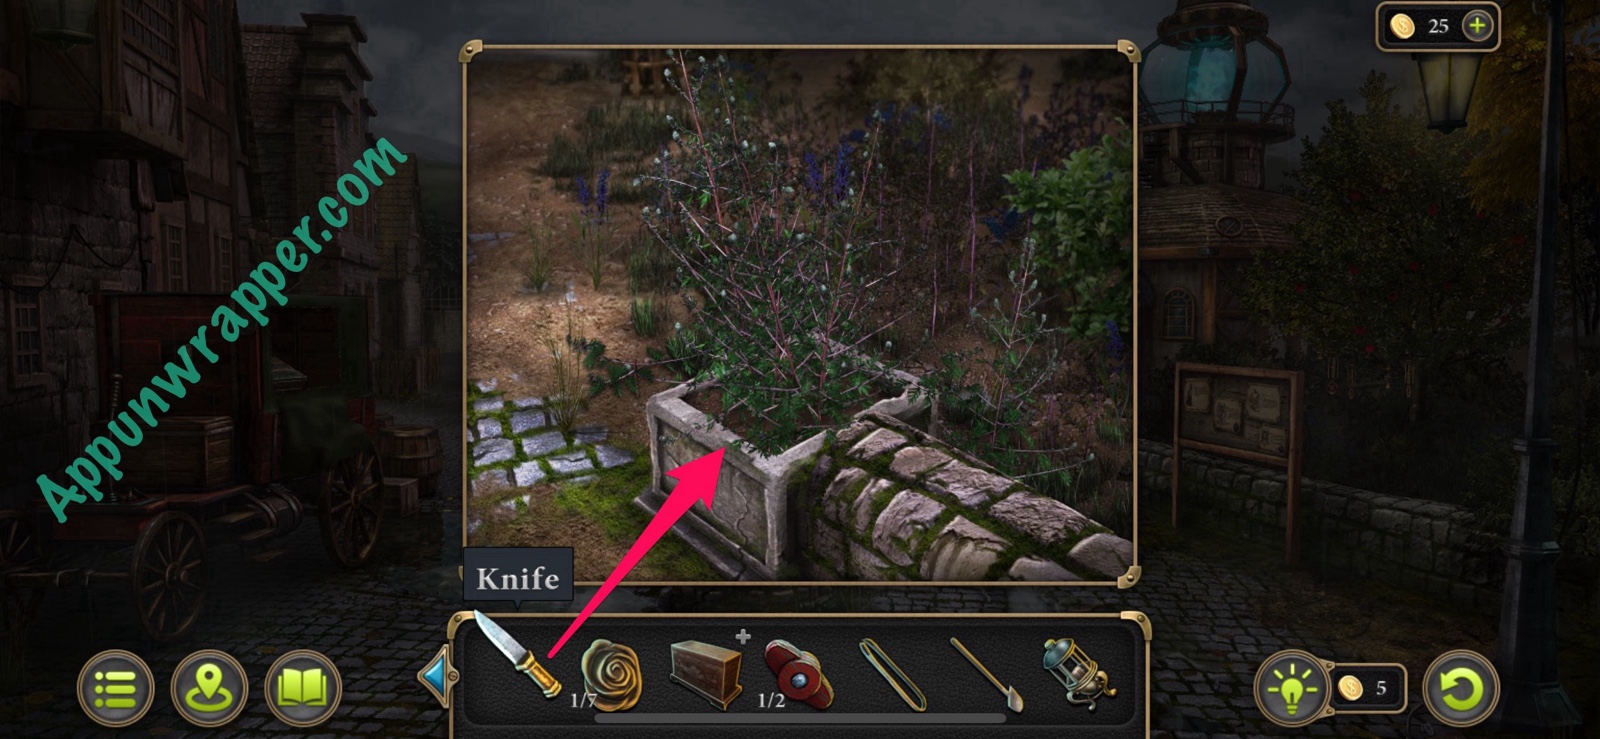
20. First, grab the morphing object collectible on the well roof and the vinyl record collectible from under the car wheel. Examine the car and use the knife to cut the fabric. Look inside and take the Tongs. Then examine the bulletin board and take the Shovel. You can also read the notices if you want. Then enter the temple of the Blue Fire cult.
Collection: Morphing object on top of the well. (6/49)
Collection: Vinyl record under the car wheel. (3/9)

21. Talk to the cleric of the Blue Fire cult. His name is Saxon and he believes the land is cursed because the totem has been knocked over. He says that he can’t fix it because it has to be done by a believer and not a cleric. So you’re going to need to do it in order to get more info from him.
New task: Repair the totem.
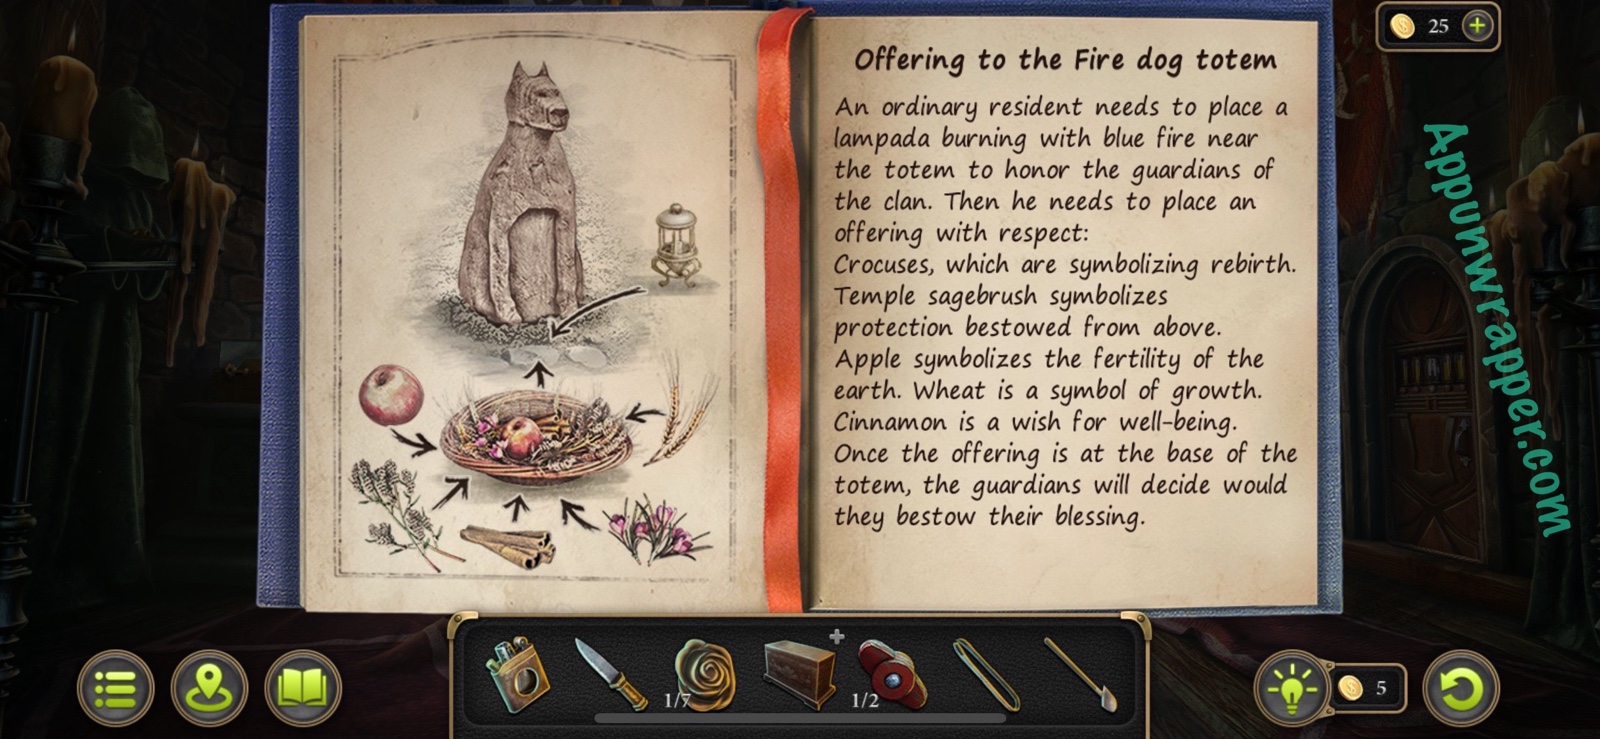
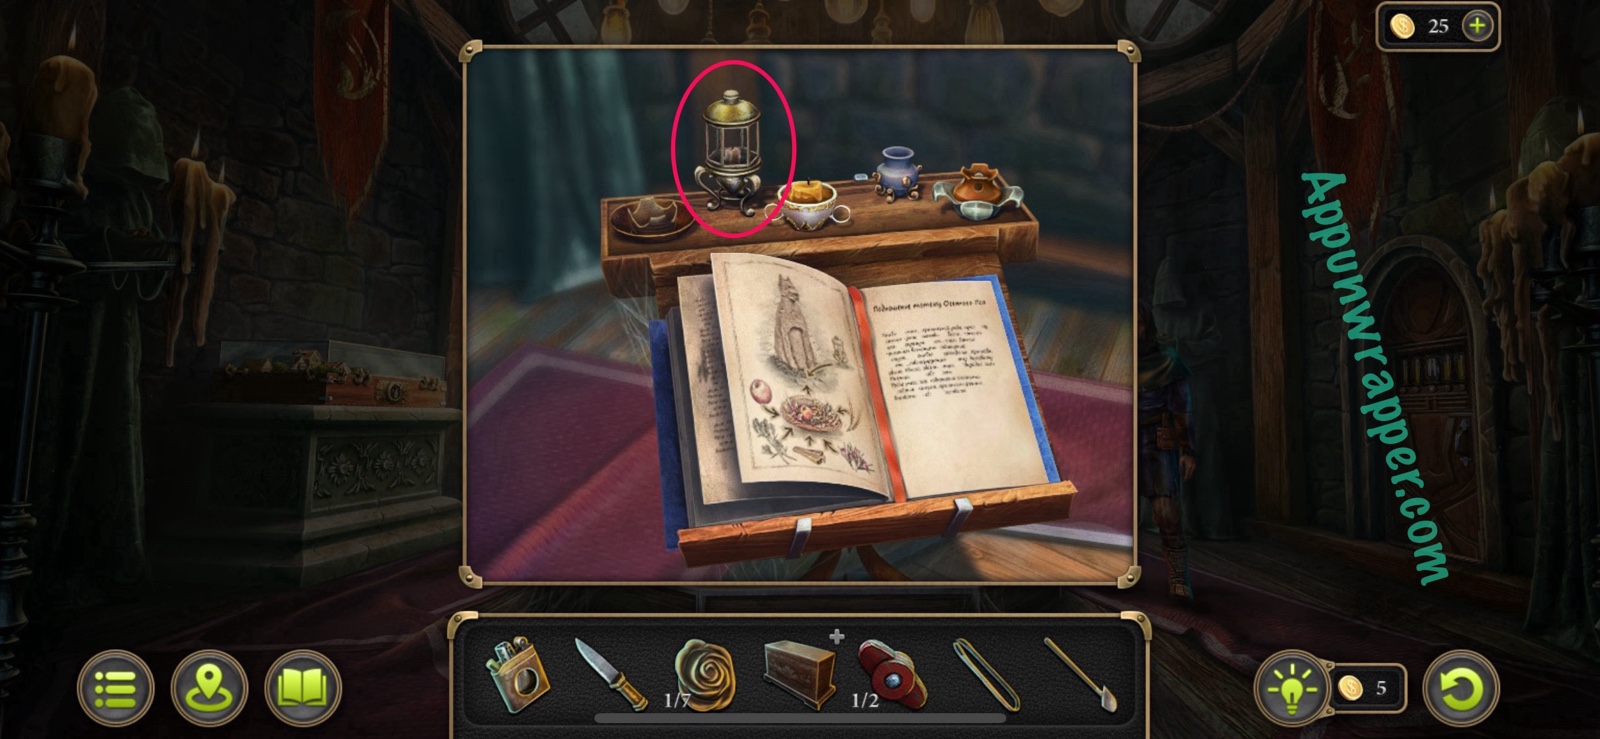
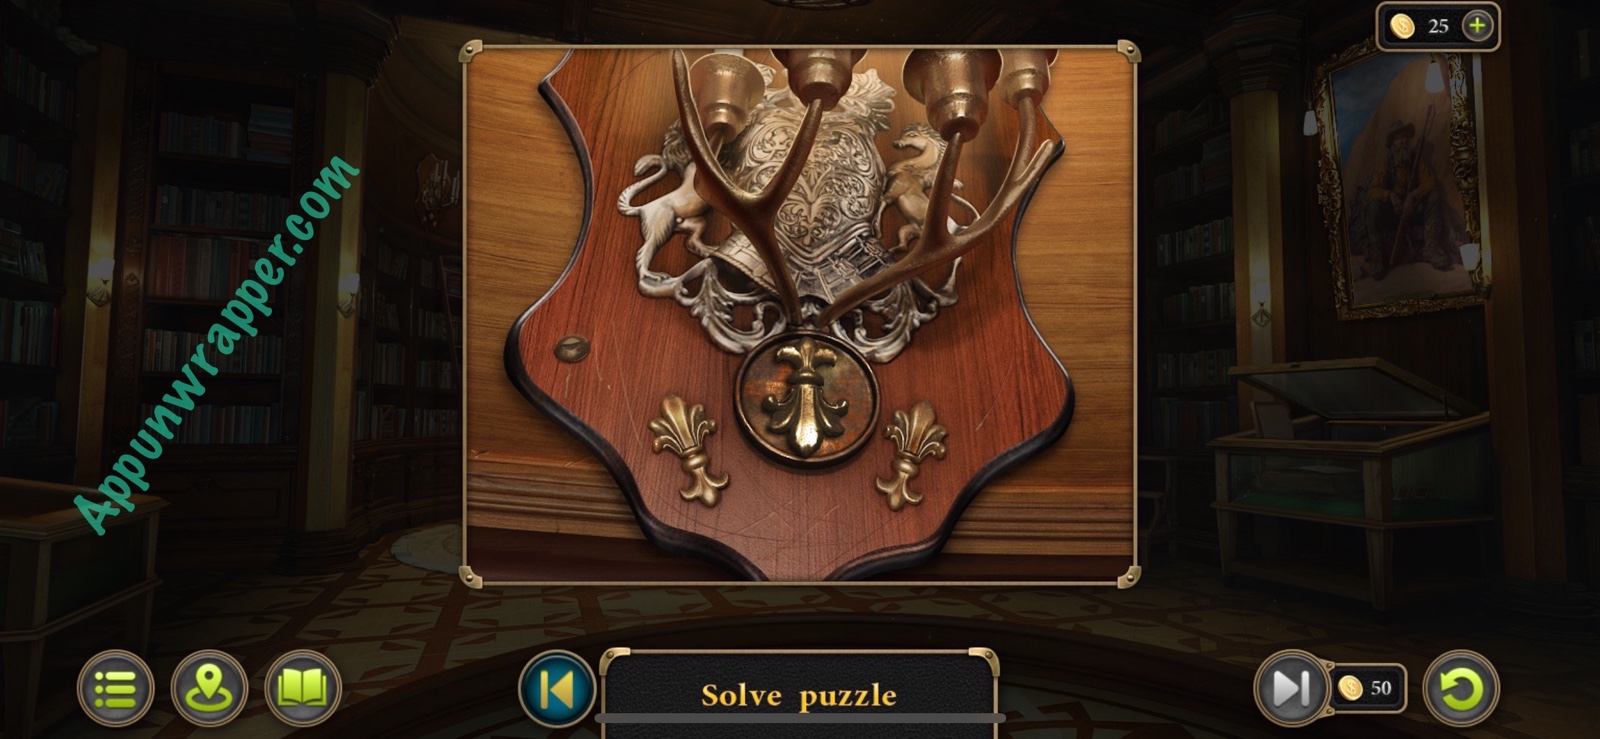
22. Now let’s explore the temple. Grab the vinyl record collectible on the floor and the morphing object collectible in the lights. Then examine the book on the book stand. Read through it to learn what we need in order to restore the fire dog totem and then grab the Lampada.
Collection: Vinyl record. (4/9)
Collection: Morphing object light bulb. (7/49)

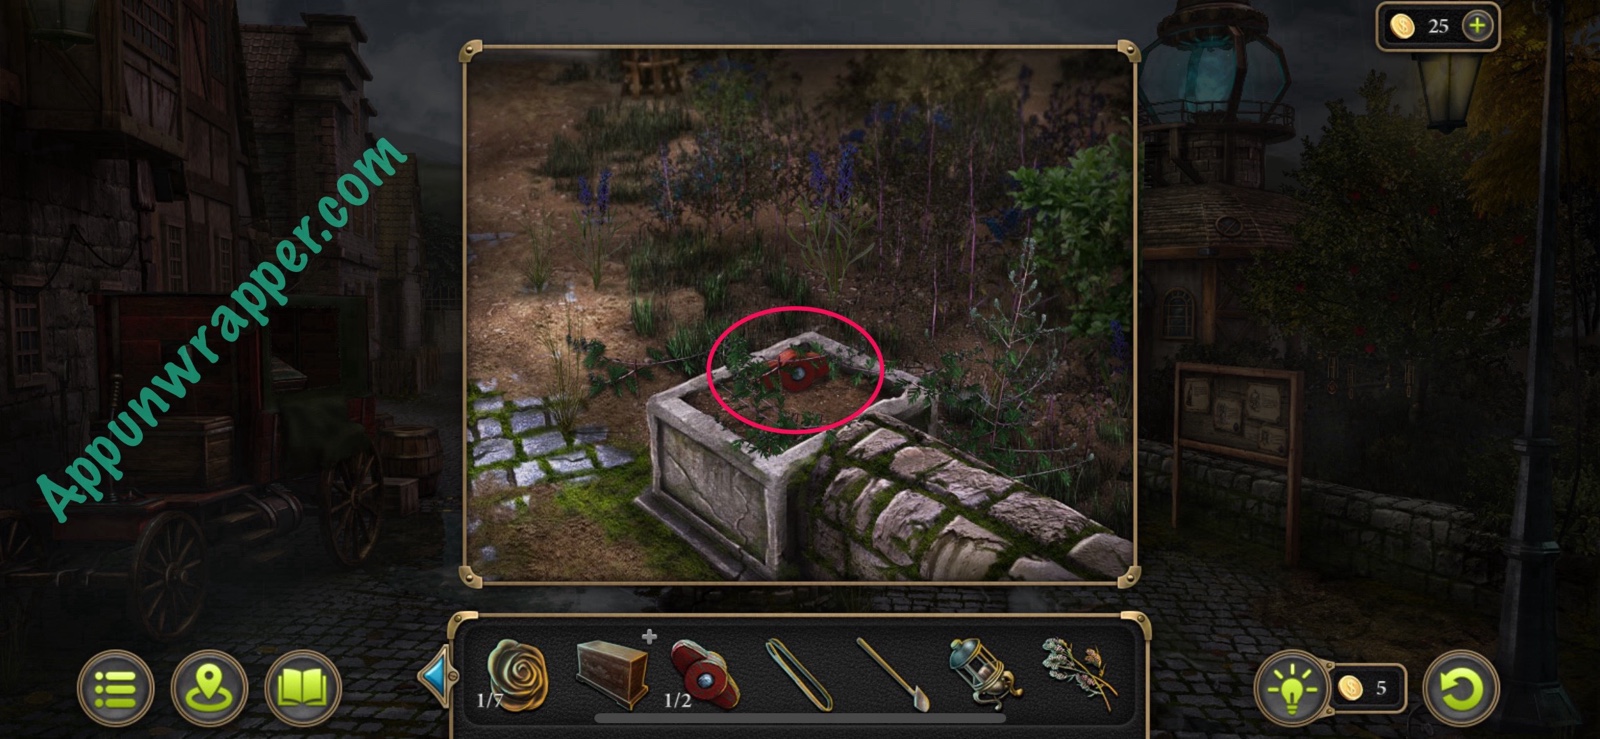
23. Go back outside. There’s two ingredients we can get here in town for the offering. First, find the Sagebrush and use your knife to cut some off. Grab the Valve that’s left lying in the dirt. Then, inspect the wind chimes hanging in the apple tree. Take the Flower and also pick an Apple.
Items: Valve (2/2)
Items: Flower (2/7)

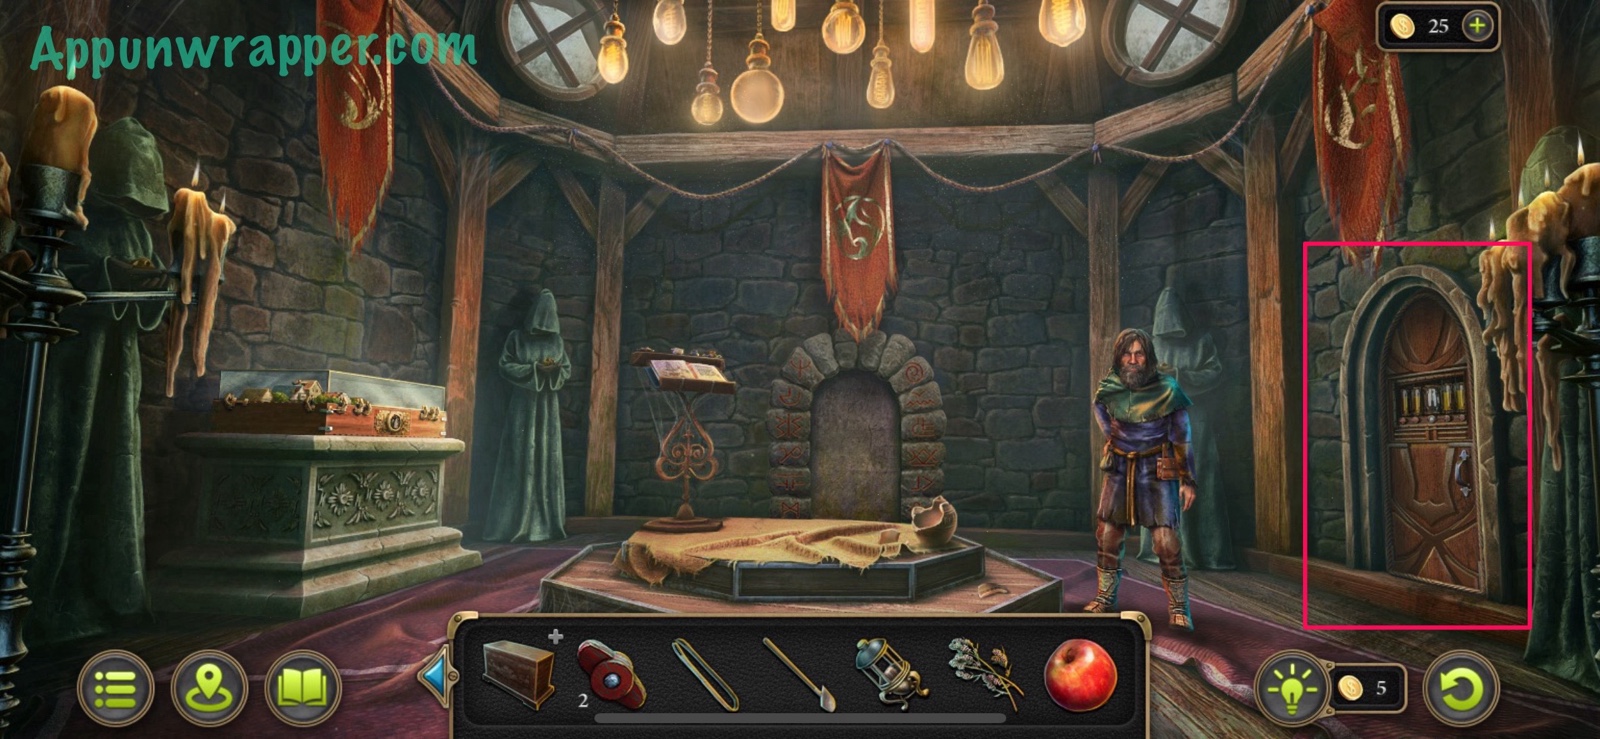
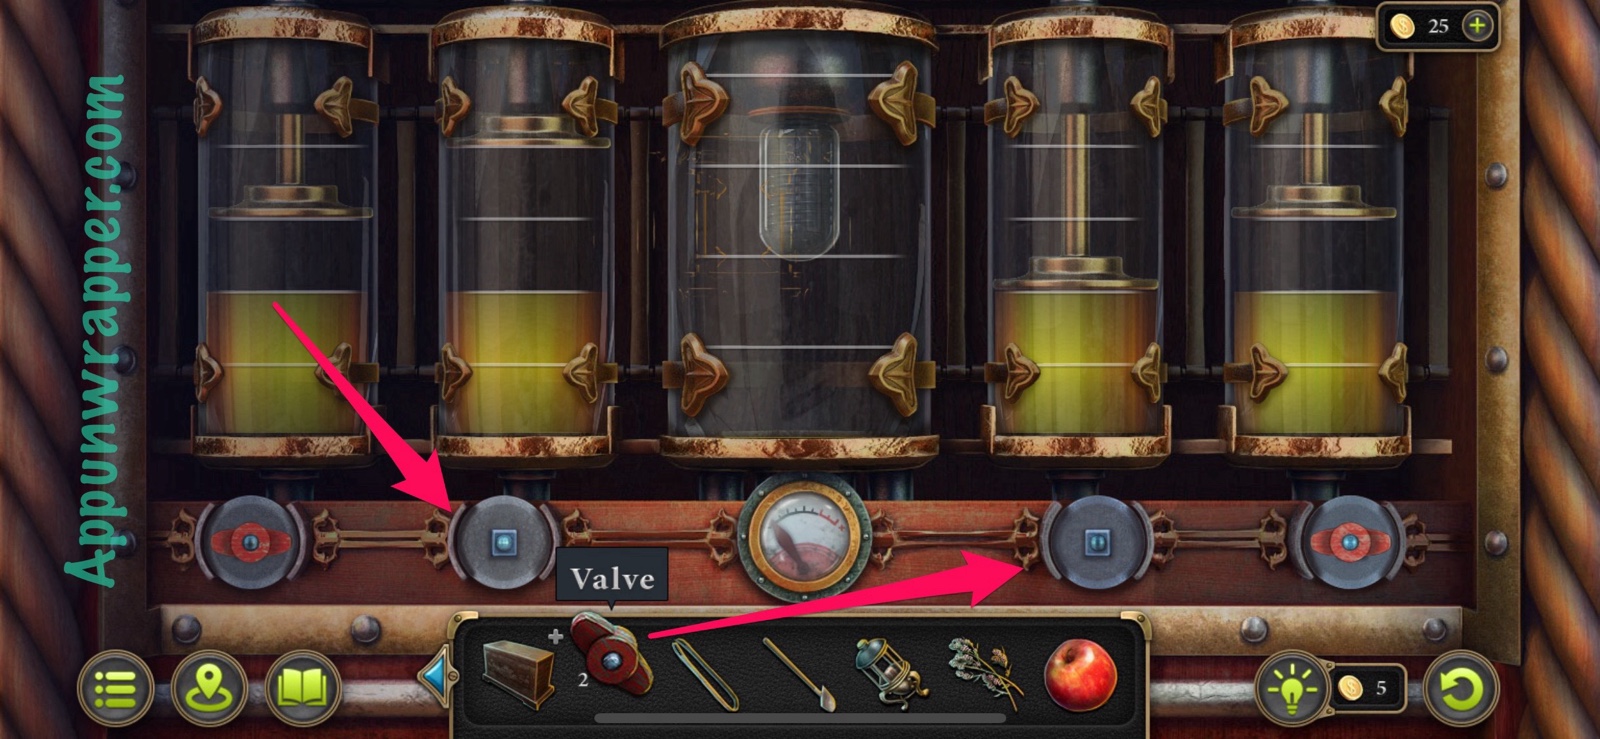
24. Go back inside the temple. Tap on the door to the right and place the two Valves down in the empty slots. Now you have to solve a pumps puzzle. Turn the valves until the middle cylinder is full and all the other cylinders are empty. It’s pretty easy, but I made a video for it anyway.
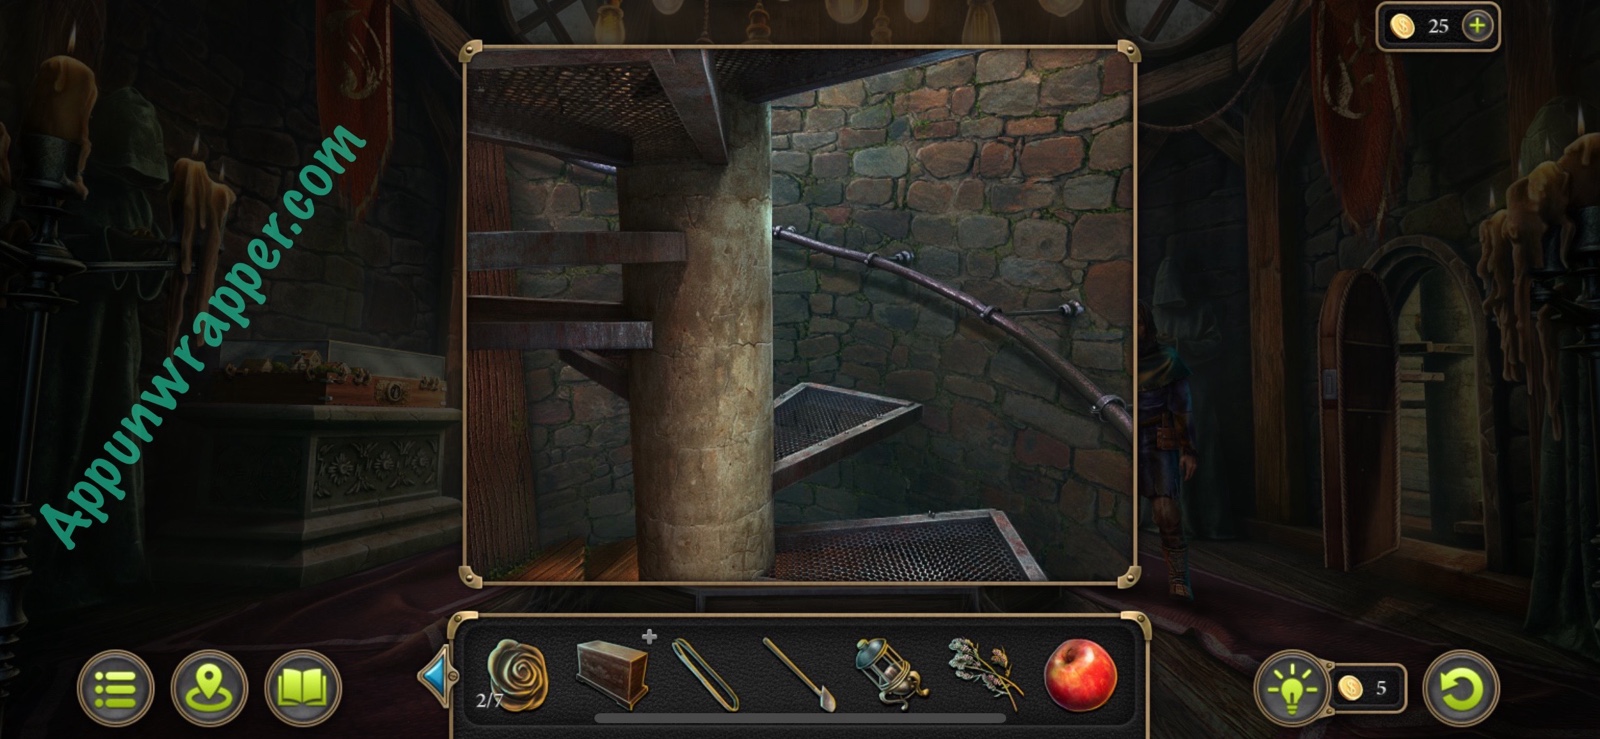
25. Head through the open door and up the stairs to the blue fire.
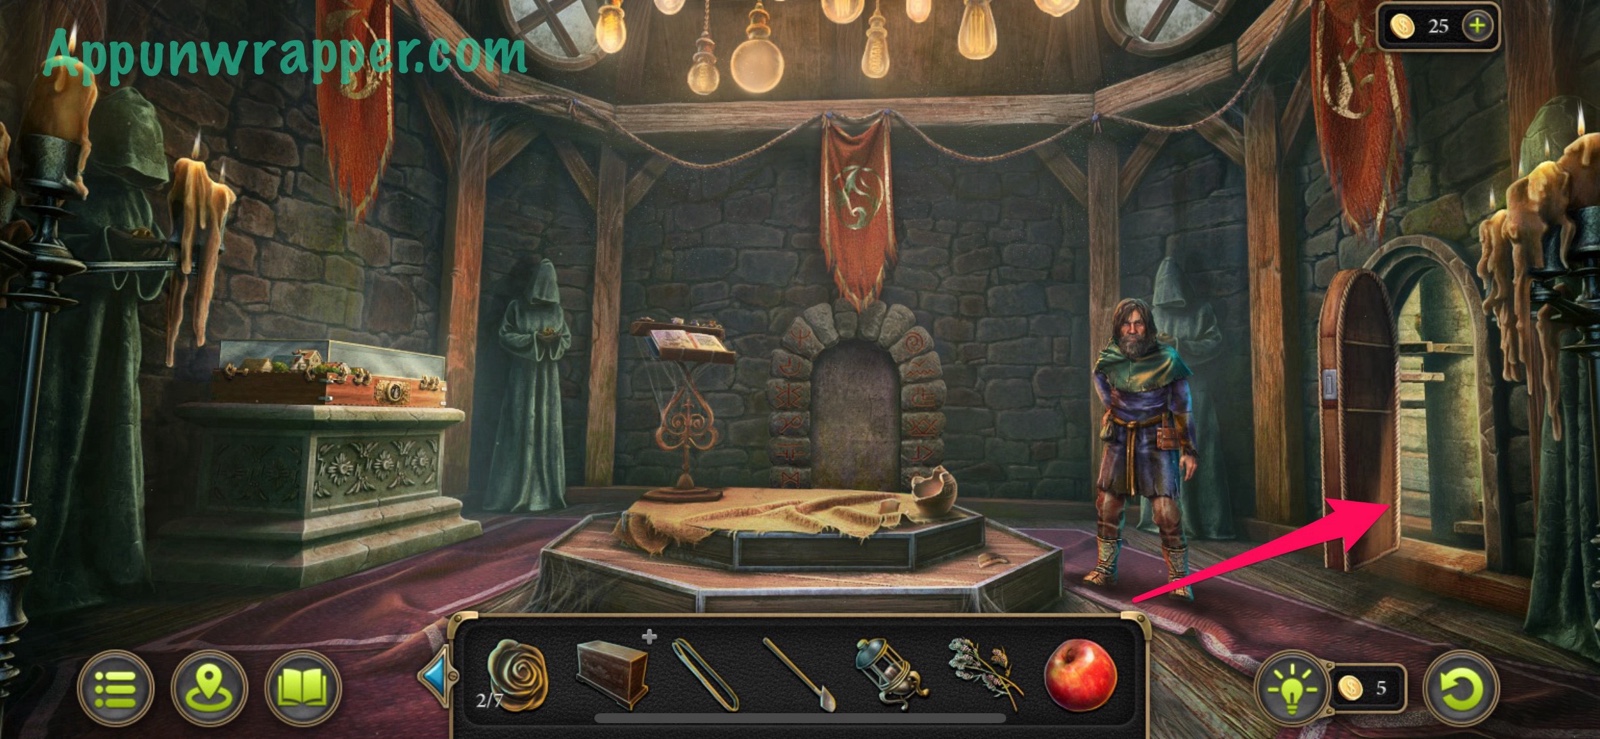
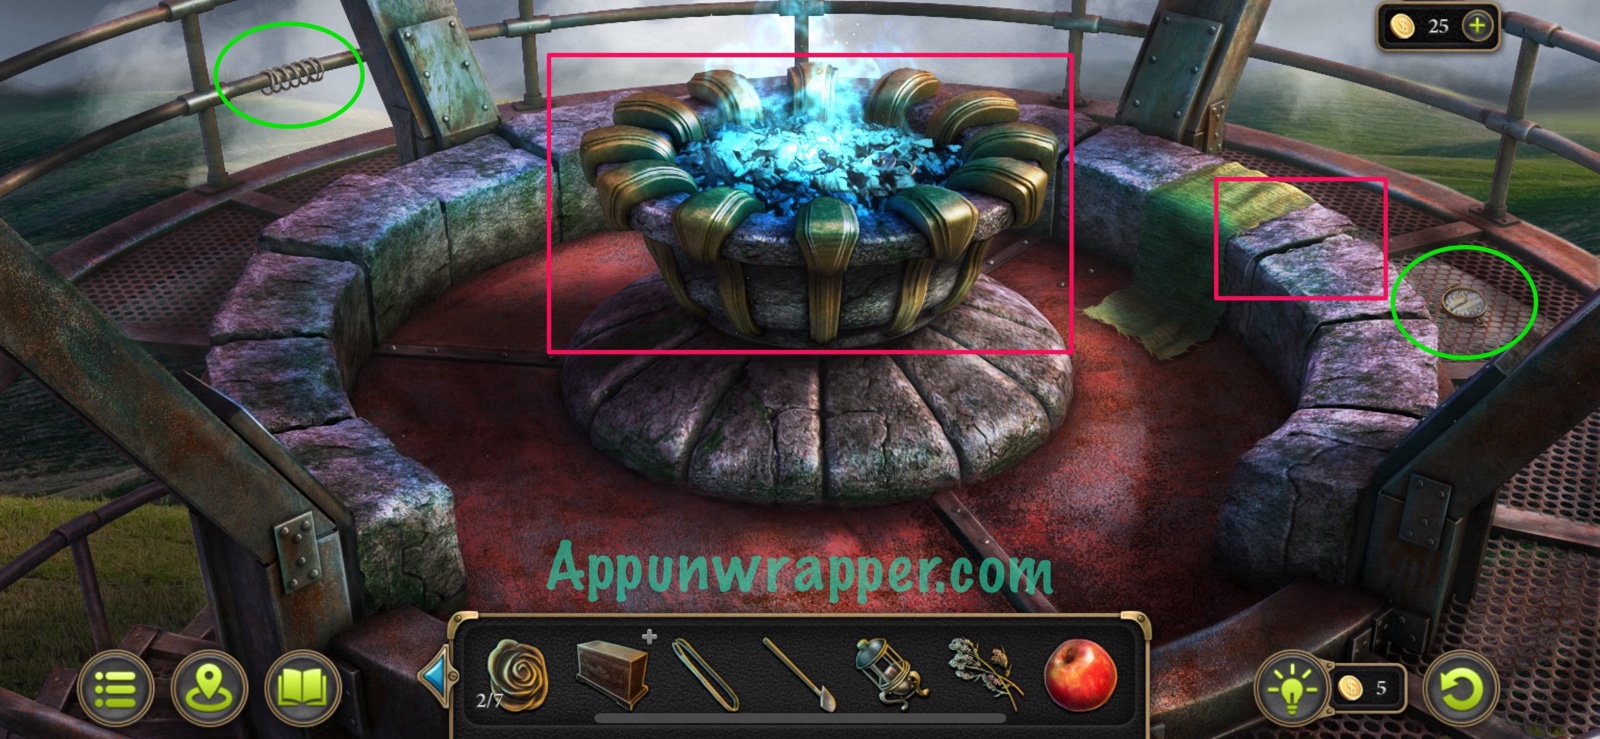
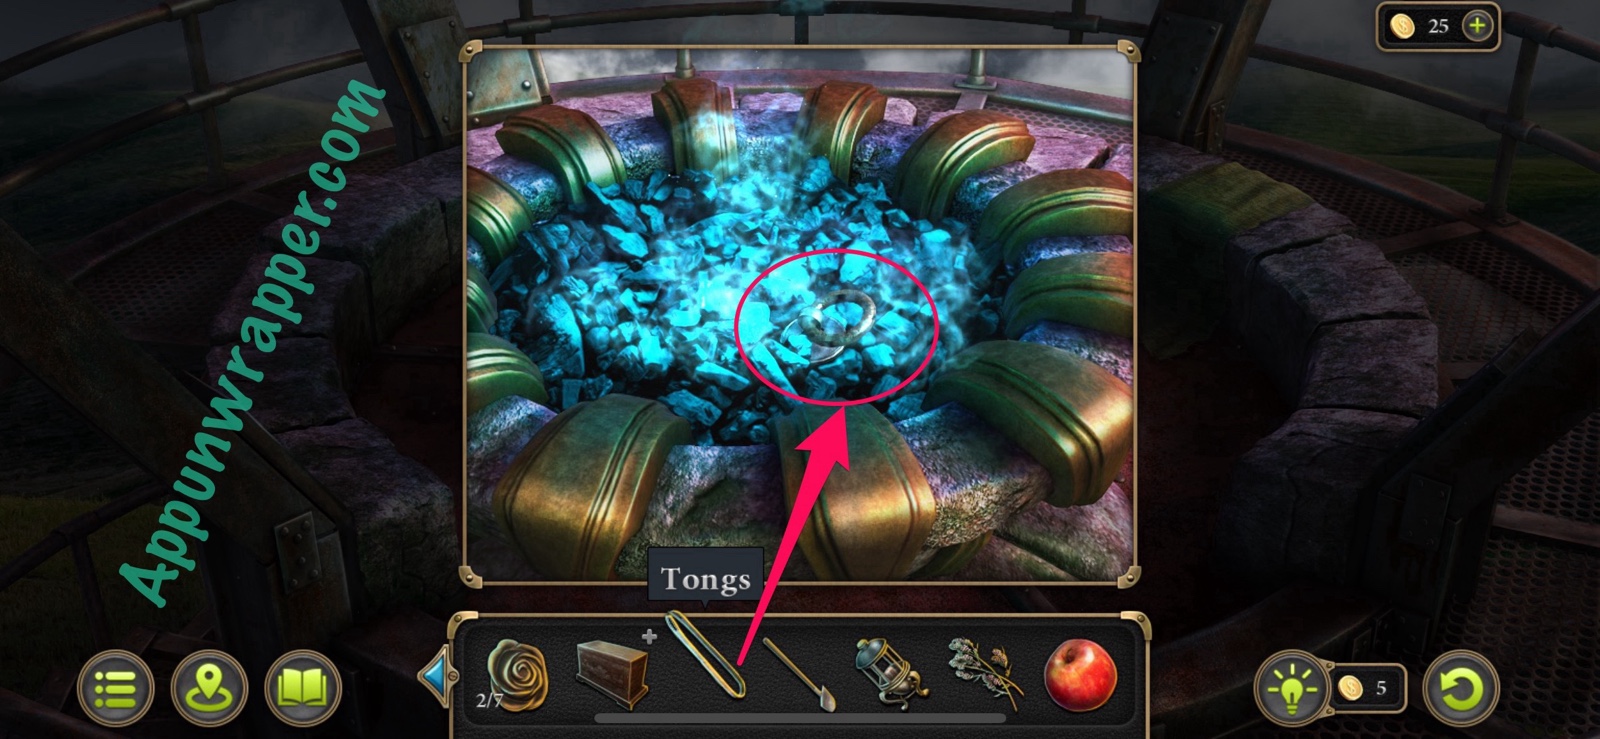
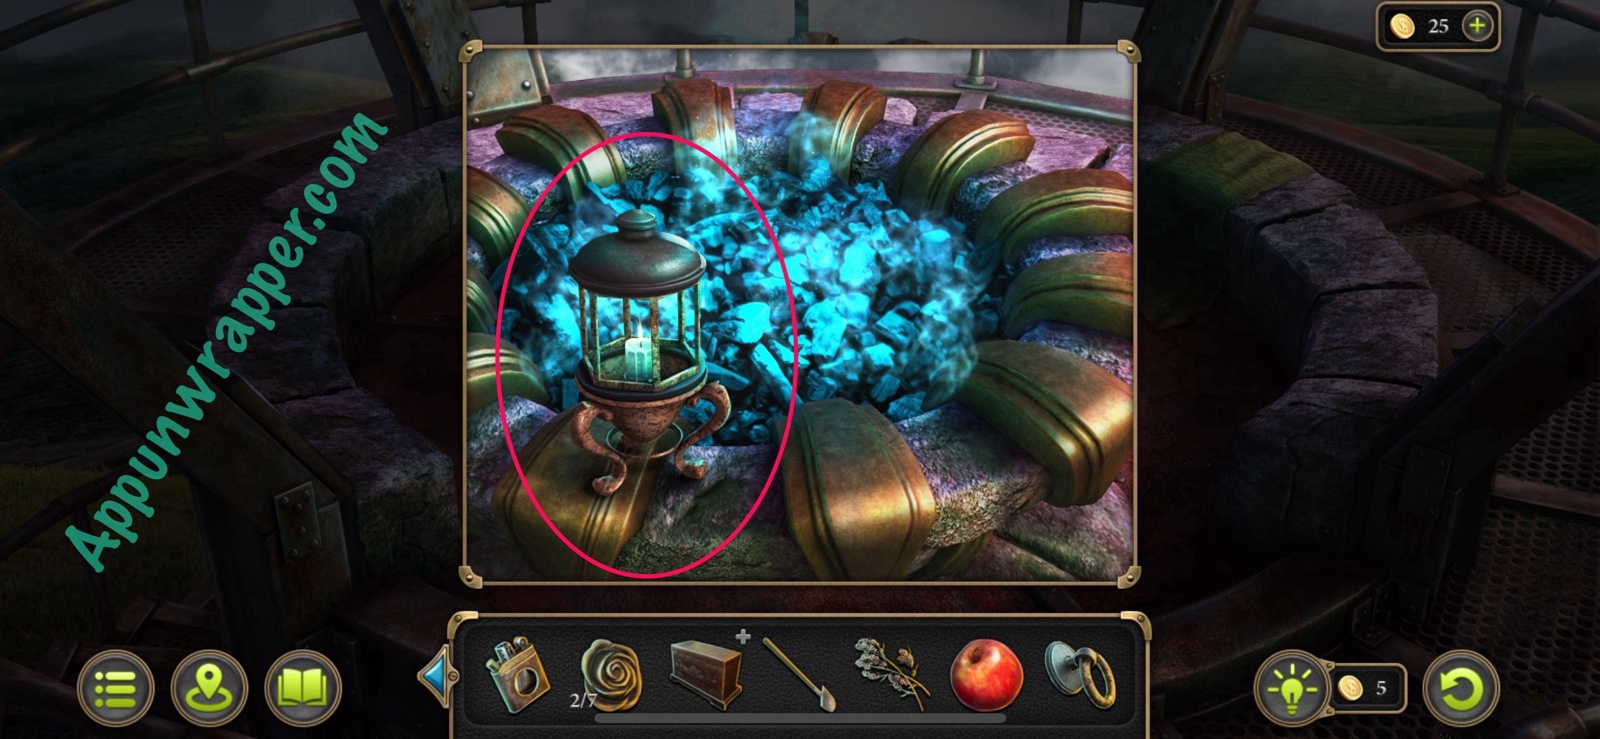
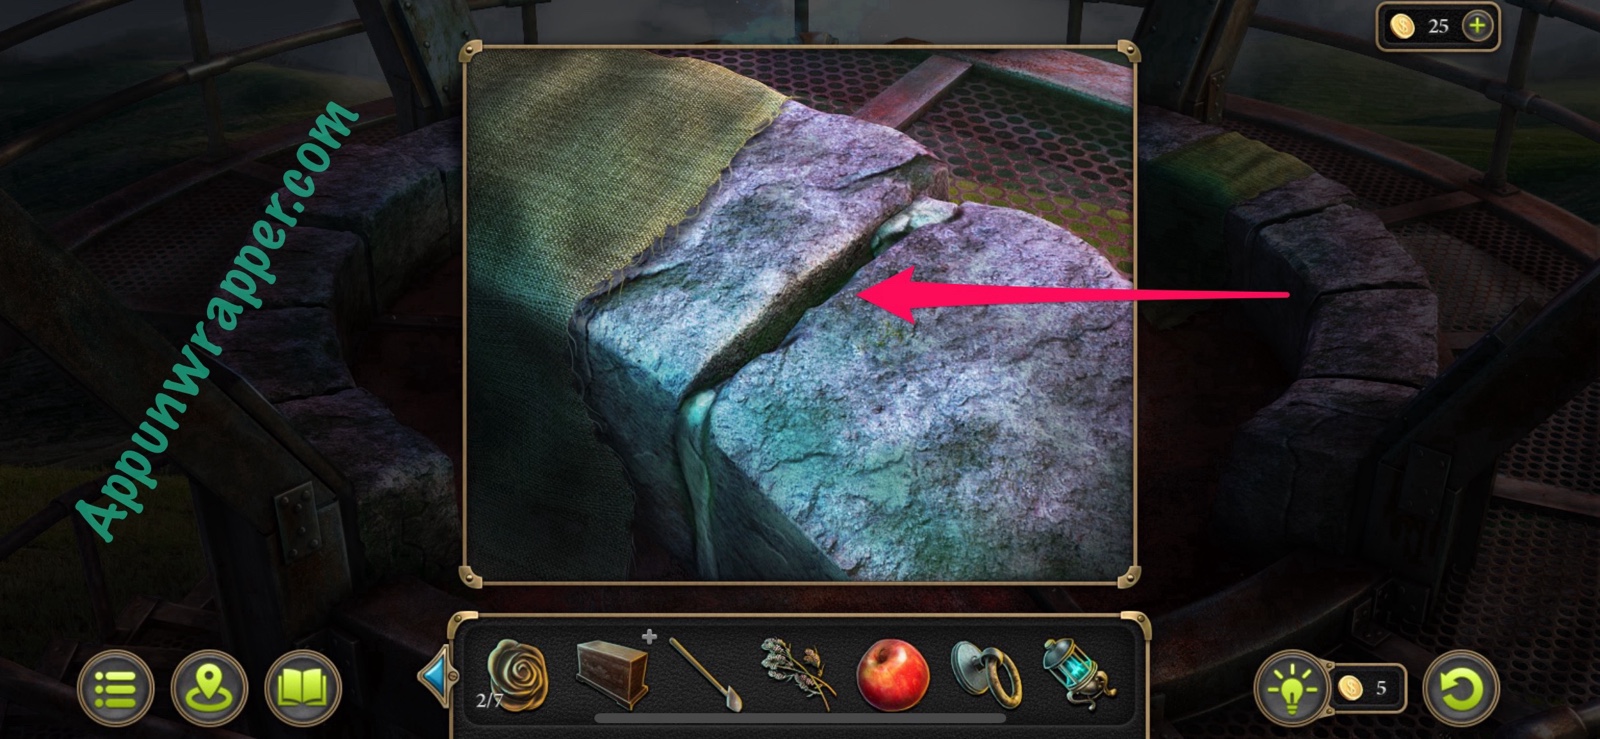
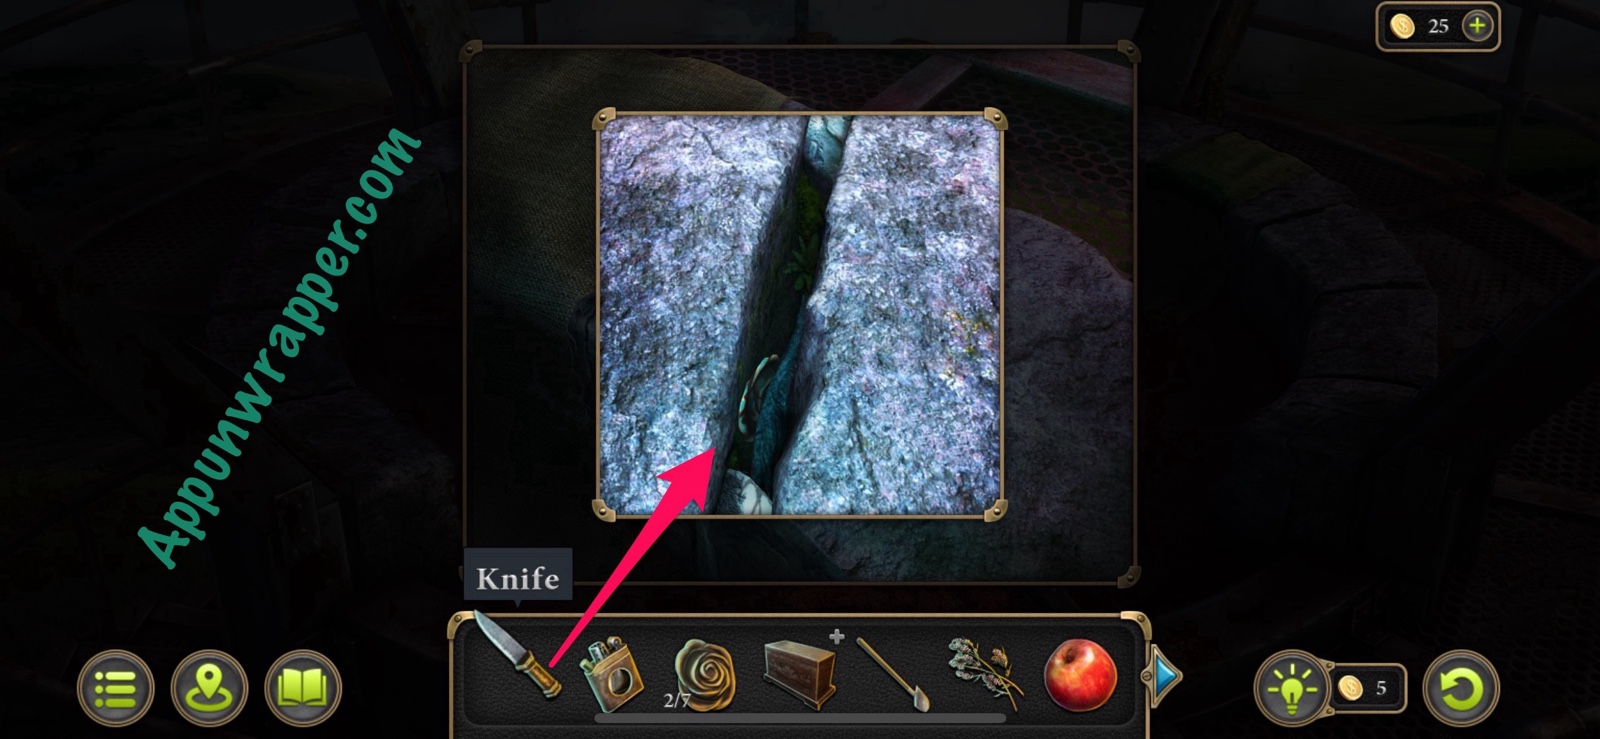
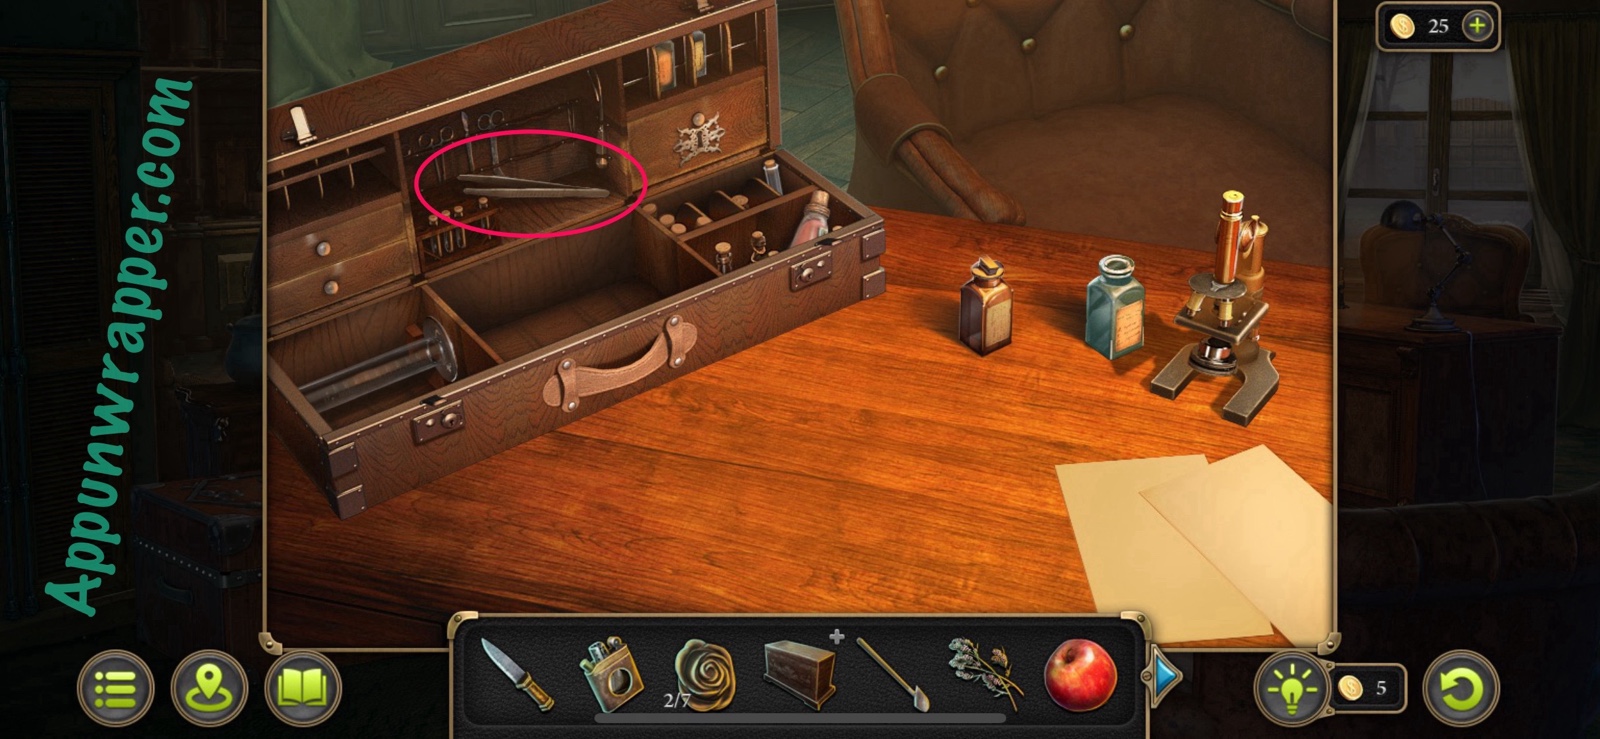
26. First, grab the pocket watch collectible and also the morphing object collectible on the railing. Then examine the blue fire and use the tongs to grab the Handle. Light the Lampada with the blue fire to get a Burning Lampada. Also, inspect the crack near the green fabric. There’s a Flower stuck in there. Try using your knife to get it out. It won’t work, but now John will acknowledge we have a use for the tweezers from his suitcase.
Collection: Pocket watch. (4/9)
Collection: Morphing object on the railing. (8/49)
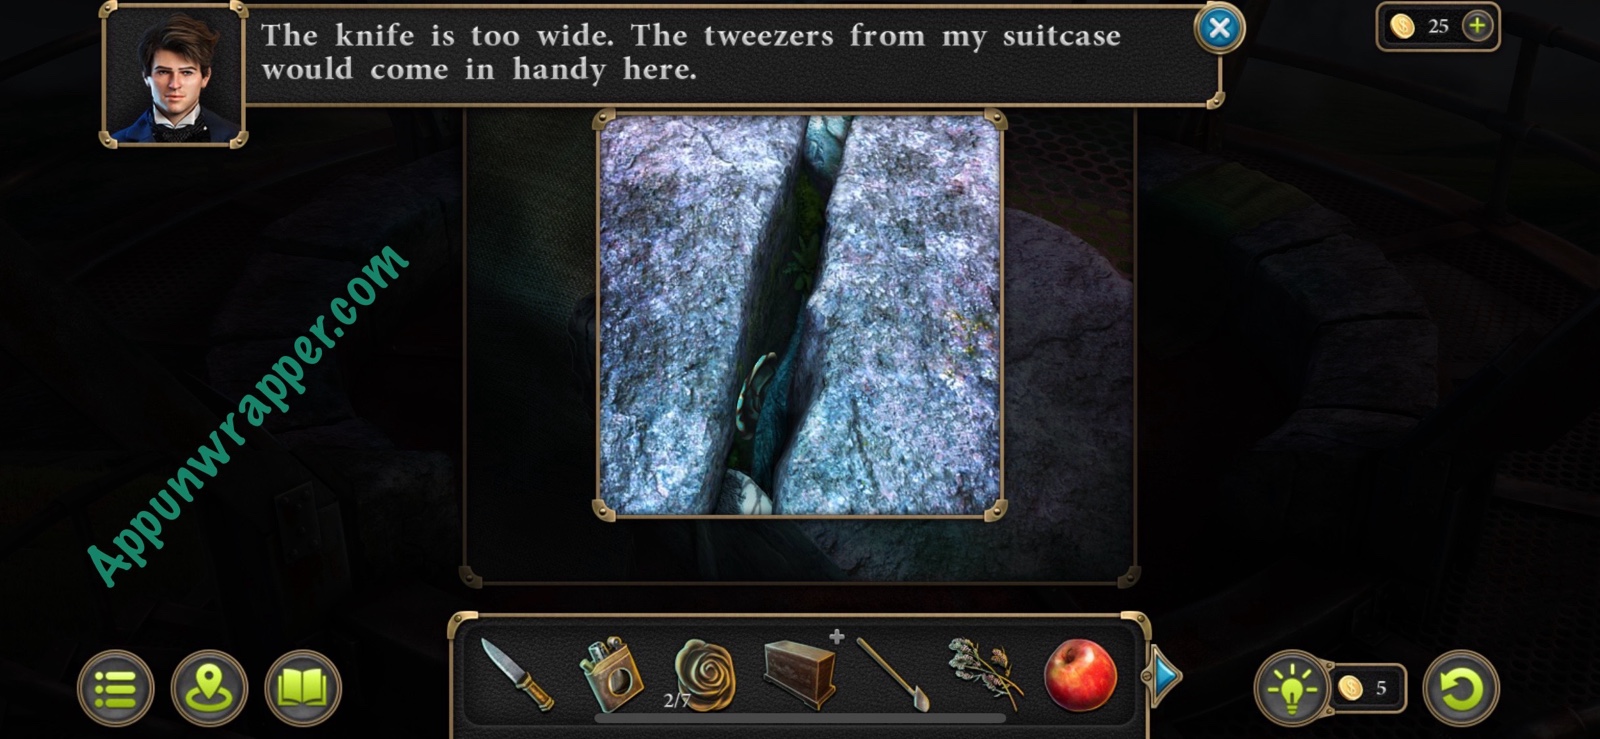
27. Use the map to go back to the farm house and get the Tweezers from the suitcase.
28. Go back to the blue flame and use the tweezers to grab the Flower.
Items: Flower (3/7)

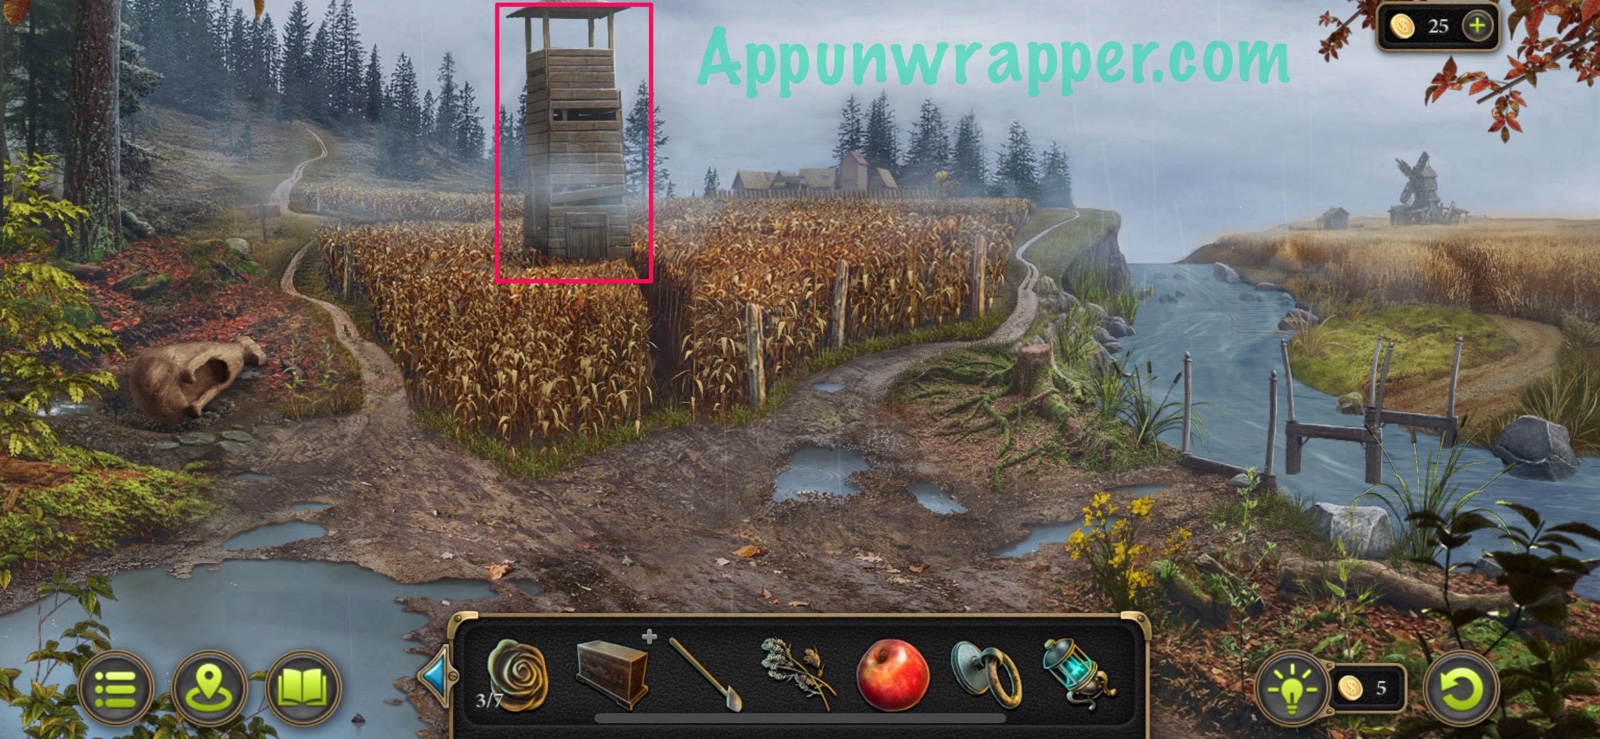
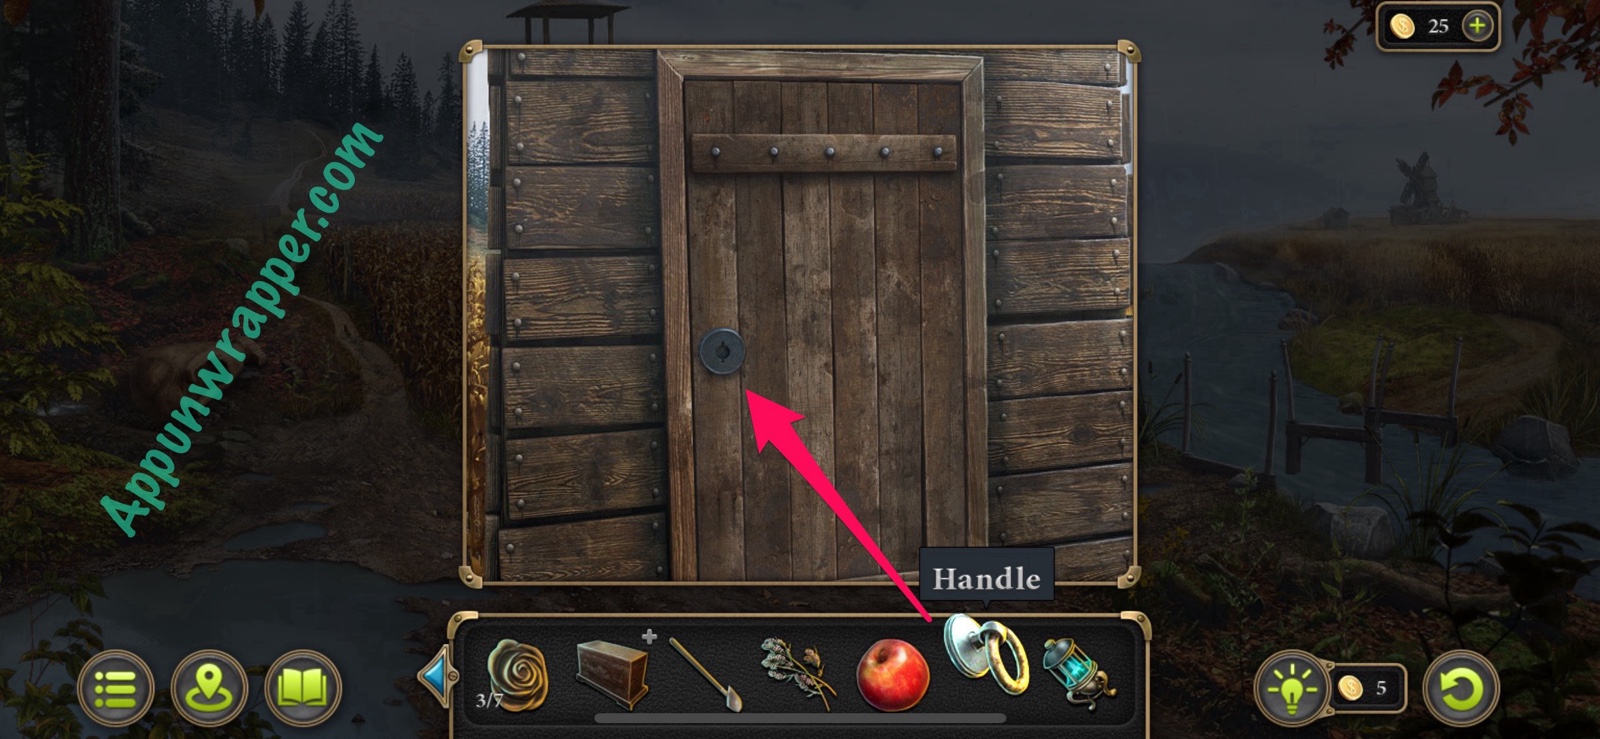
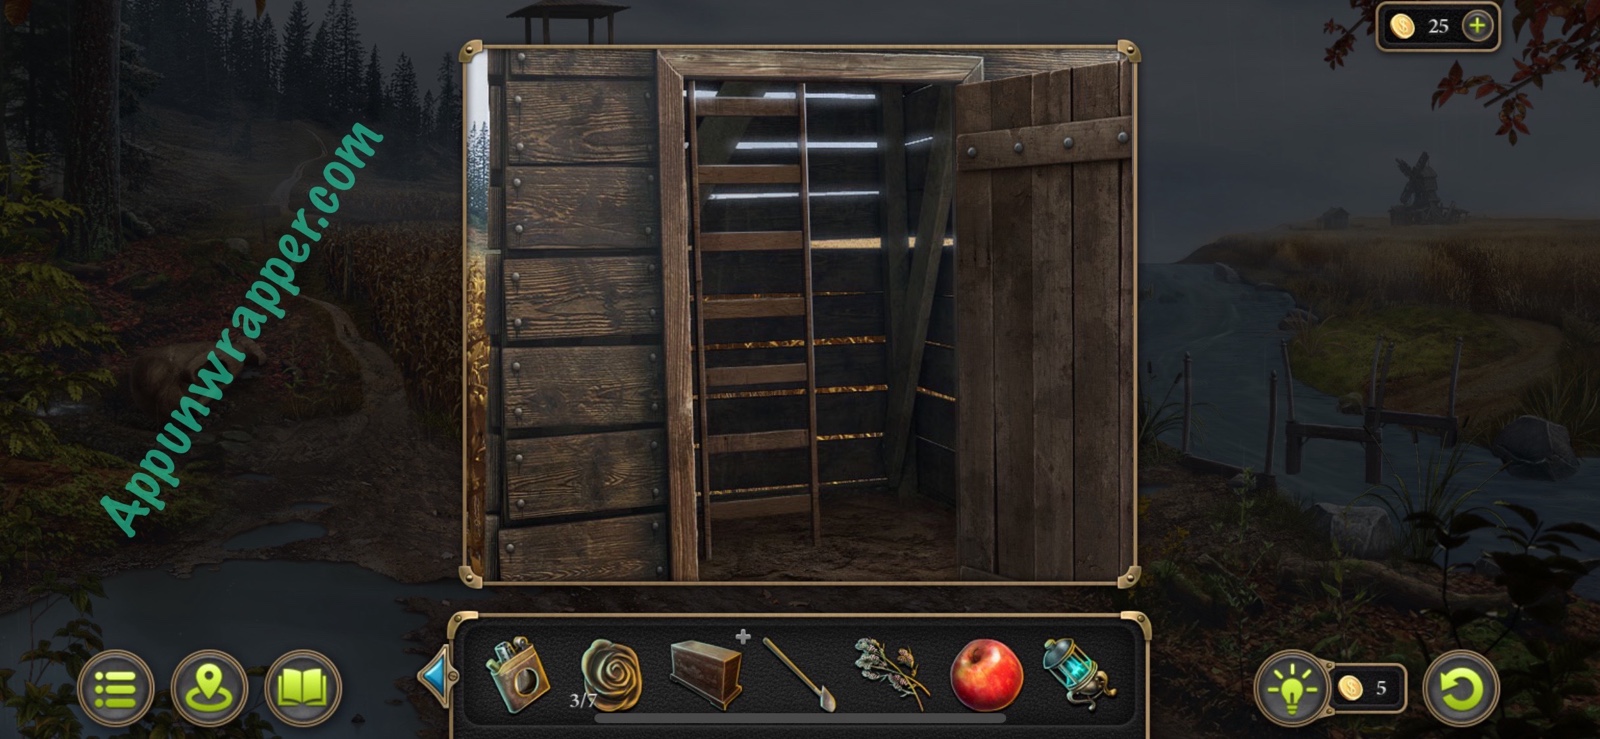
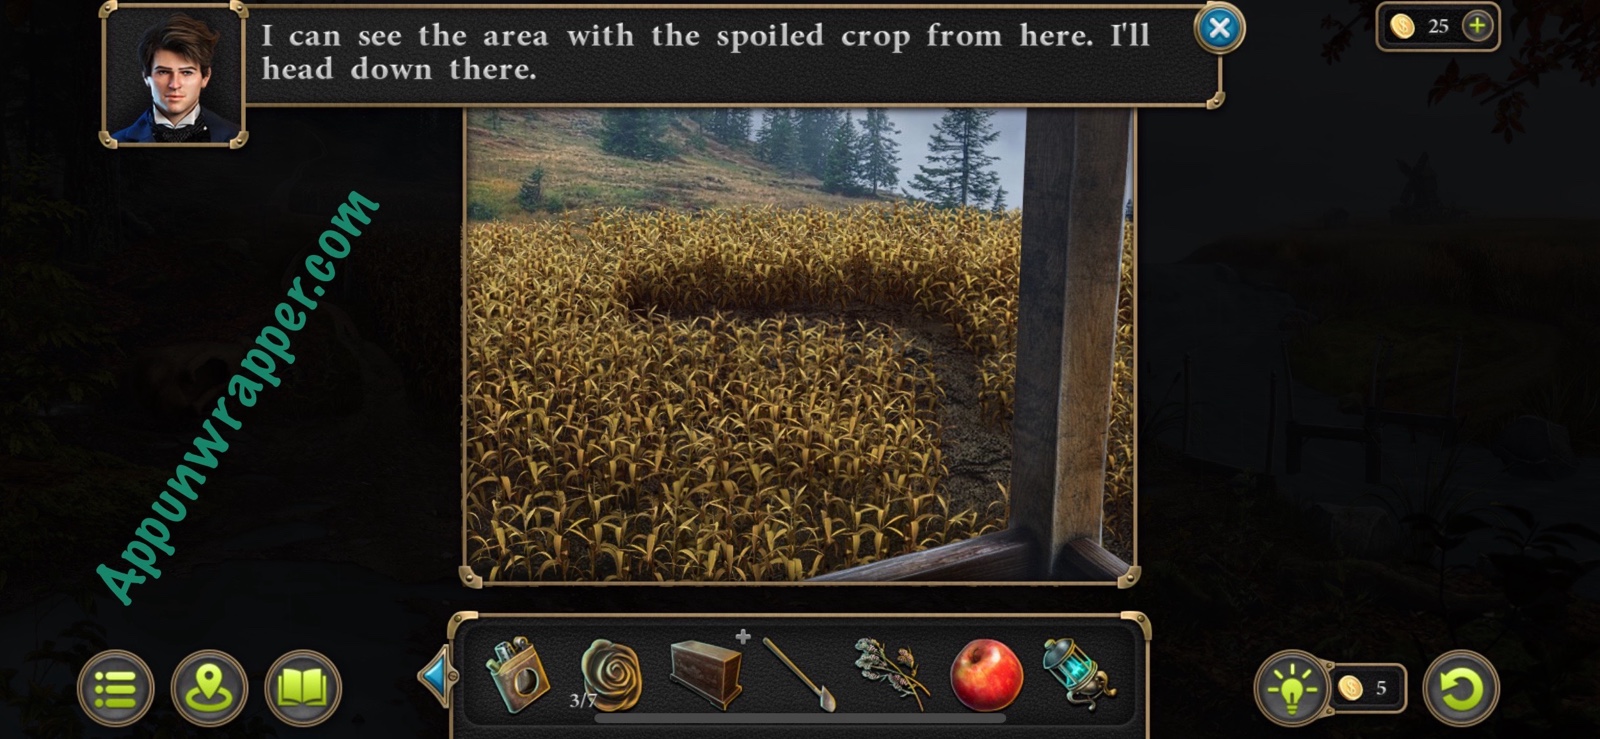
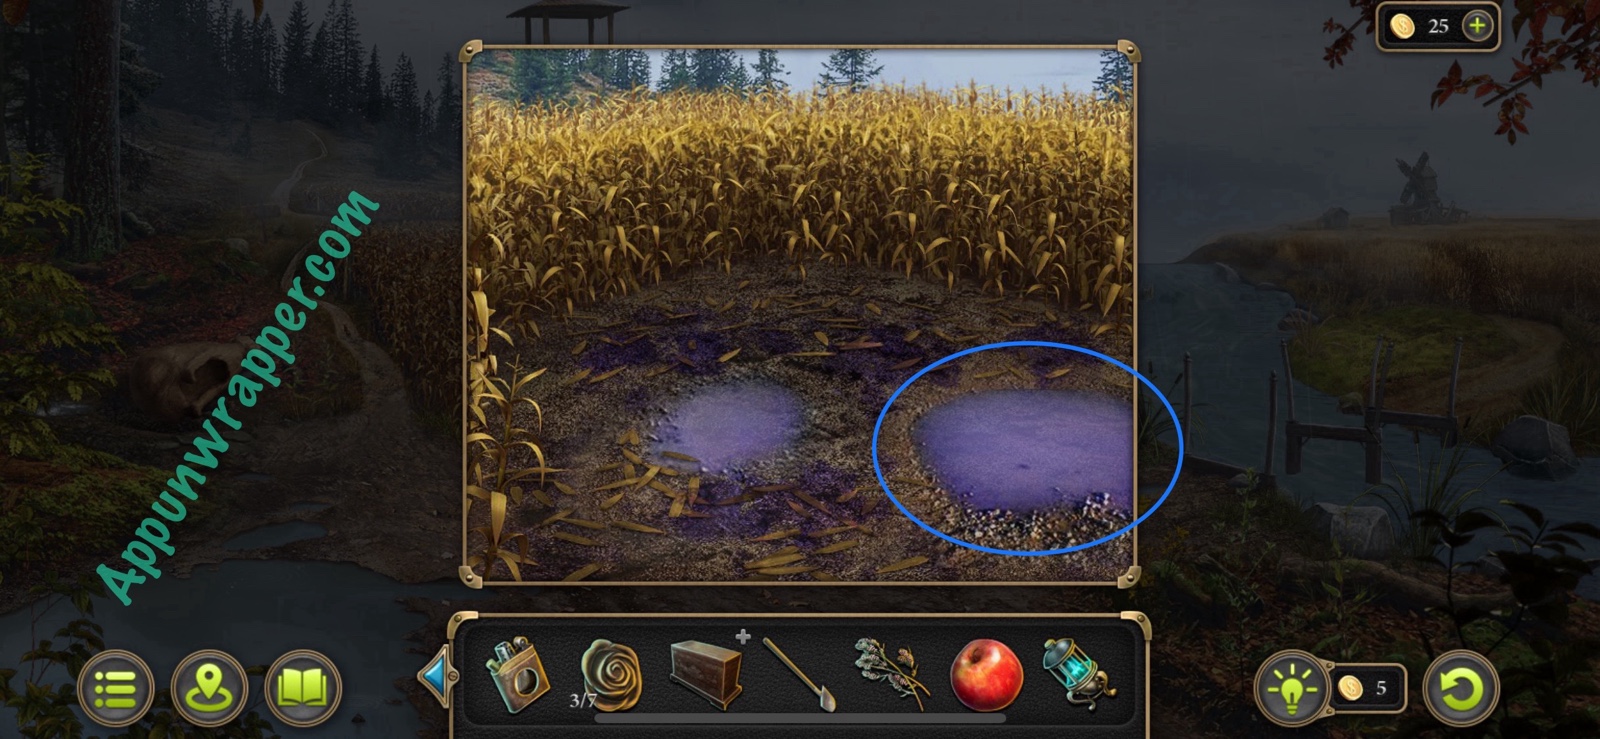
29. Go back to the field and tap on the fire tower. Use the handle with the door to open it and head up the ladder. You can see the crops below and then John will head down. It looks like the crop did not spoil on its own. Tap on the purple puddles to collect evidence.
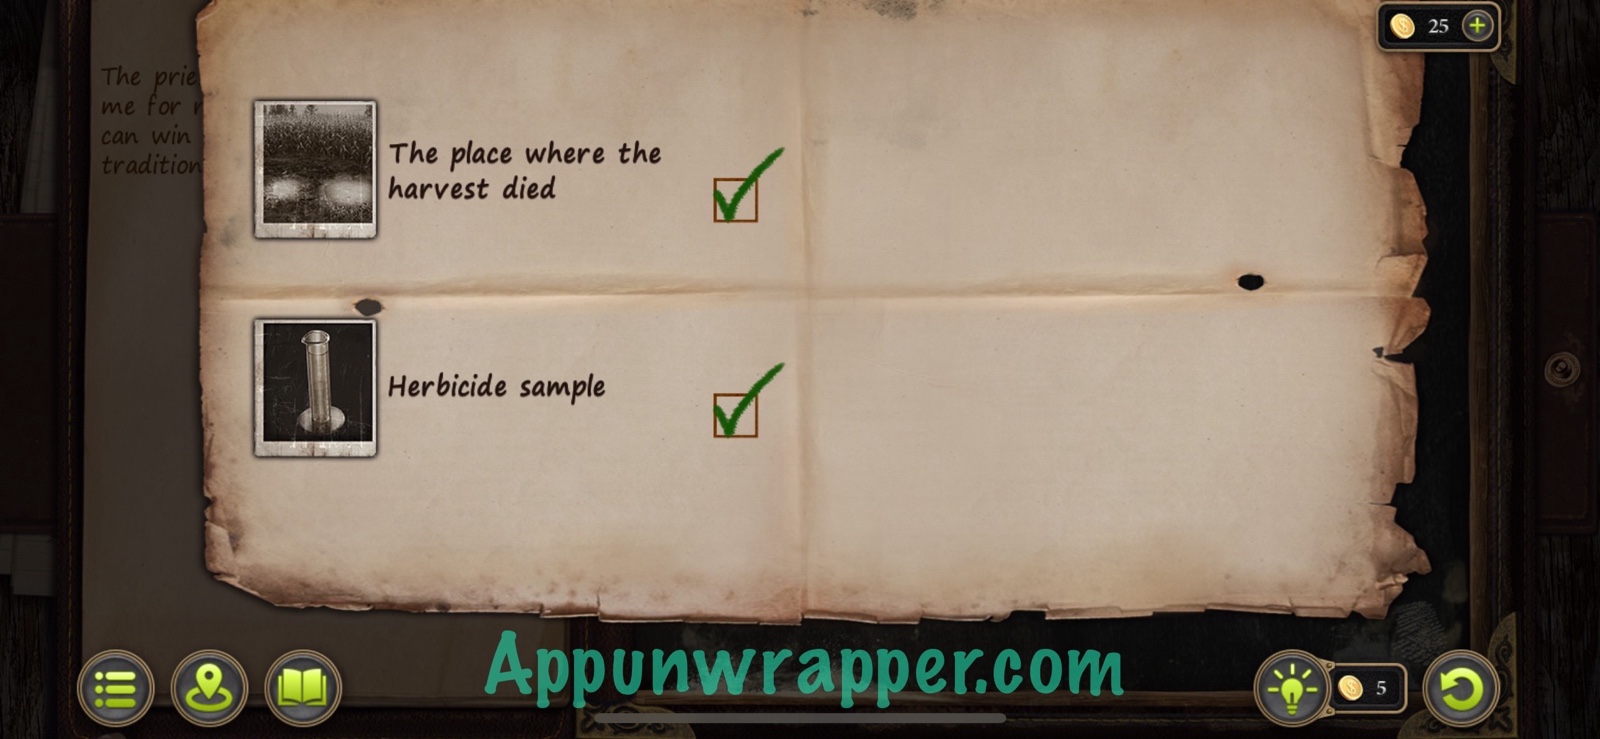
Evidence: The place where the harvest died. (Lost harvest 1/2)
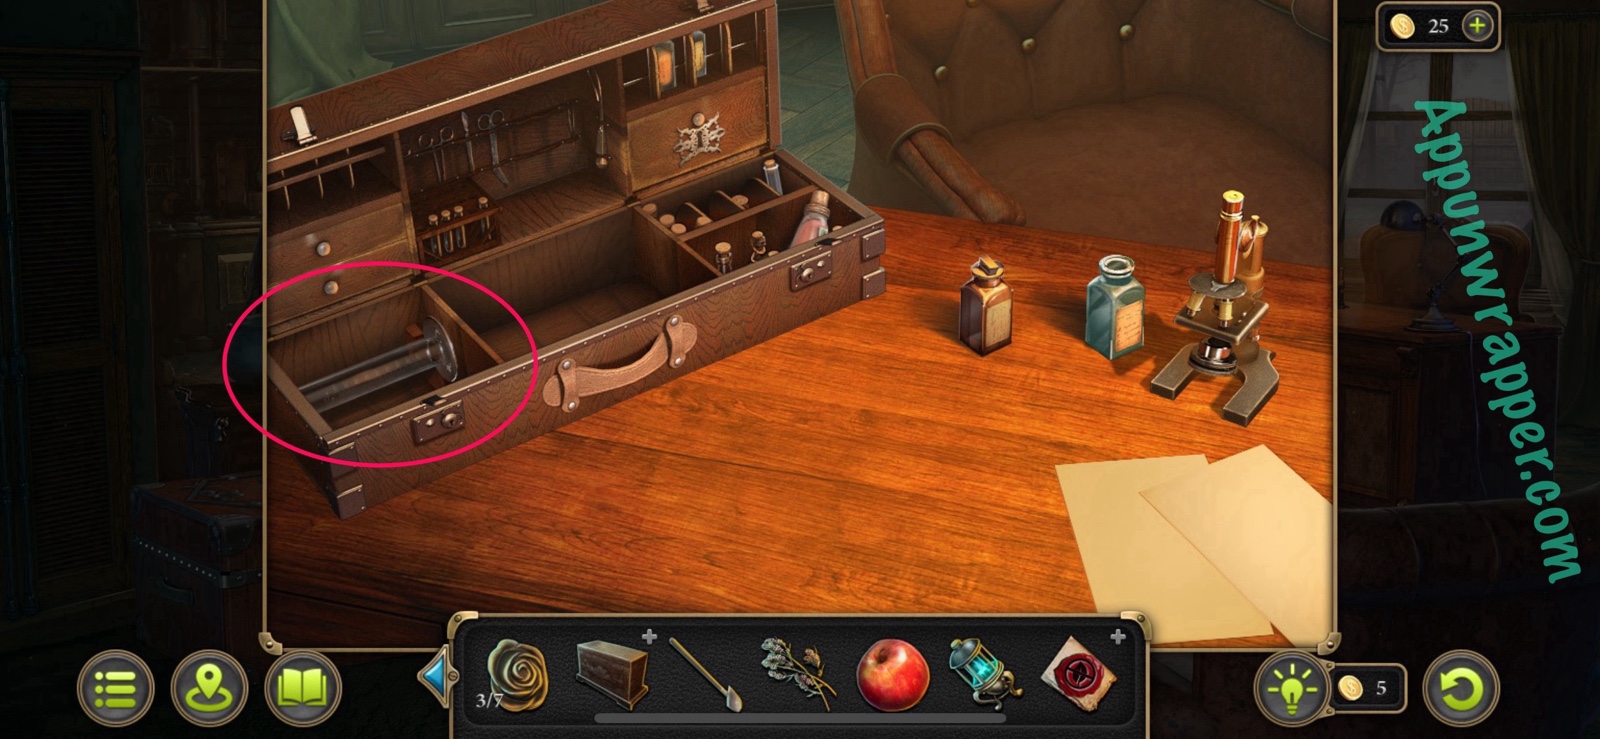
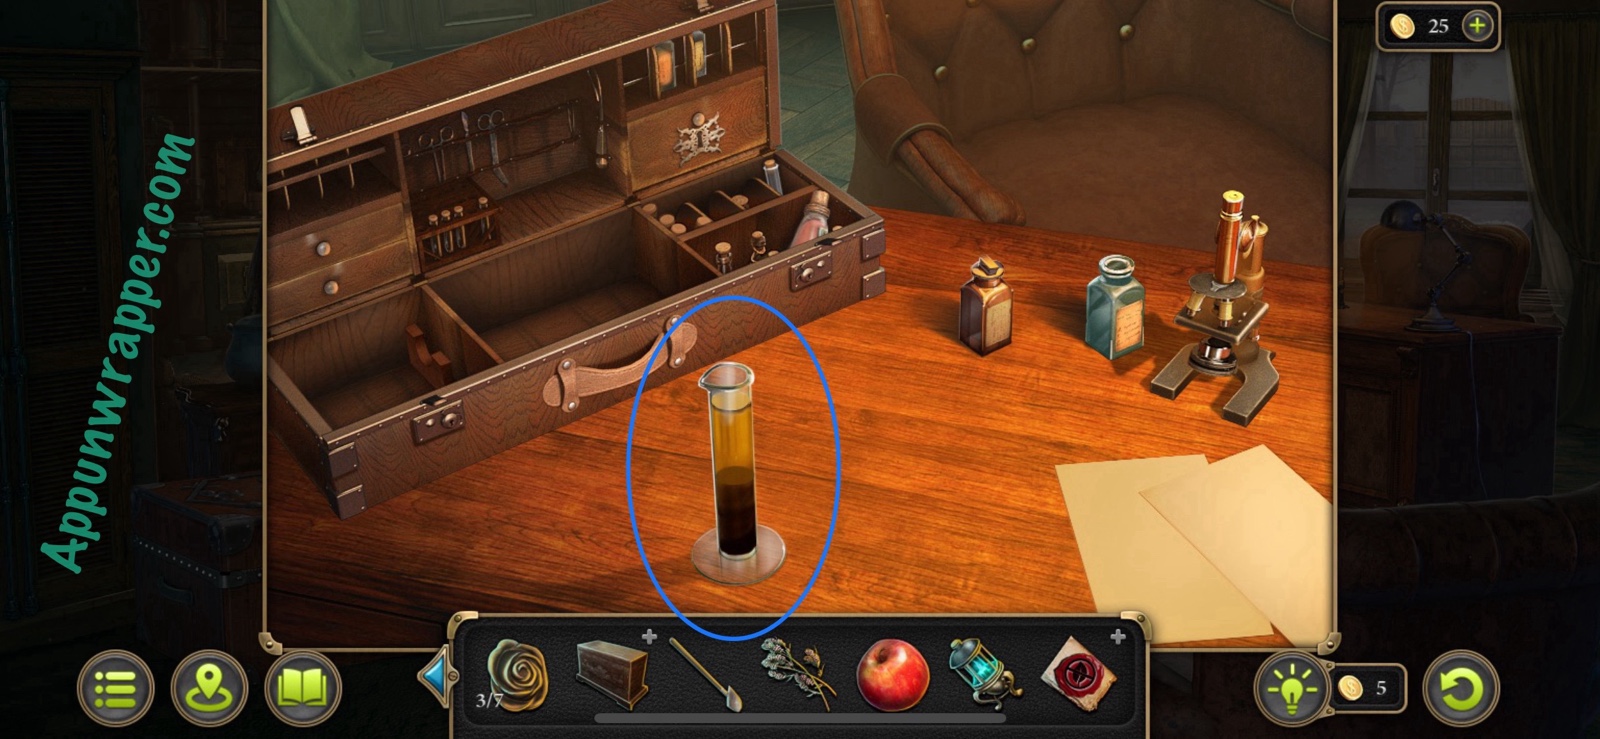
30. Go back to the farm house and grab the Measuring Cylinder from the suitcase.
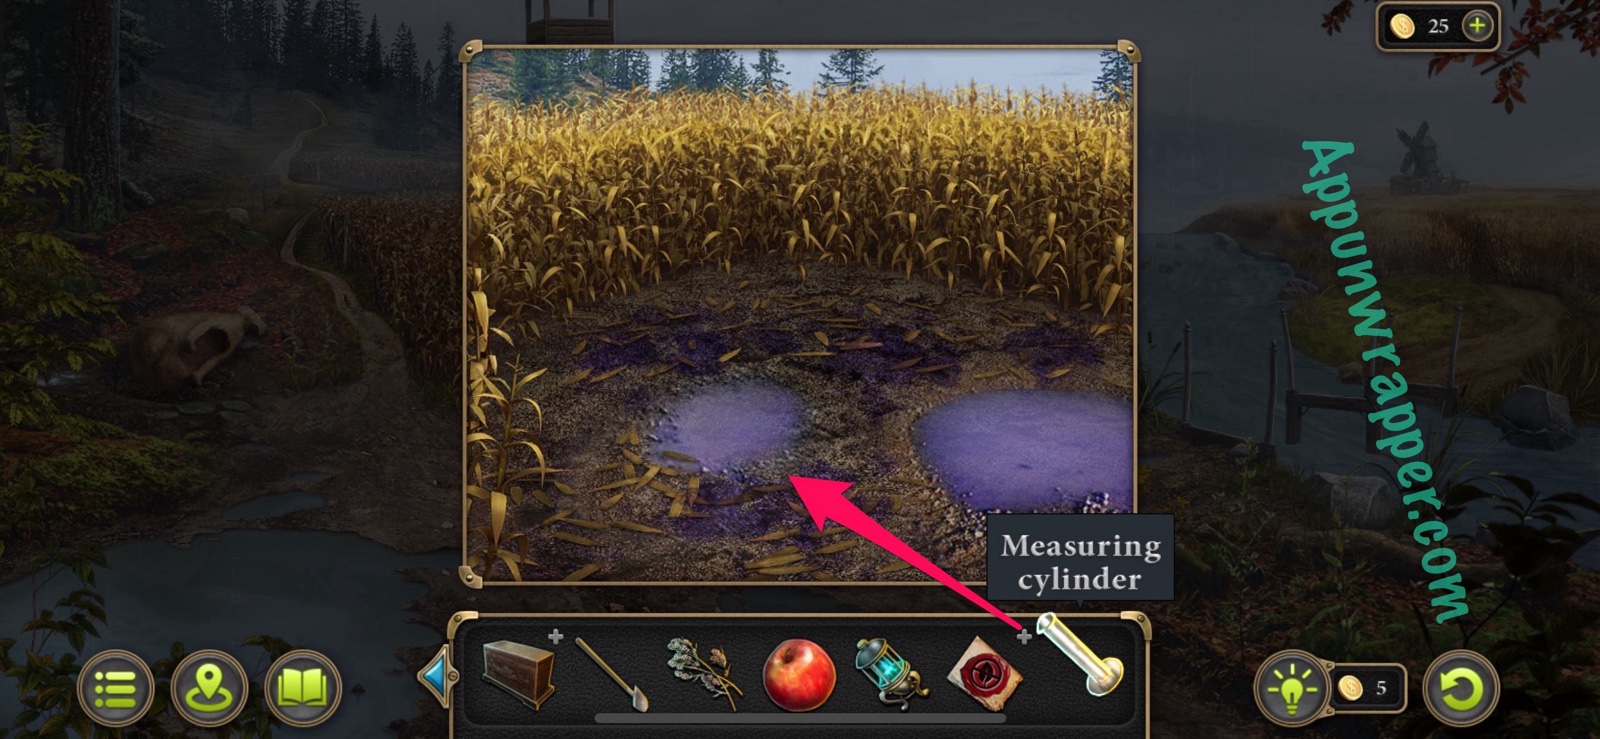
31. Go back to the field and use the measuring cylinder to collect a Soil Sample.
32. Go back to the farm house. Place the soil sample on the desk and John will automatically do his thing. Then tap the cylinder to collect the evidence. It’s just an herbicide with machine oil.
Evidence: Herbicide sample. (Lost harvest 2/2)
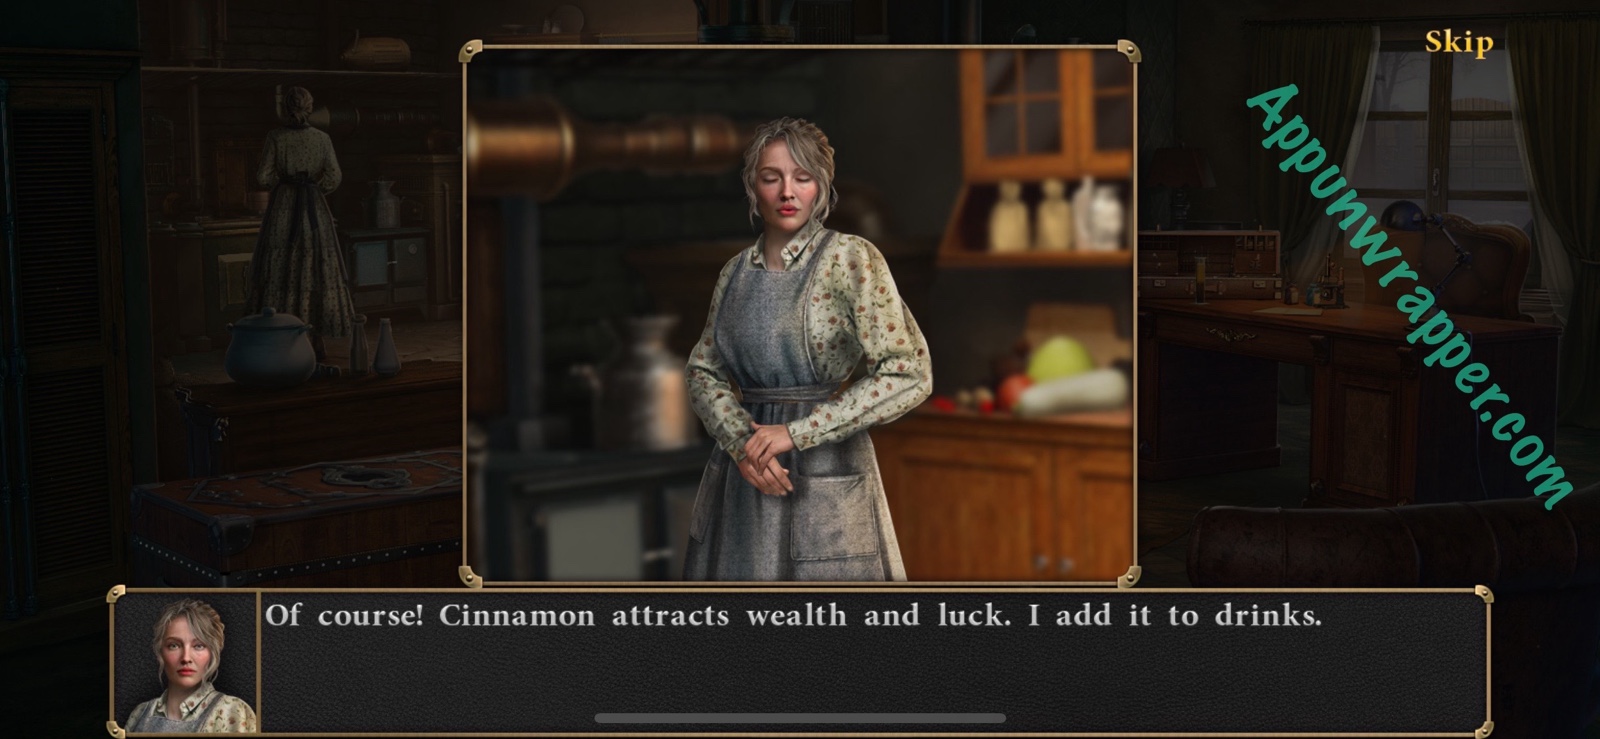
33. Go back to Harry to ask him about the herbicide. He says he didn’t do it and doesn’t know who would have. He also tells you to ask his wife for cinnamon sticks.
Task completed: Explore the dead fields. (File: Lost harvest)
34. Go back to Maria and ask for Cinnamon and she’ll give you some.
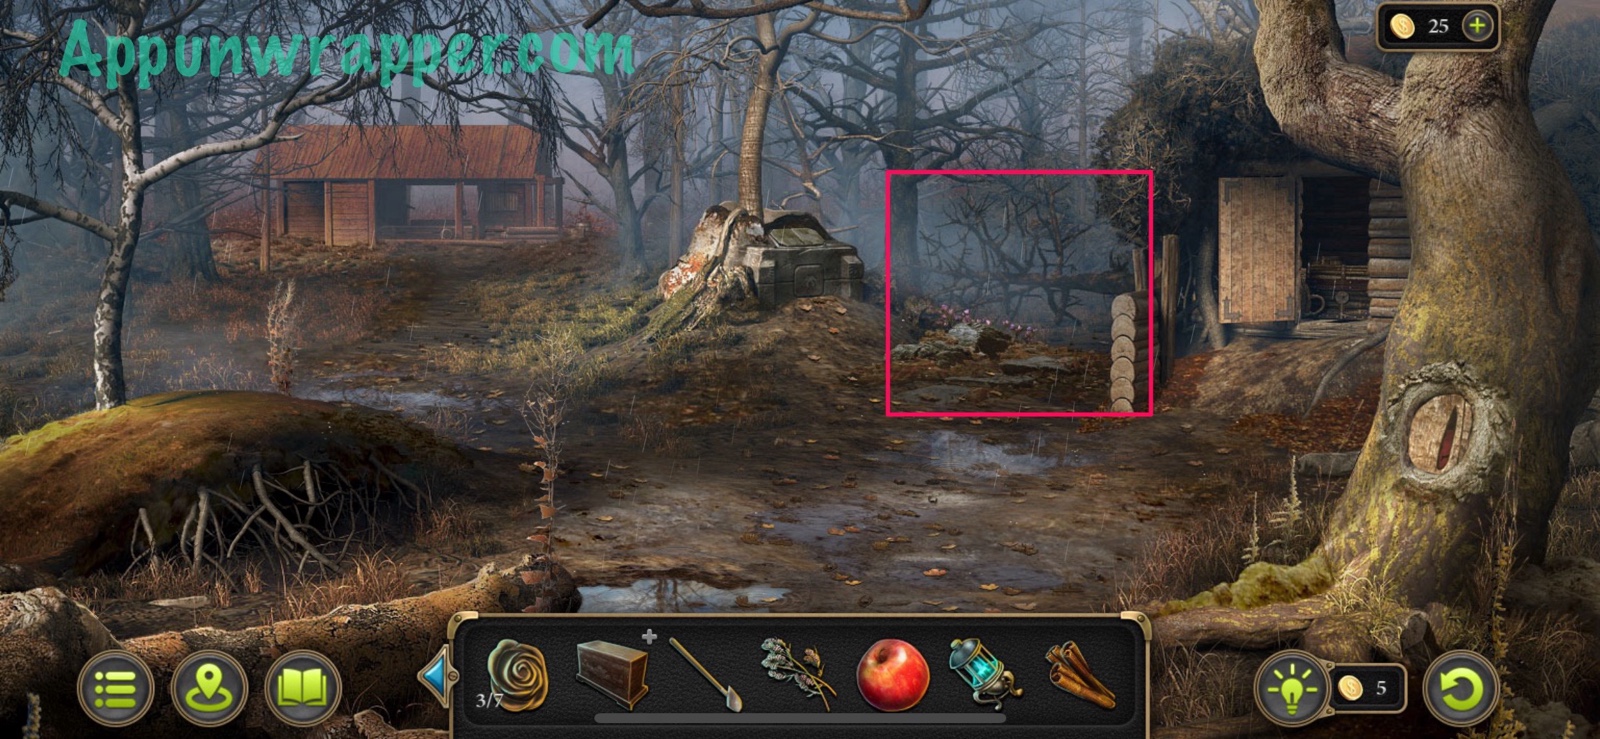
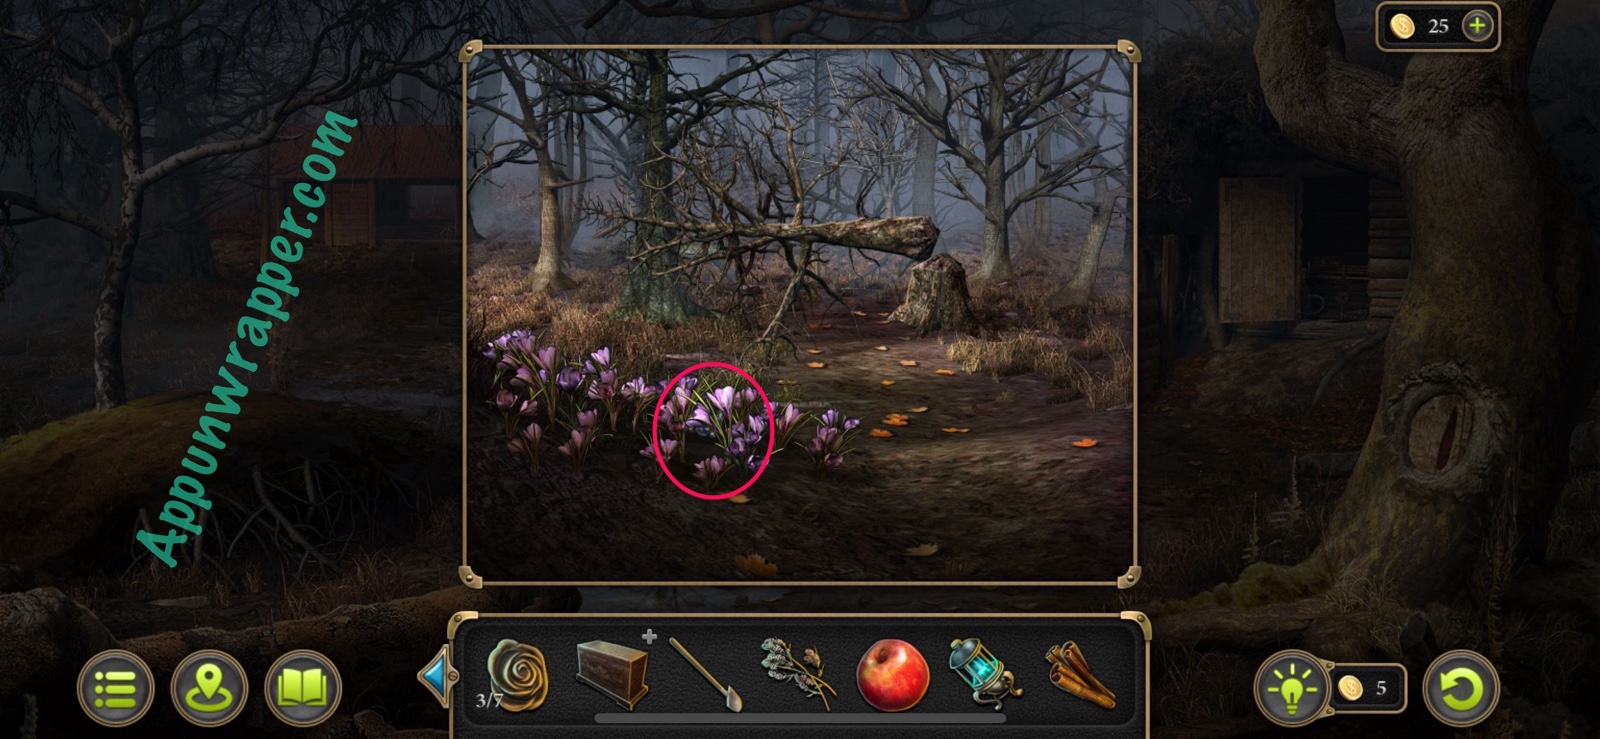
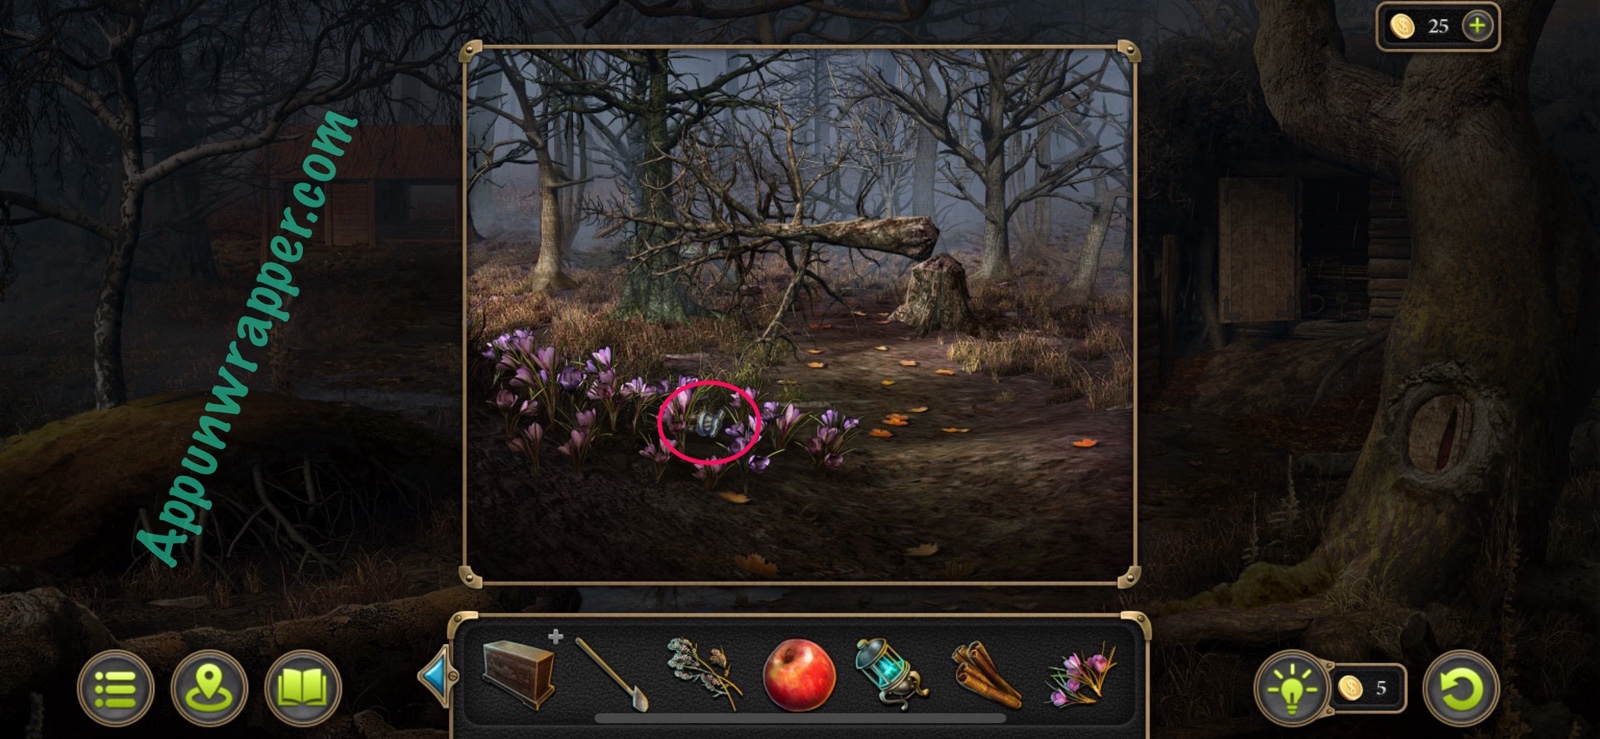
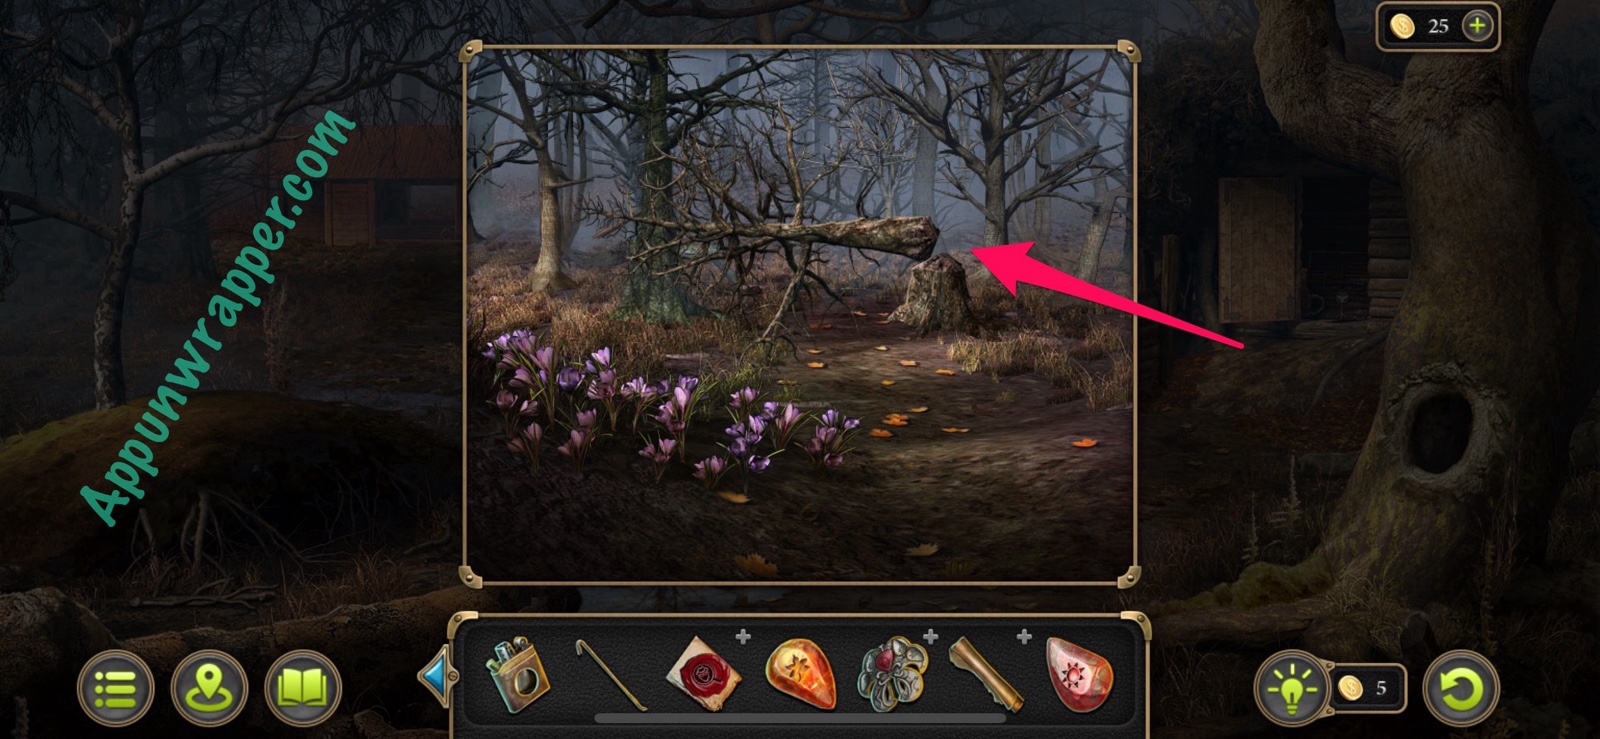
35. Head back to the mysterious forest. Look at the fallen tree to the right of the stone pedestal. Pick some Crocuses and then grab the Part lying on the ground.
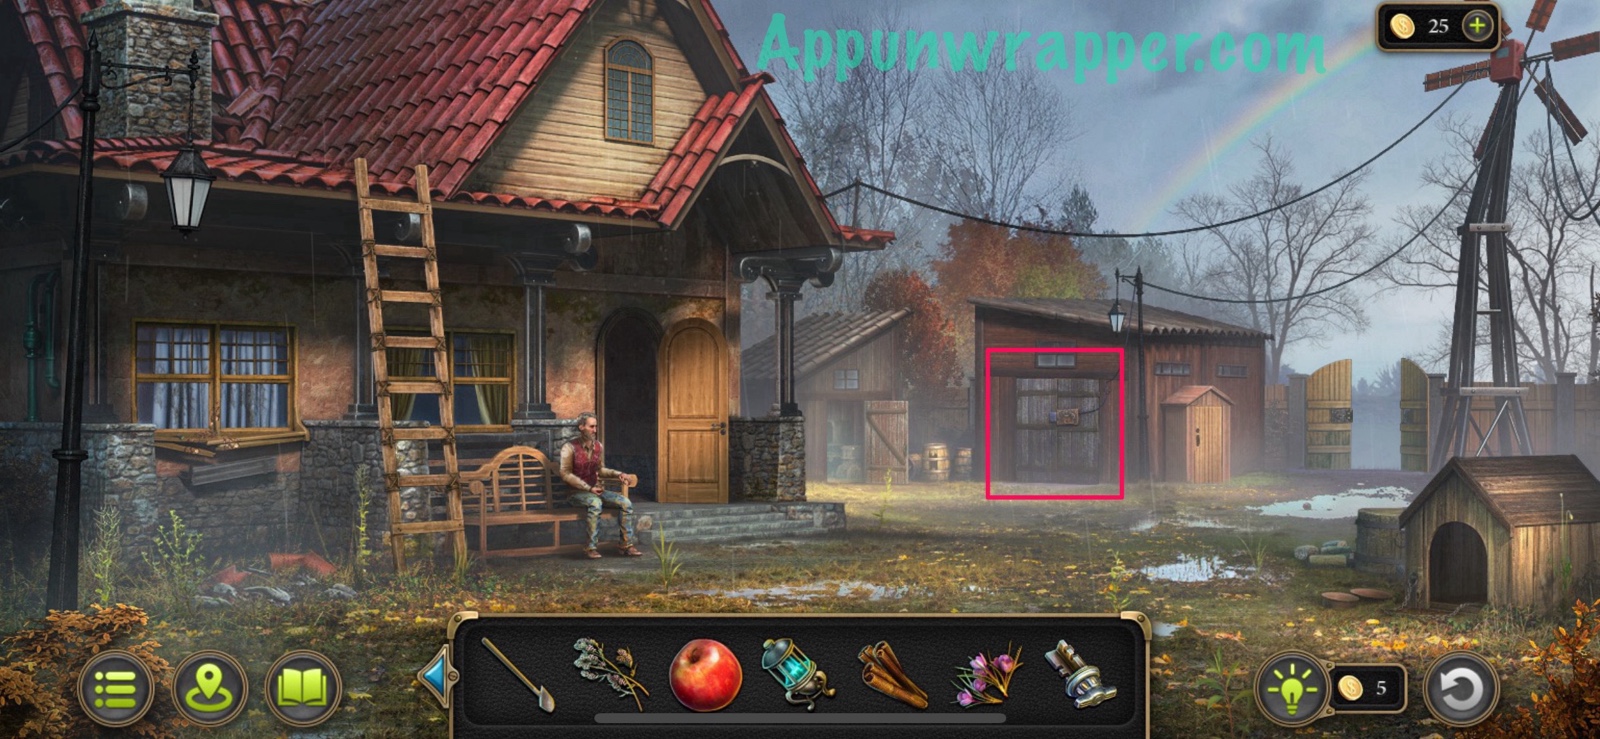
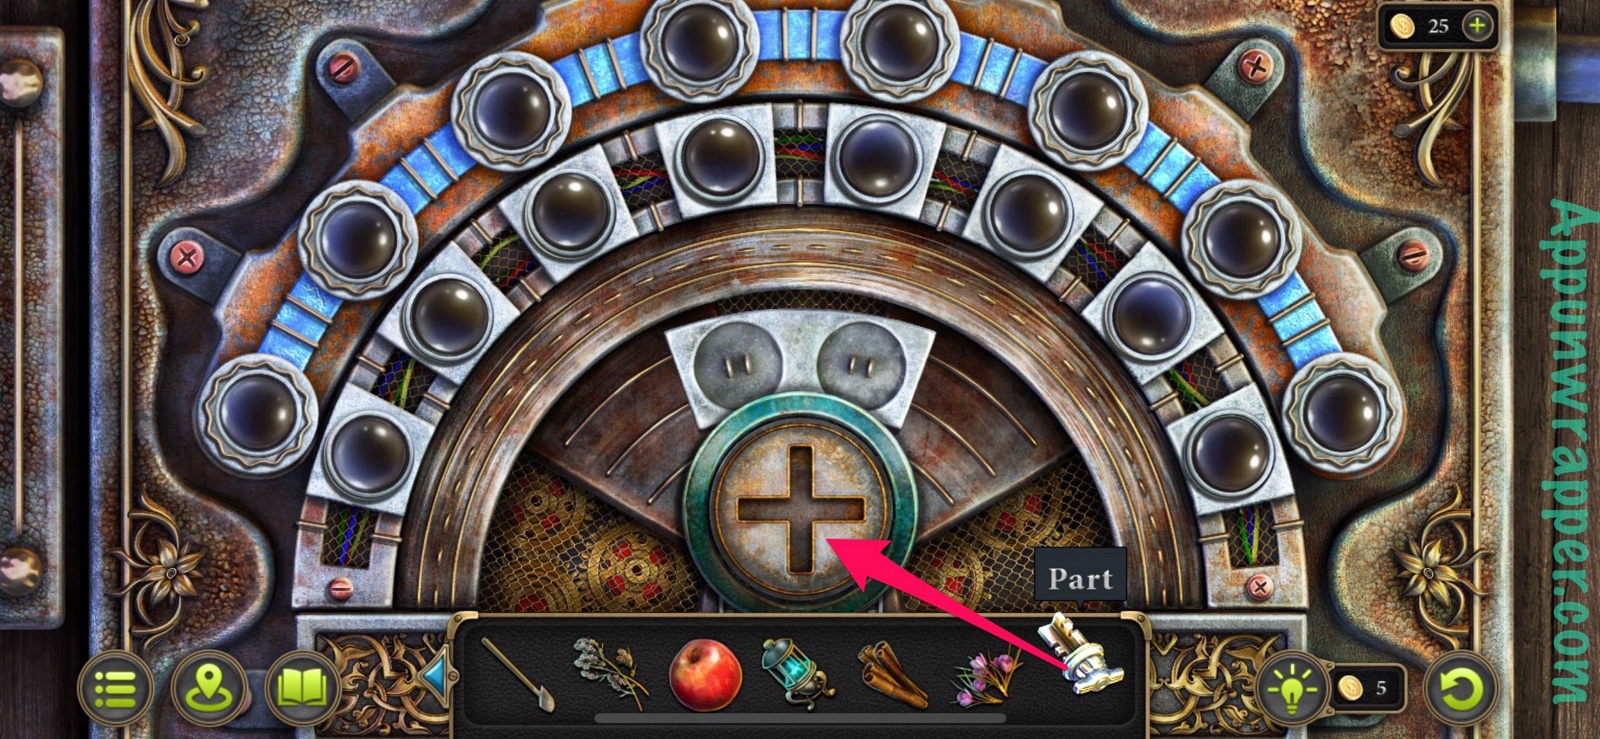
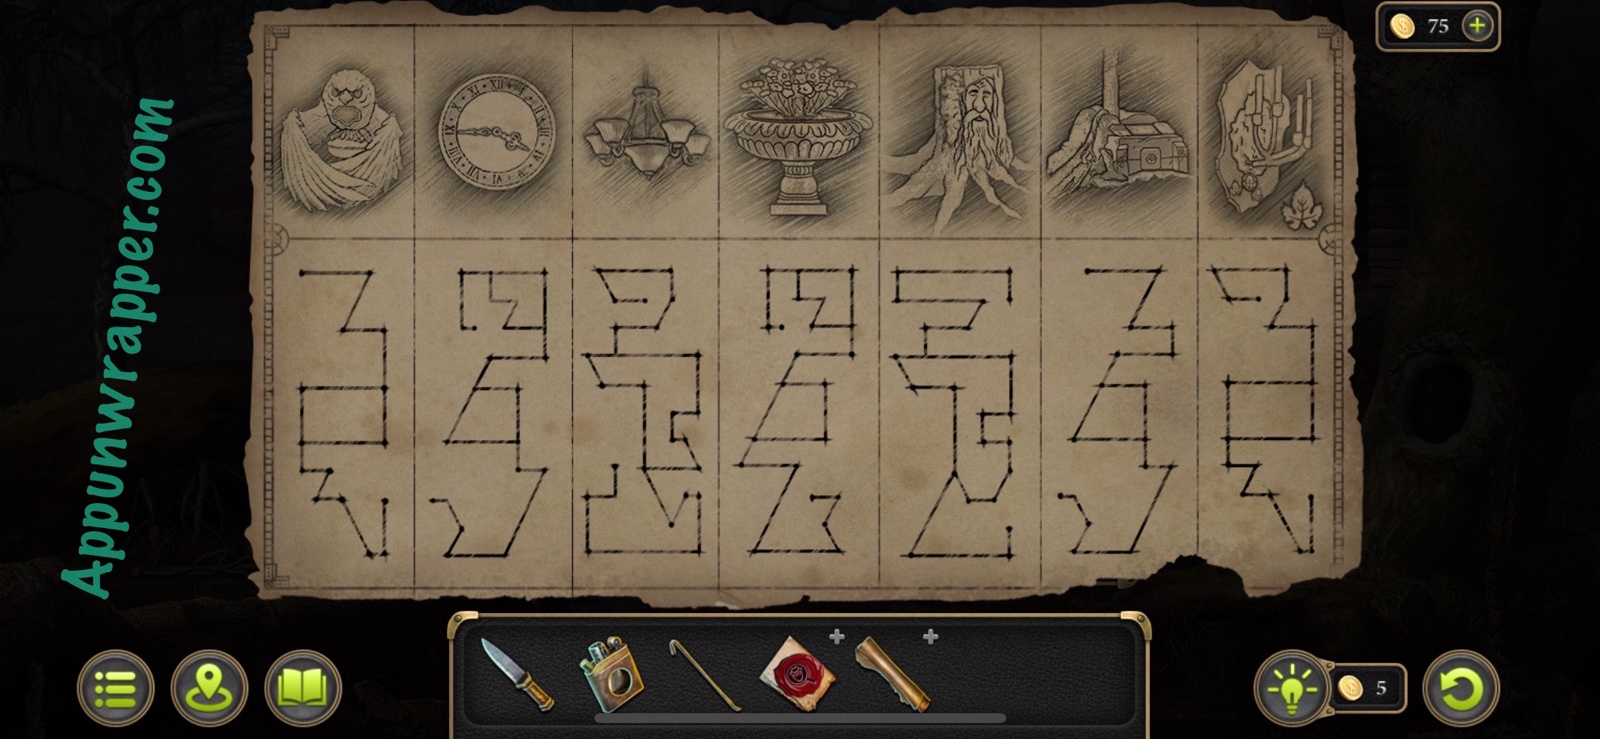
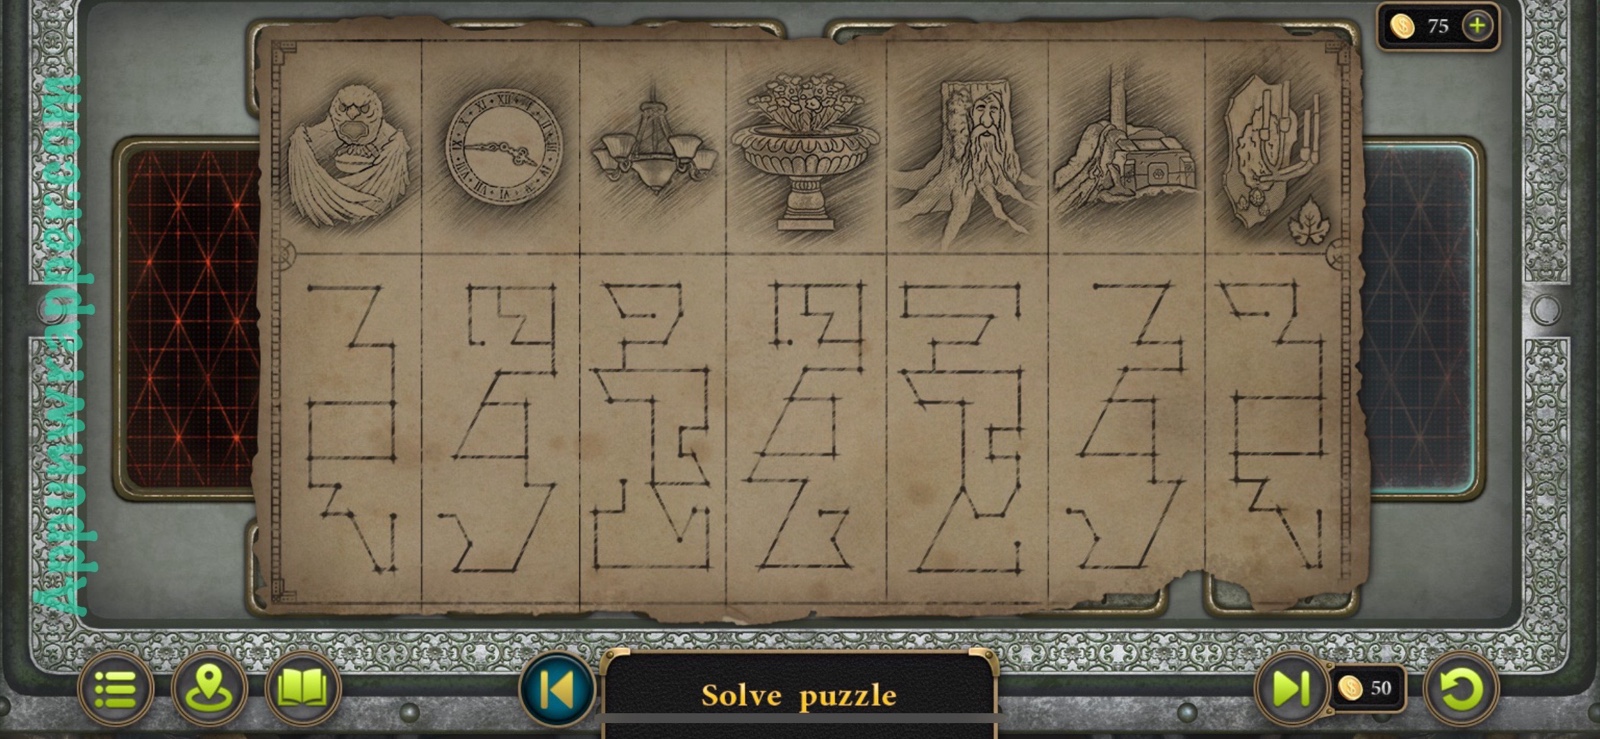
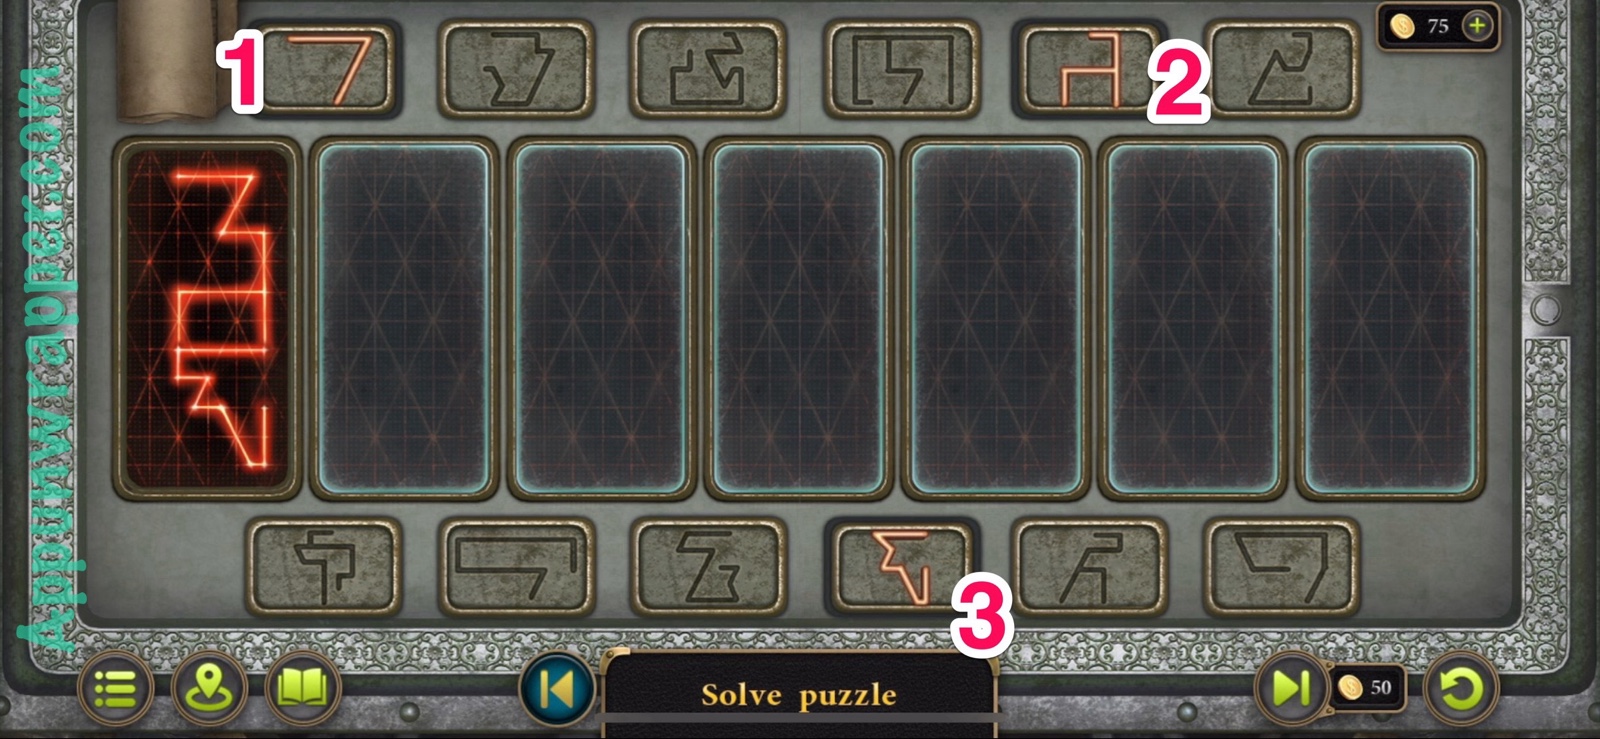
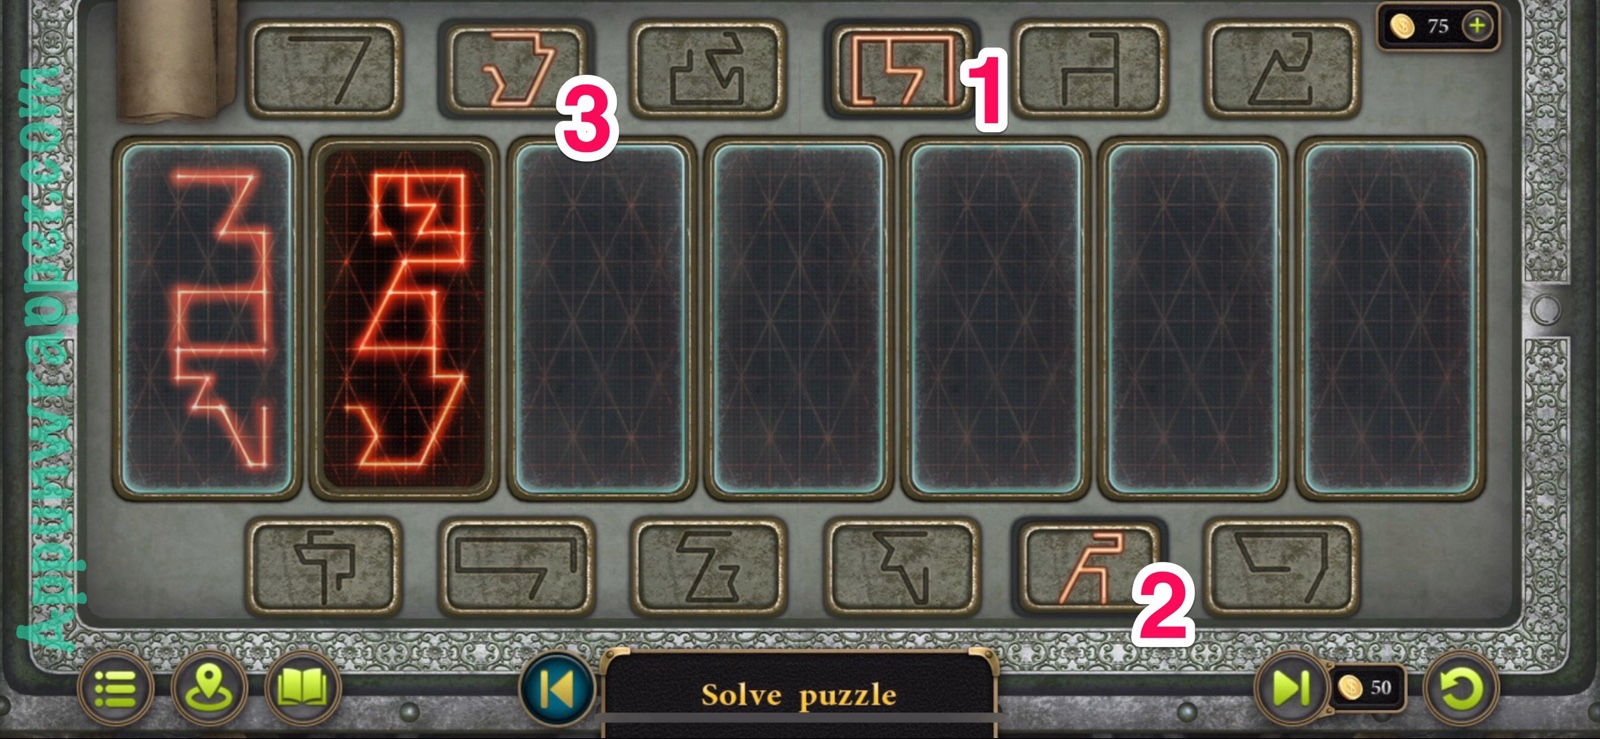
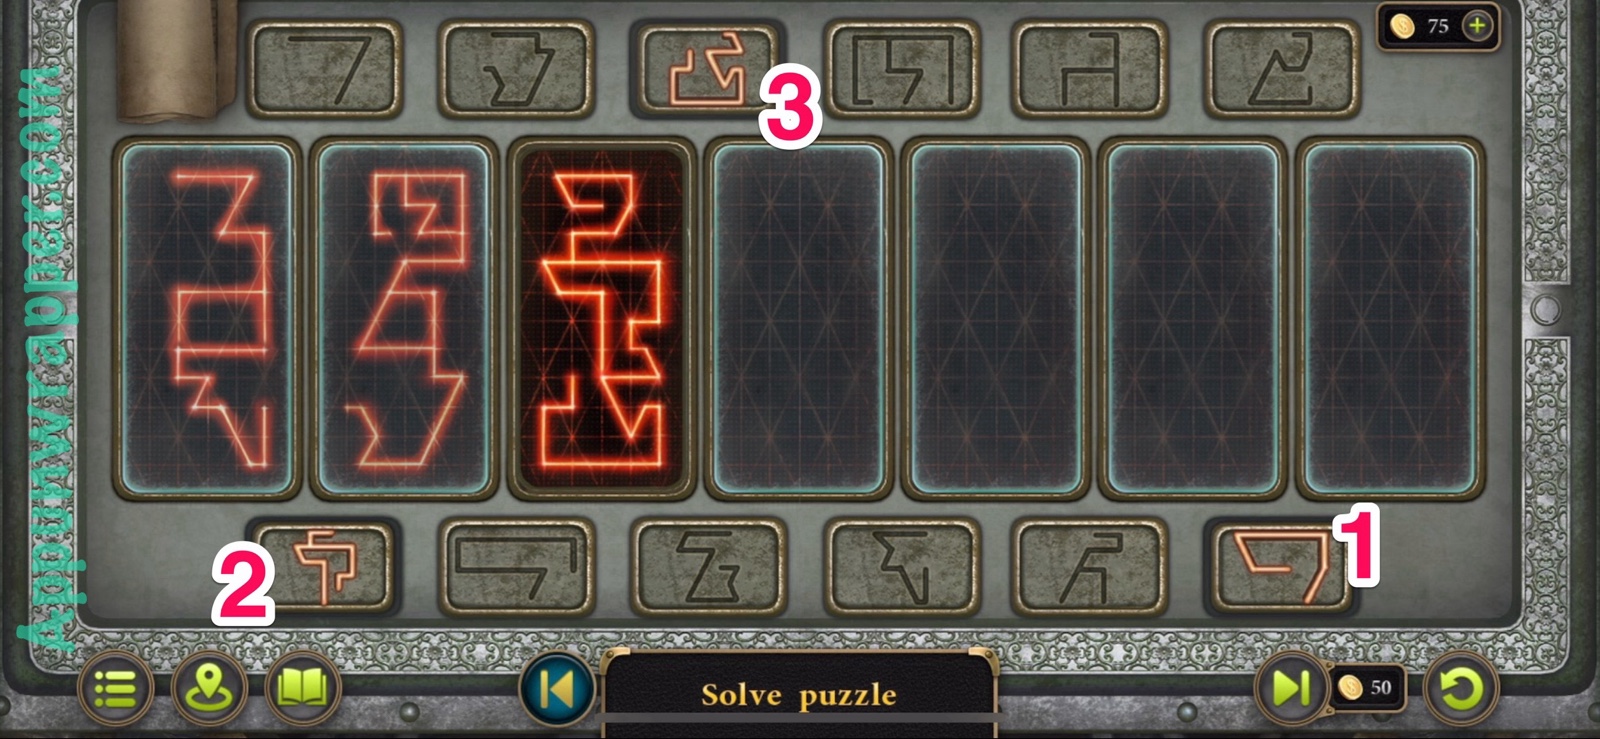
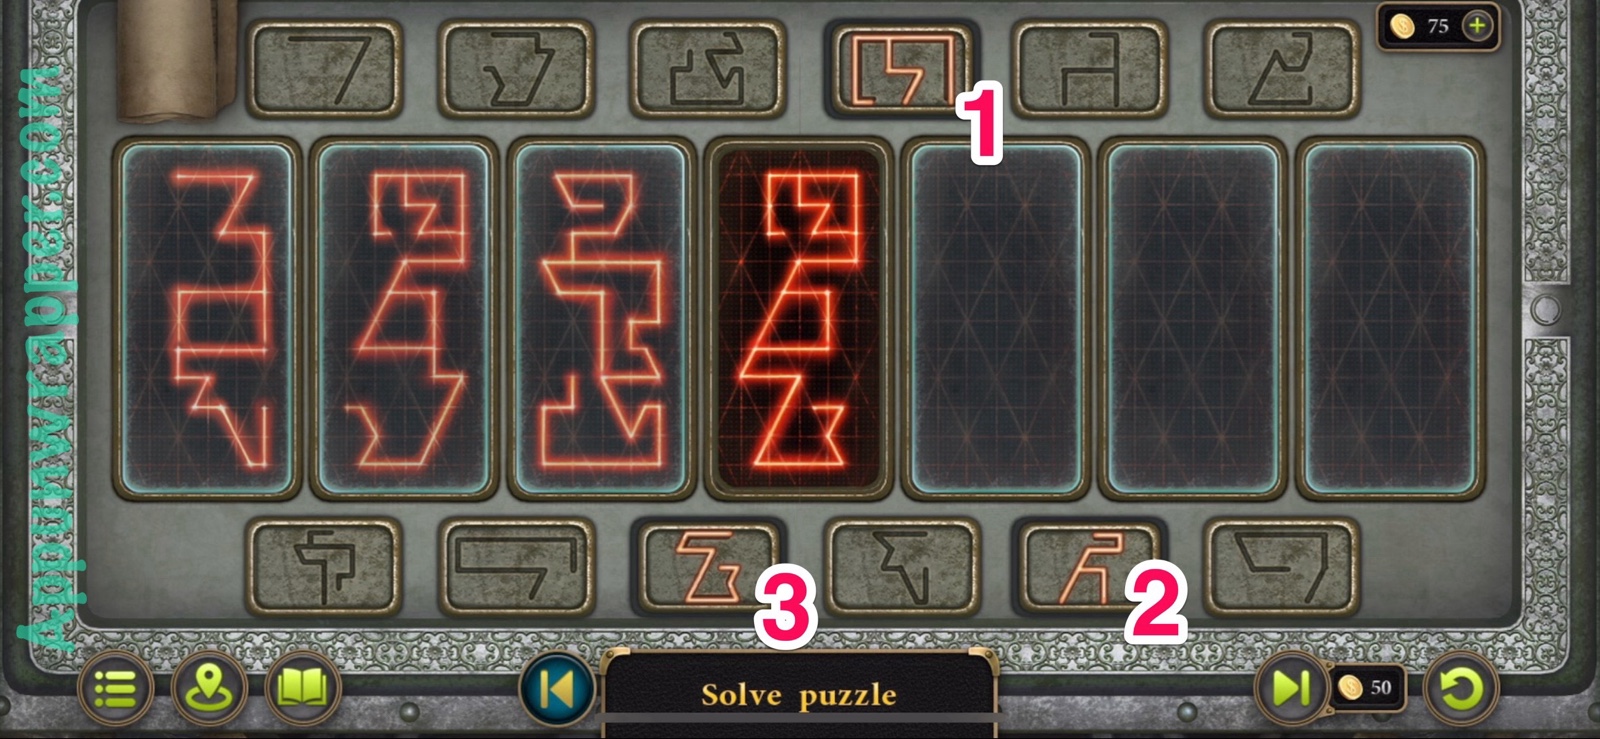
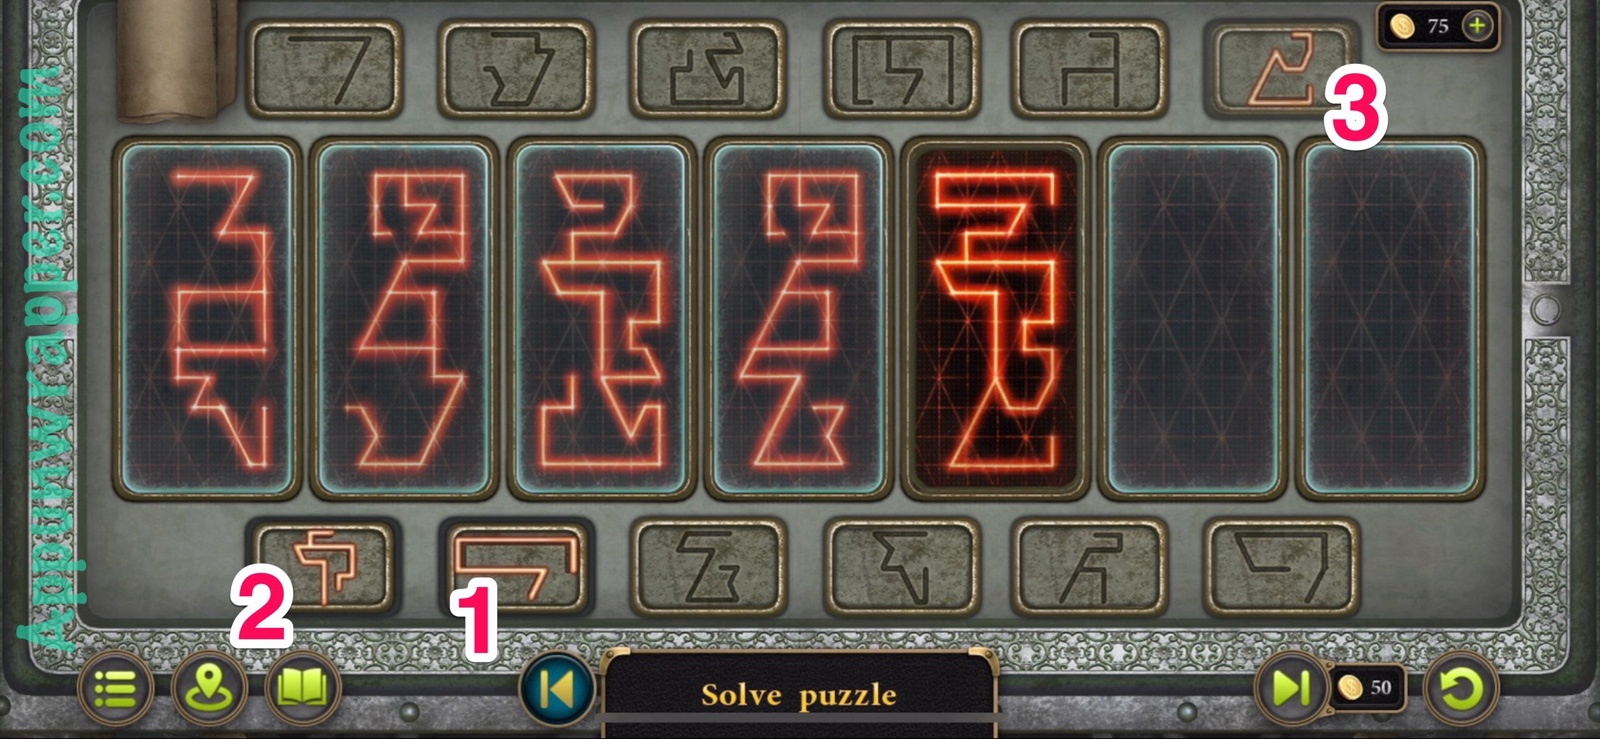
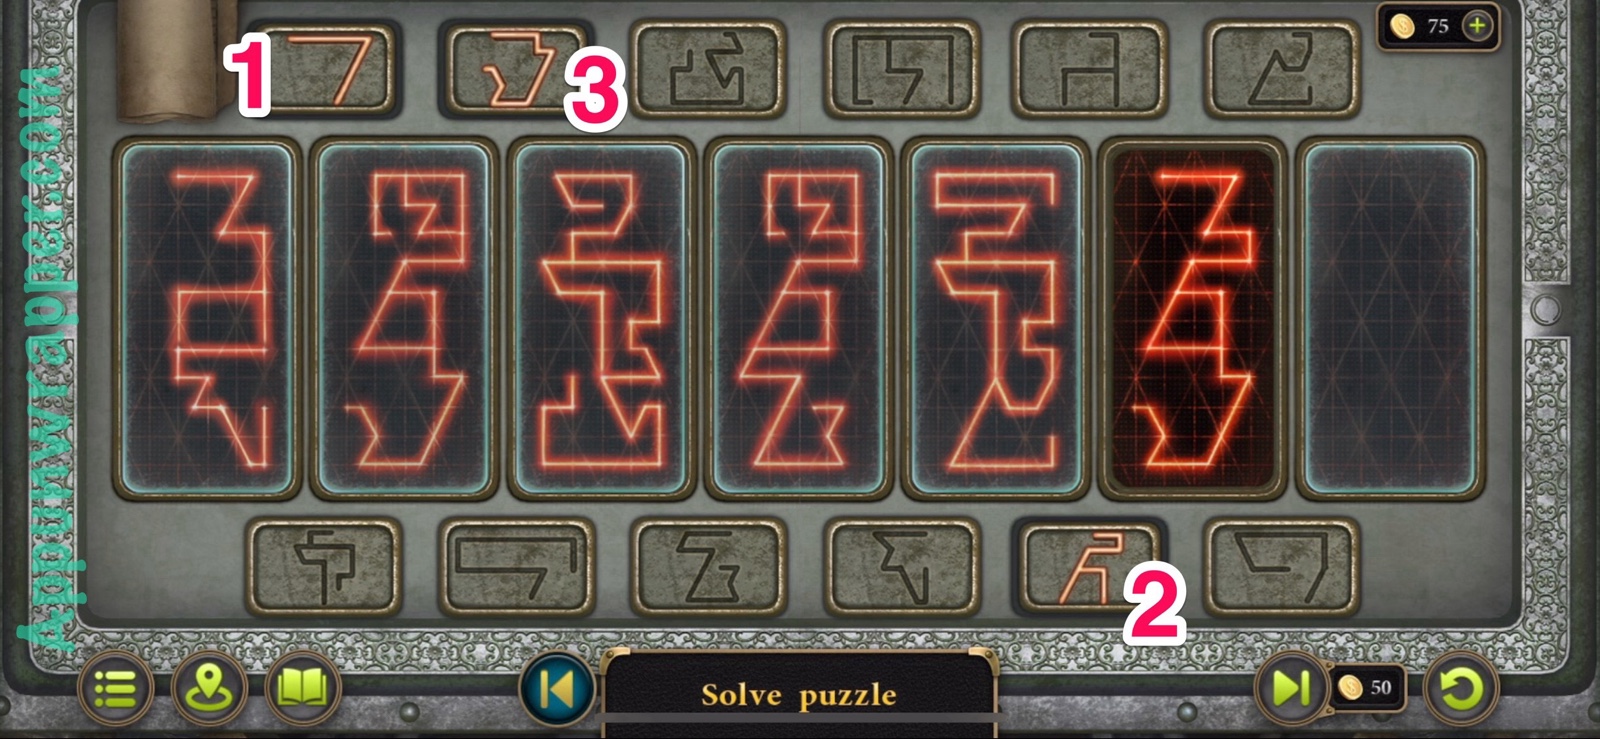
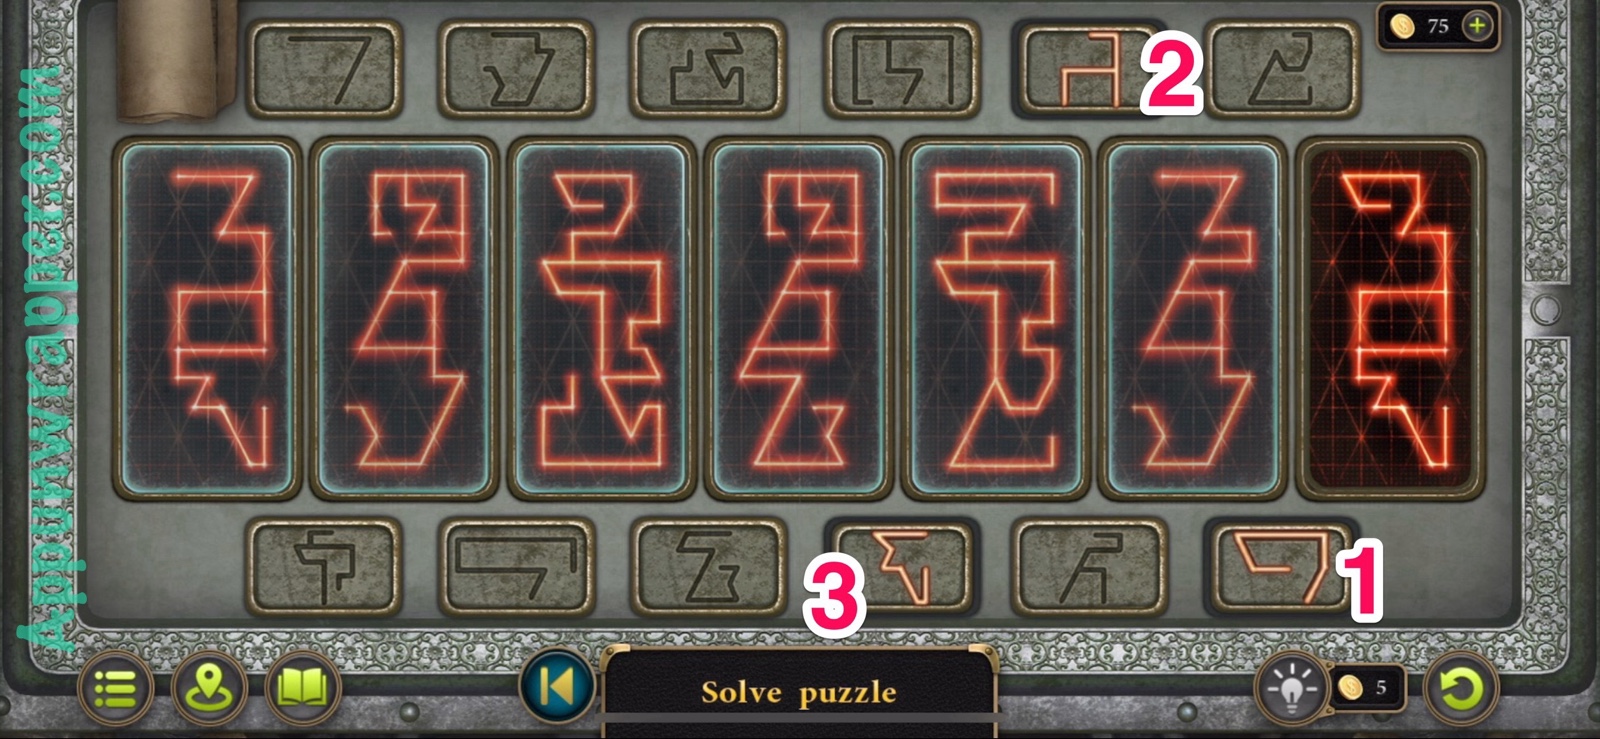
36. Go back to the farm. There’s a locked barn door in the distance. Place the Part on it and then solve the puzzle. You need to move pairs of symbols in the bottom row around until they match the symbols in the top row. I made a couple of different videos, but the positions are different each game so you can’t really copy mine. Then head inside.

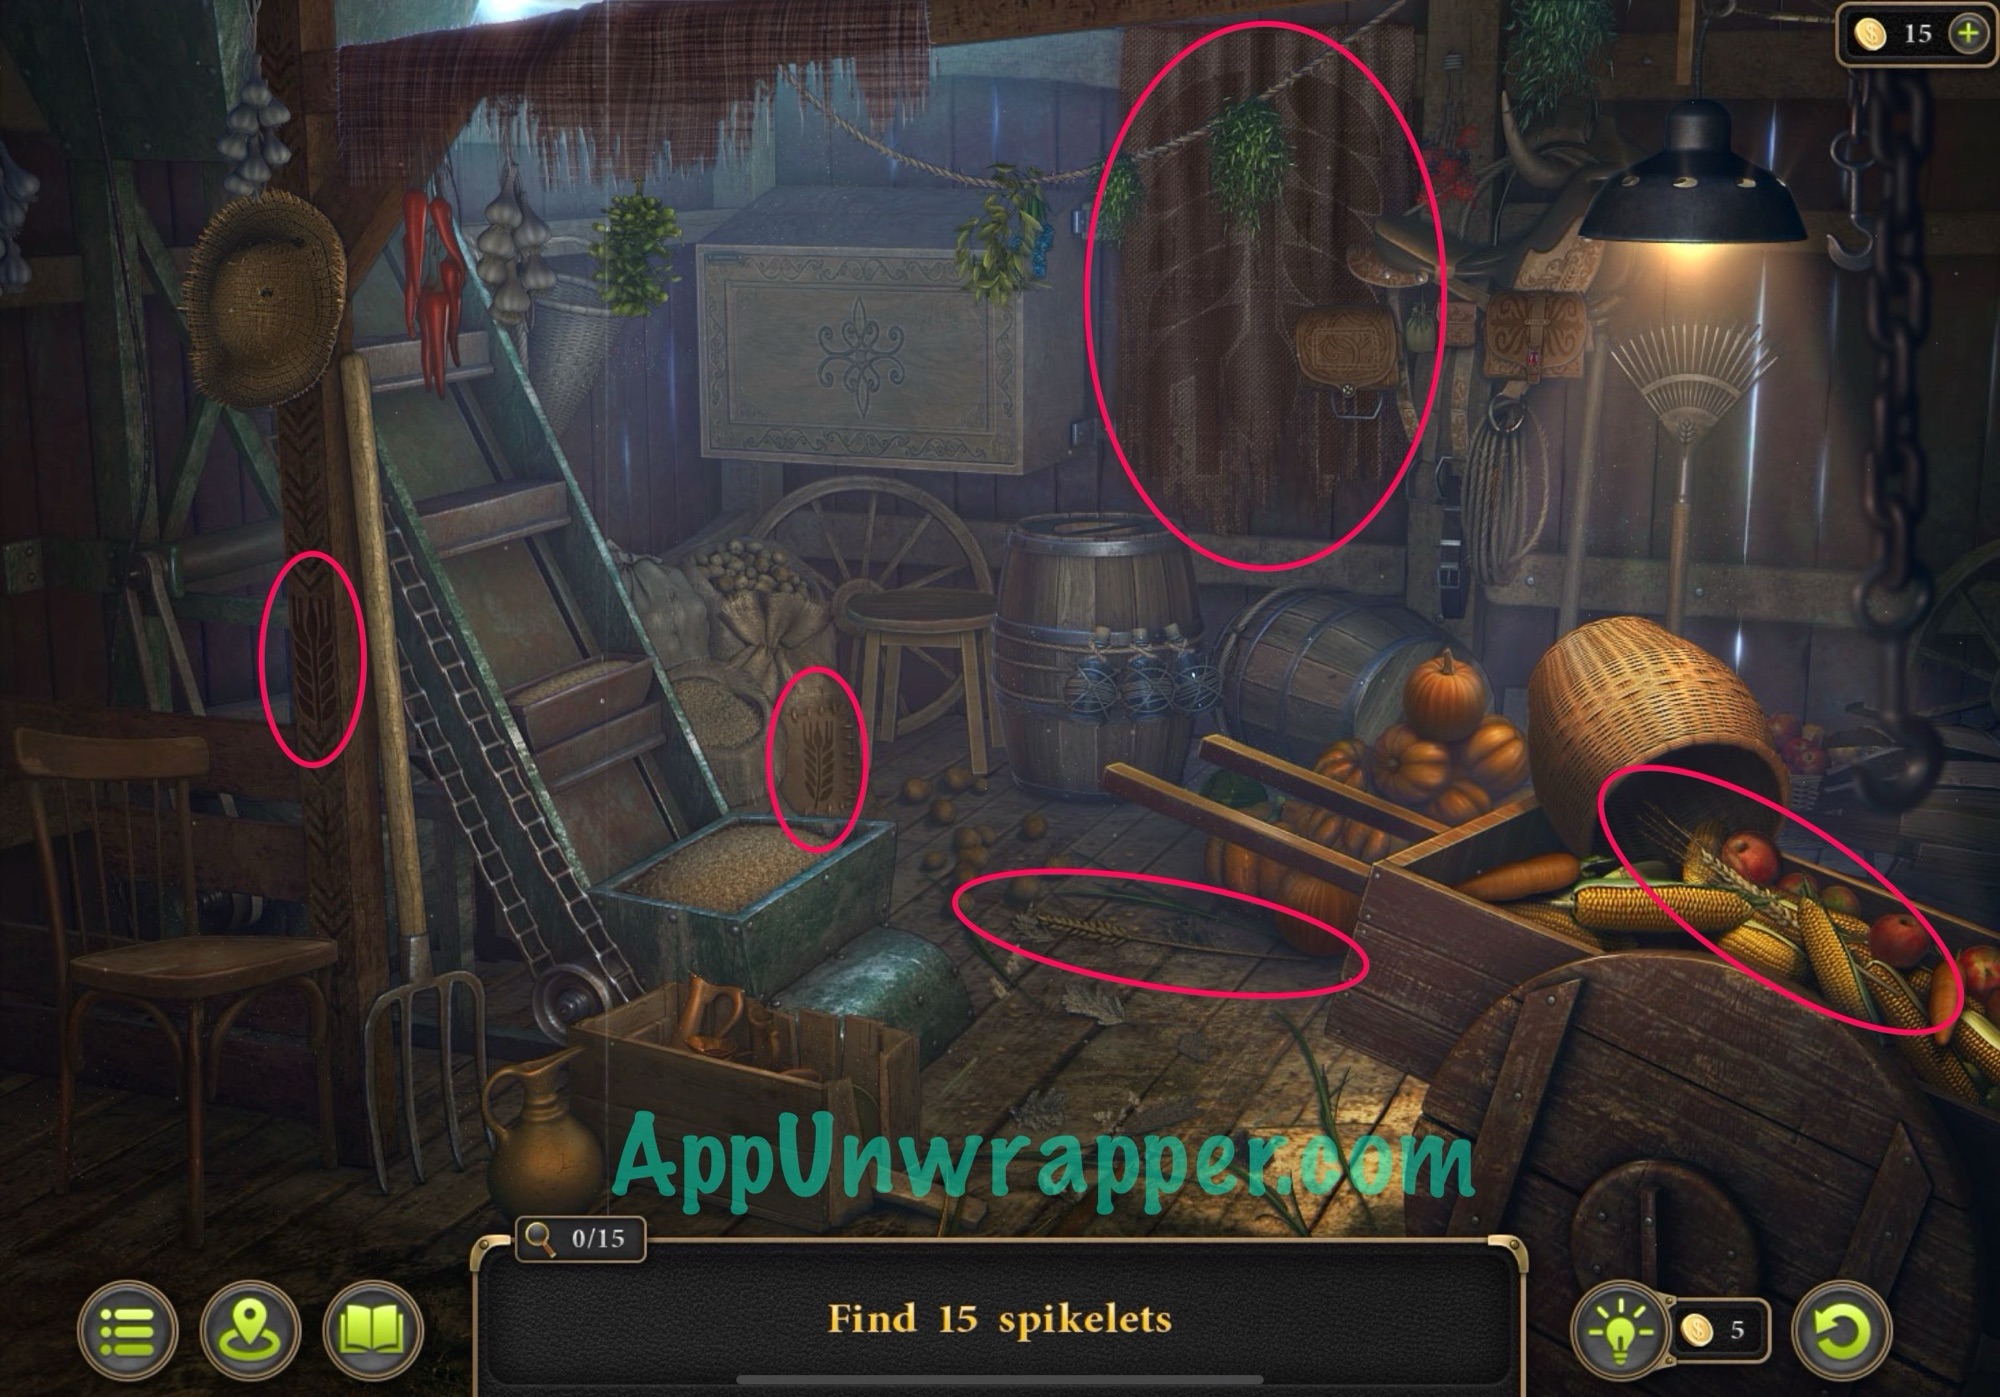
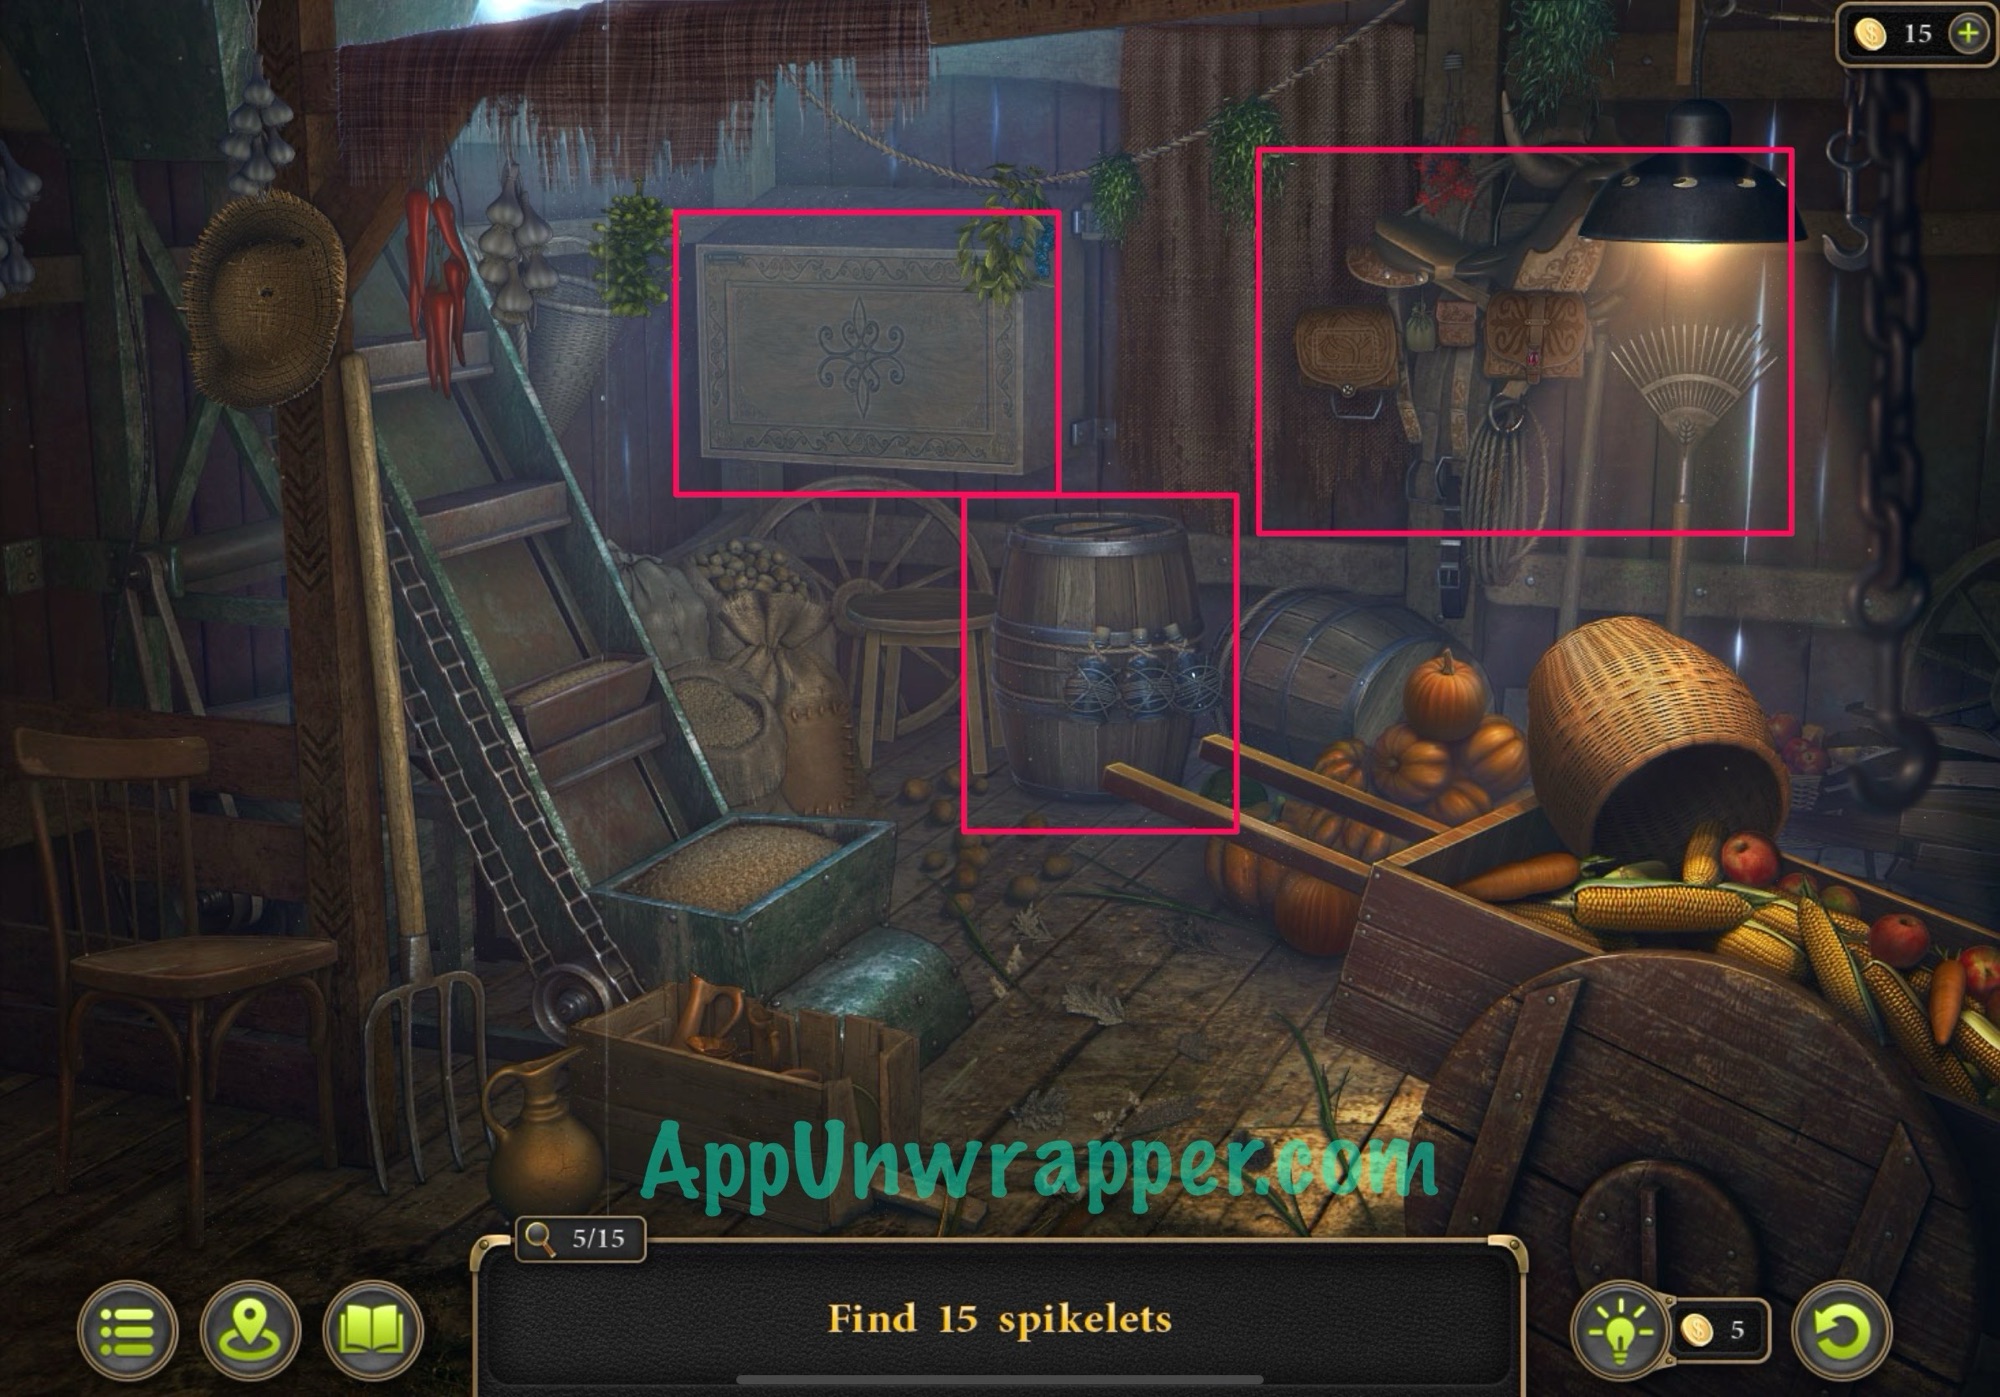
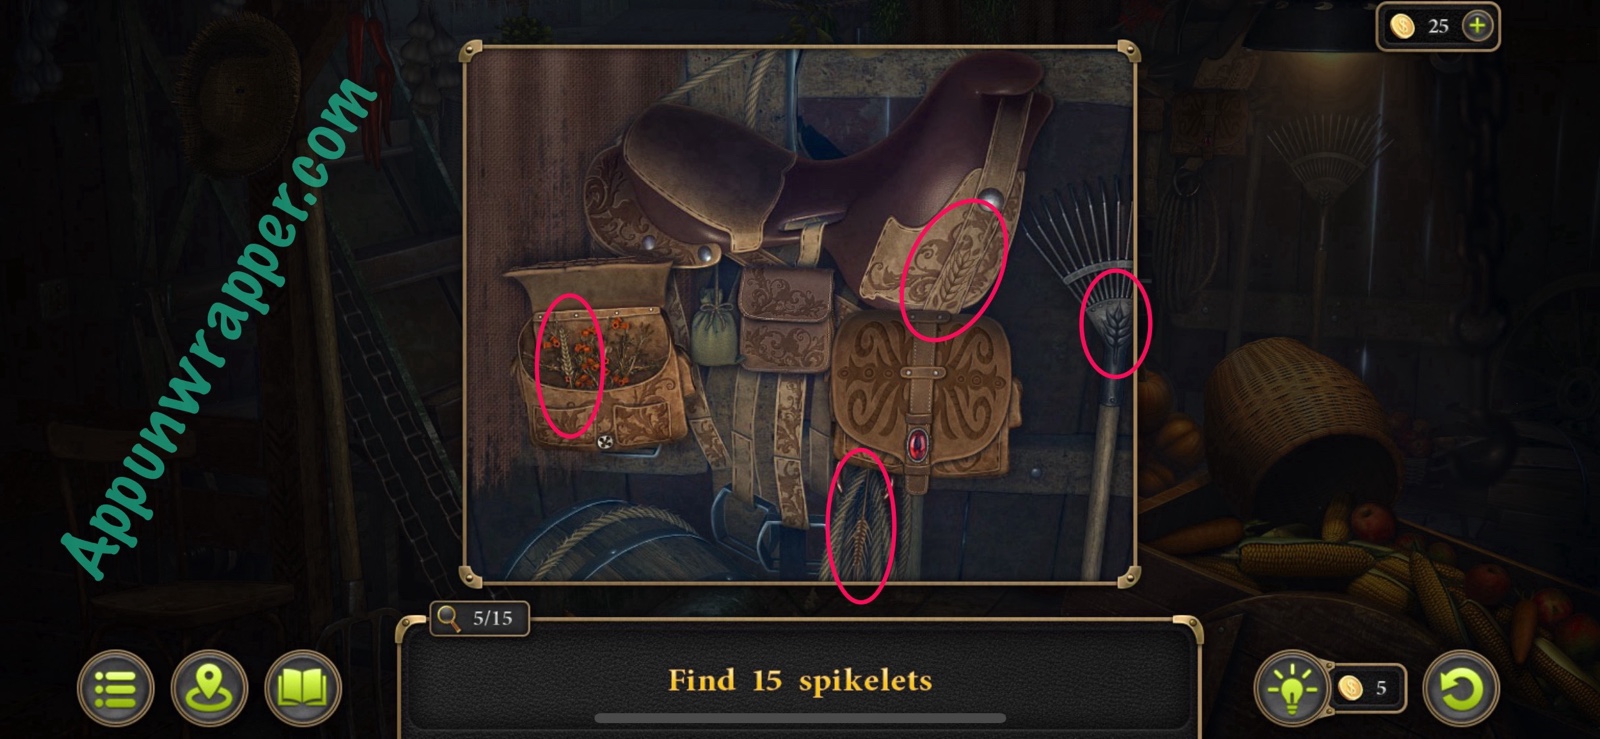
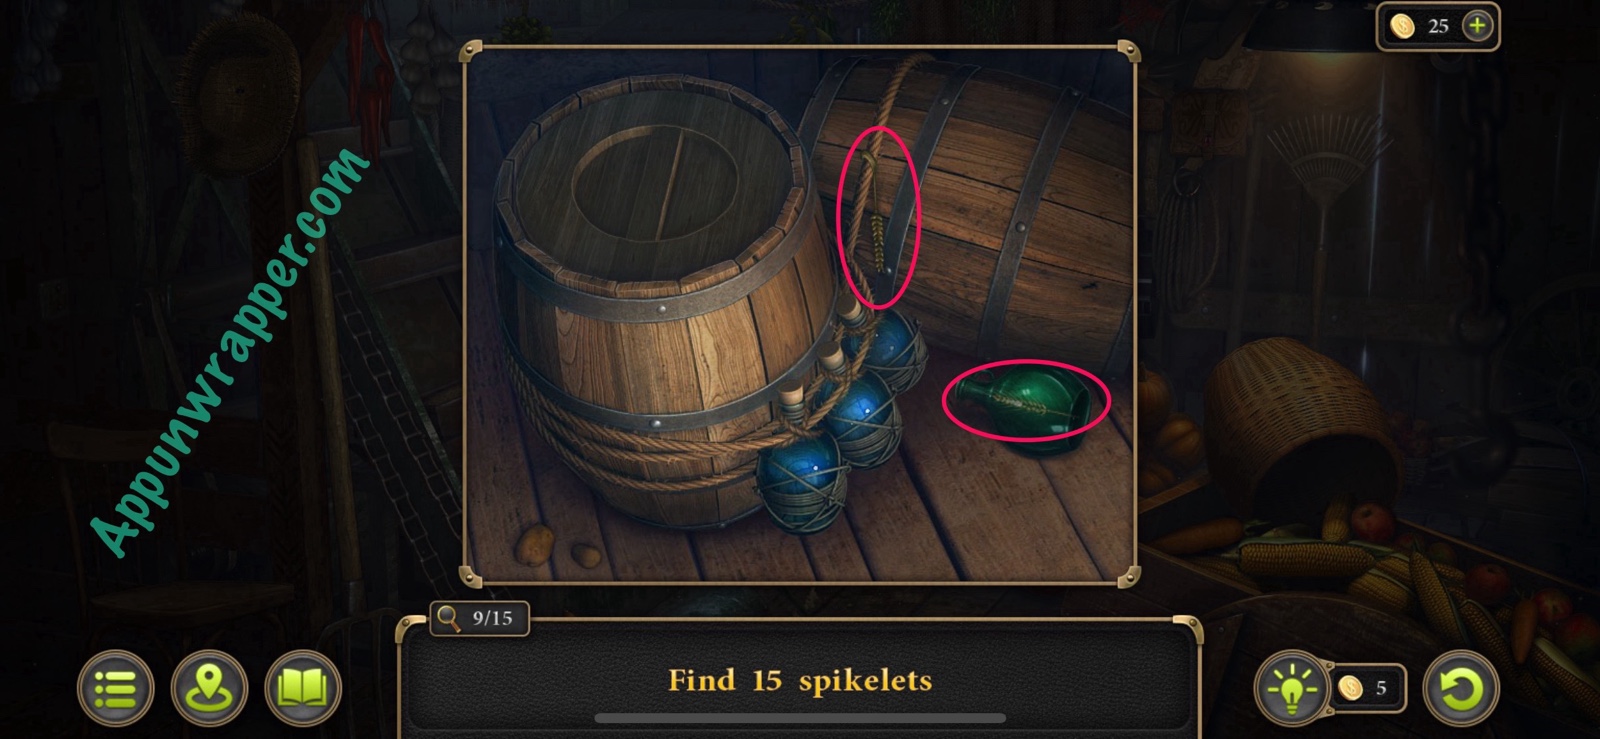
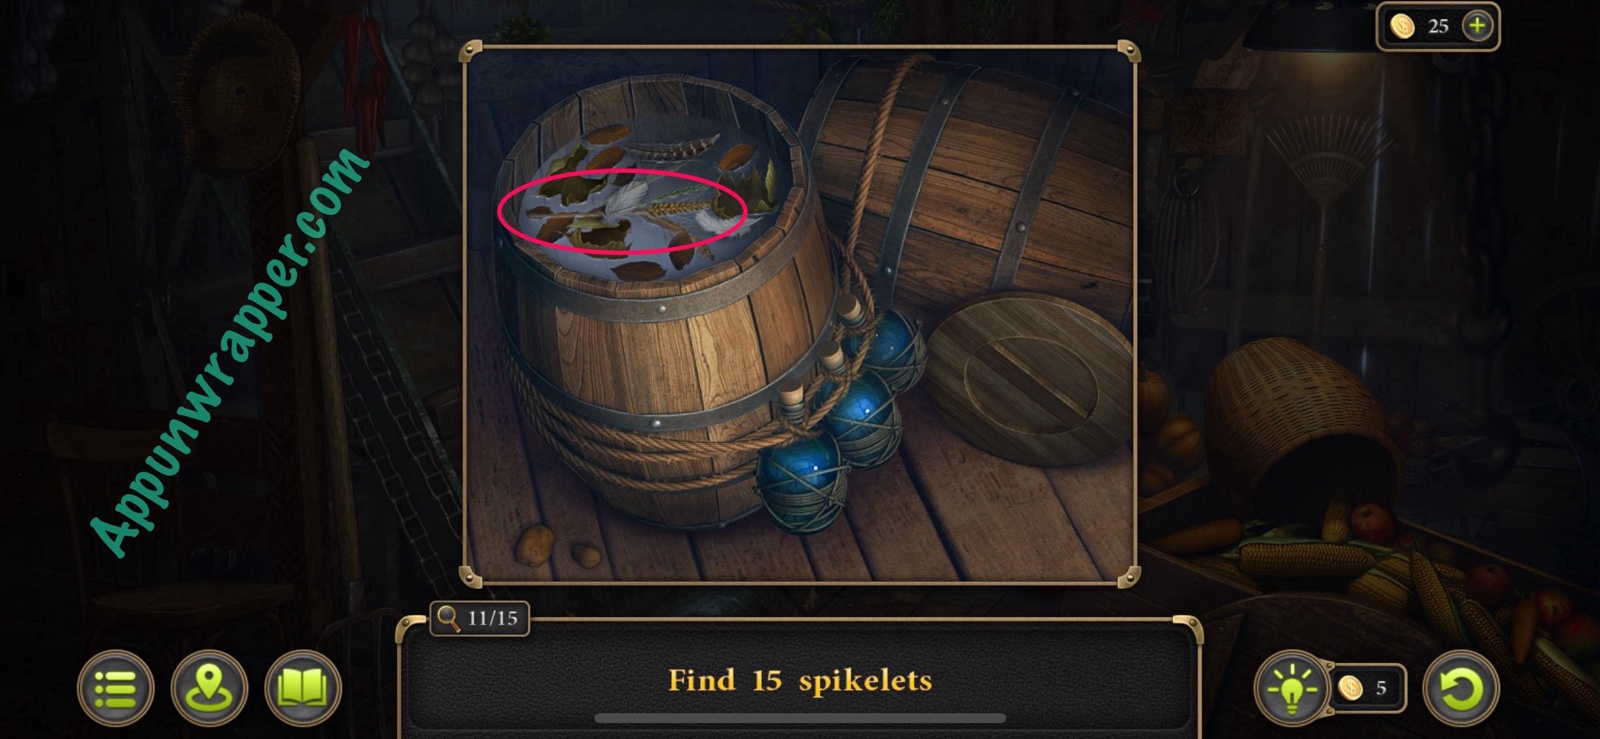
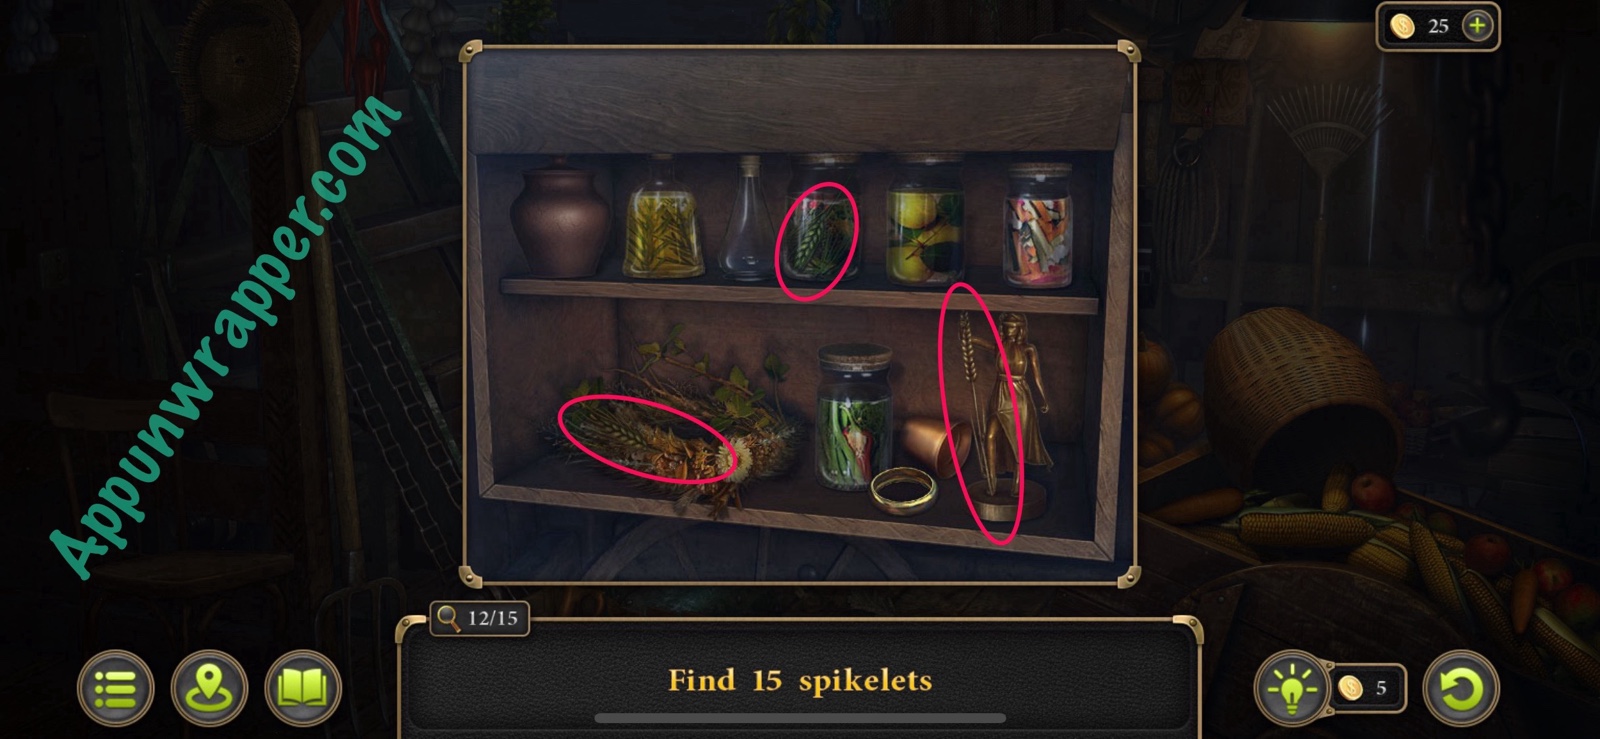
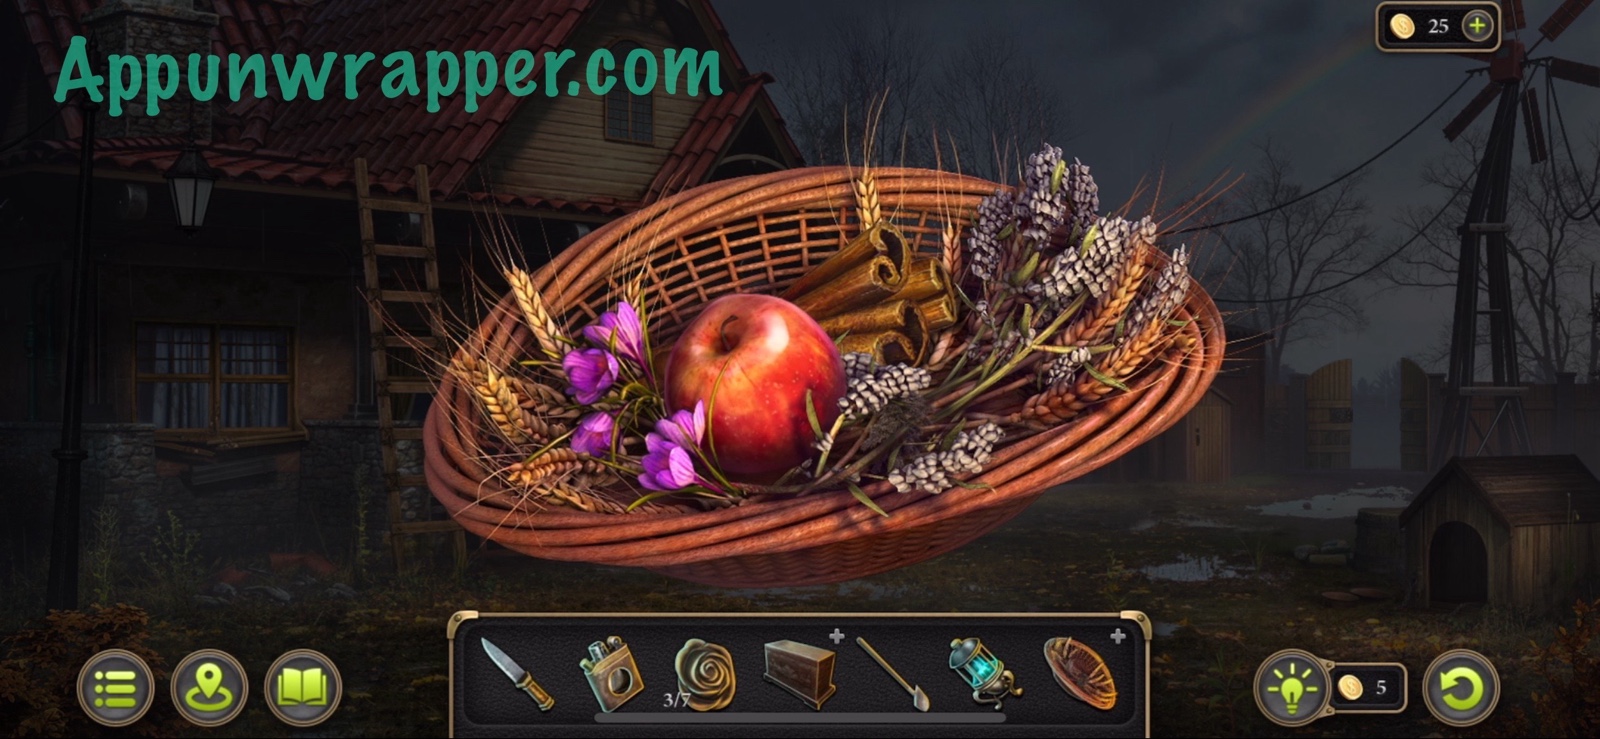
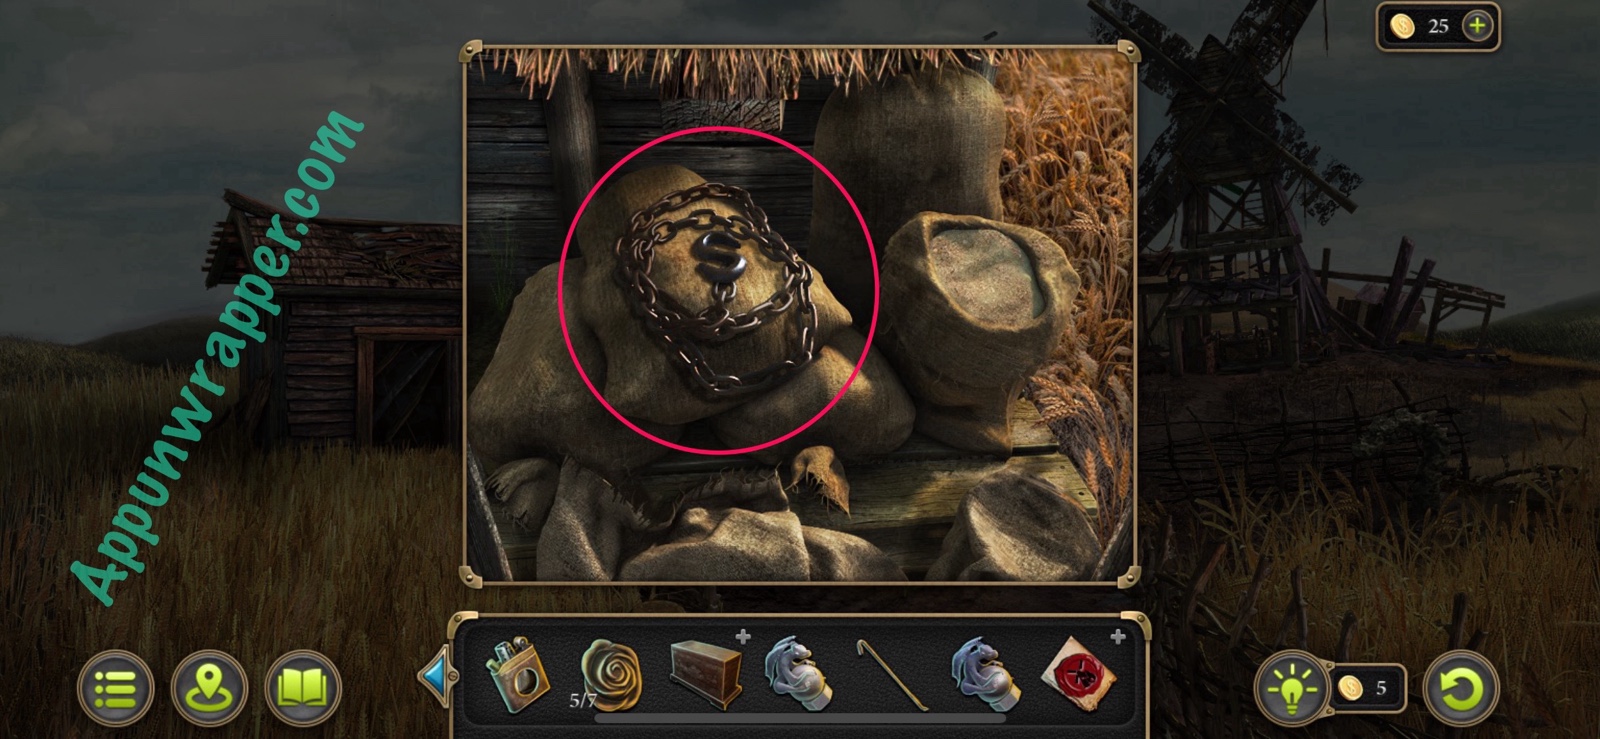
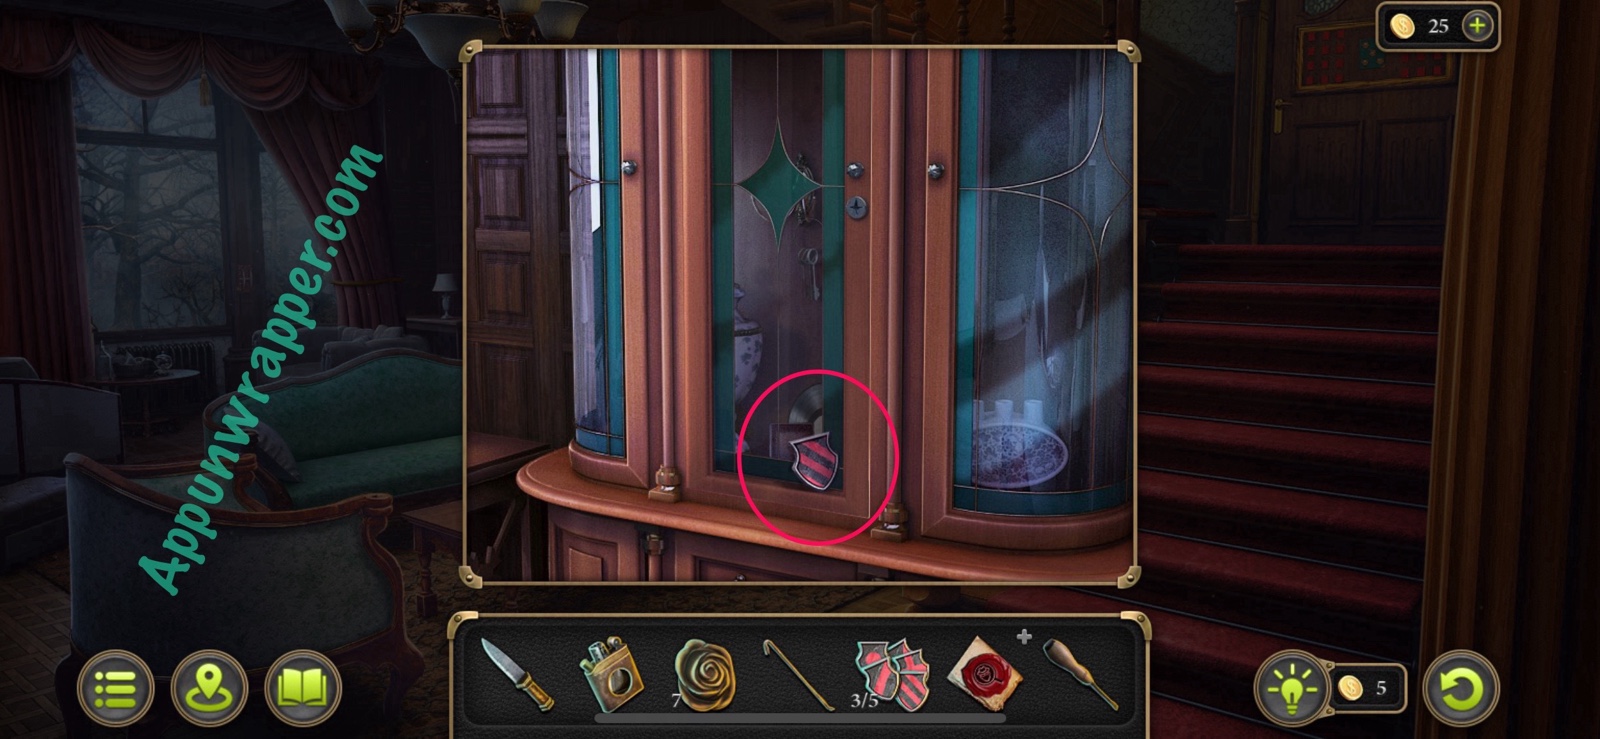
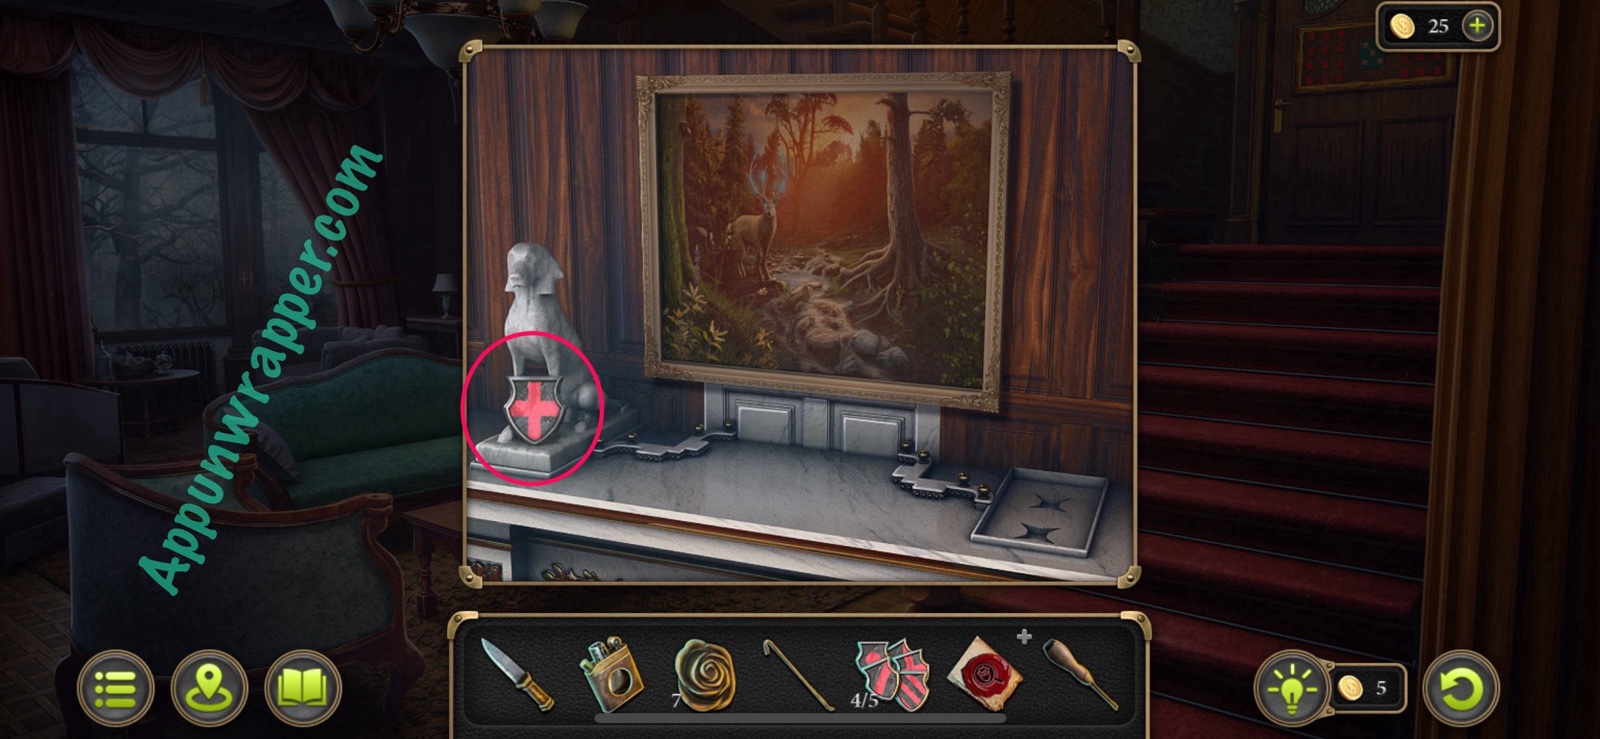
37. Now there’s a hidden object game in which you have to find 15 spikelets of wheat. I’ll circle them for you. There’s 5 in the main scene, 4 by the saddle on the wall, 3 by the barrel, and 3 in the cabinet. Then you’ll get the Basket with wheat.
38. Open the basket from your bag and add the sagebrush, apple, cinnamon and crocuses. Now you should have an Offering.
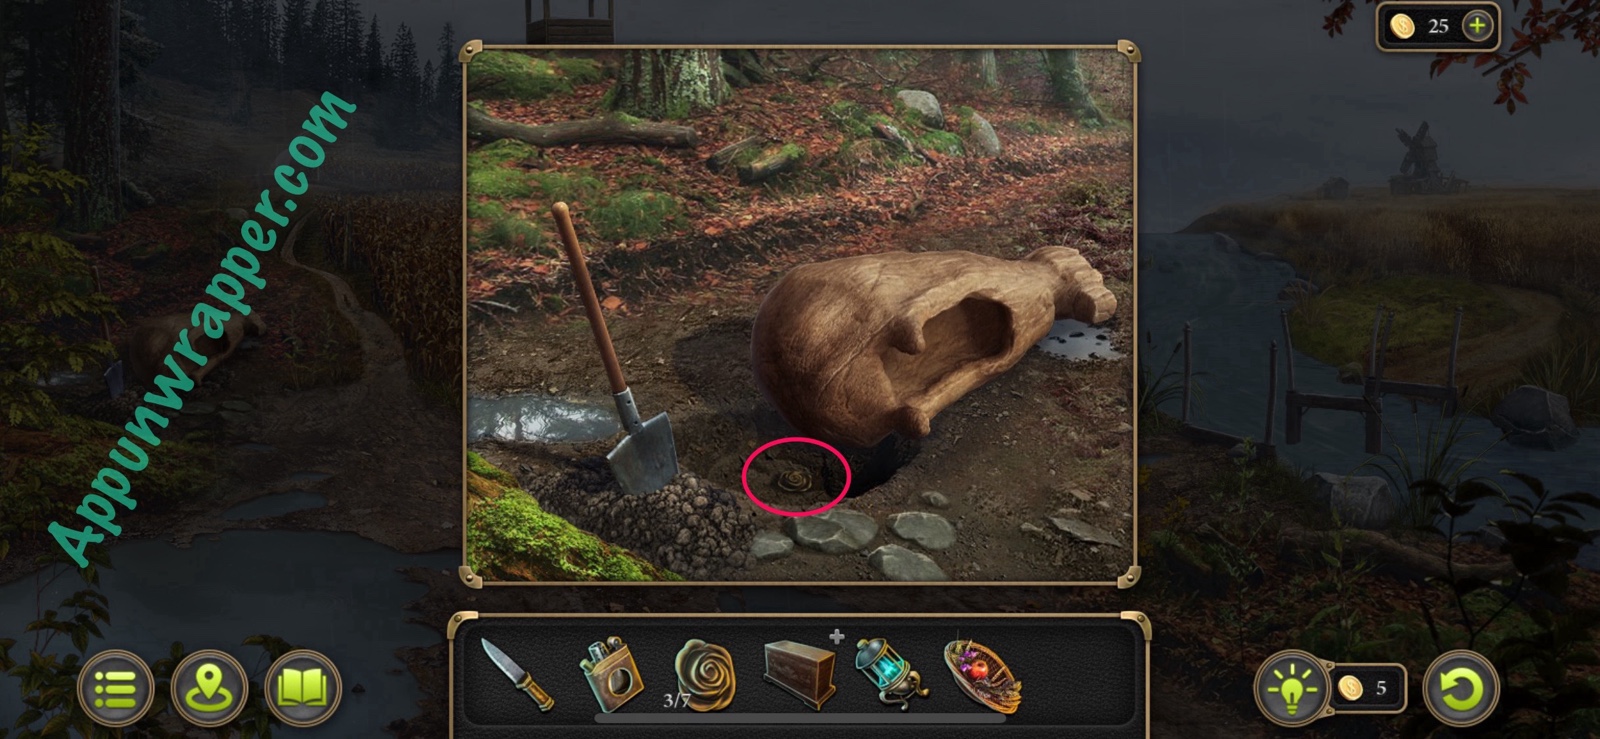
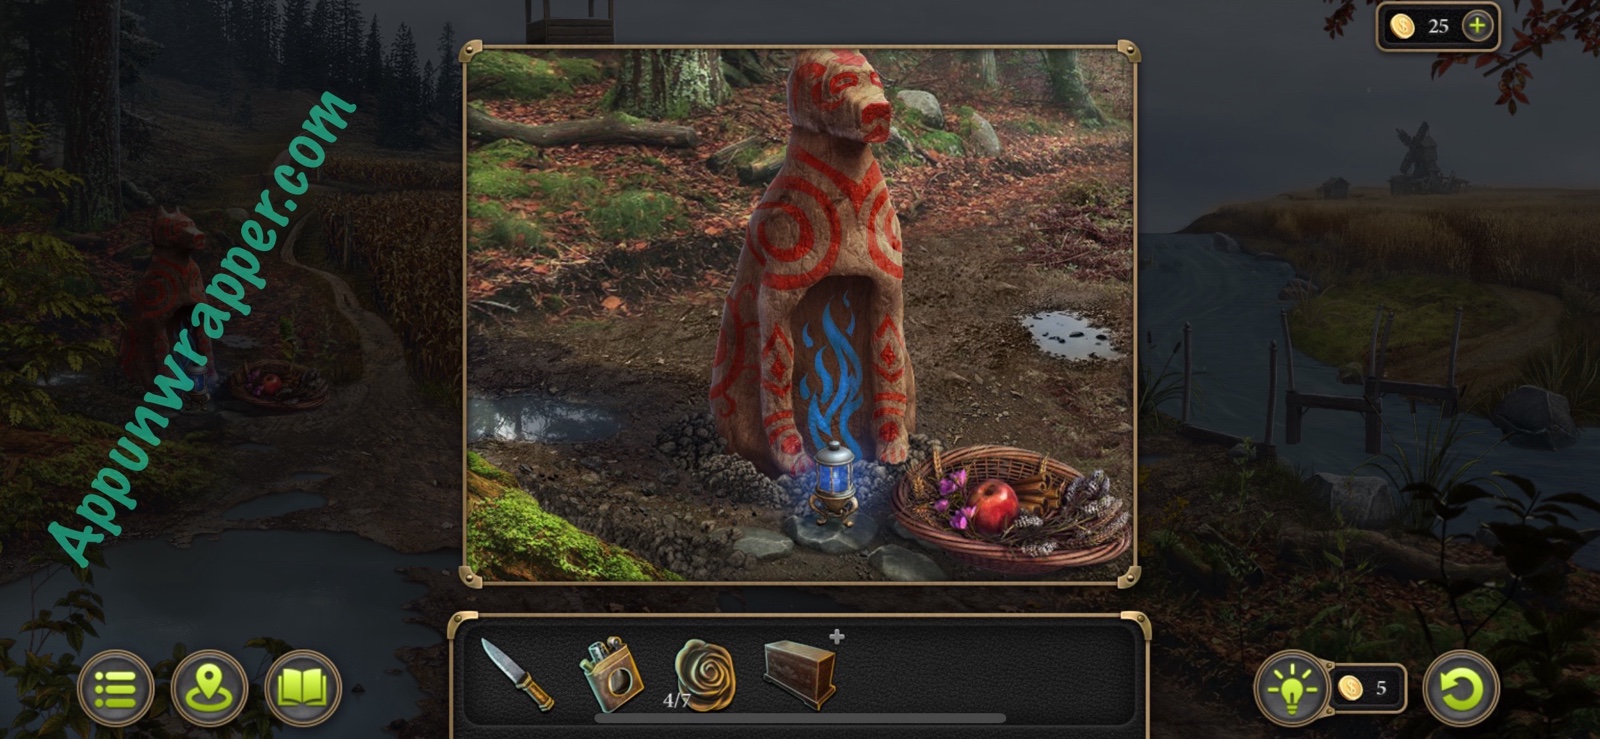
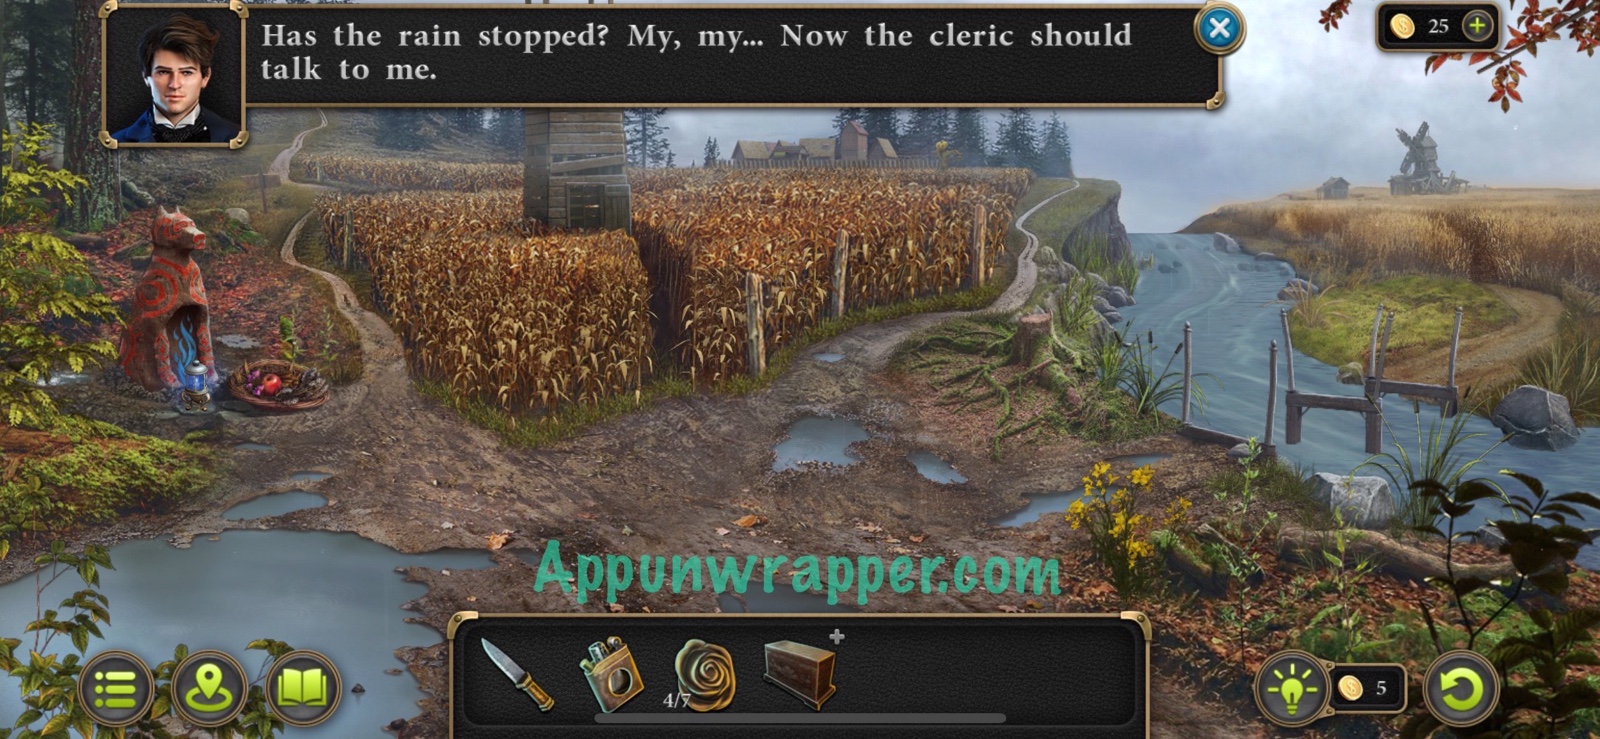
39. Go back to the field and examine the fire dog totem again. Use the shovel to dig up some dirt. Then take the Flower that’s in the hole. Stand the totem up and then use the shovel again to fill in the dirt. Place the Burning Lampada and Offering down. Now the rain stopped, so the cleric should talk to you again.
Items: Flower (4/7)

40. Go back to the temple and talk to the cleric. He gives you an Amulet for protection and sends you off to explore the burnt mill.
New task: Explore the burnt mill. (File: Fire at the mill)
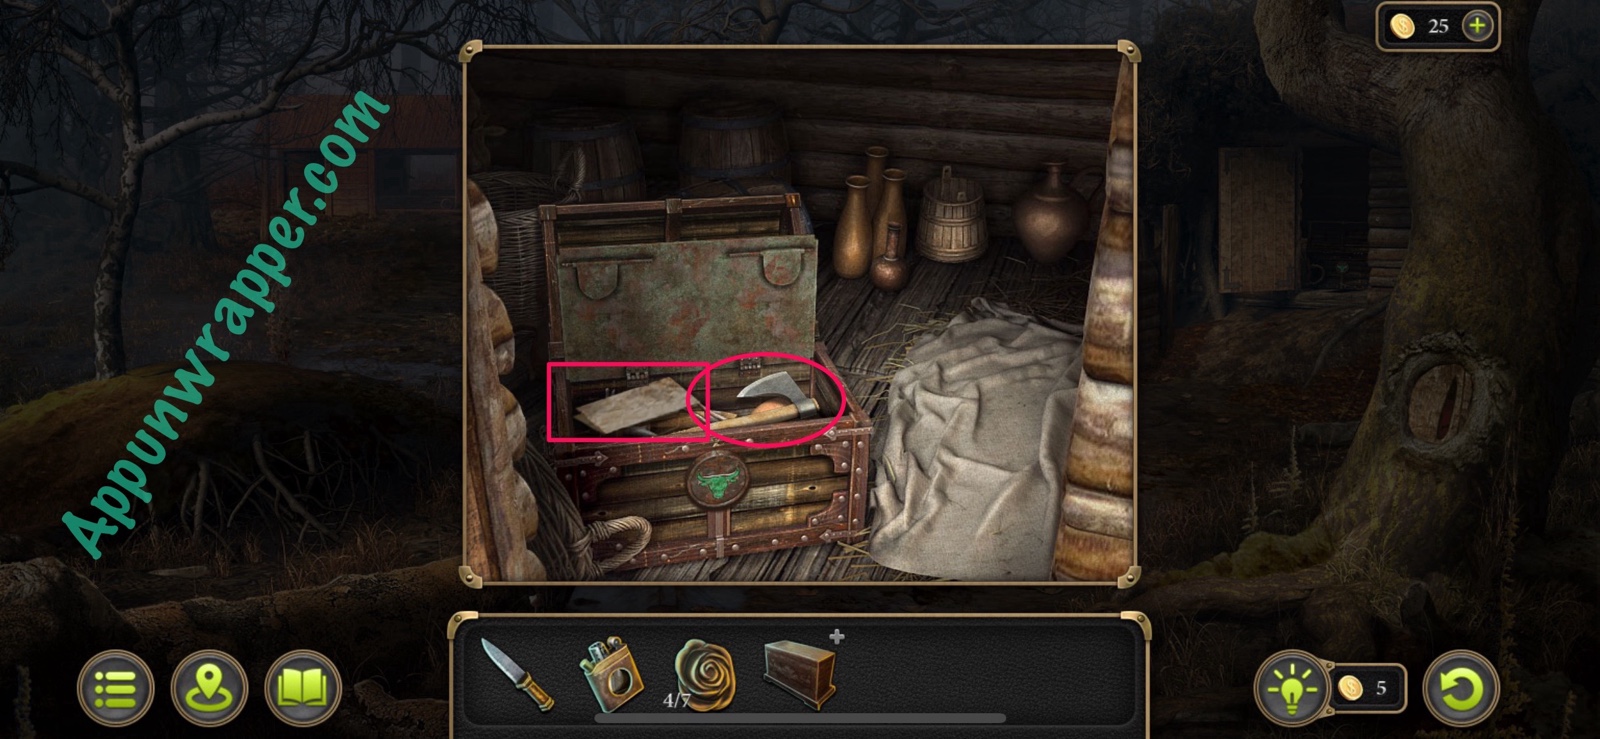
41. Go back to the mysterious forest. Tap on the door to the right and then place the amulet on the chest to open it. Inside is another puzzle.
42. Now we have to solve an animal tile puzzle. You have four animal head tiles and they all move together. You need to get them to the spots on the board that match them. Again, there are a few different variations of this so mine might not be the same as yours. I’ll include videos for whichever ones I have.
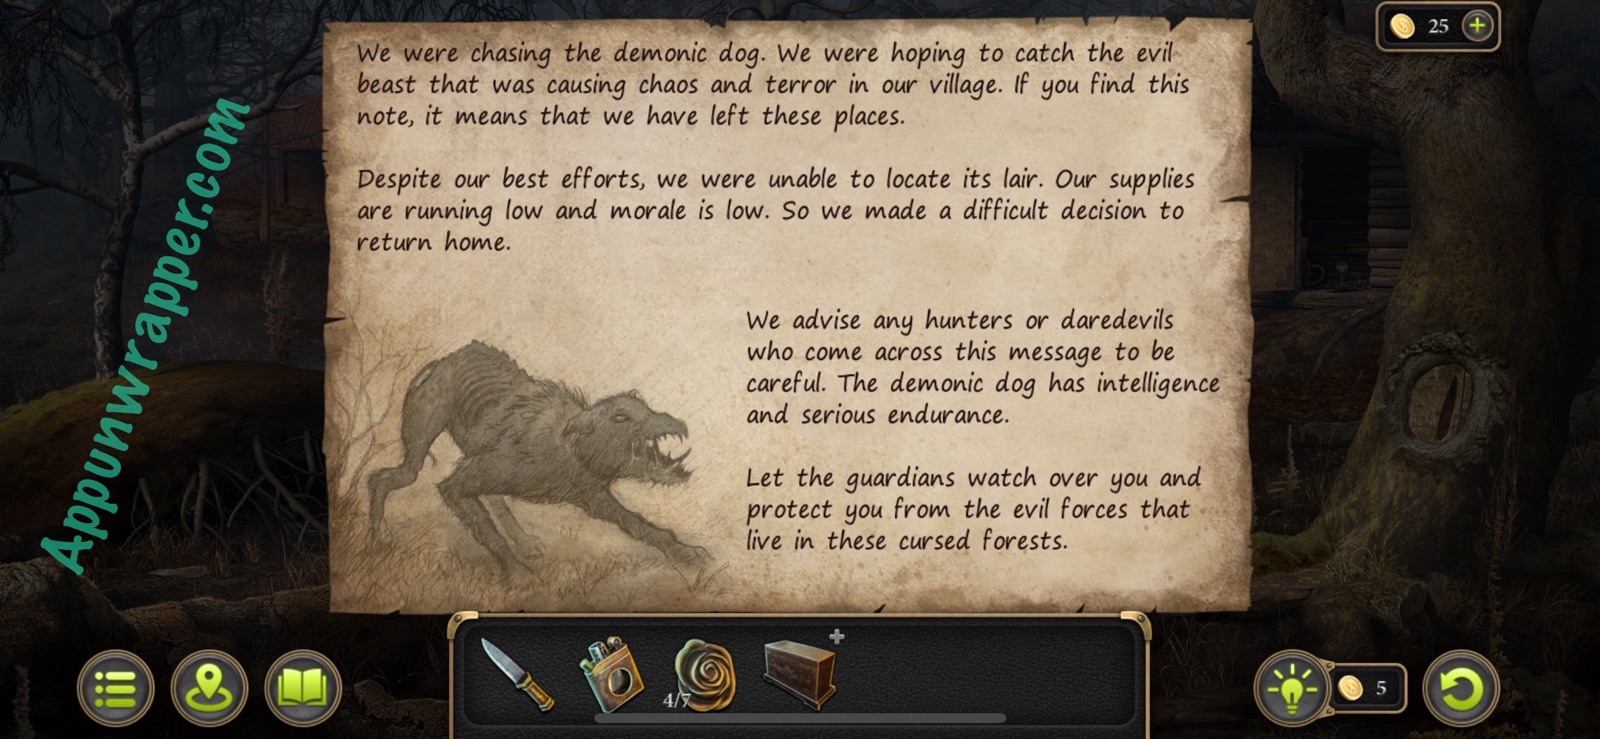
43. Read the note about the demon dog and take the Ax.
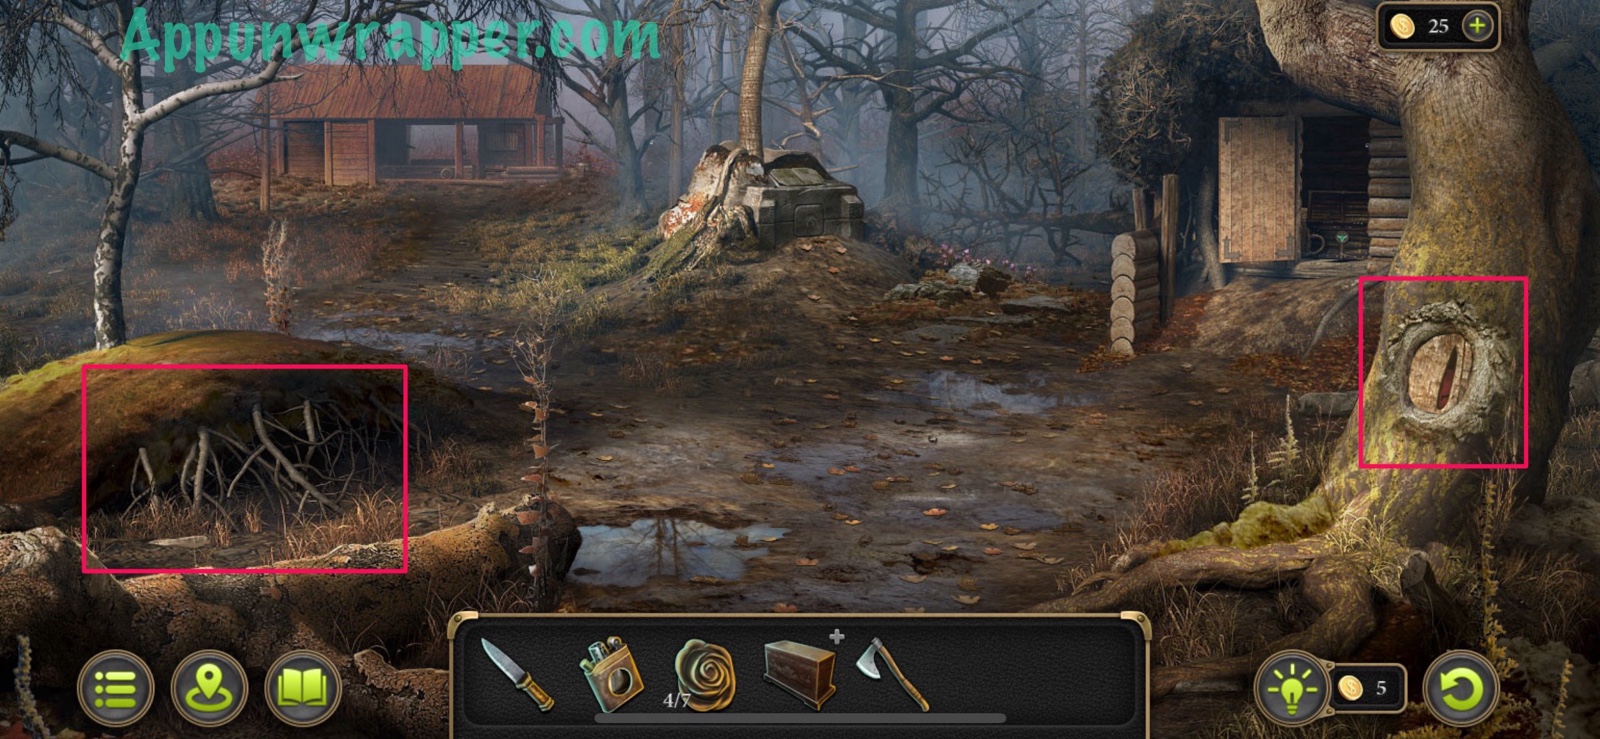
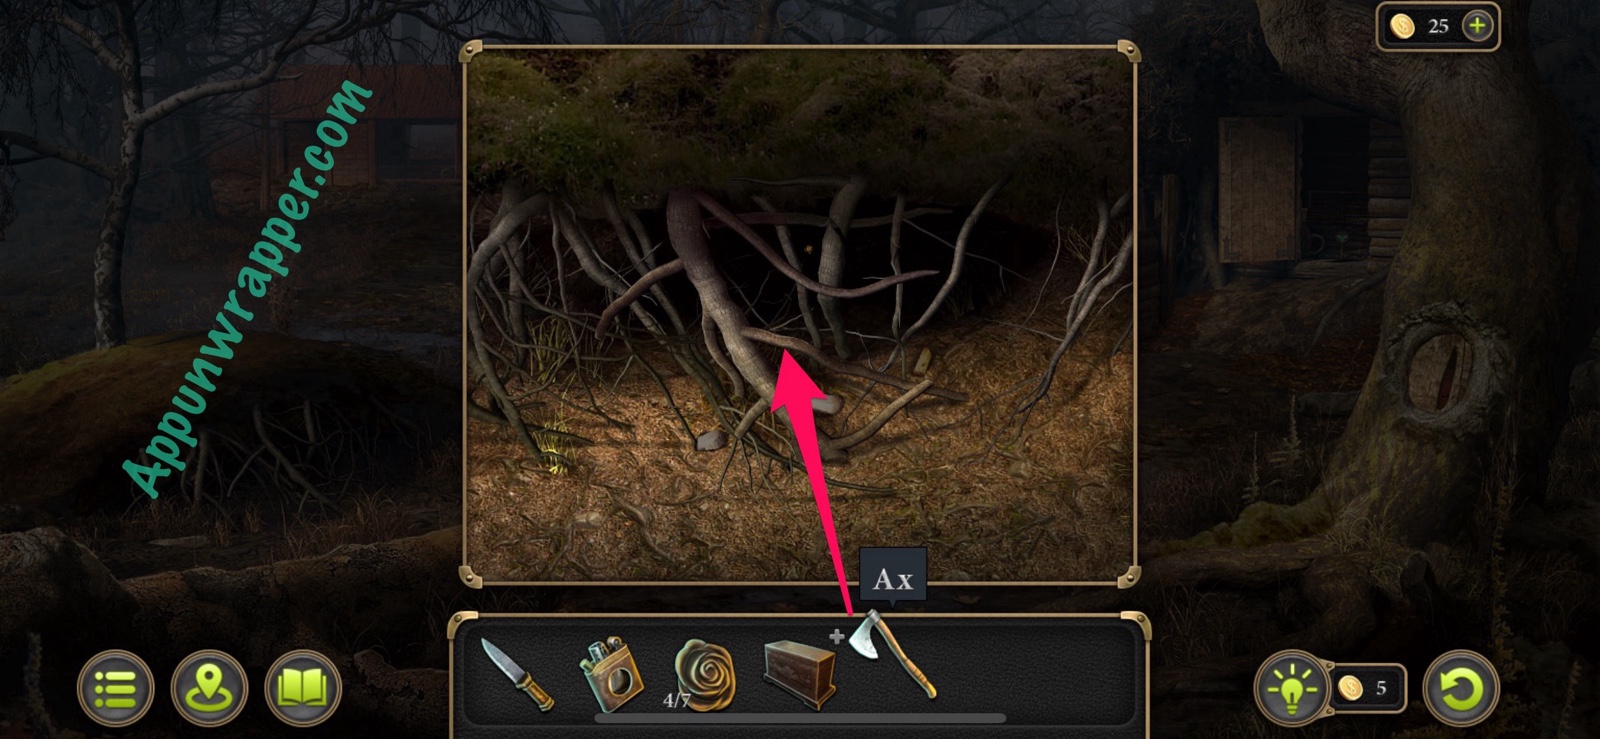
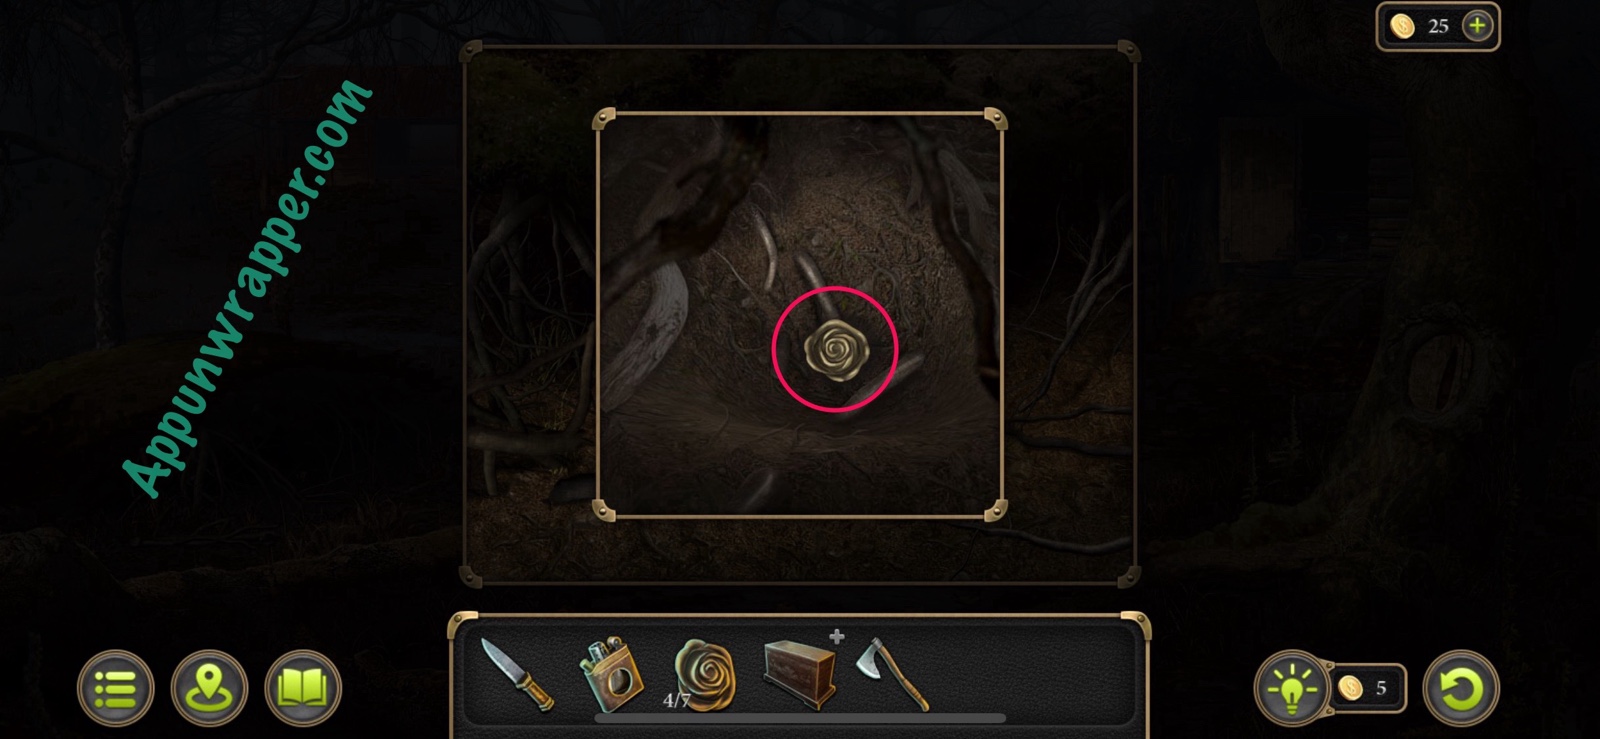
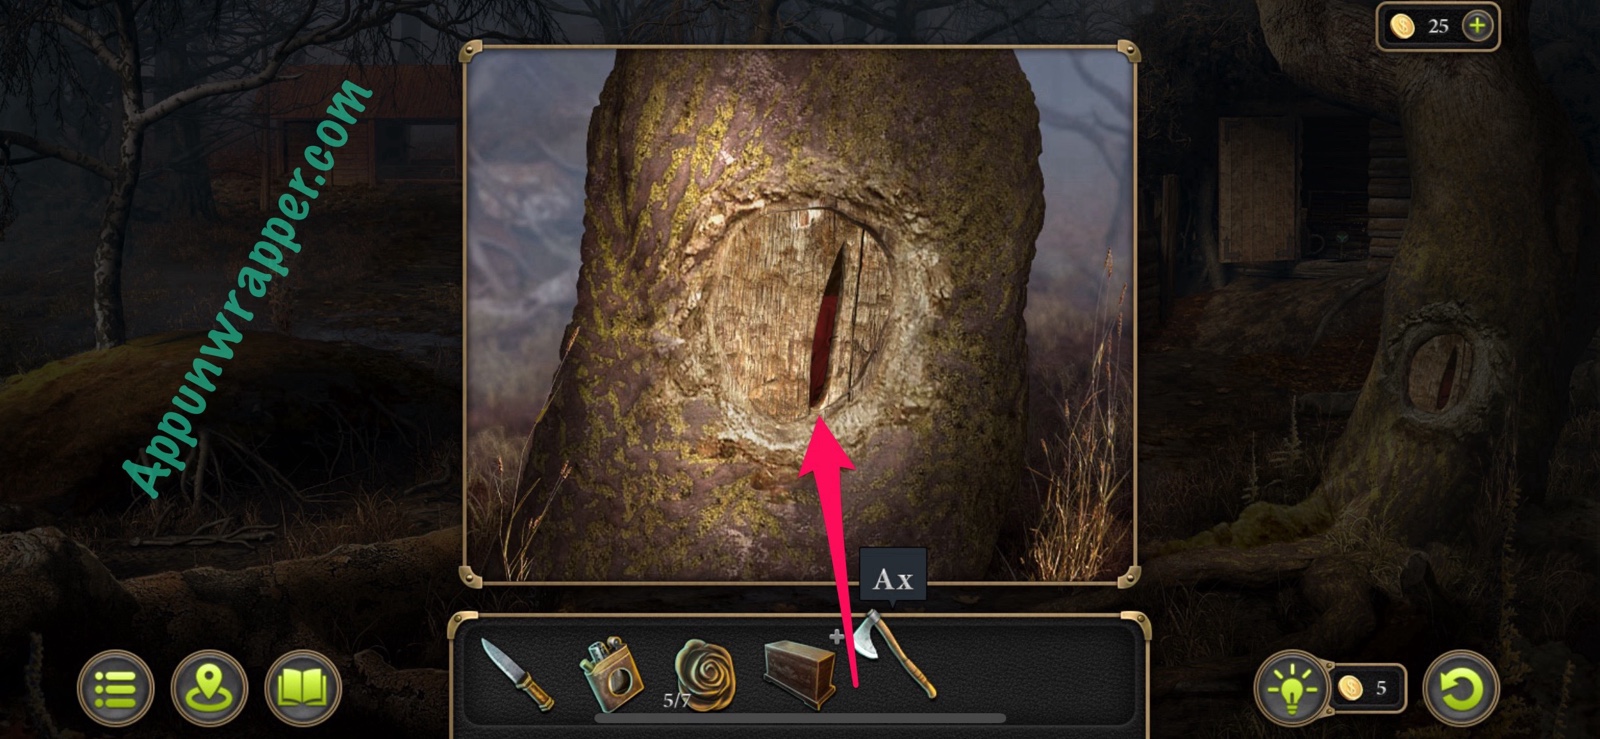
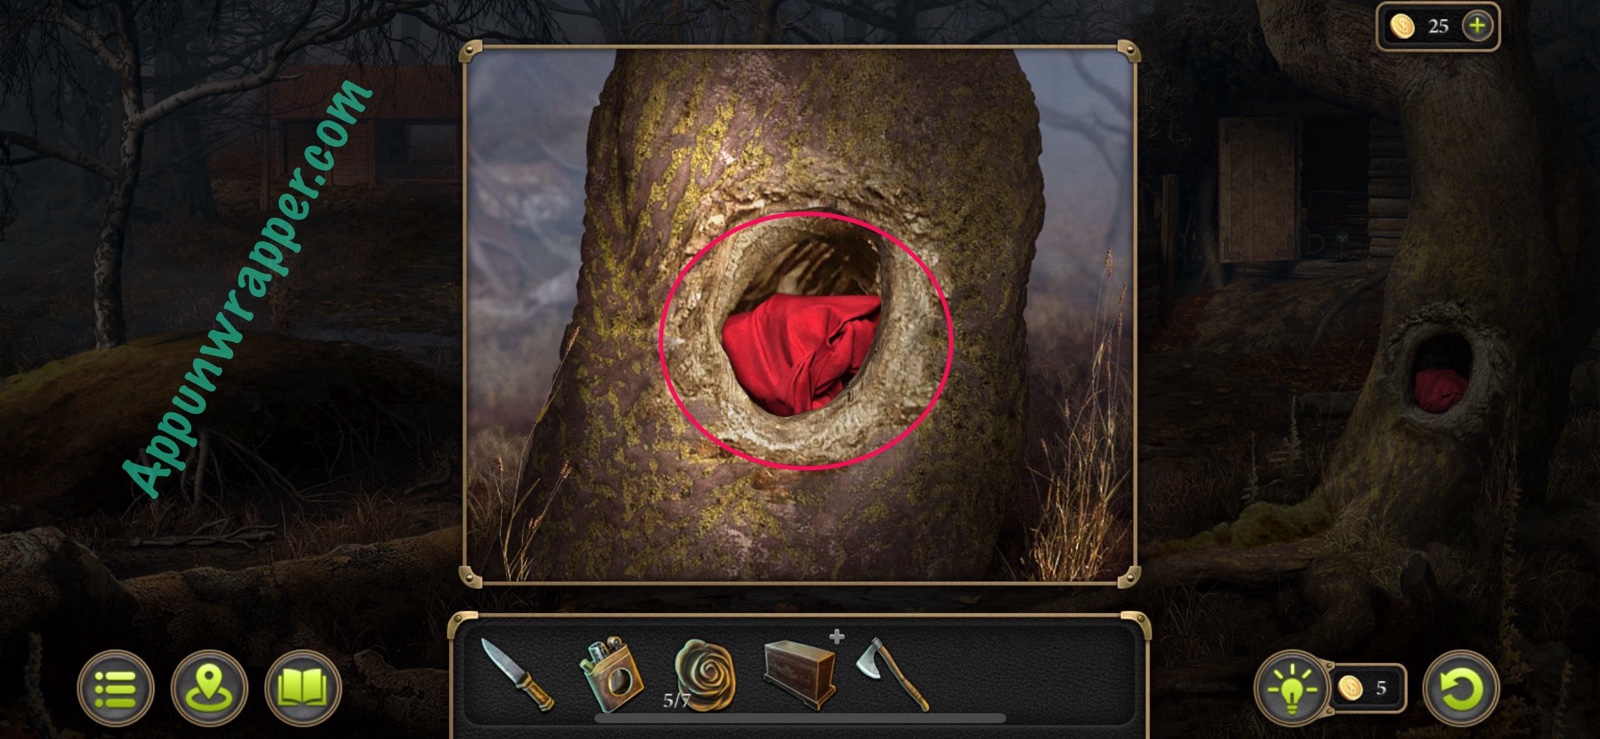
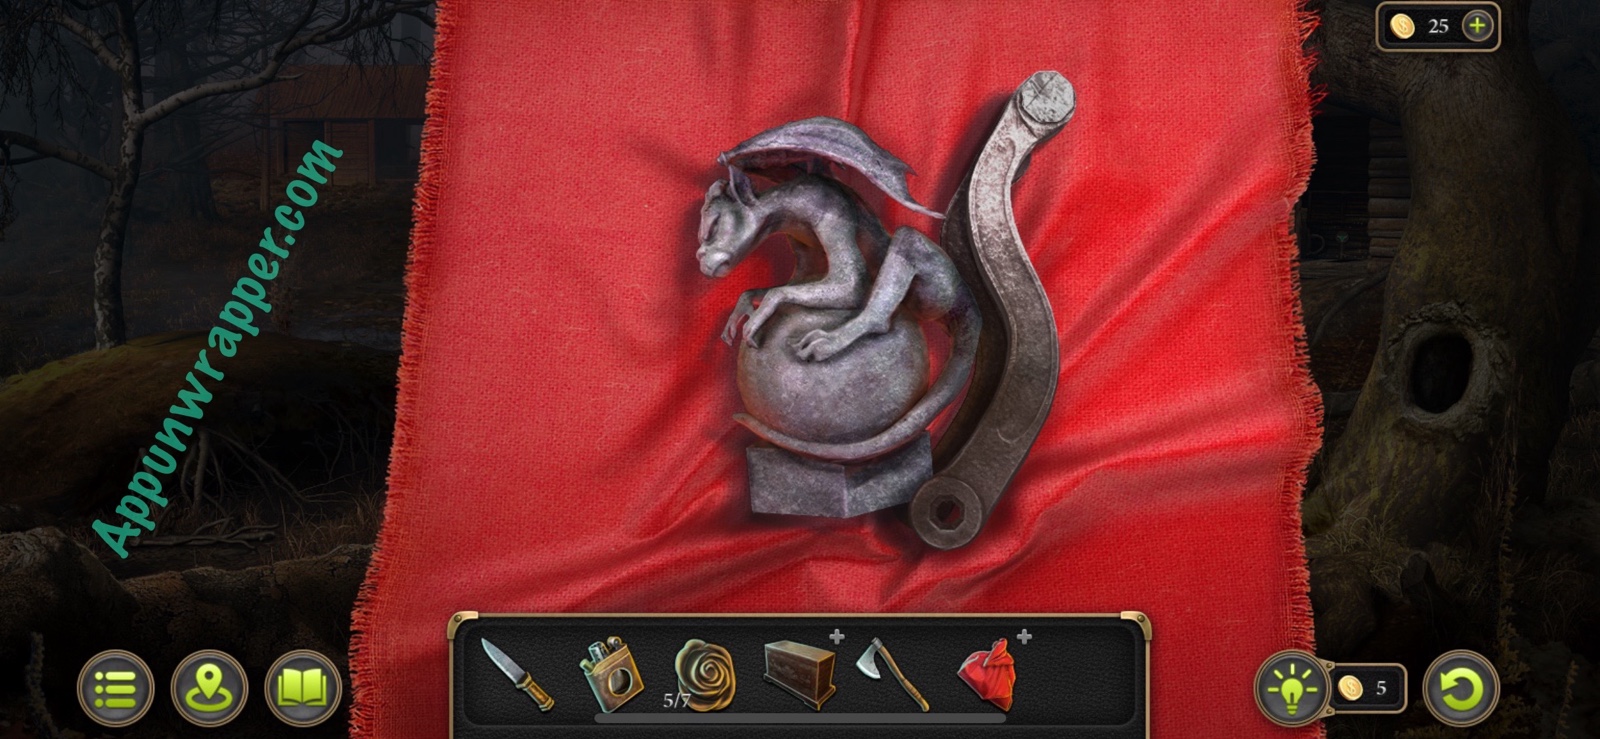
44. Use the ax to cut the roots where the bird dropped something. Look inside the hole and get the Flower. Also use the ax on the cut in the tree to the right. Take the bundle. Then open the bundle to get a Statuette and a Handle.
Items: Flower (4/7)
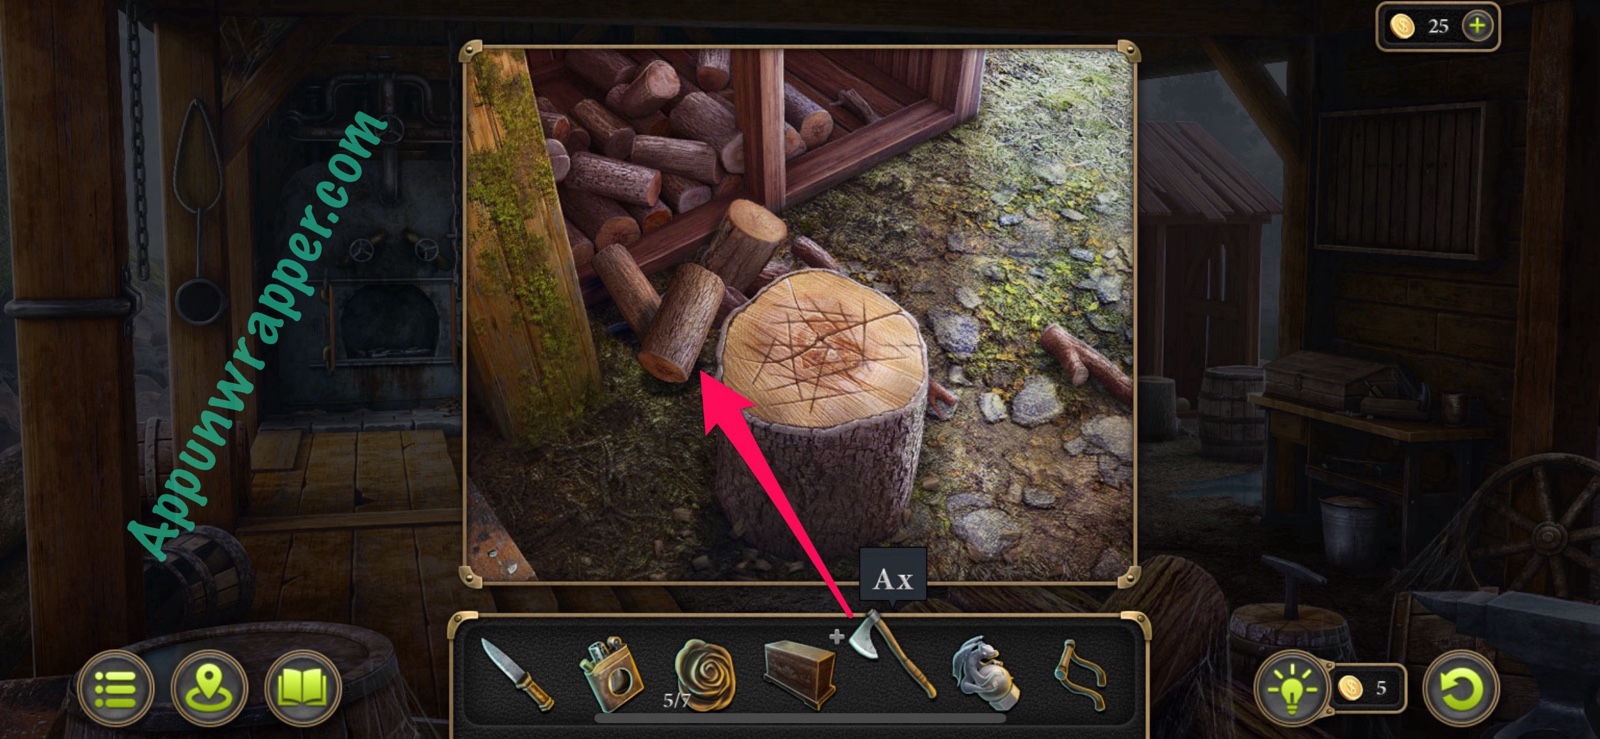
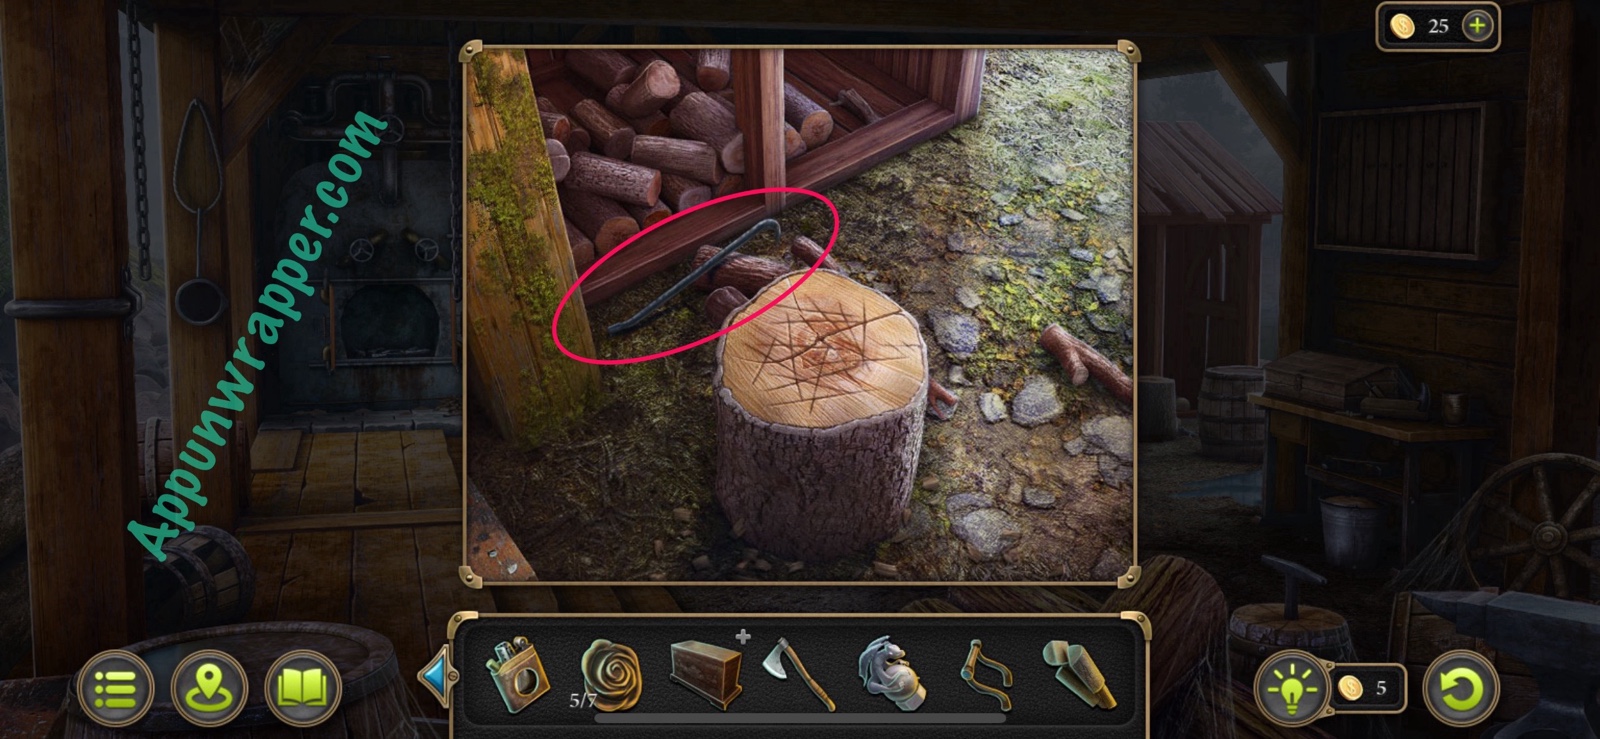
45. Go back to the saw mill, the stump outside. Use the axe on the logs nearby to start chopping them and get Firewood. Then pick up the Crowbar.
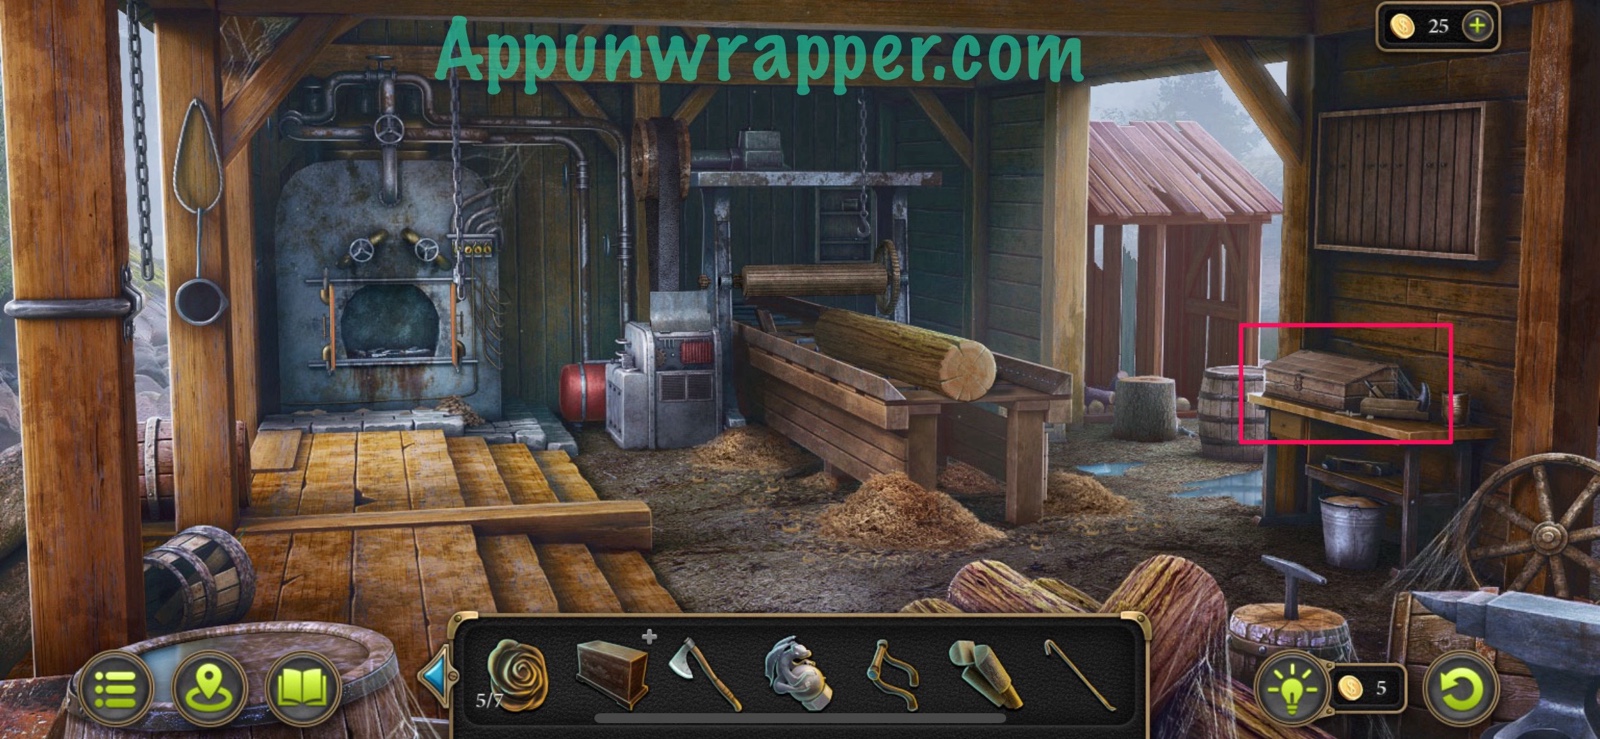
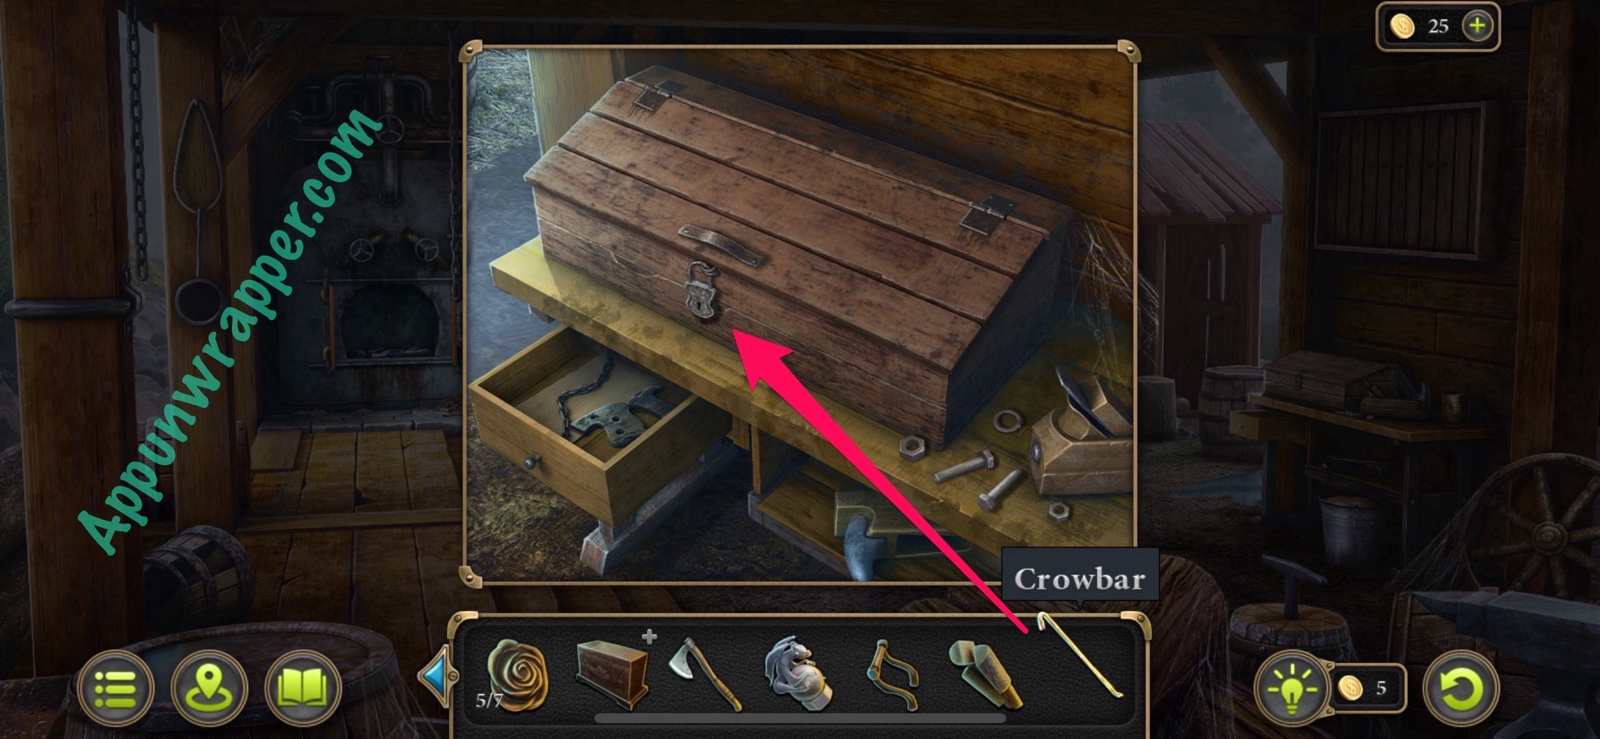
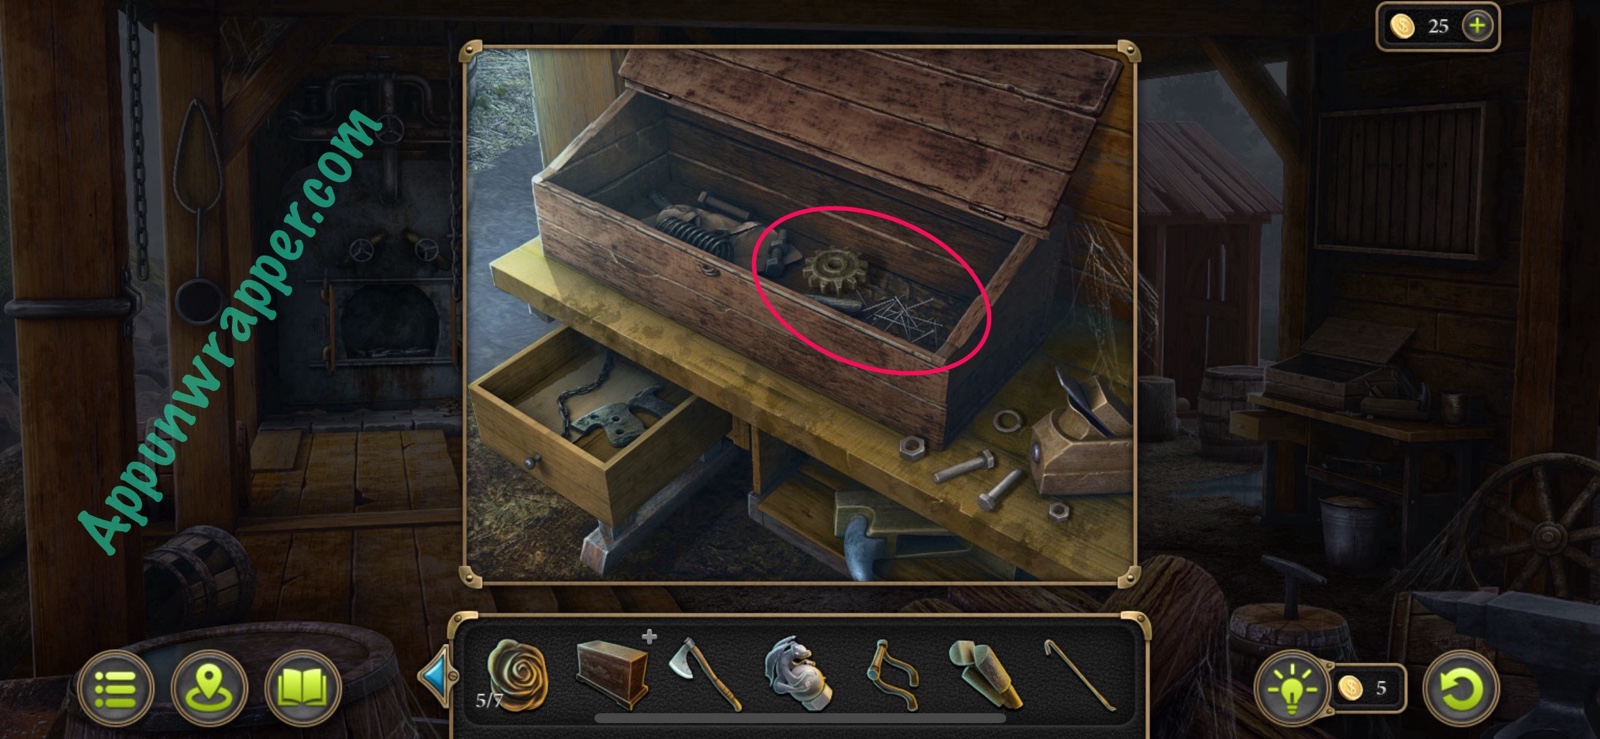
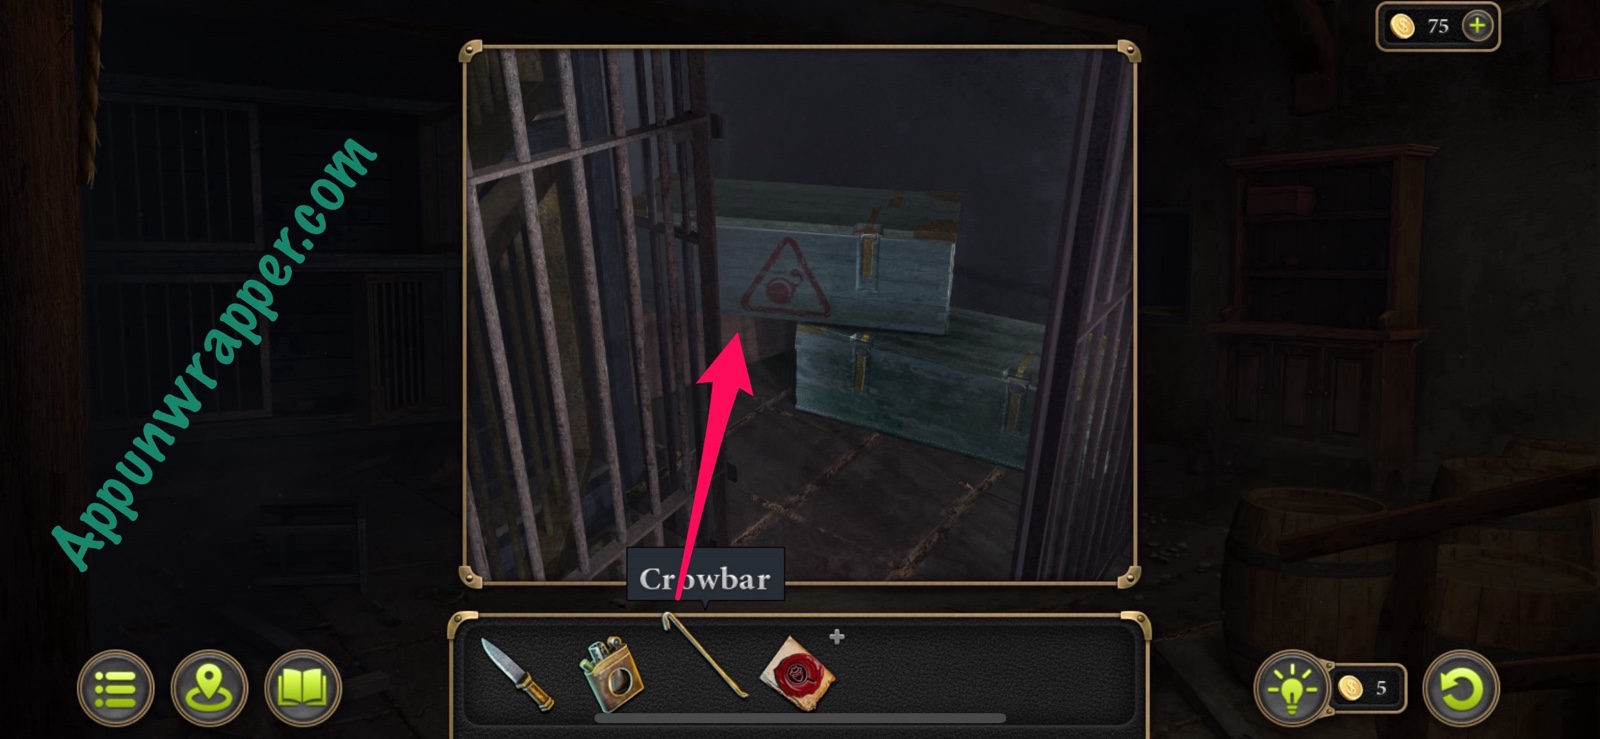
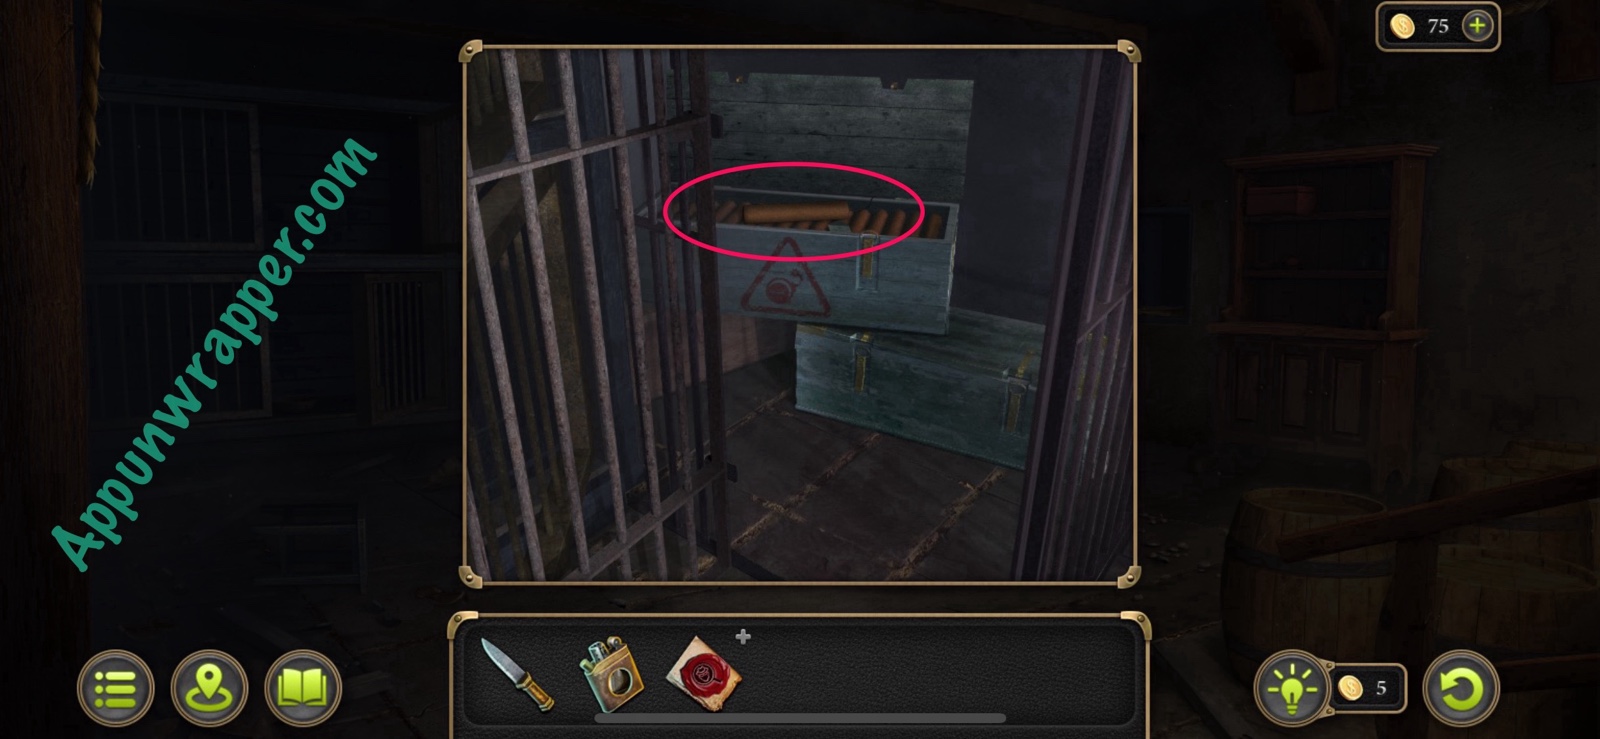
46. While here, tap on the locked box on the right and use the crowbar to open it. Take the Gear and Nails from inside.
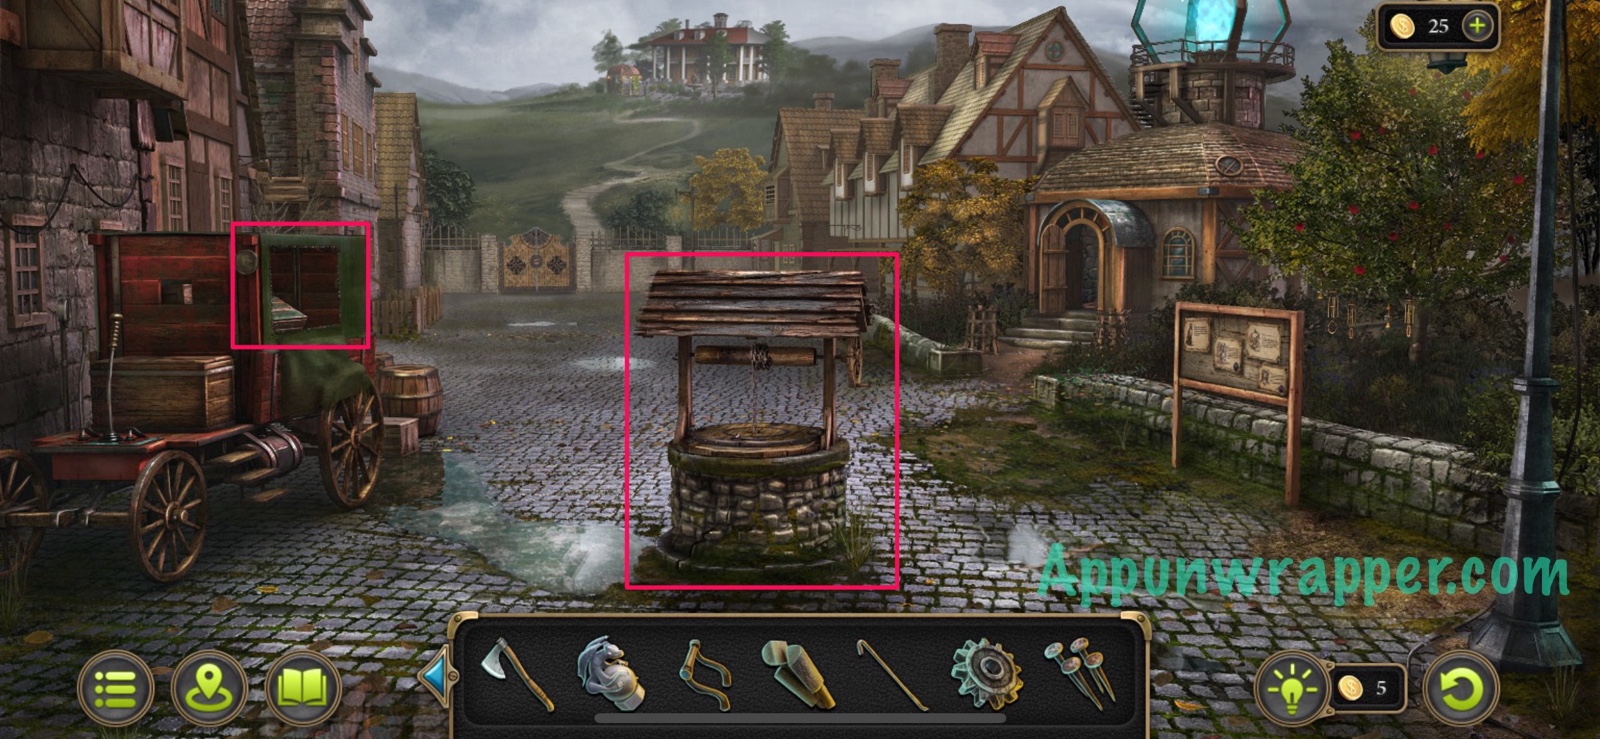
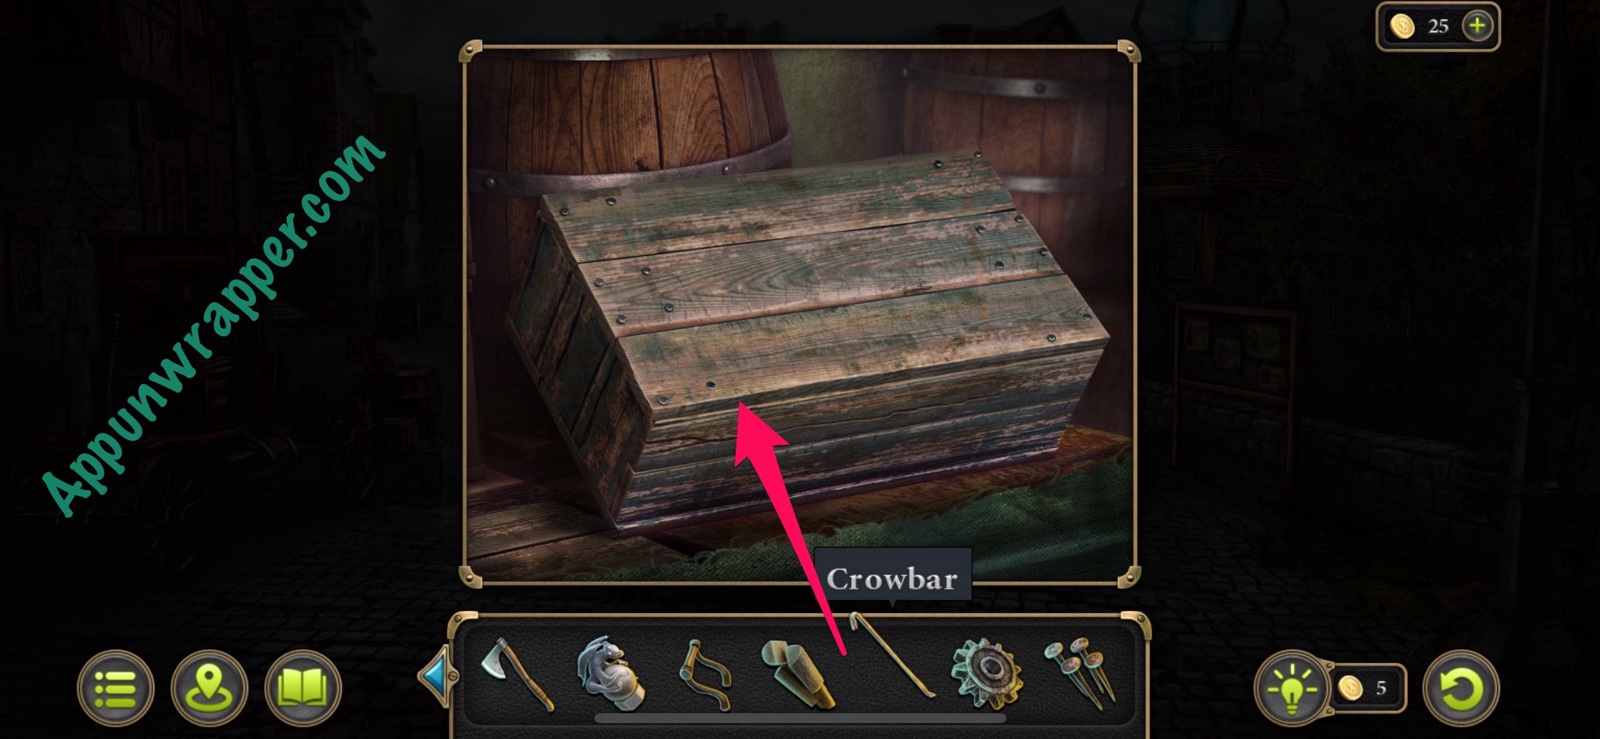
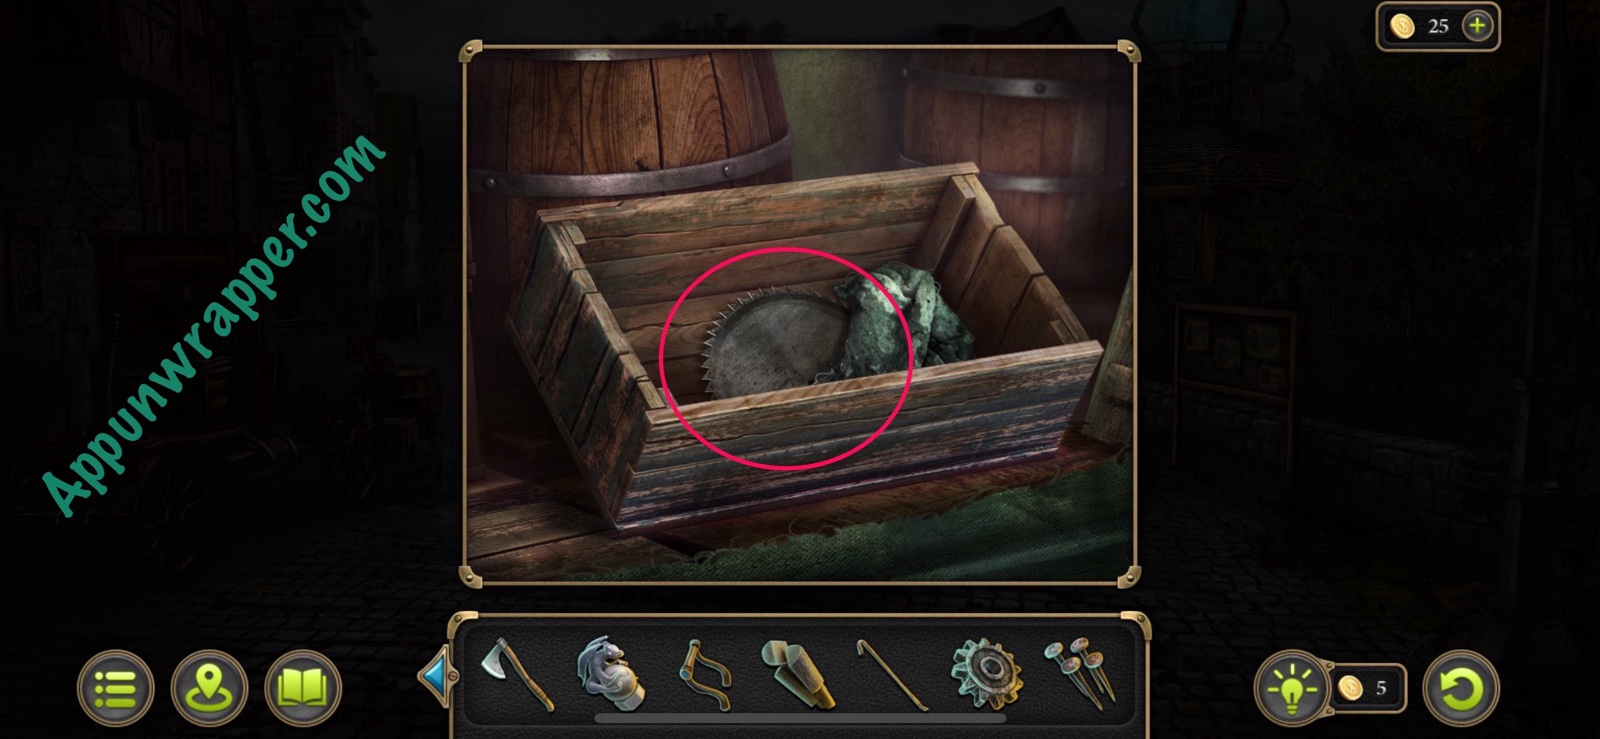
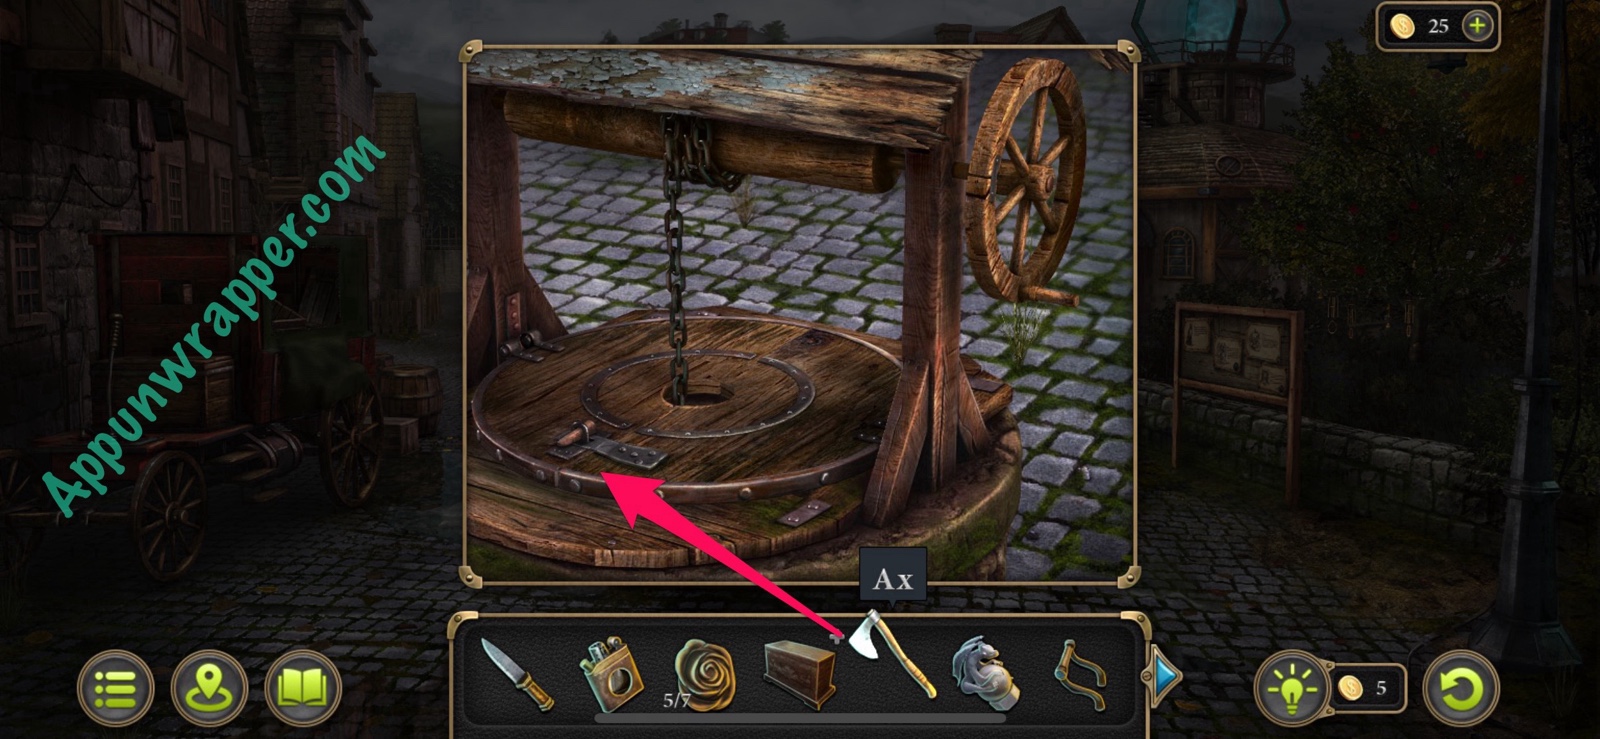
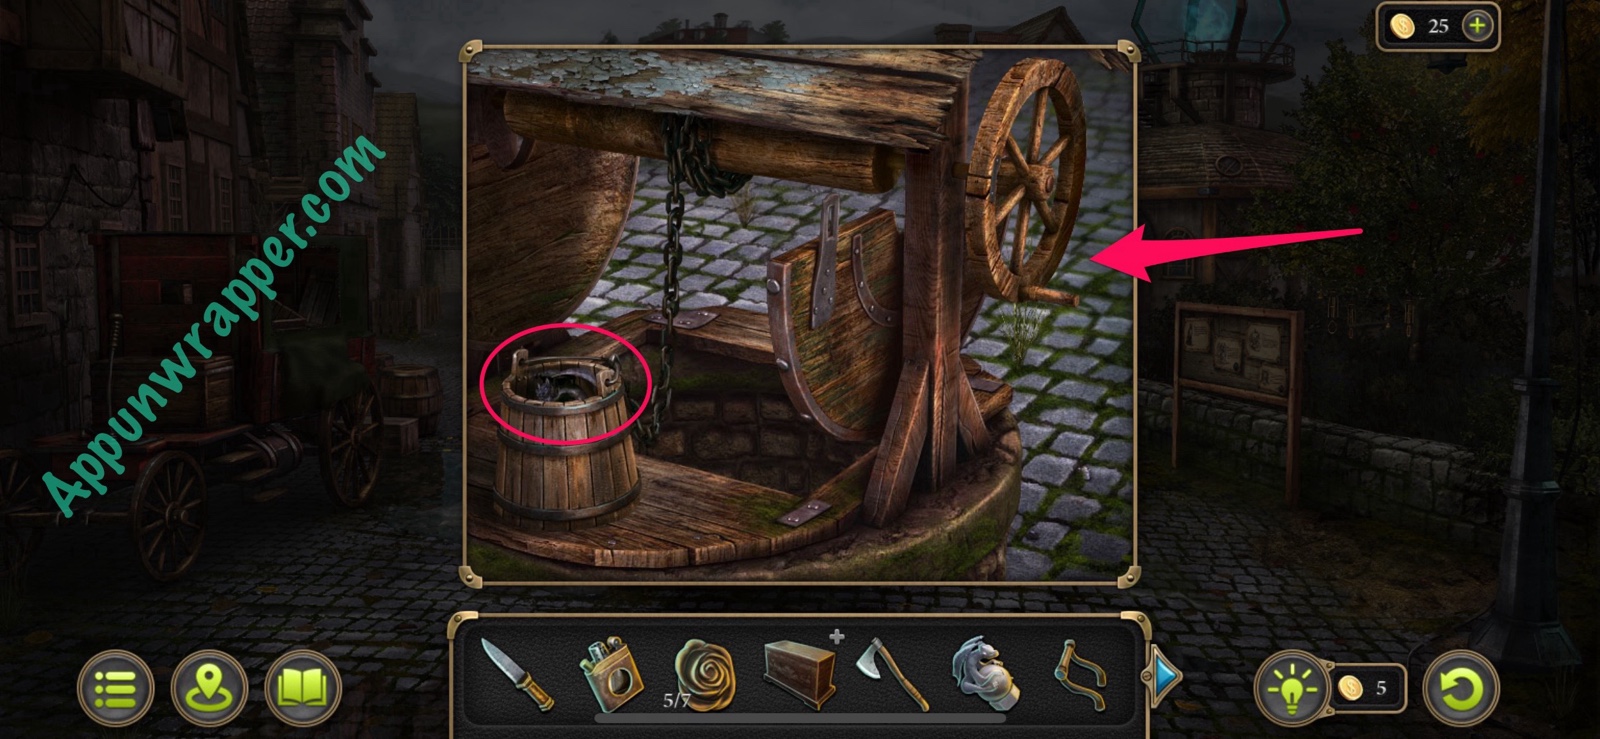
47. Go back to town. Use the crowbar on the box inside the car to get a Saw blade. Then use the ax on the well to open it. Turn the handle to pull the bucket up and take another Statuette from inside.
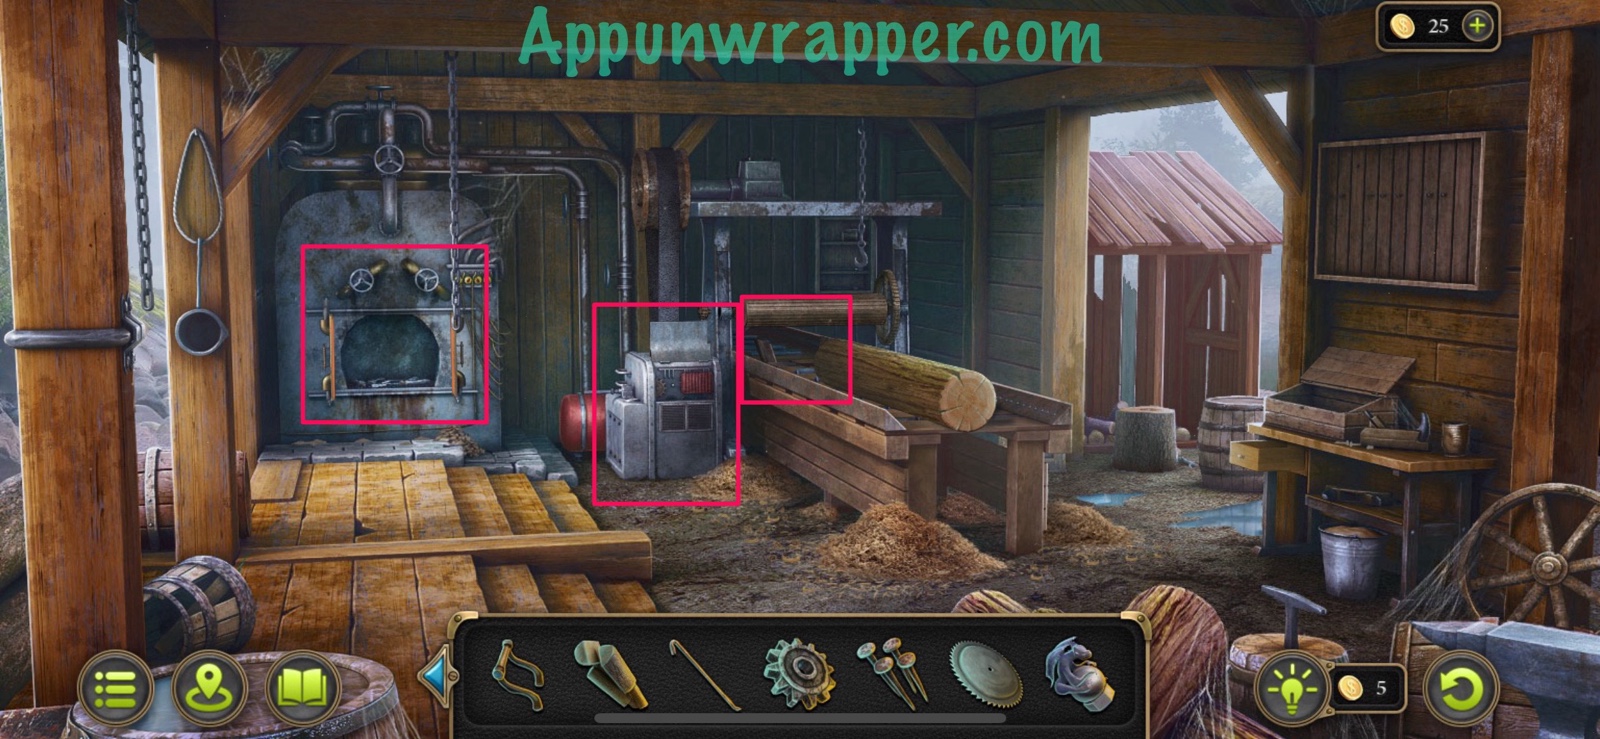
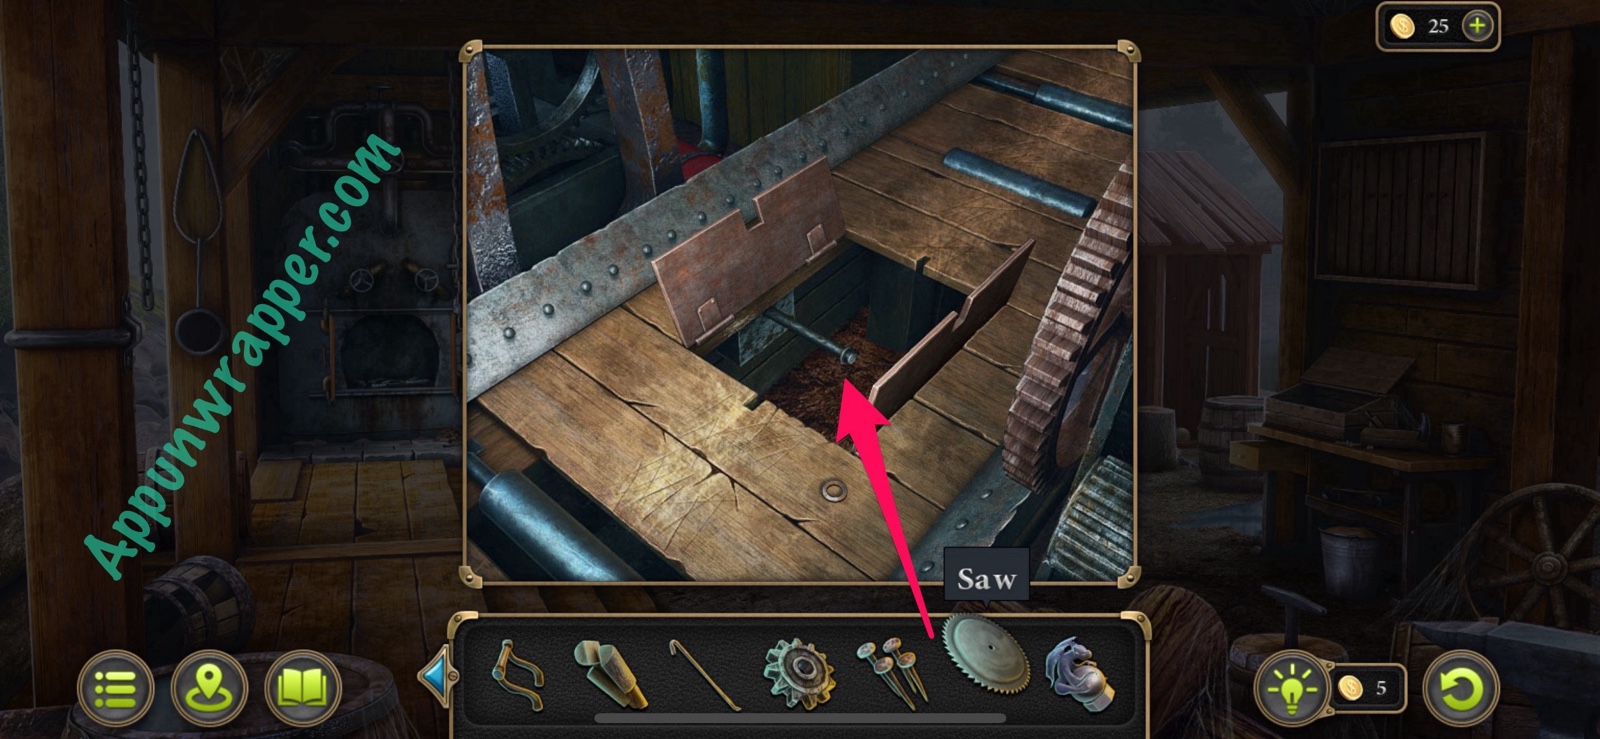
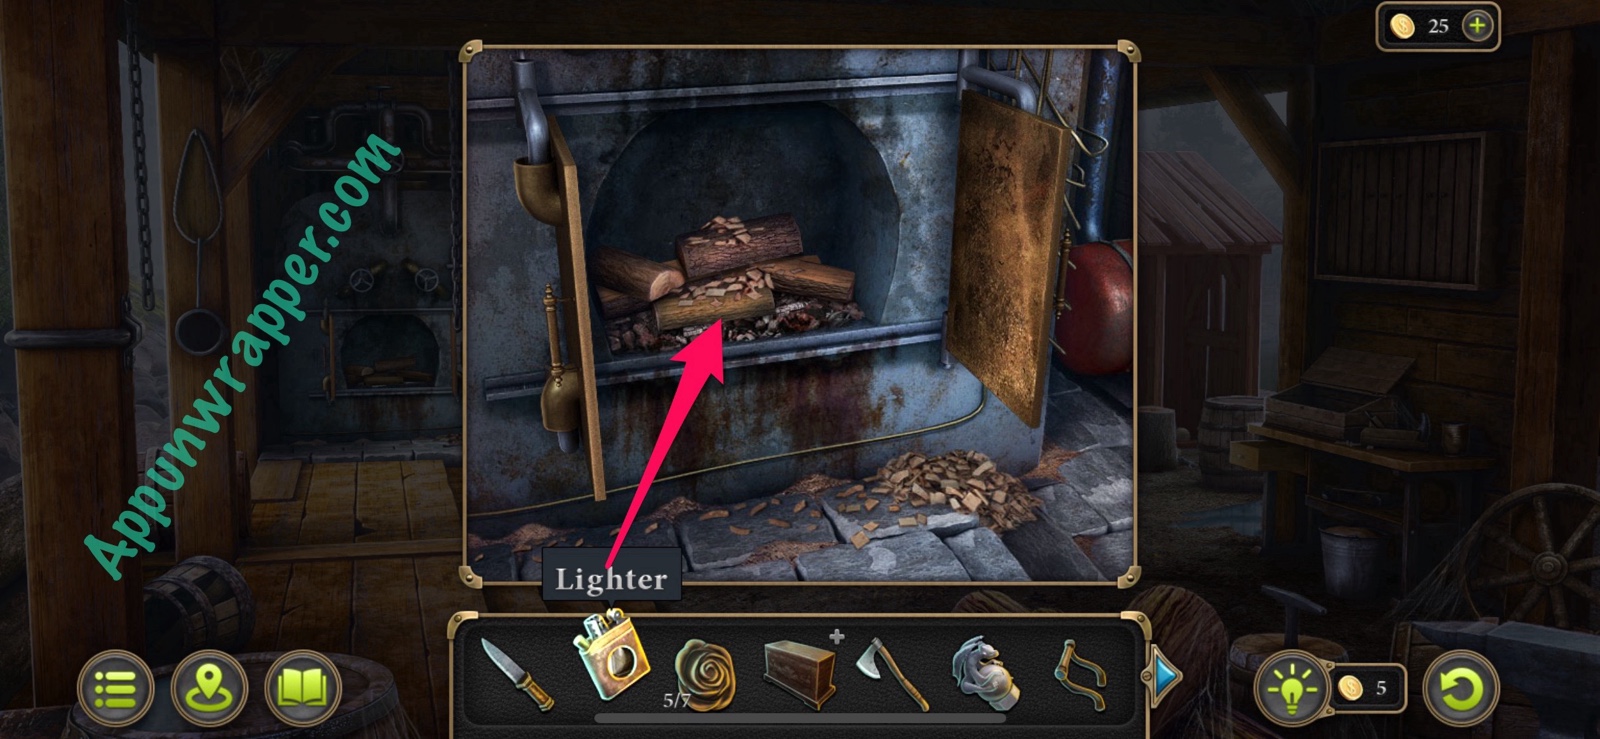
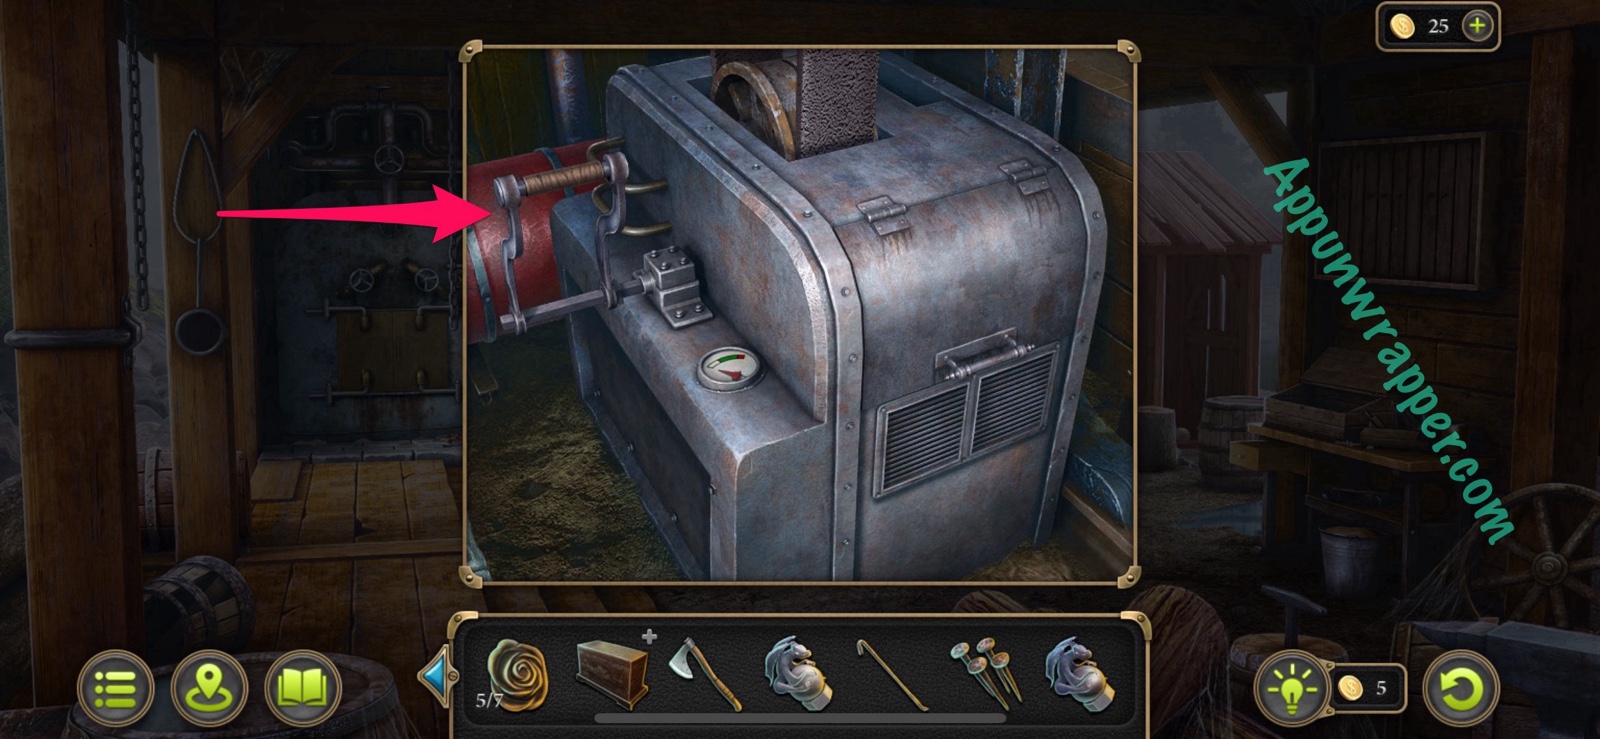
48. Go back to the saw mill. Replace the saw blade. Then go to the furnace and add the firewood. Then add wood chips from the floor and use the lighter to start a fire. Then go back to the control panel and replace the gear. Add the handle and pull it to saw the wood into Boards.
49. Go back to the field and inspect the broken bridge. Place the boards down and add the nails. Then use the ax to hammer down the nails. Now you can cross to the burnt mill.
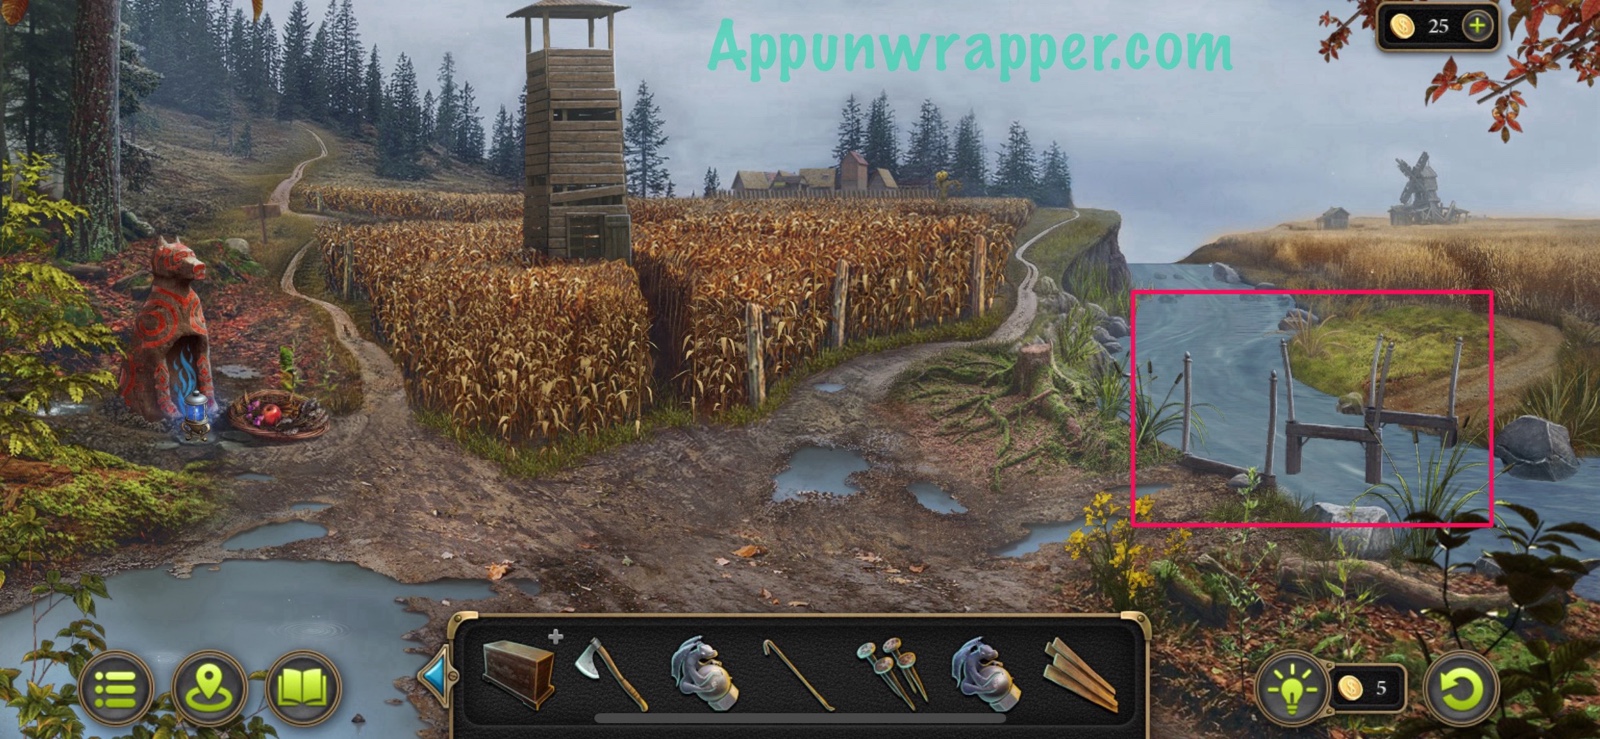
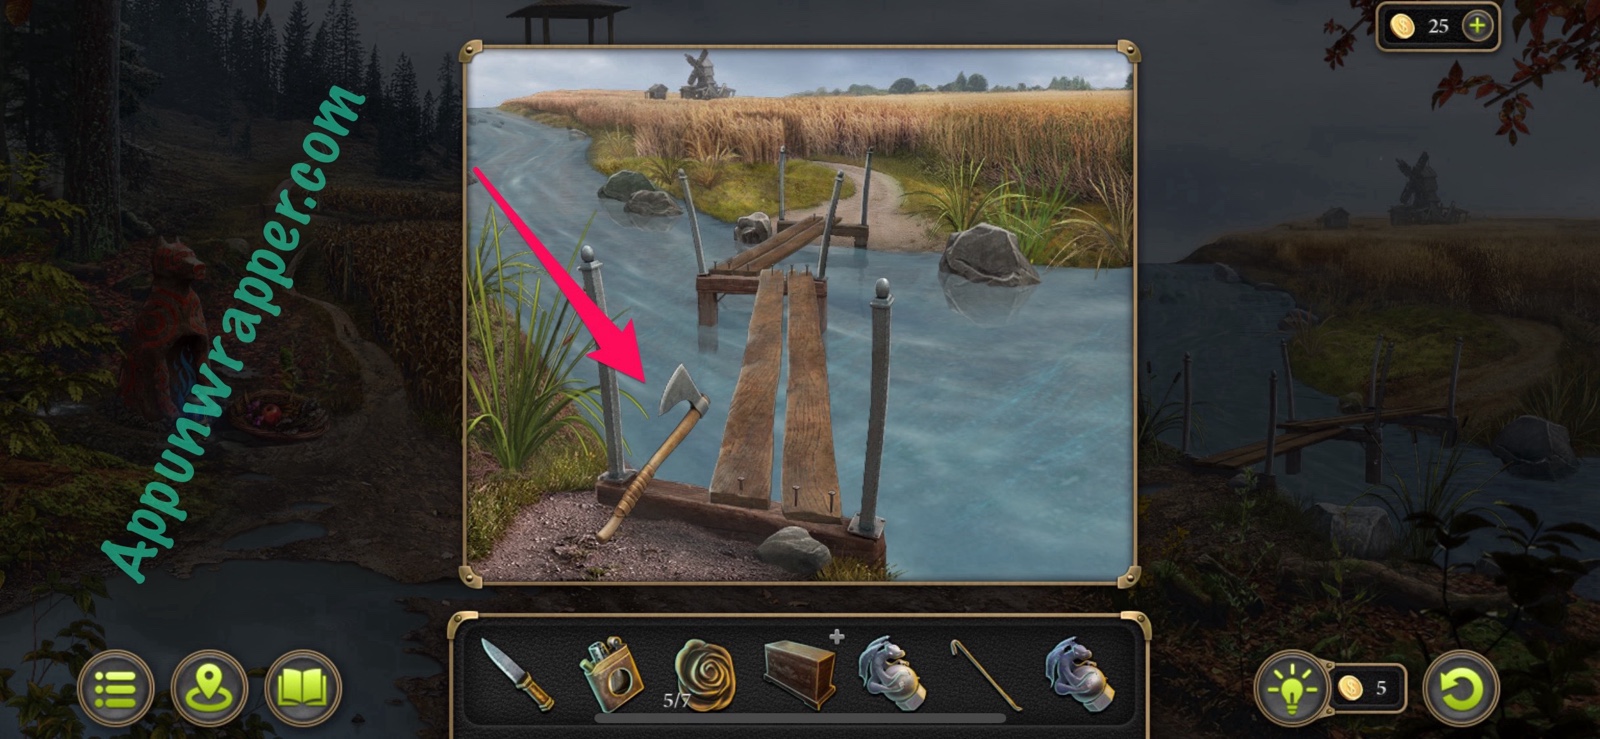
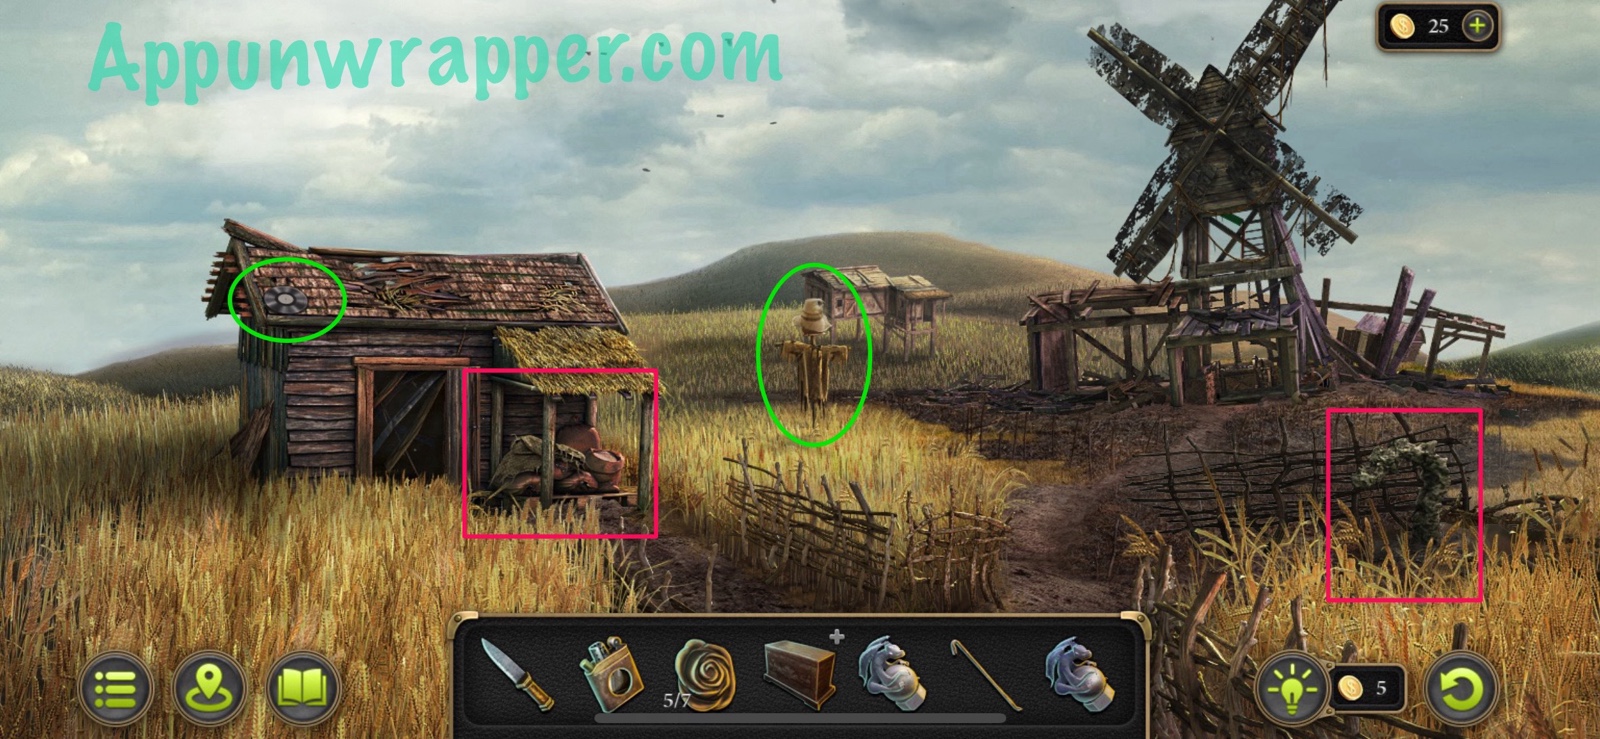
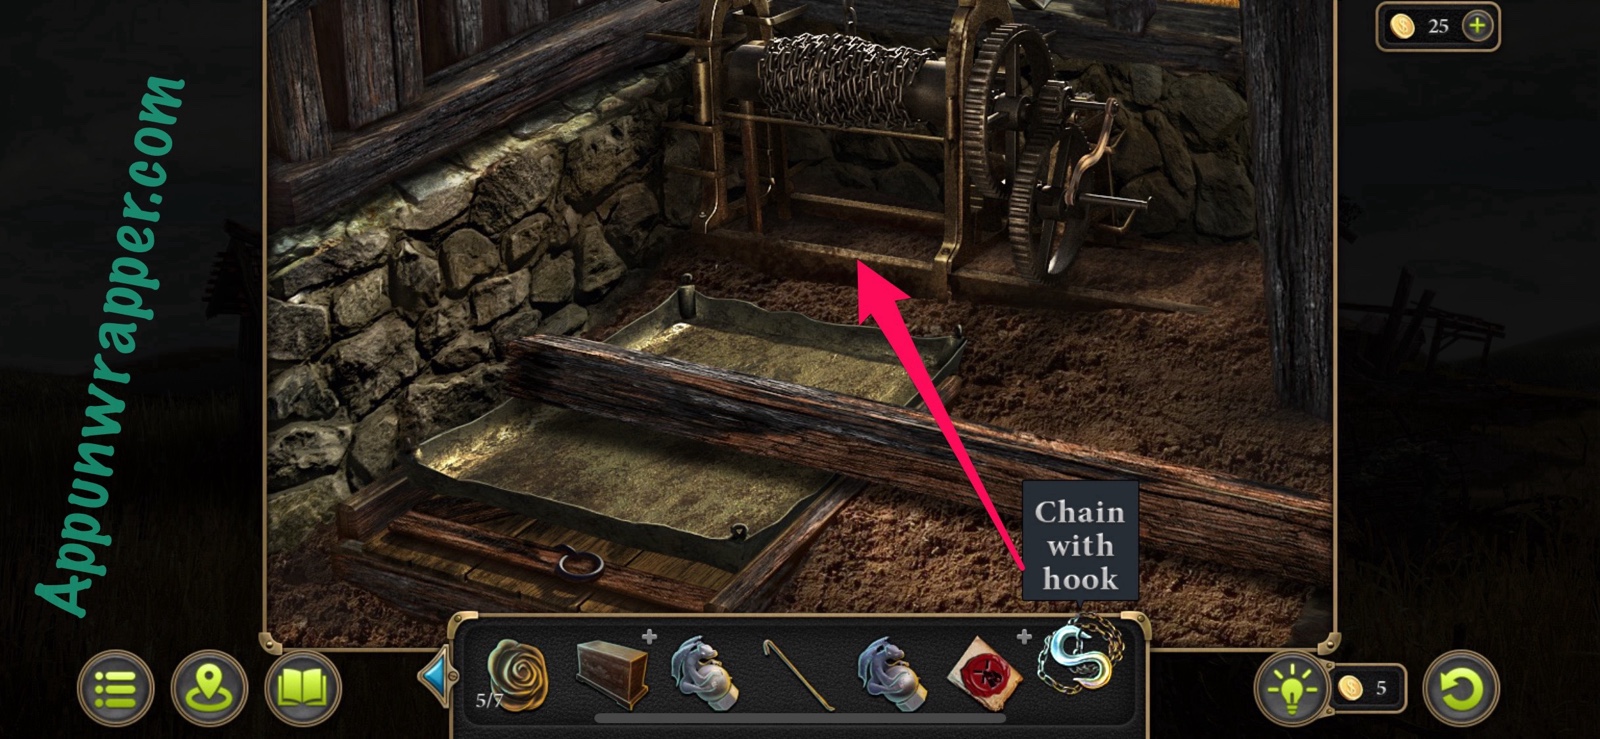
50. Grab the vinyl record collectible from the roof and the morphing object collectible from the scarecrow. Also, inspect the burnt stump to the right and tap on it to collect it as evidence. Then look at the items in front of the building to the left and grab the Chain with hook.
Collection: Vinyl record. (5/9)
Collection: Morphing object on the scarecrow. (9/49)
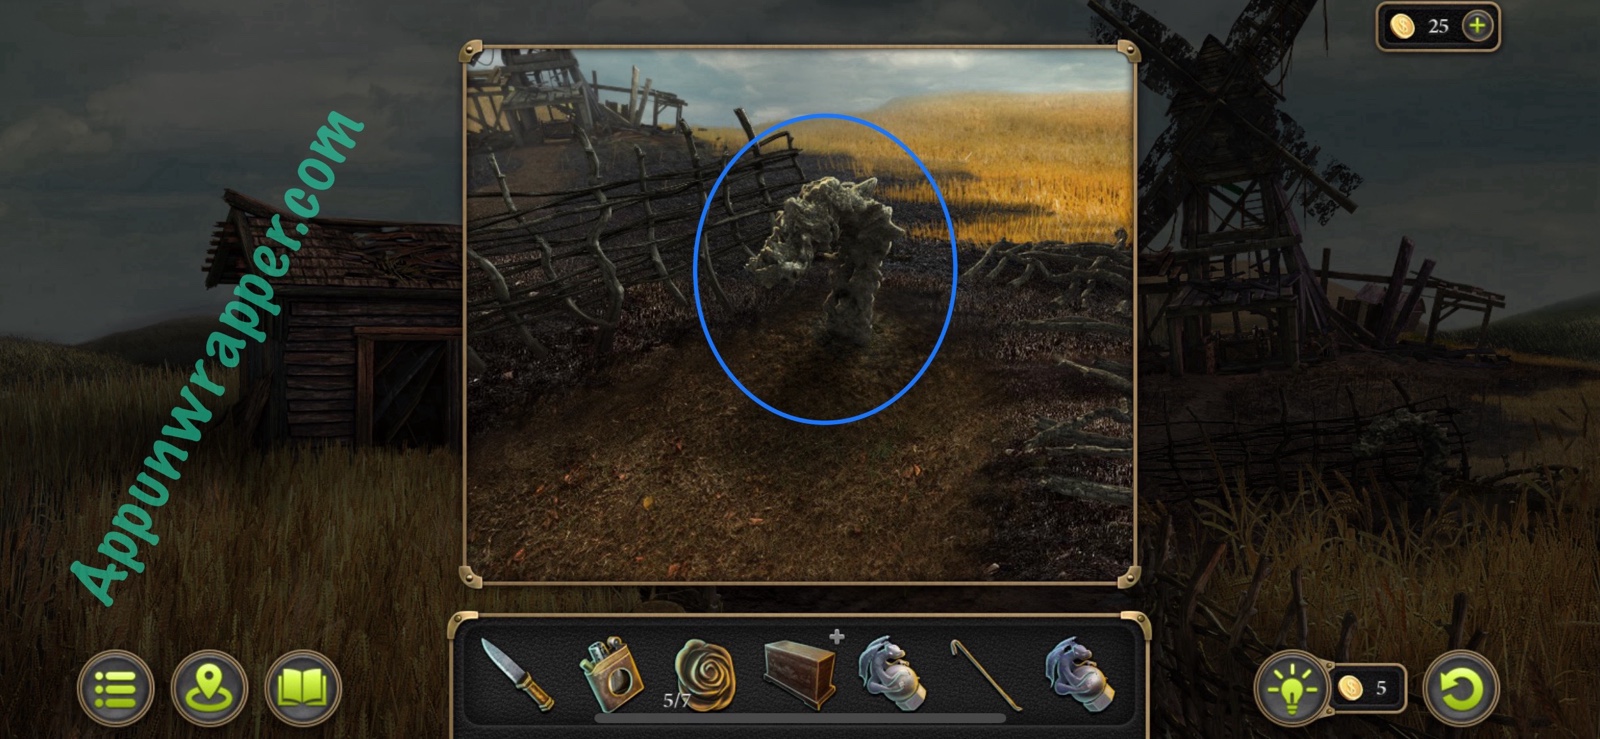
Evidence: Lightning strike. (Fire at the mill 1/4)
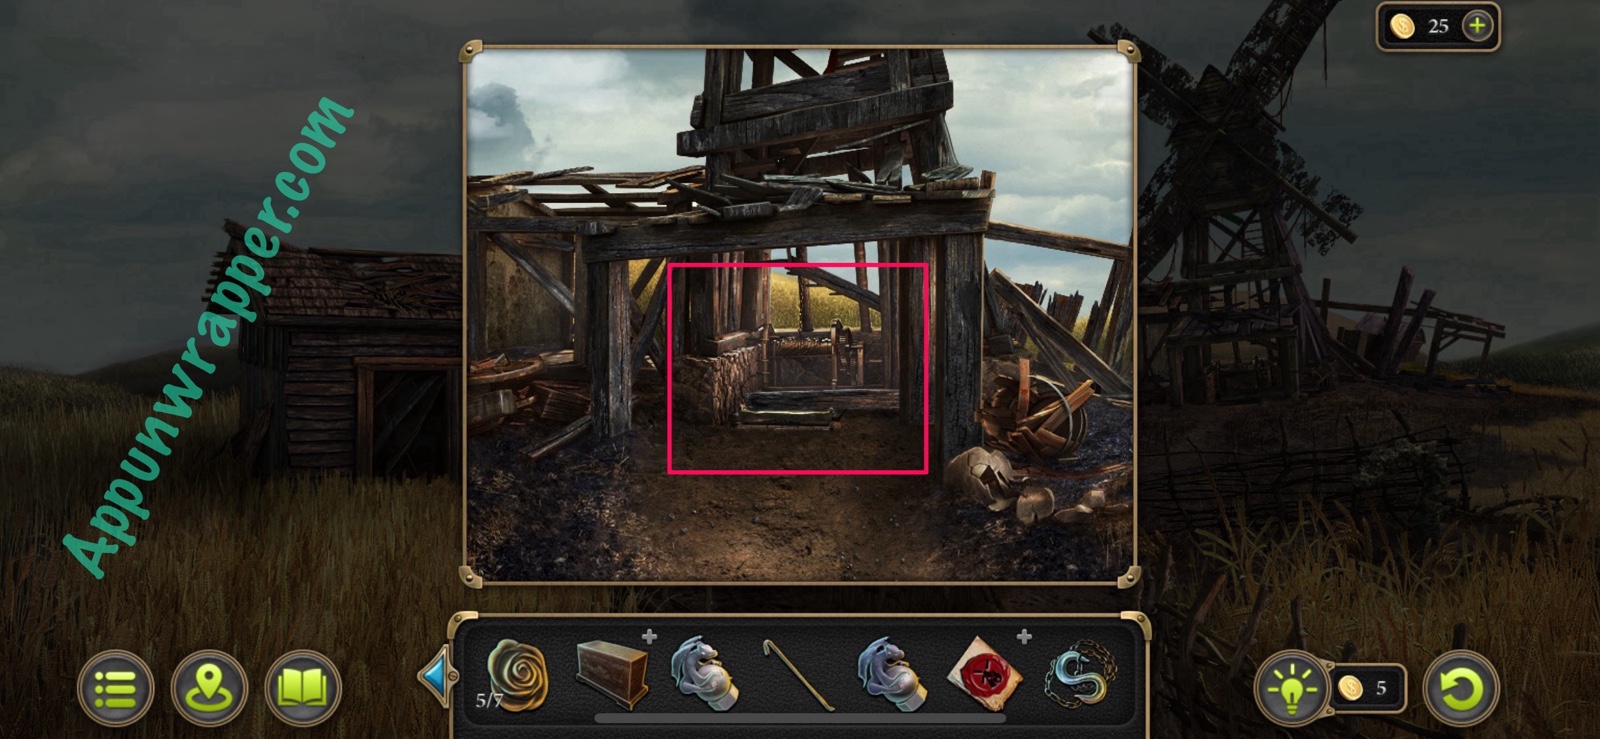
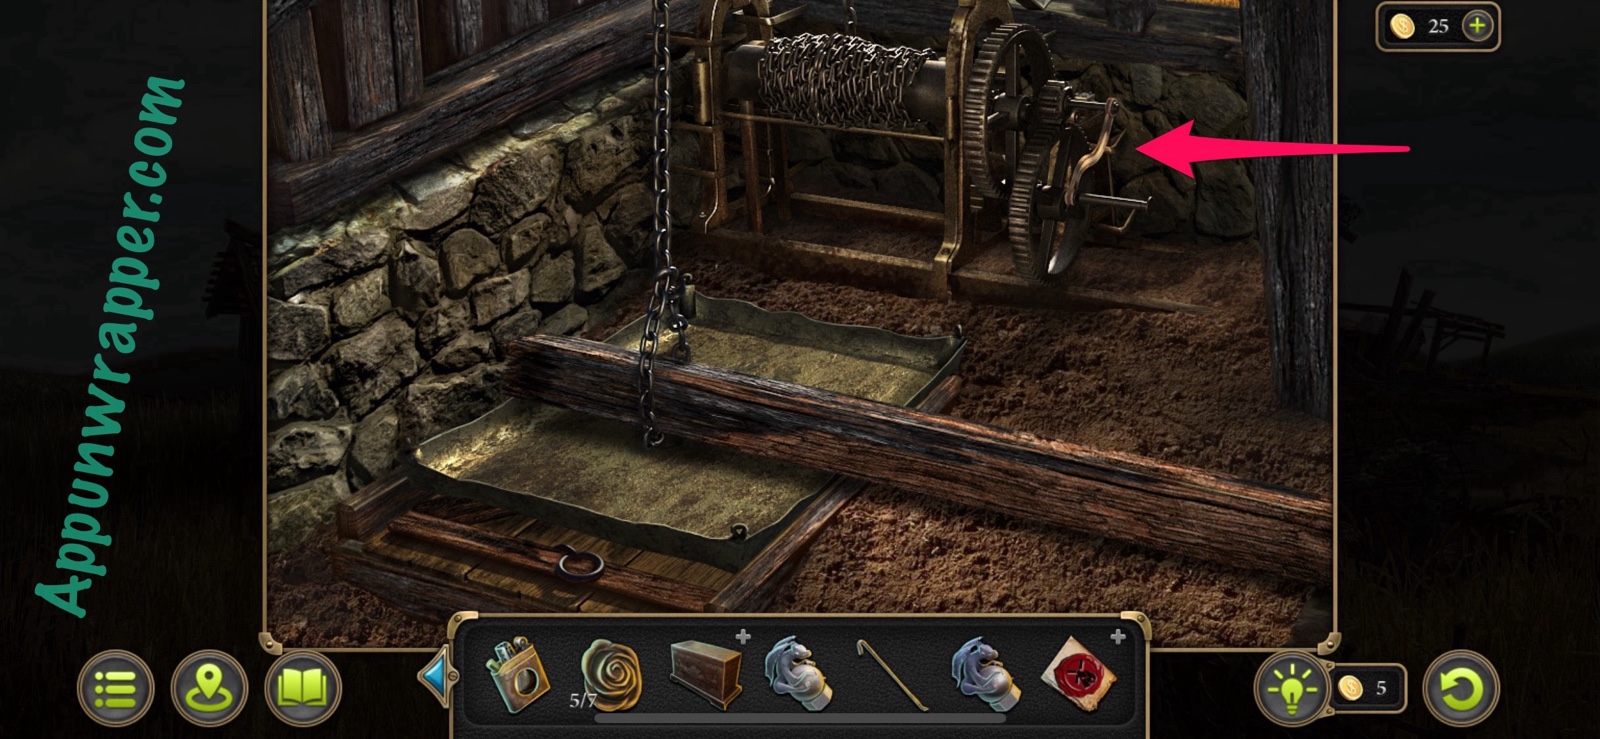
51. Now inspect the burnt mill itself. Tap on the winch and add the chain to it. Then crank the handle to pull up the log. Open the trap door and head down.

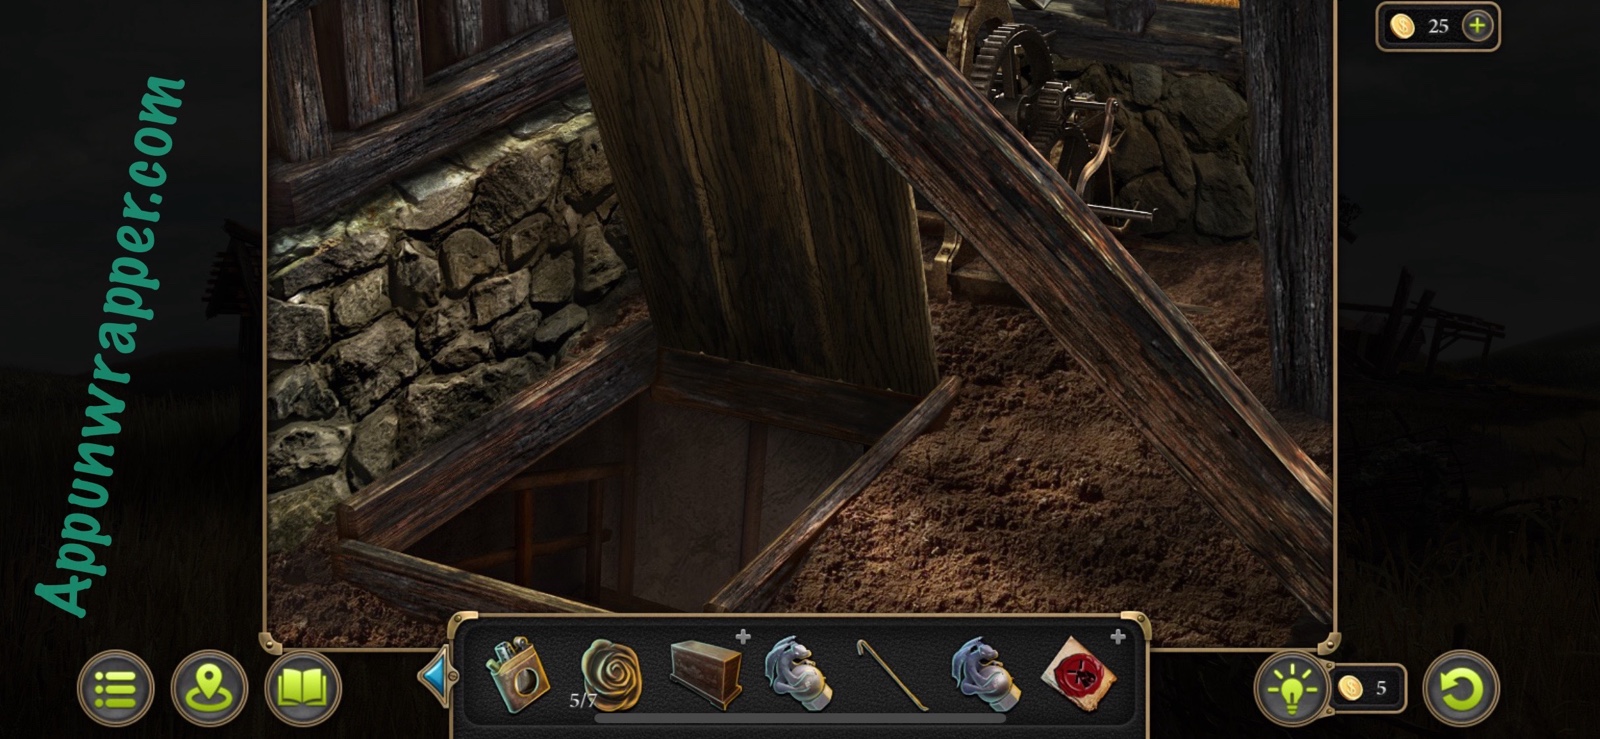
52. Grab the pocket watch collectible near the body and the morphing object collectible by the stool. Tap on the body to collect it as evidence.
Collection: Pocket watch. (5/9)
Collection: Morphing object by the stool. (10/49)
Evidence: The suffocated miller. (Fire at the mill 2/4)
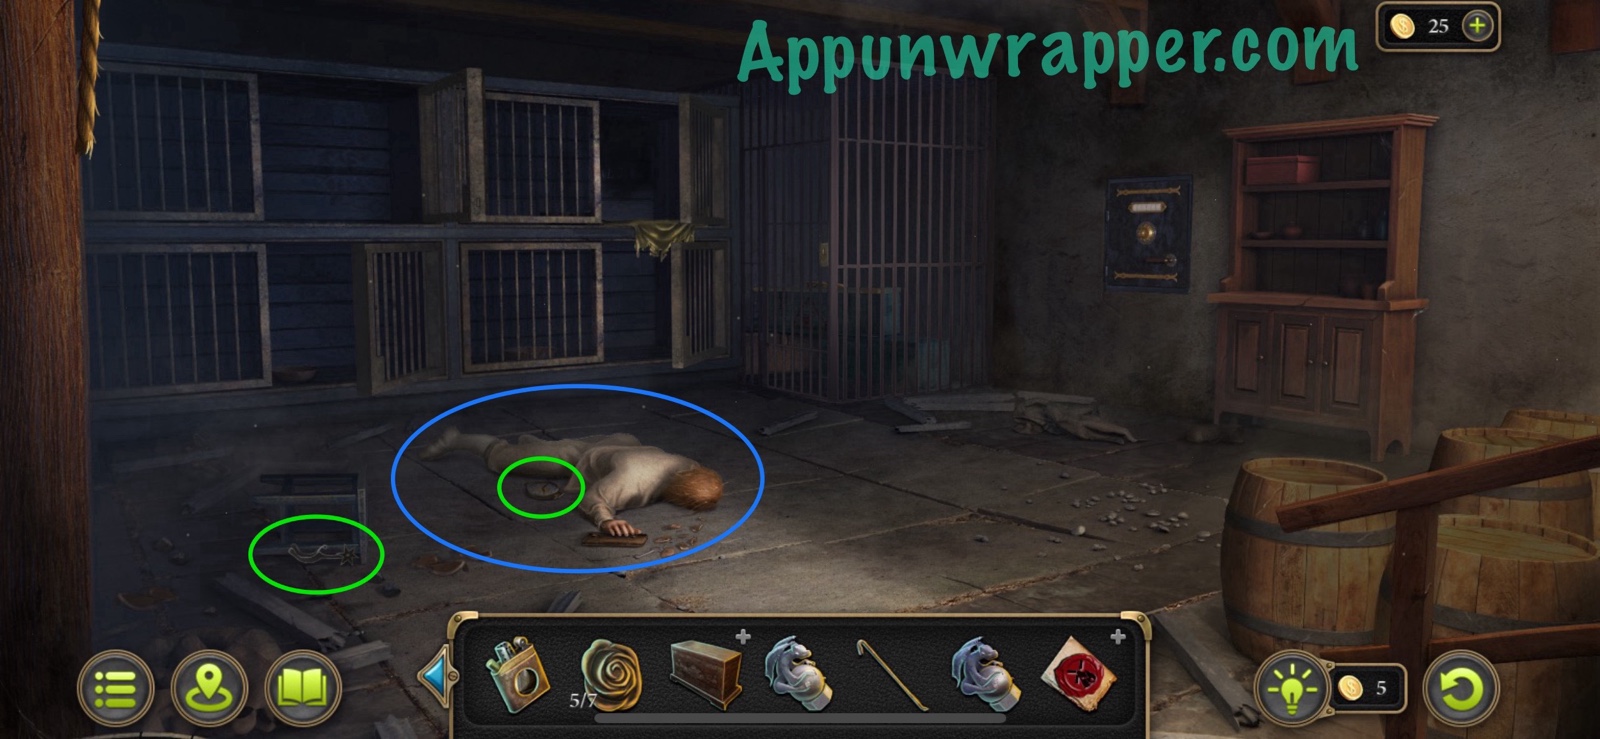
53. There’s a lot of other things of note here, which I’ll highlight for you. There’s the miller’s hand, an open kennel, a locked cage, and a locked safe. First, tap on the miller’s hand and grab the Key. Also, open the pouch in his hand to see three numbers that are part of a code. Yours might be different from mine, so make sure to note them down.
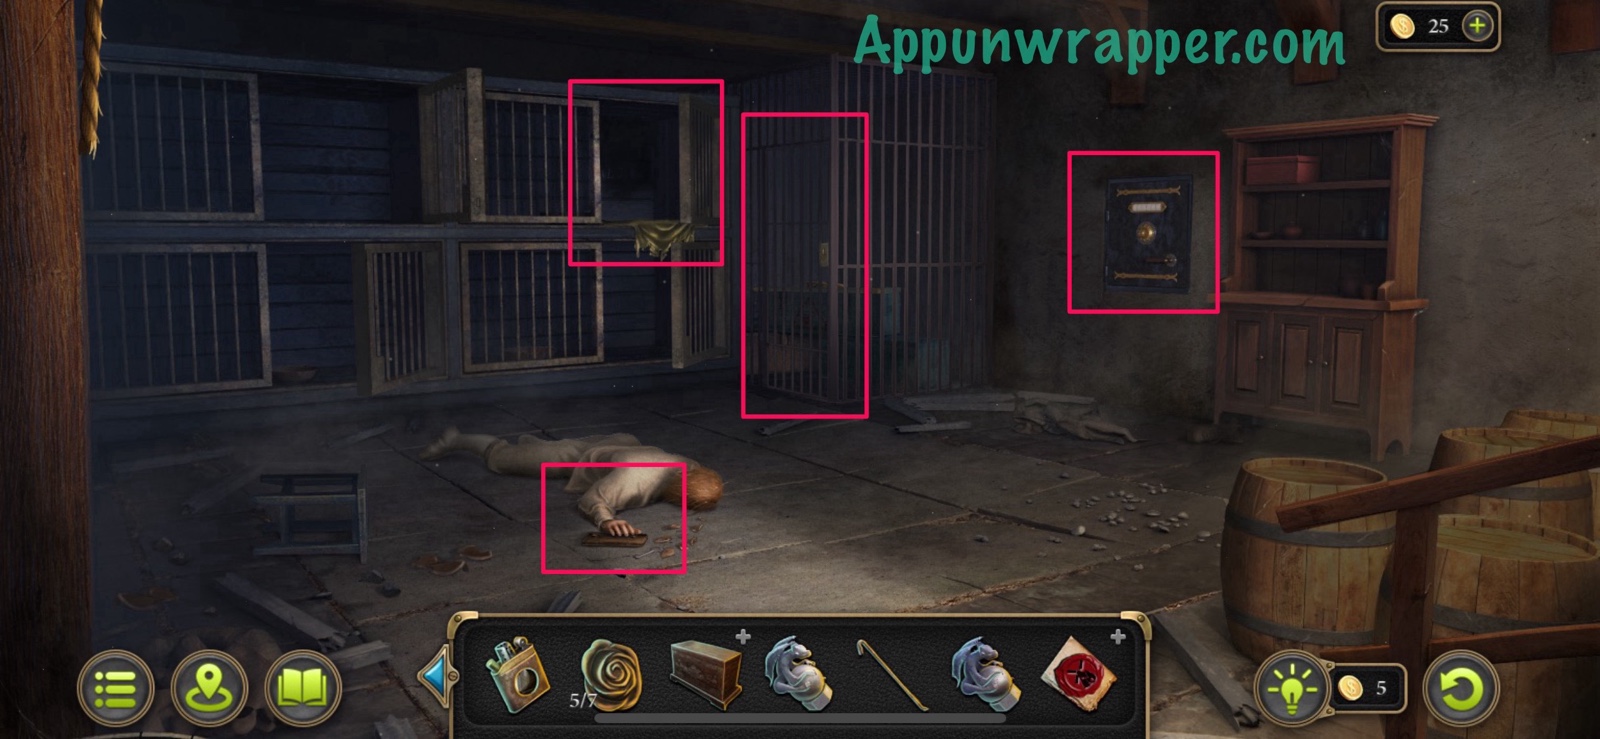

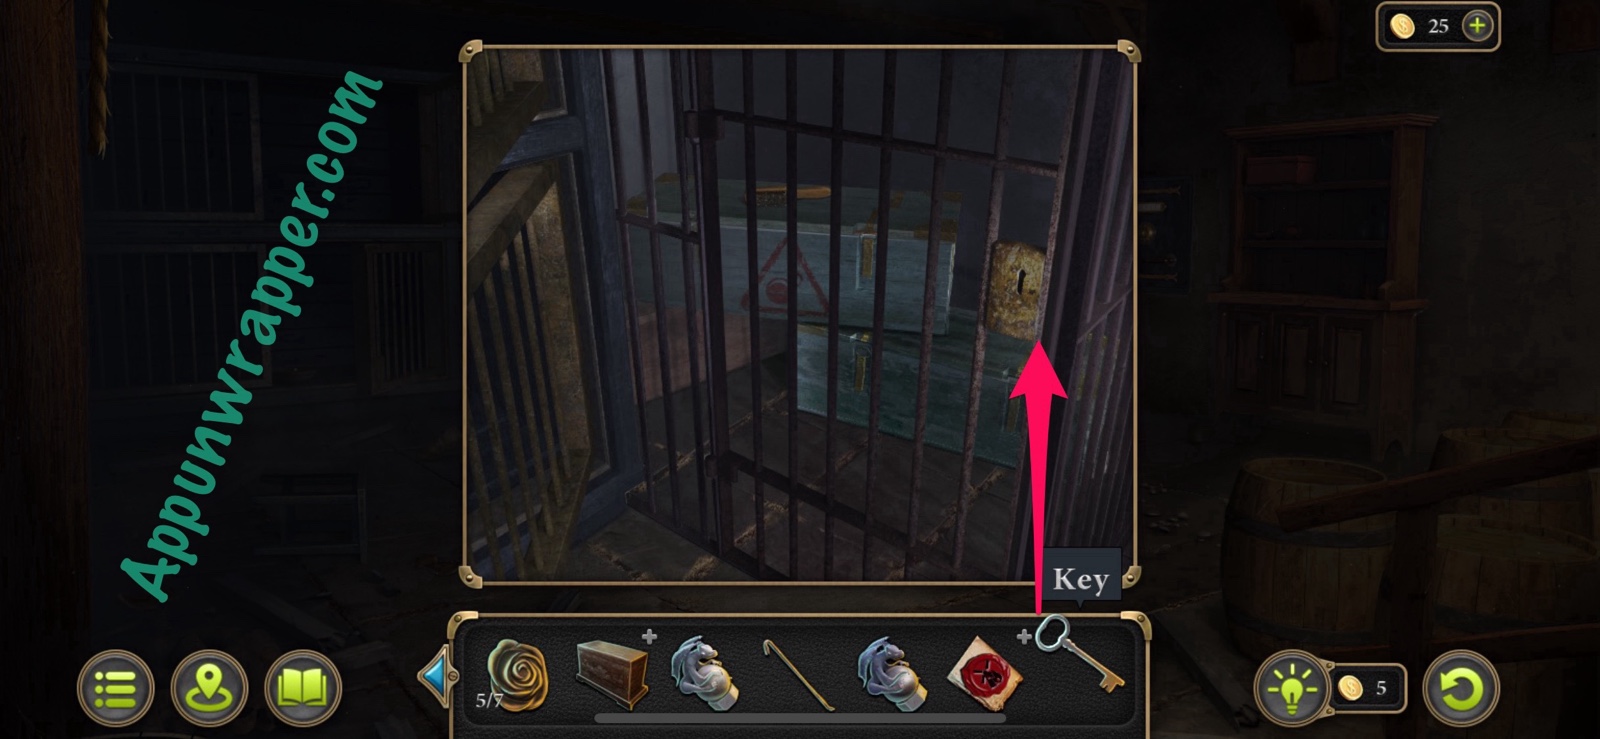
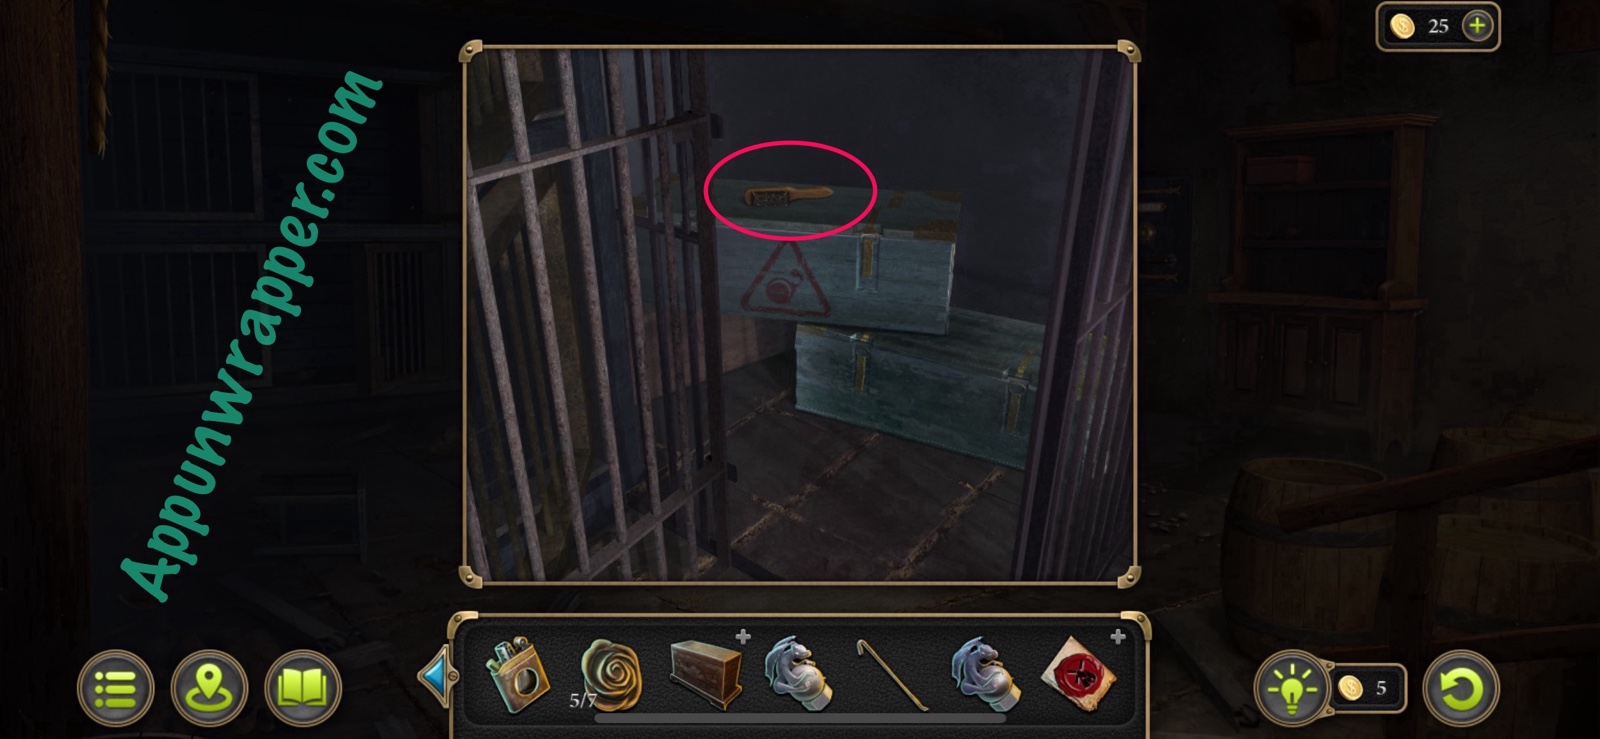
54. Use the key to unlock the cage to the right. Take the Brush and notice the dynamite in the boxes. We’ll have to come back for that later.
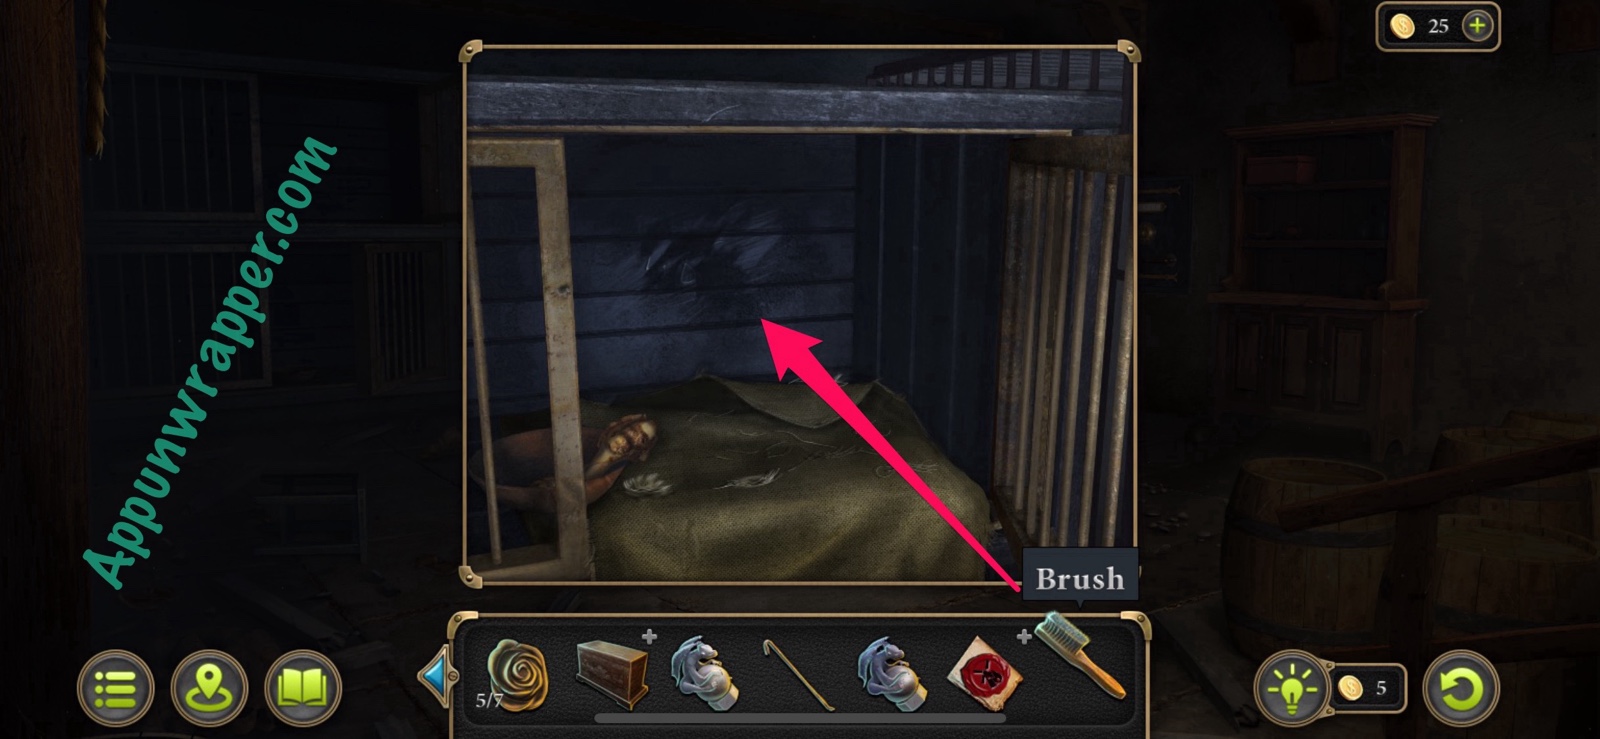
55. Now inspect the open kennel. Tap on the fur to collect the dog hair as evidence. Then use the brush on the dirt on the wall to reveal three more numbers. Note them down.
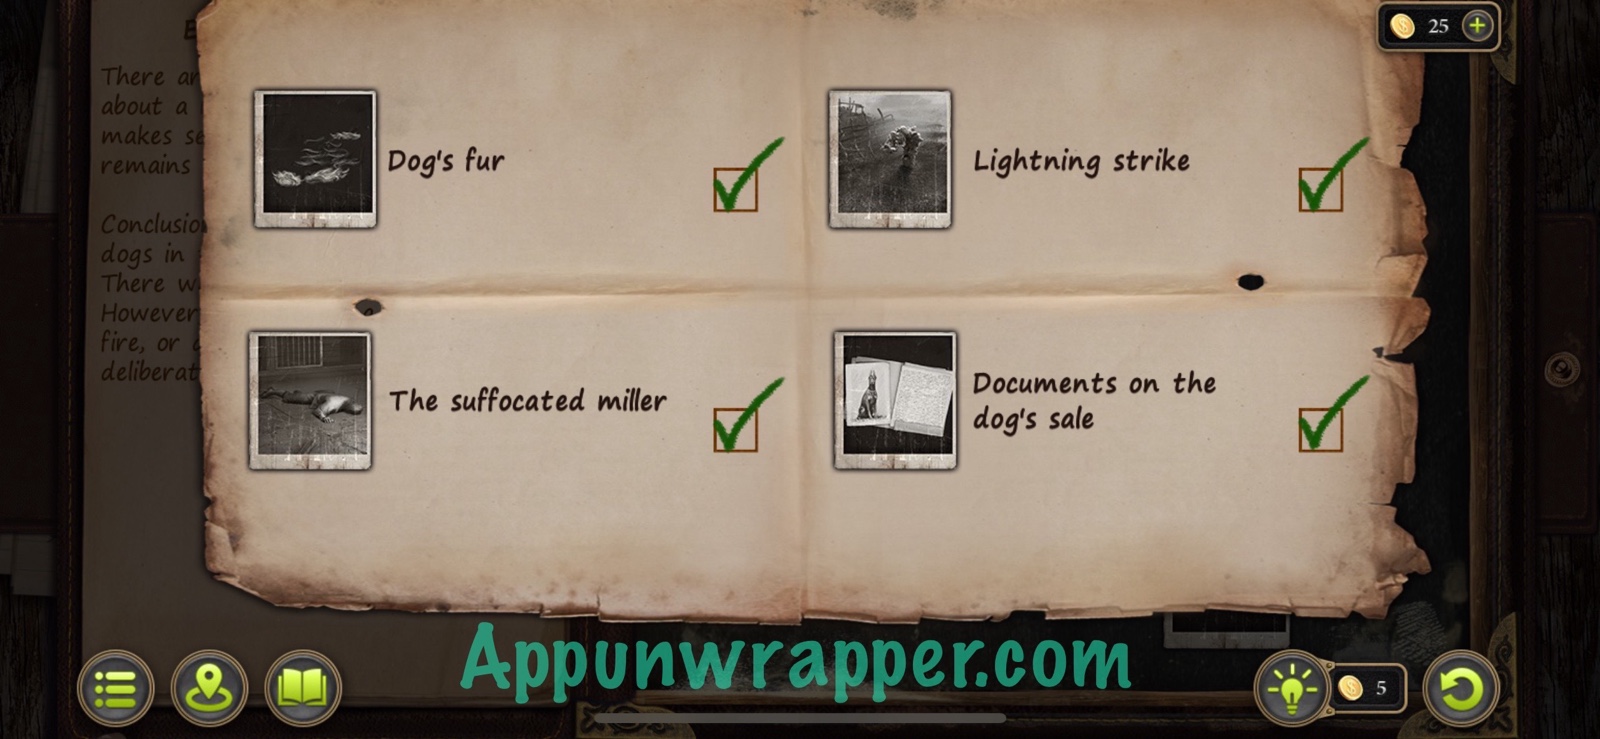
Evidence: Dog’s fur. (Fire at the mill 3/4)
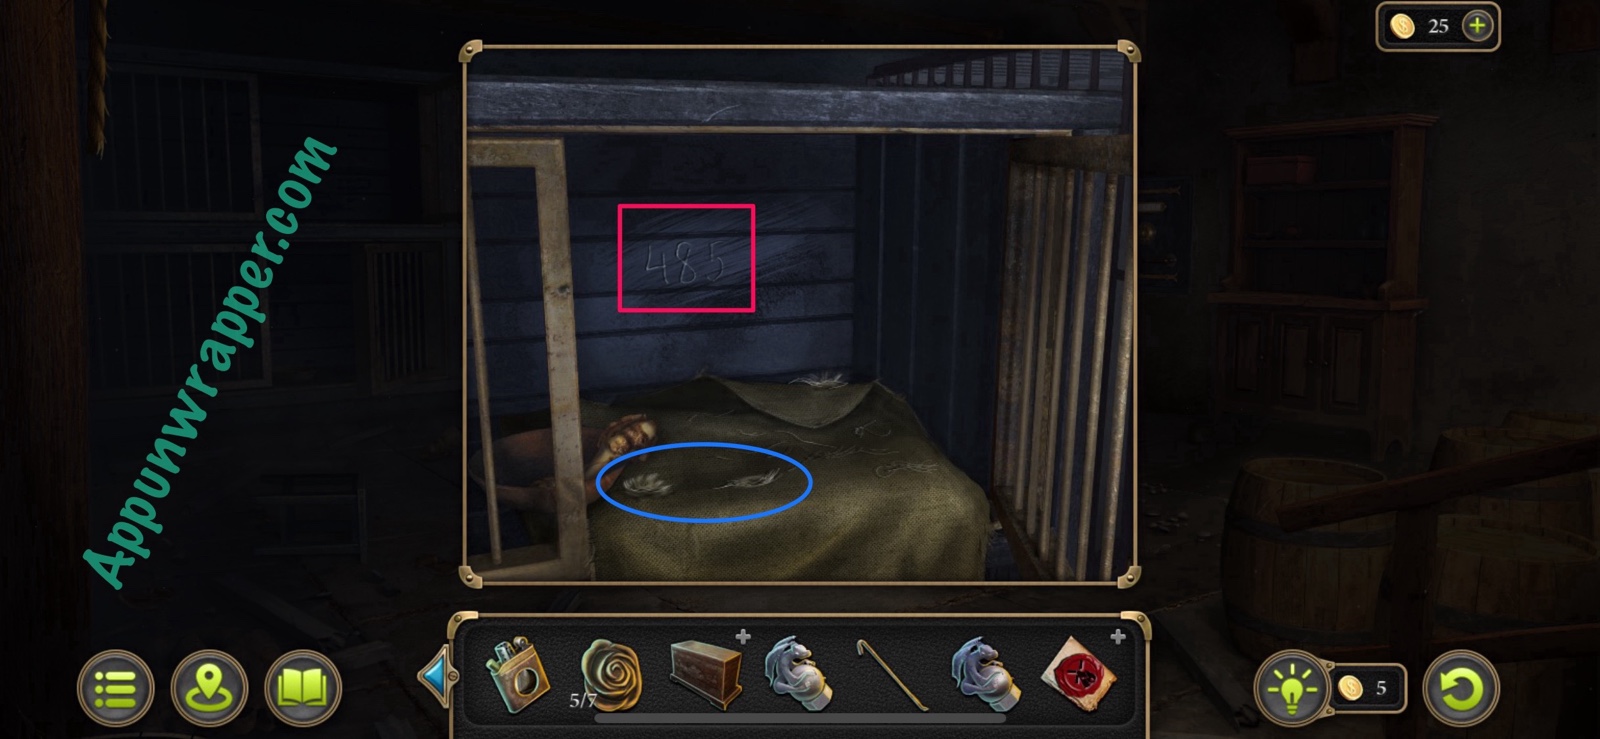
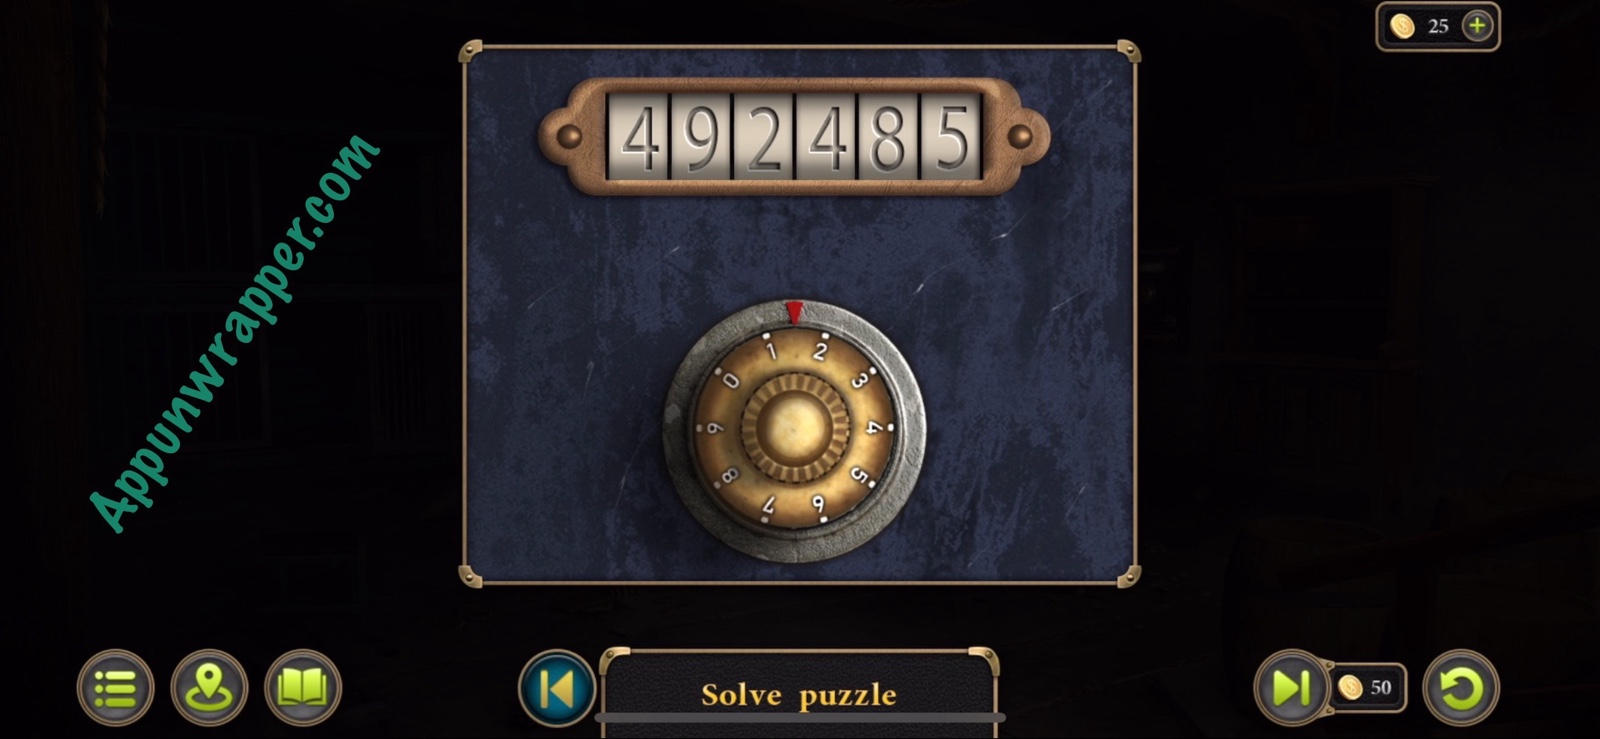
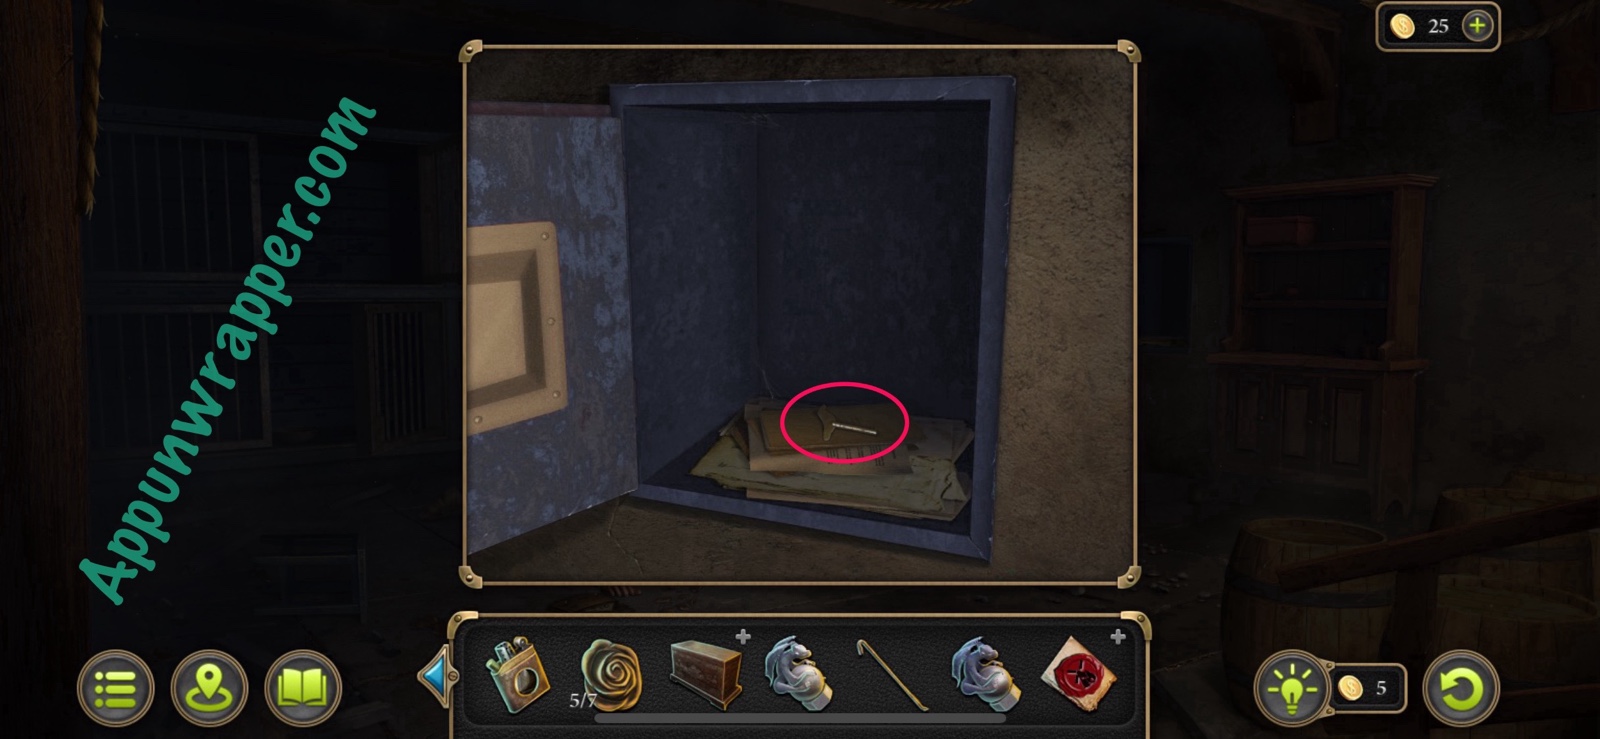
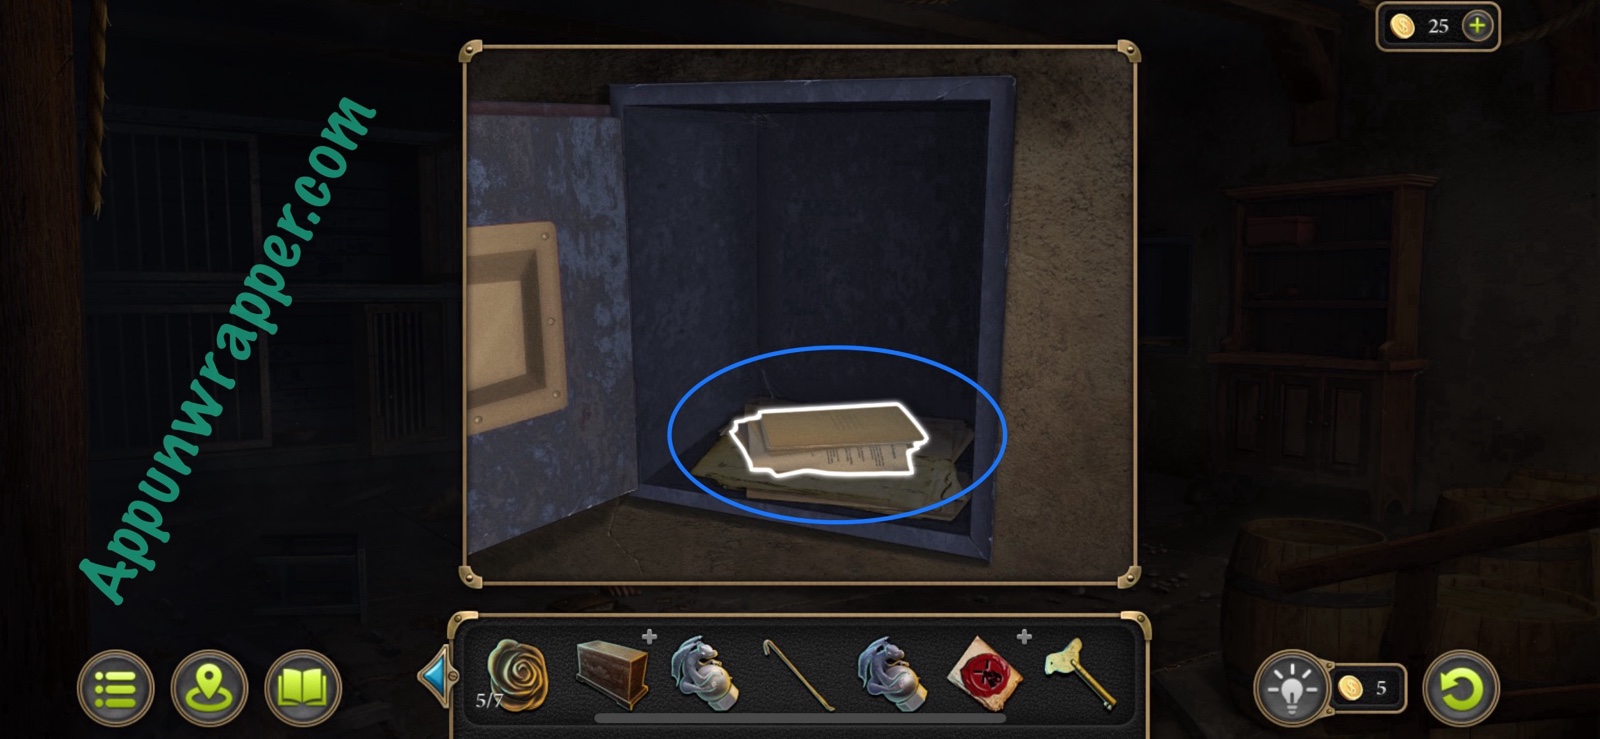
56. Now we have what we need to open the locked safe. Your numbers are likely different than mine, but you want to put the three numbers from the note first, and then the three numbers from the wall. So mine ends up being 492485. Then grab the Key from inside and look at the document on a dog’s sale to collect it as evidence.
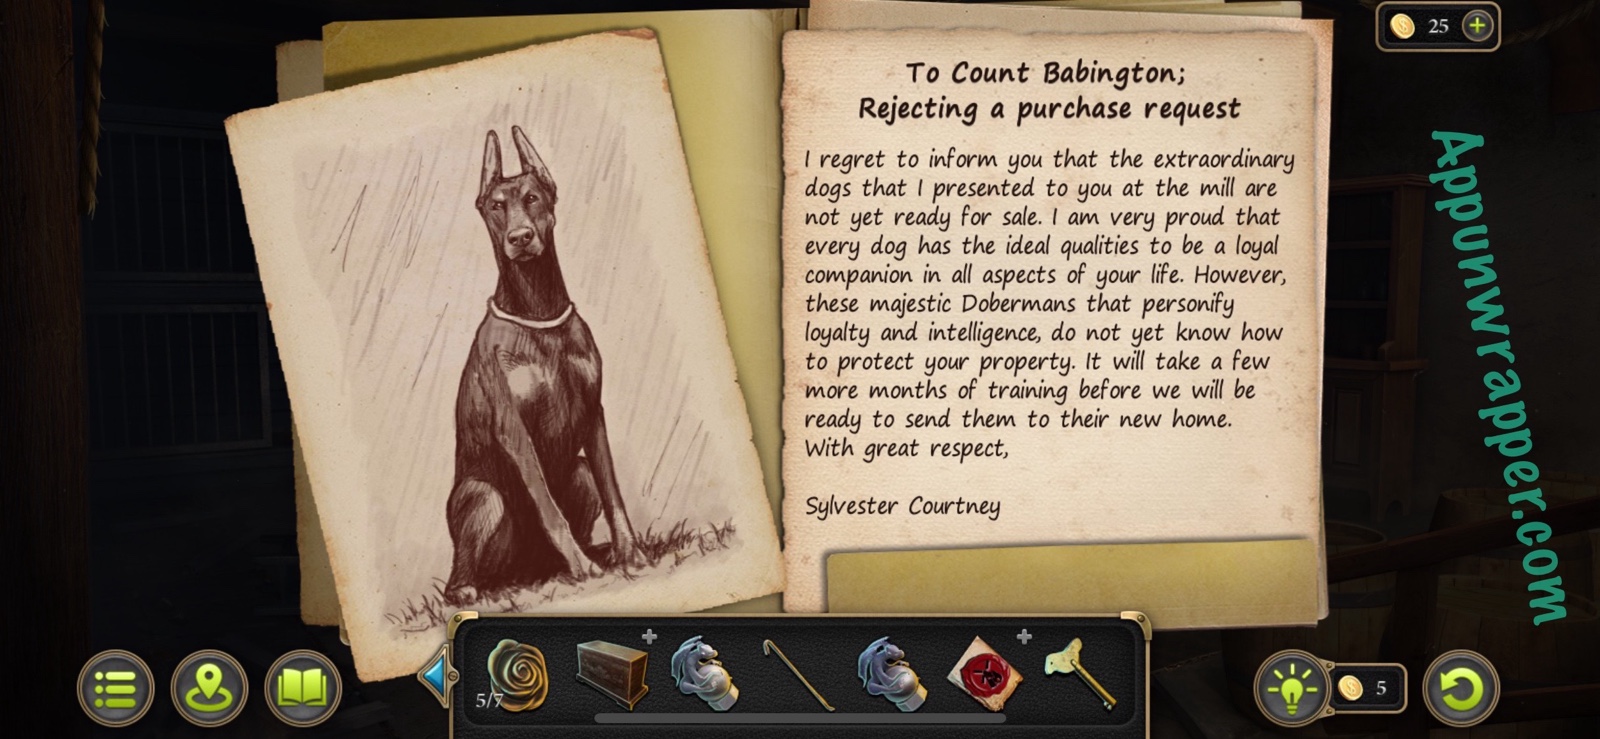
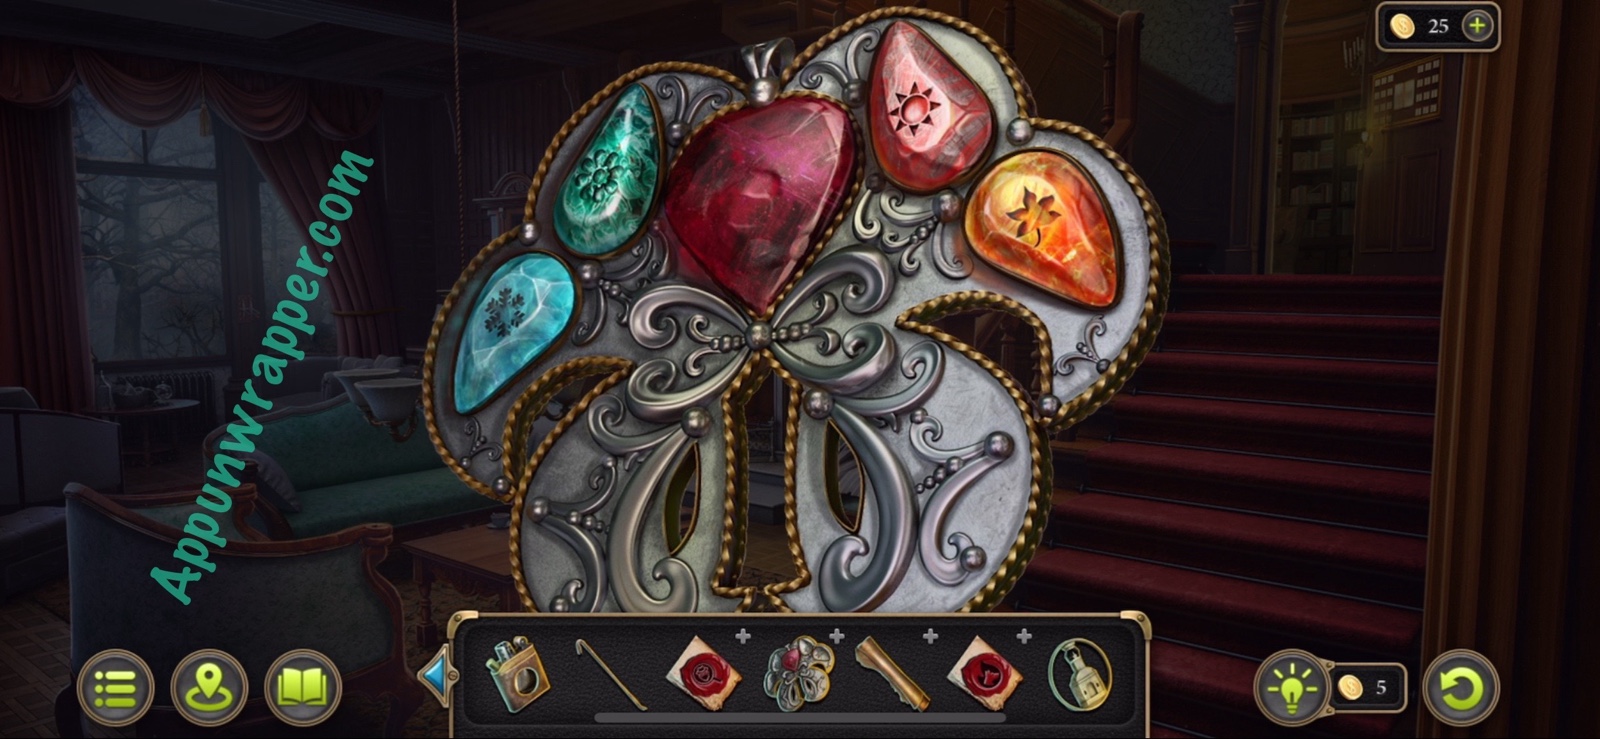
Evidence: Documents on the dog’s sale. (Fire at the mill 4/4)
Task complete: Explore the burnt mill. (File: Fire at the mill)
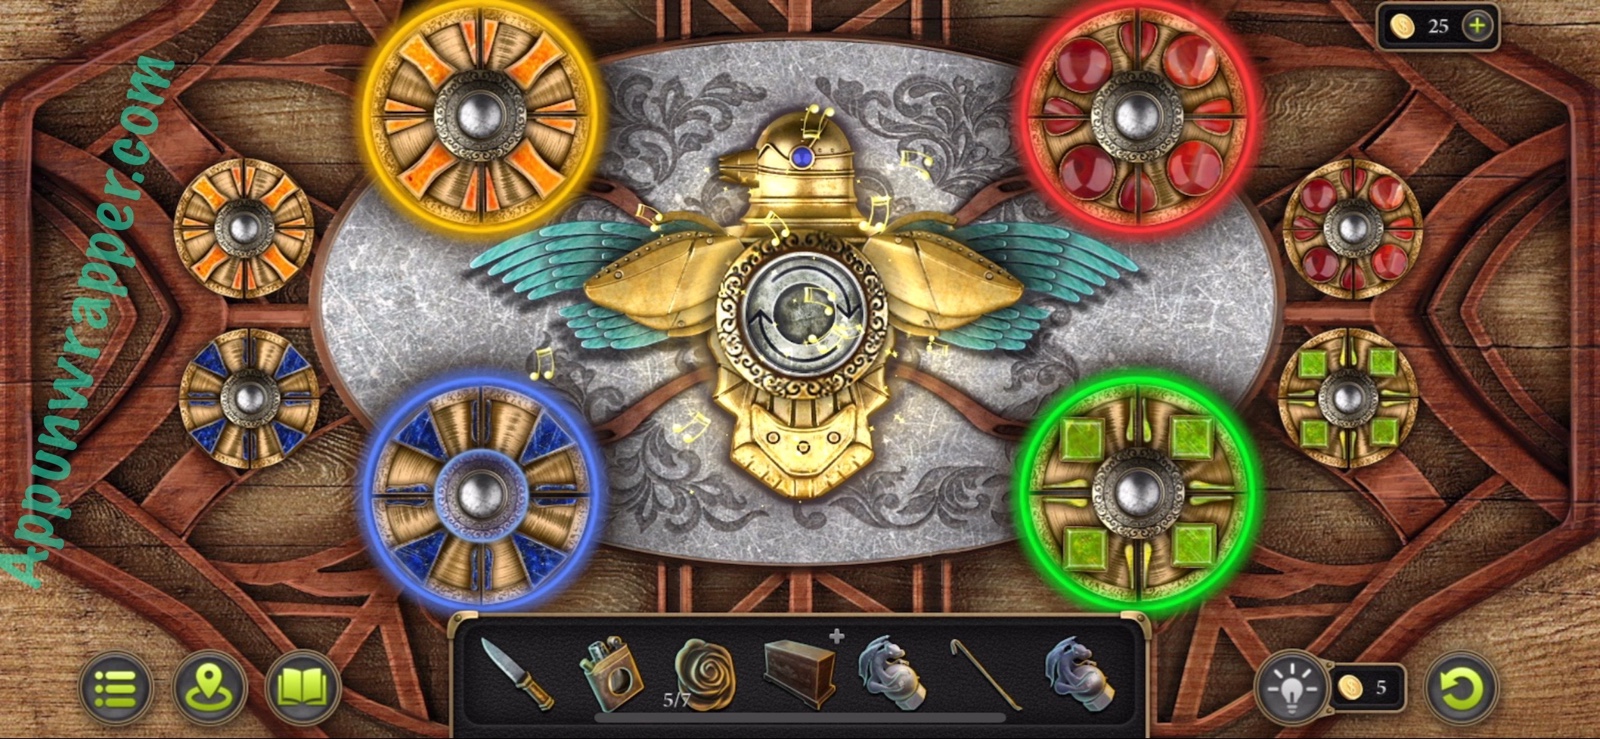
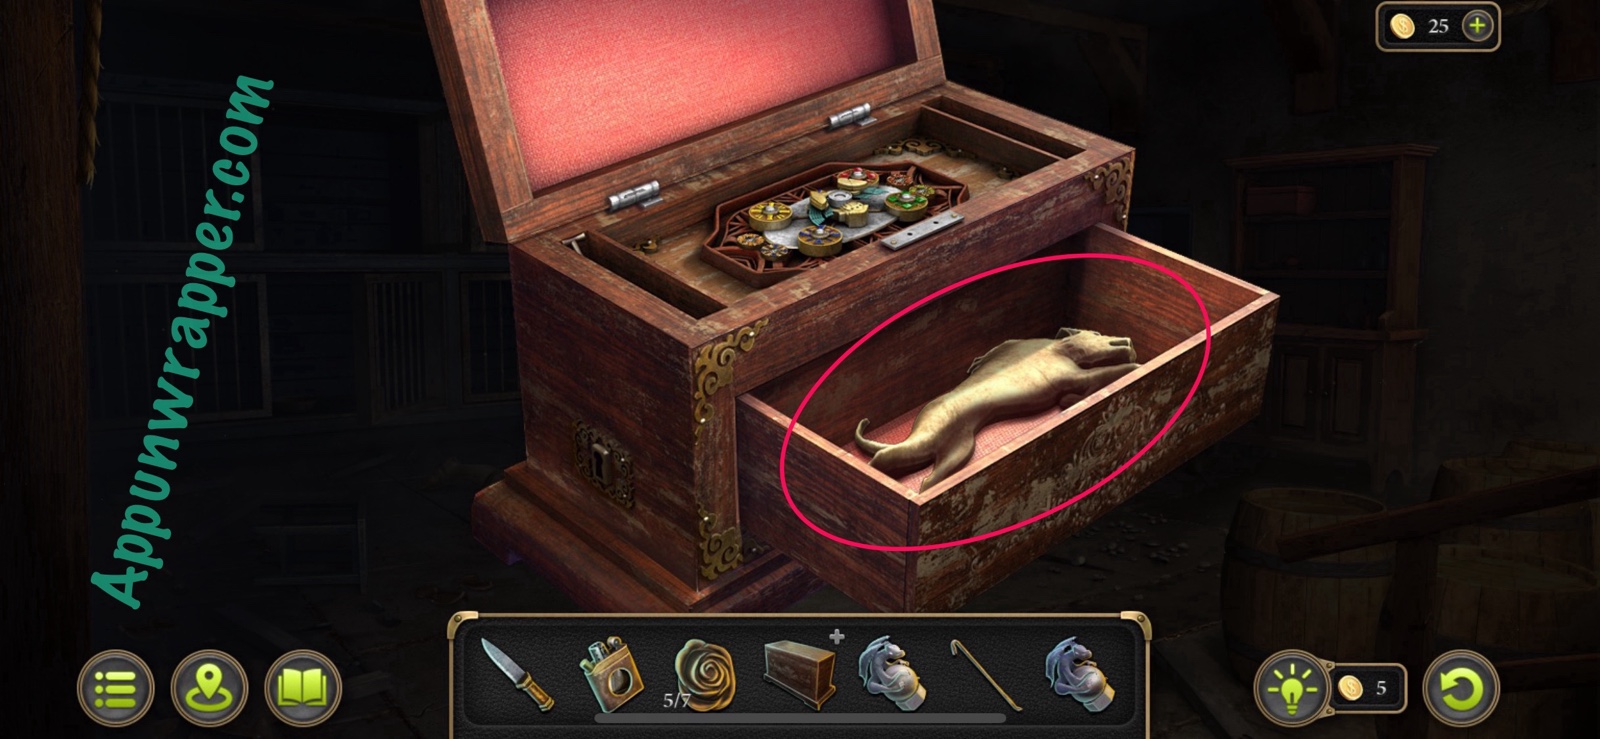
57. Now that we have the key, look at the chest in your bag and use the key to unlock it. We have another puzzle to solve! You need to get all the colored pieces to the correct disc. Tap a disc to rotate it and then press the button in the middle to move all the selected pieces to the next disc over. I made a couple of videos of it, but again yours might look different at the start. Then take the Dog Figurine.
58. So the miller was illegally breeding dogs in the basement of the mill and they could have run off in the fire. Go talk to Harry about Count Babington.
New task: Talk to the count.
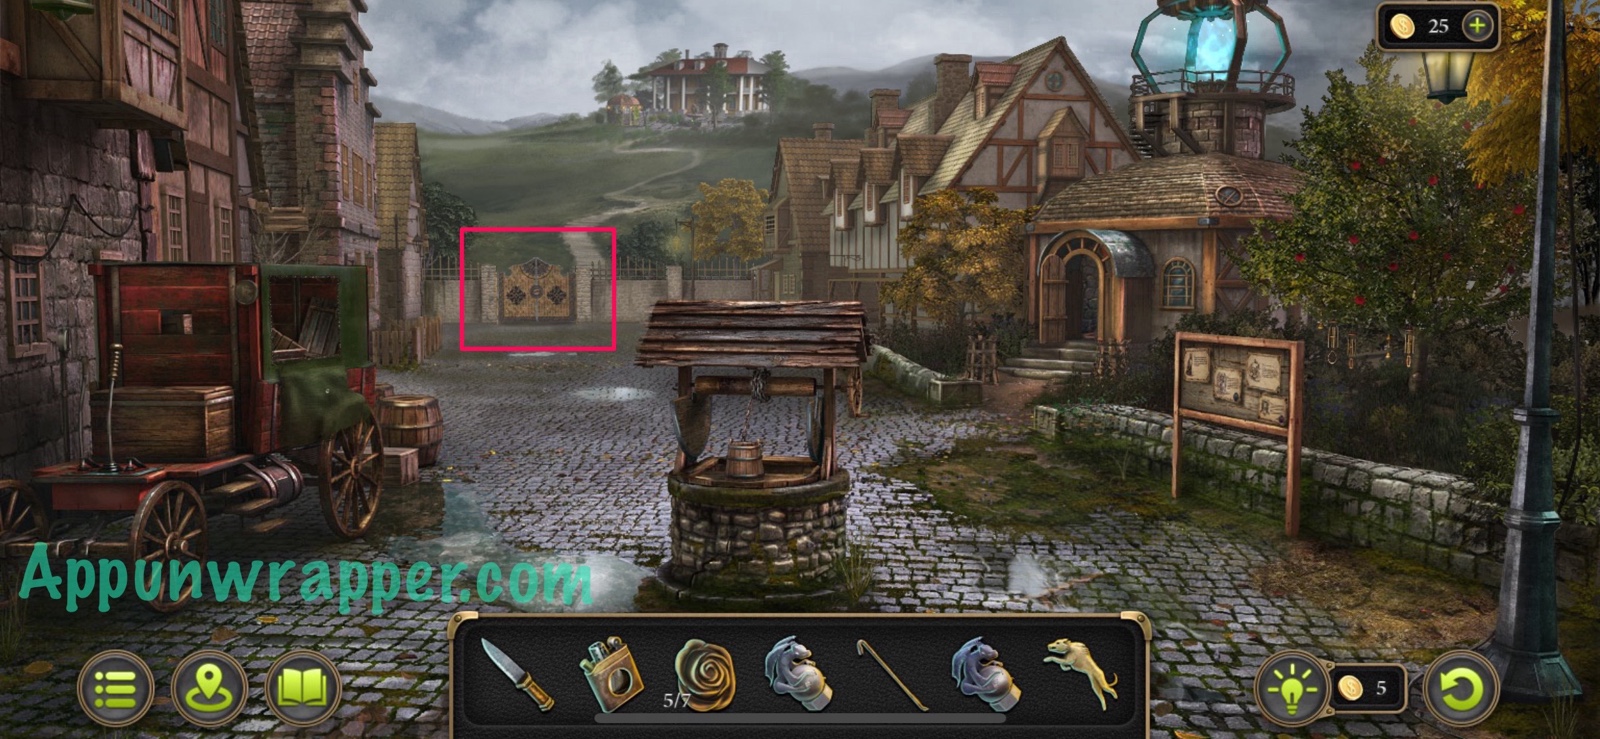
59. Go back to town. Tap on the gate in the distance and insert the dog figurine to open it. Then head to Count Babington’s estate.

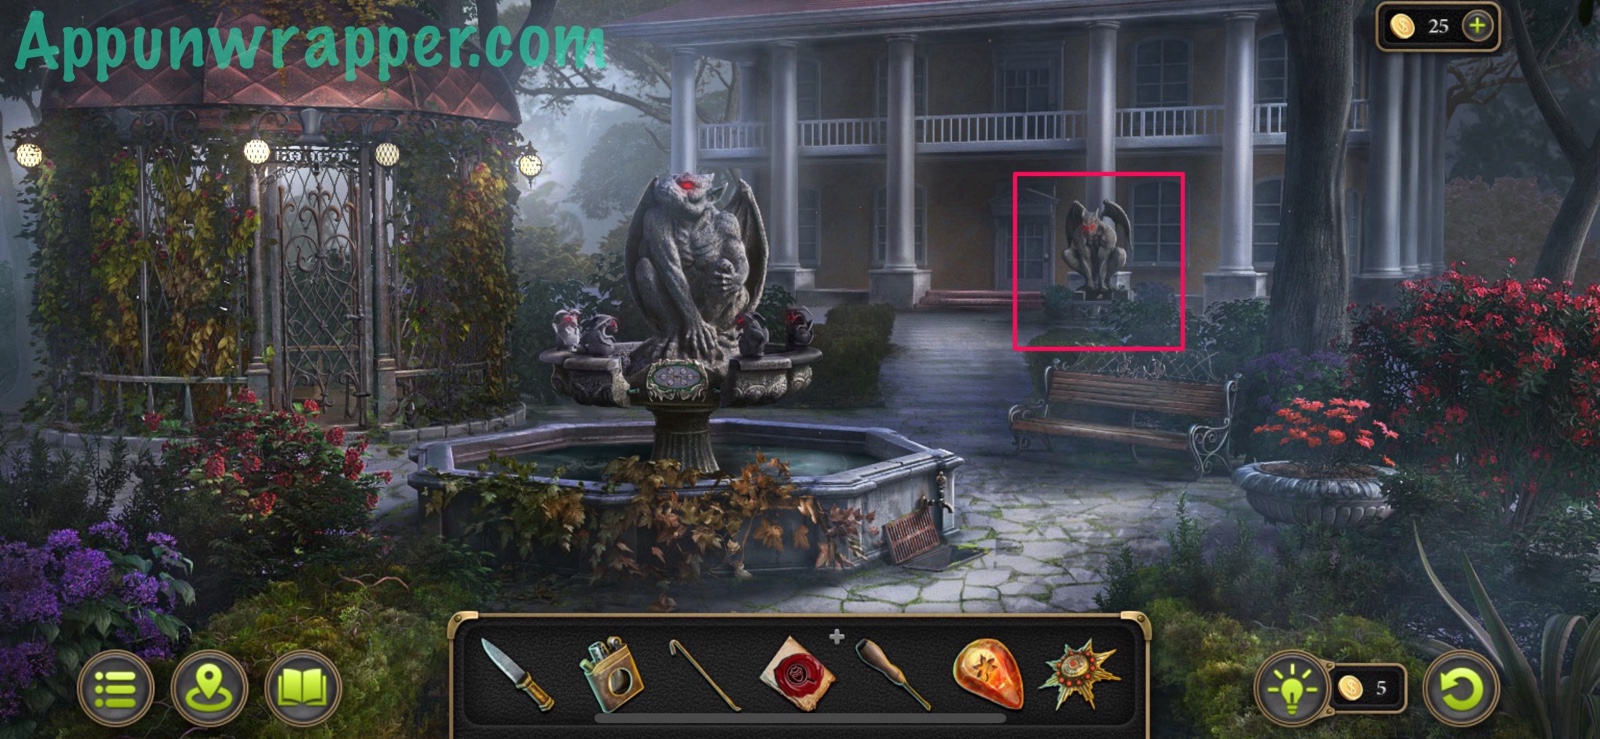
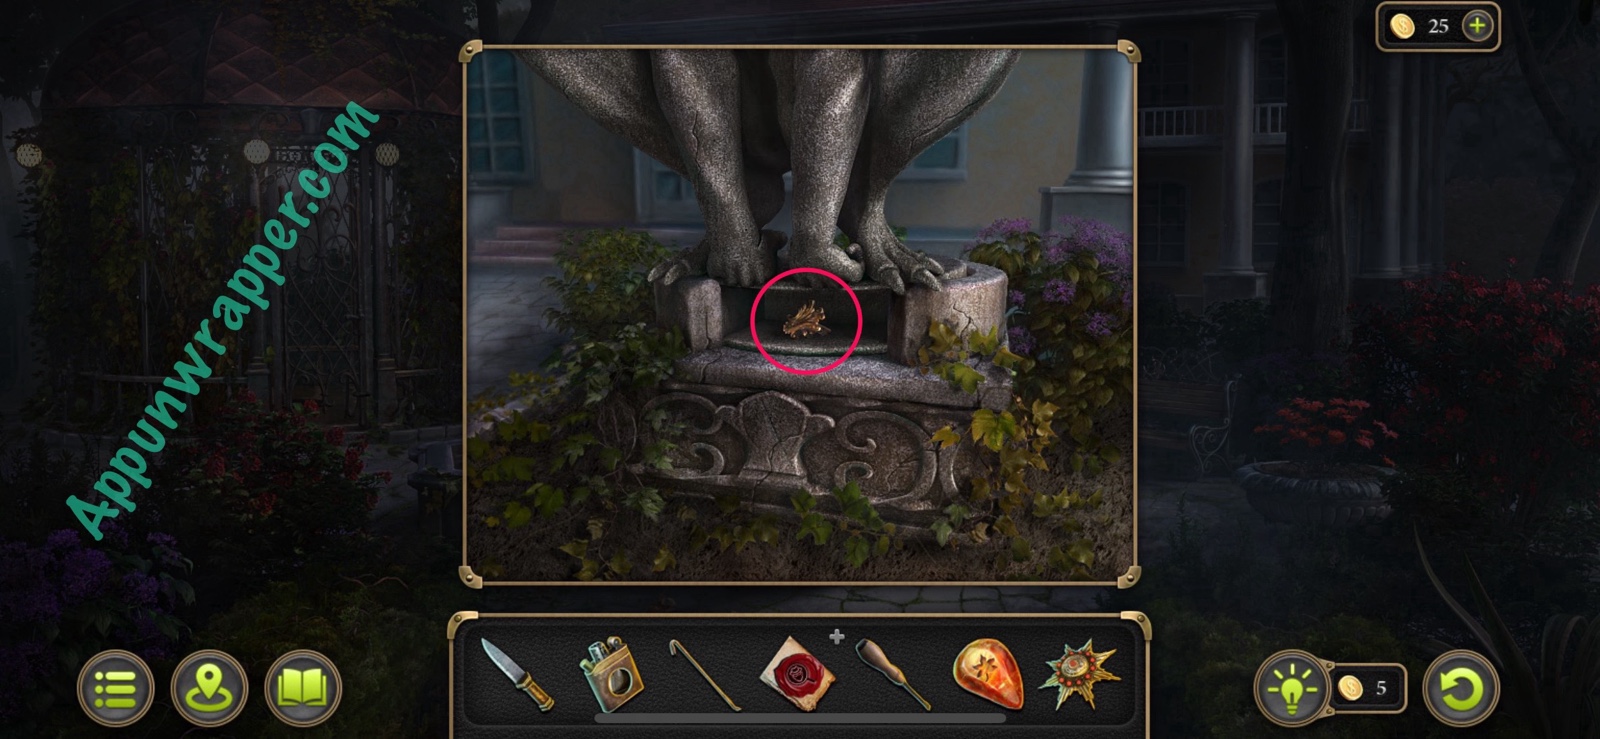
60. Talk to attendant. He’ll tell you the count is waiting for you in the living room. First, grab the vinyl record collectible and also the morphing object collectible on the balcony that looks like a ghost. The other things of note are the gargoyle statue, the metal grate, the flower pot and the bench. There’s also a gazebo but the door is locked and we can’t do anything with it for a while.
Collection: Vinyl record by fountain. (6/9)
Collection: Morphing object on the balcony. (11/49)
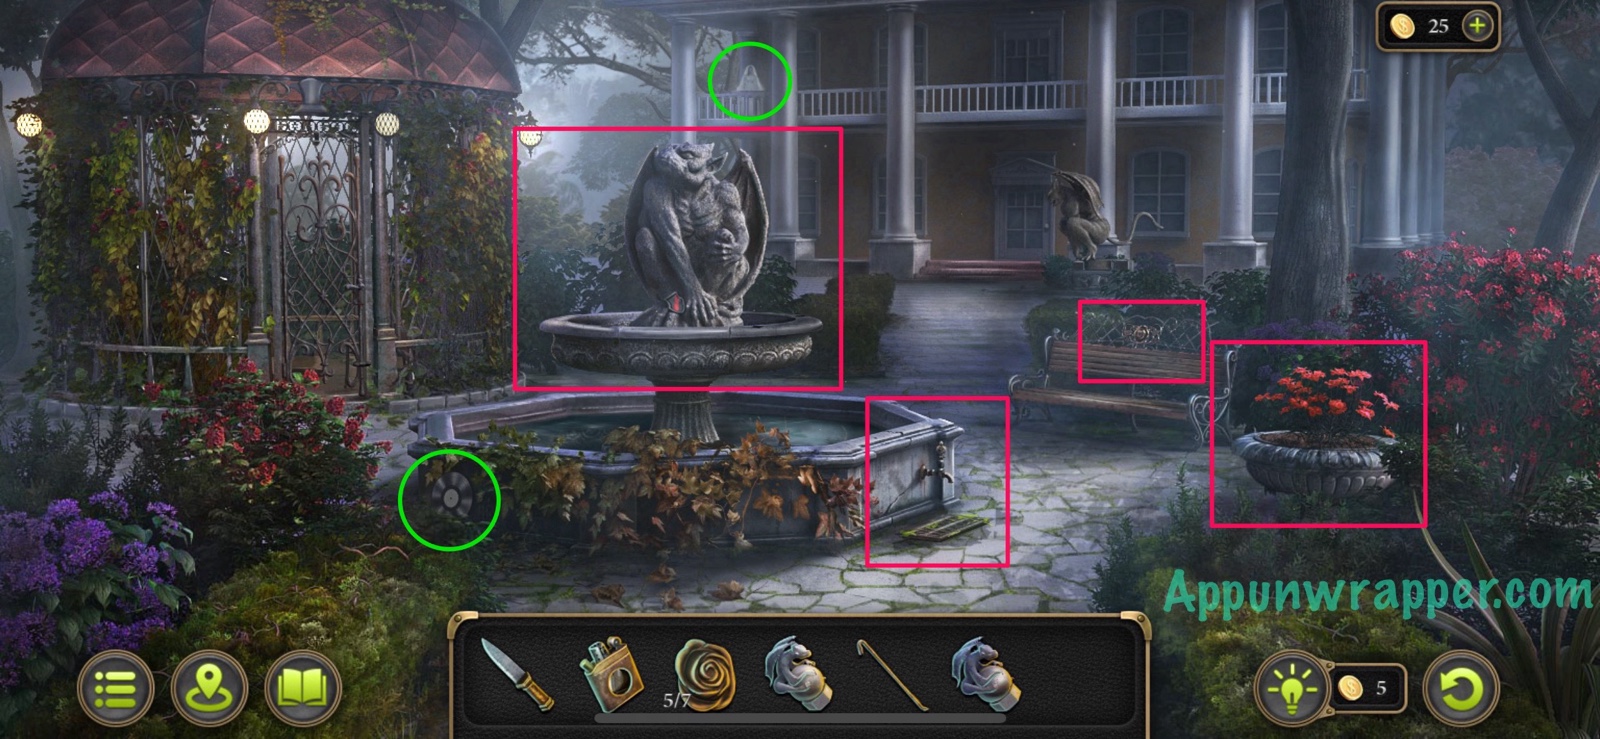
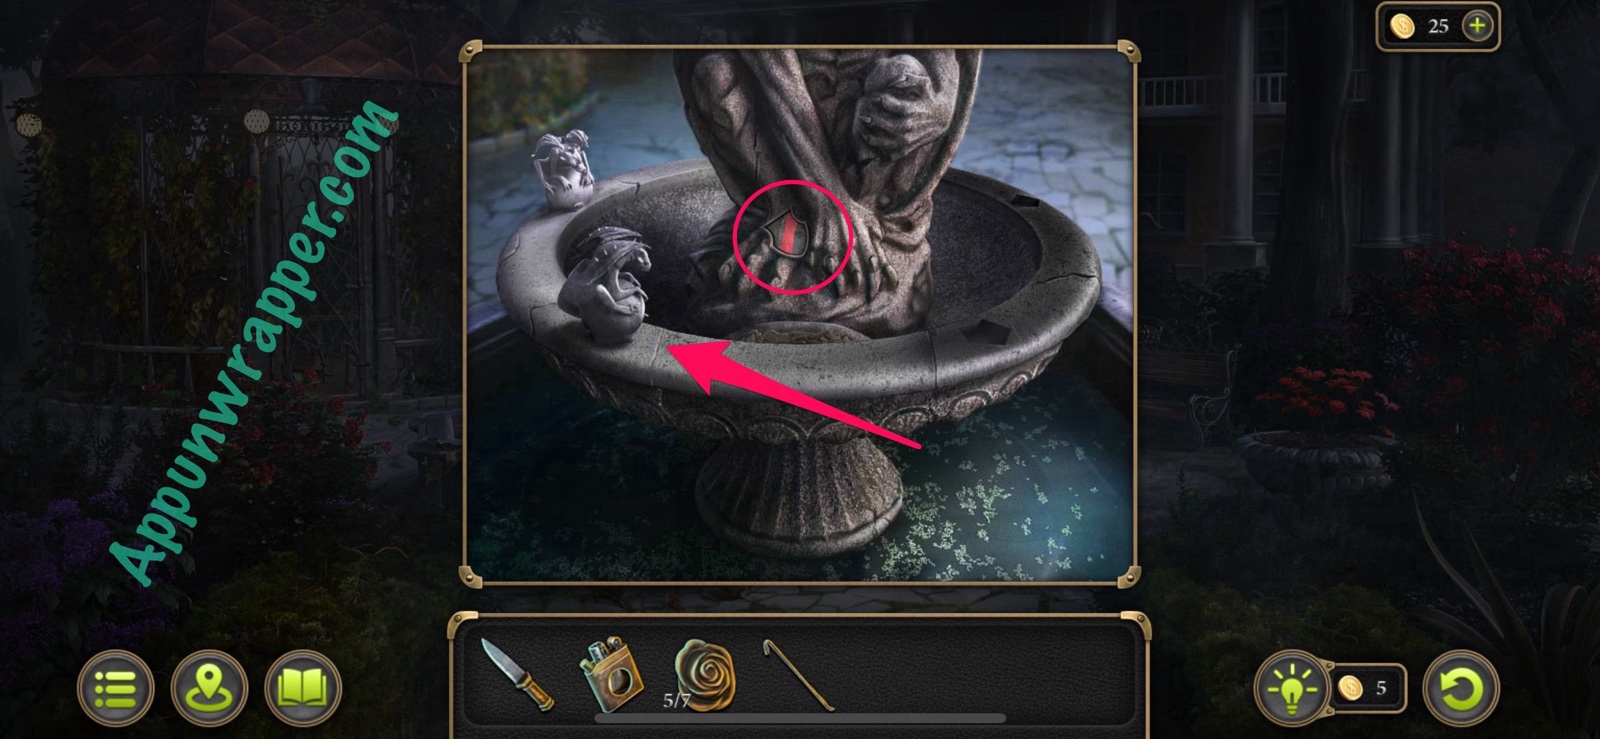
61. Let’s start with the gargoyle. Place the two statuettes in the slots and grab the first of five Details.
Items: Details (1/5)
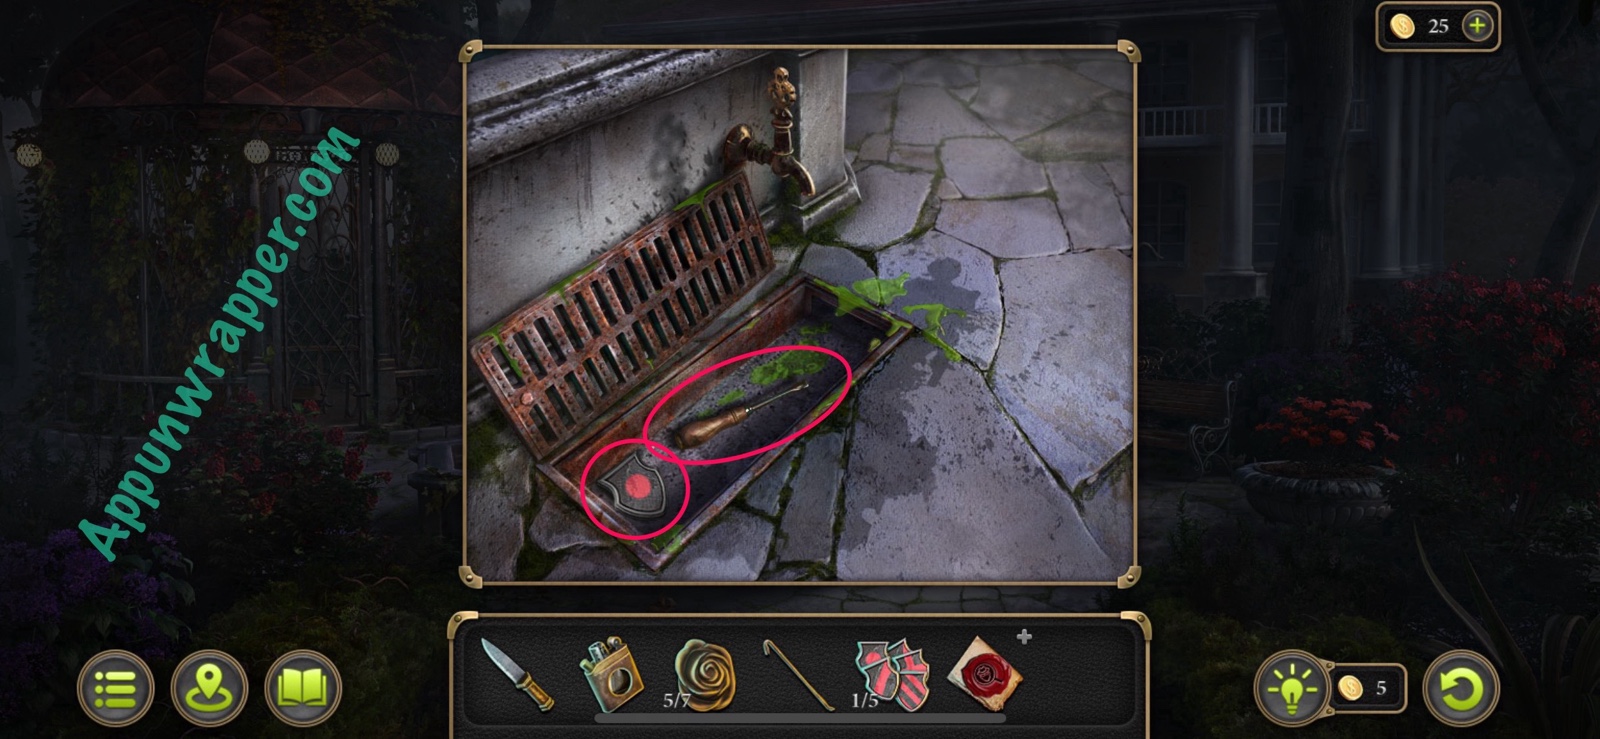
62. Next, inspect the metal grate. Tap on the green substance to collect it as evidence. Then use the crowbar to open the grate. Take the Screwdriver and another of the Details from inside.
Evidence: Blurred traces of blood of an unusual color. (Mystical Scam 1/12)
Items: Details (2/5)

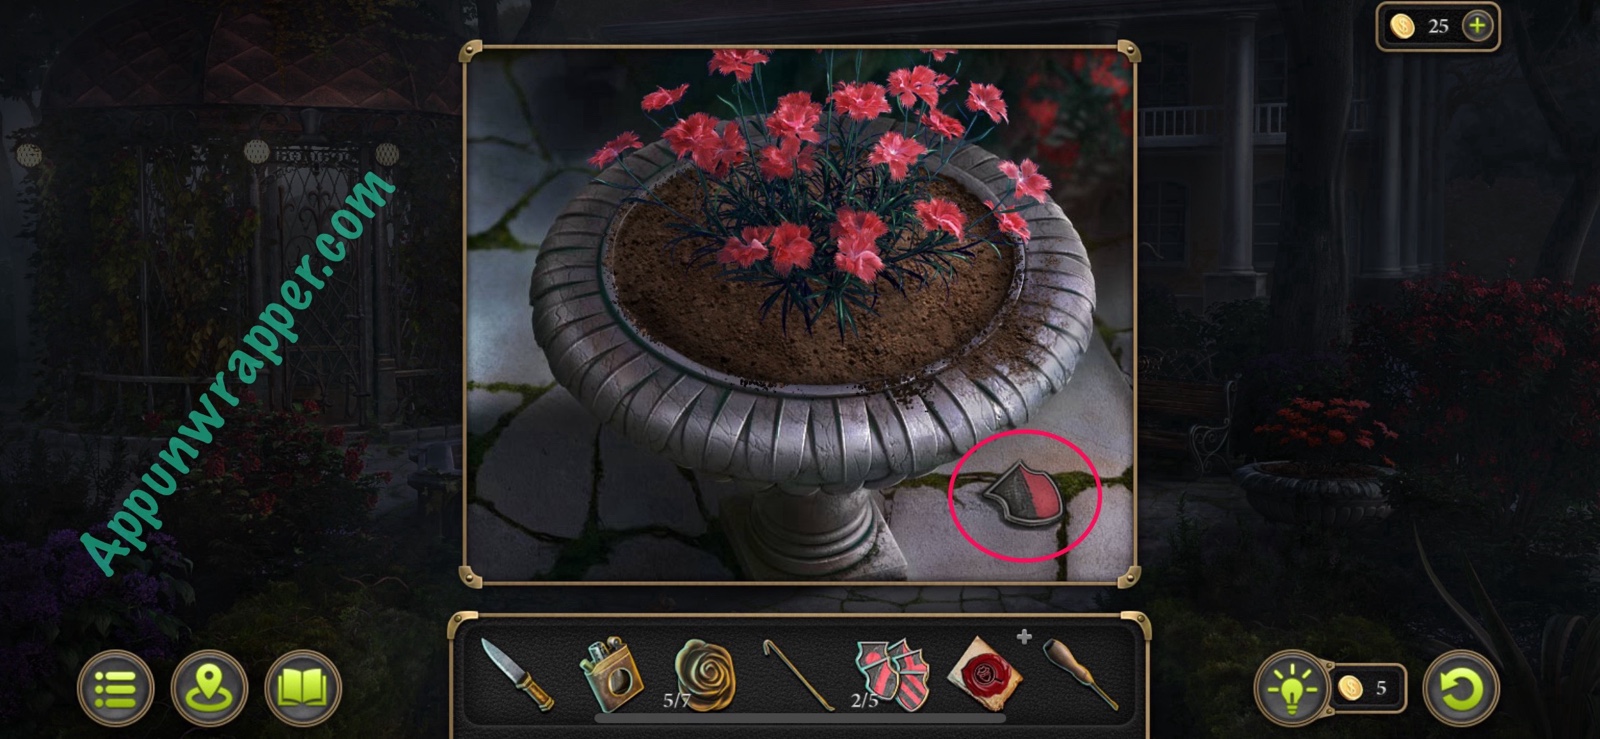
63. Next, look at the flower pot. Grab another one of the Details.
Items: Details (3/5)
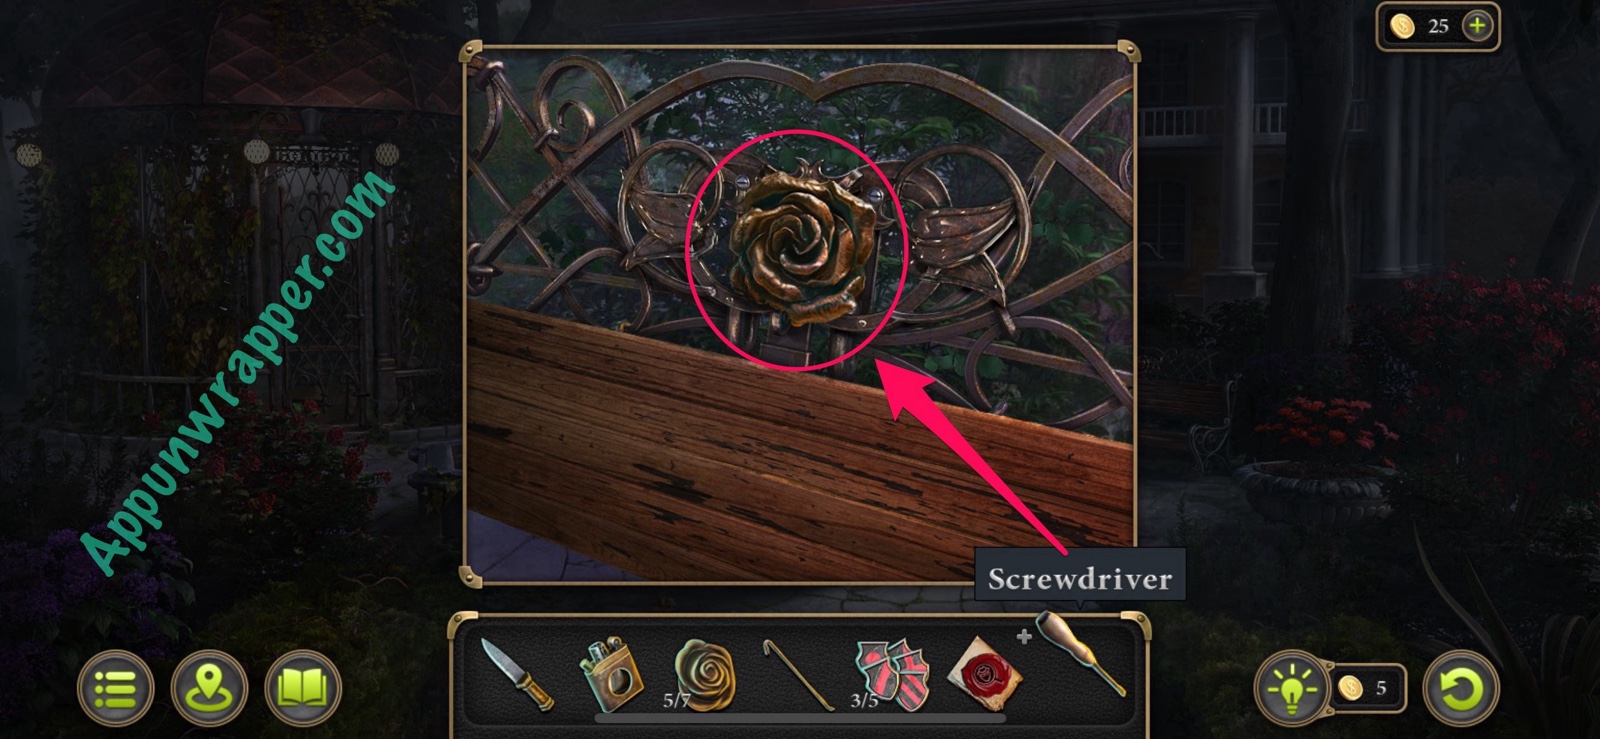
64. And now the bench. Use the screwdriver to get the Flower.
Items: Flower (6/7)
65. Enter the manor and talk to Count Babington. He tells you that he was trying to buy a hunting dog from the miller and that he’s interested in proof of the demon dog because his grandfather was obsessed with it. He tells you to go to the library and read his grandfather’s diary and also mentions a secret room.
New task: Explore the legend of the dog.
66. Now let’s explore the room. Grab the morphing object collectible that’s one of the posts on the stairs railing. There’s quite a bit to do here, so let me highlight the important bits. Pull back the curtain to reveal a missing handle that we’ll deal with later. We have a coffee table, a fireplace, the mantle, a locked cabinet, and a puzzle on the door to the library.
Collection: Morphing object on the railing. (12/49)
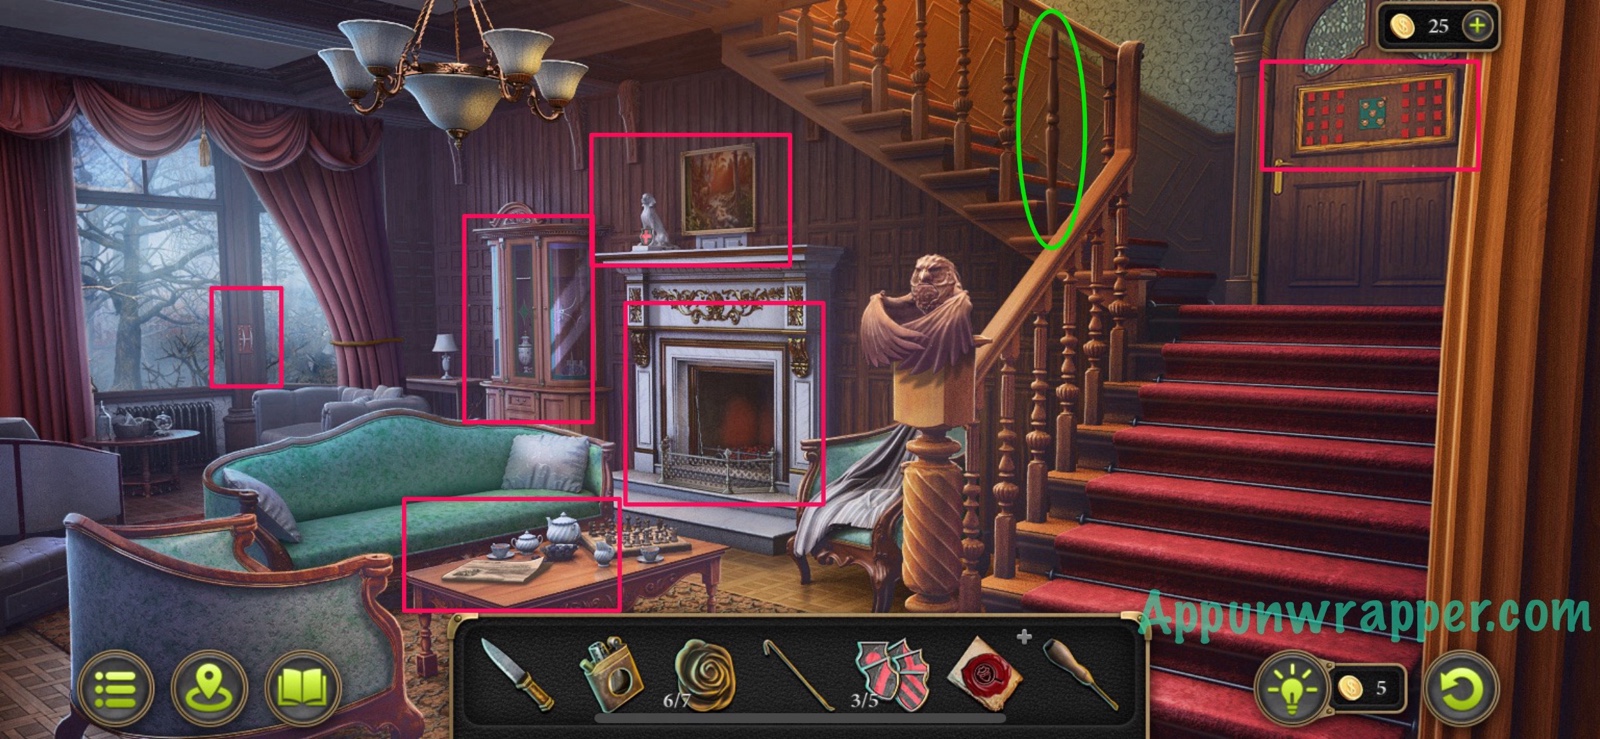
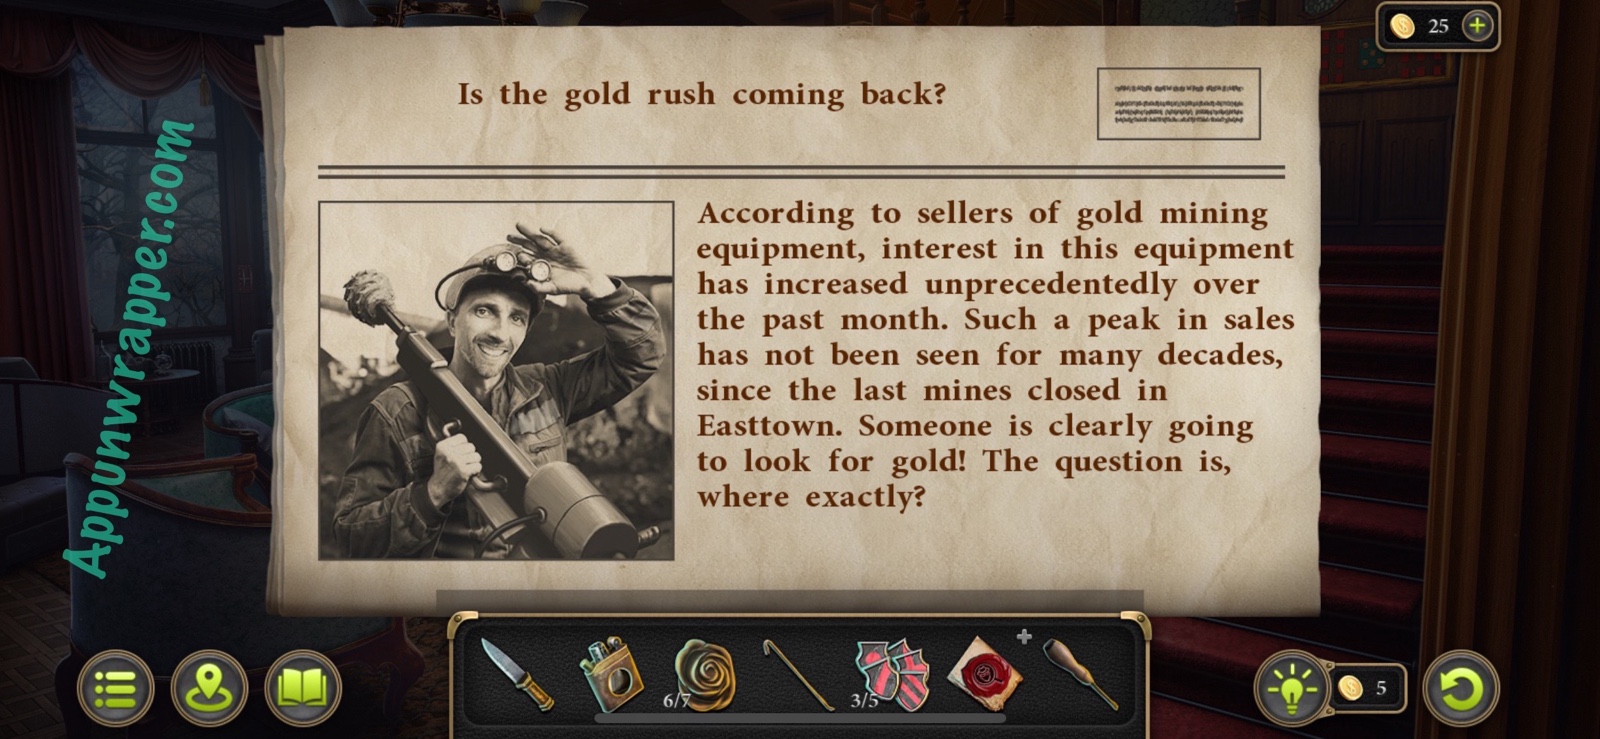
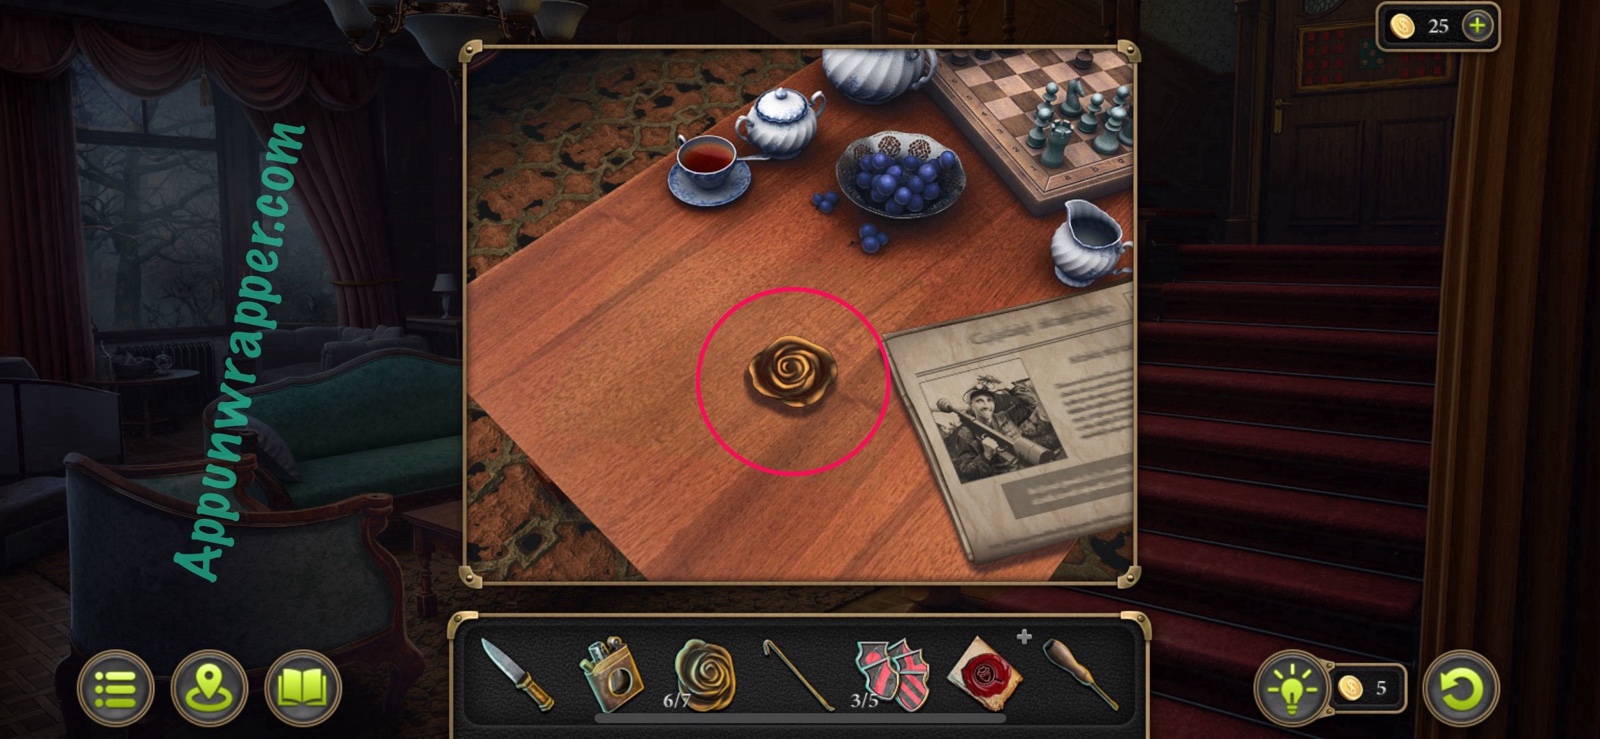
67. Let’s start with the coffee table. Read the newspaper article and then grab the Flower that was underneath it.
Items: Flower (7/7)
68. Next, grab another one of the Details from in front of the glass cabinet.
Items: Details (4/5)
69. Now grab the last of the Details from the top of the mantle.
Items: Details (5/5)
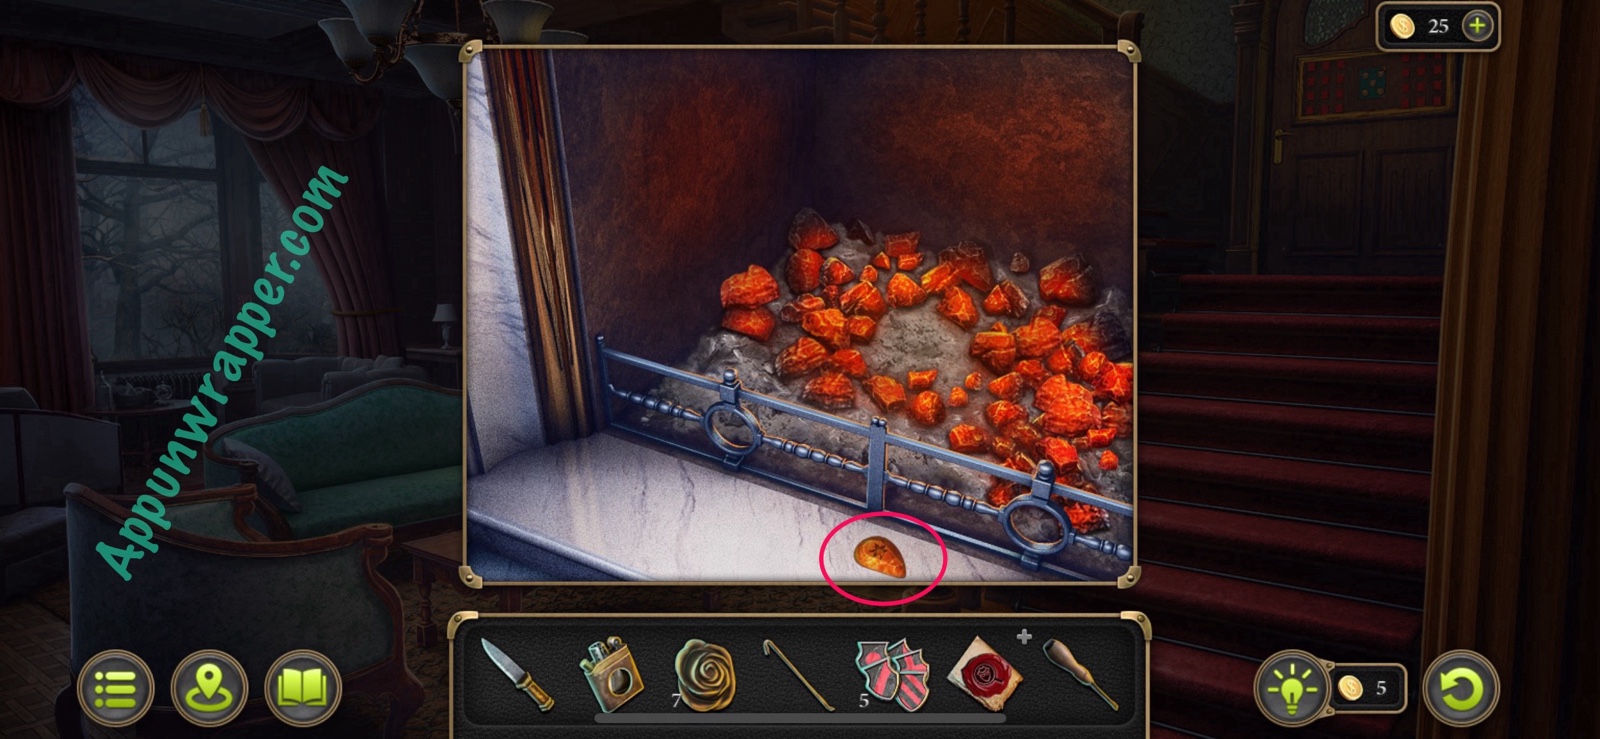
70. Next, examine the fireplace. Use the fire poker to rake the coals and get the Orange Stone.

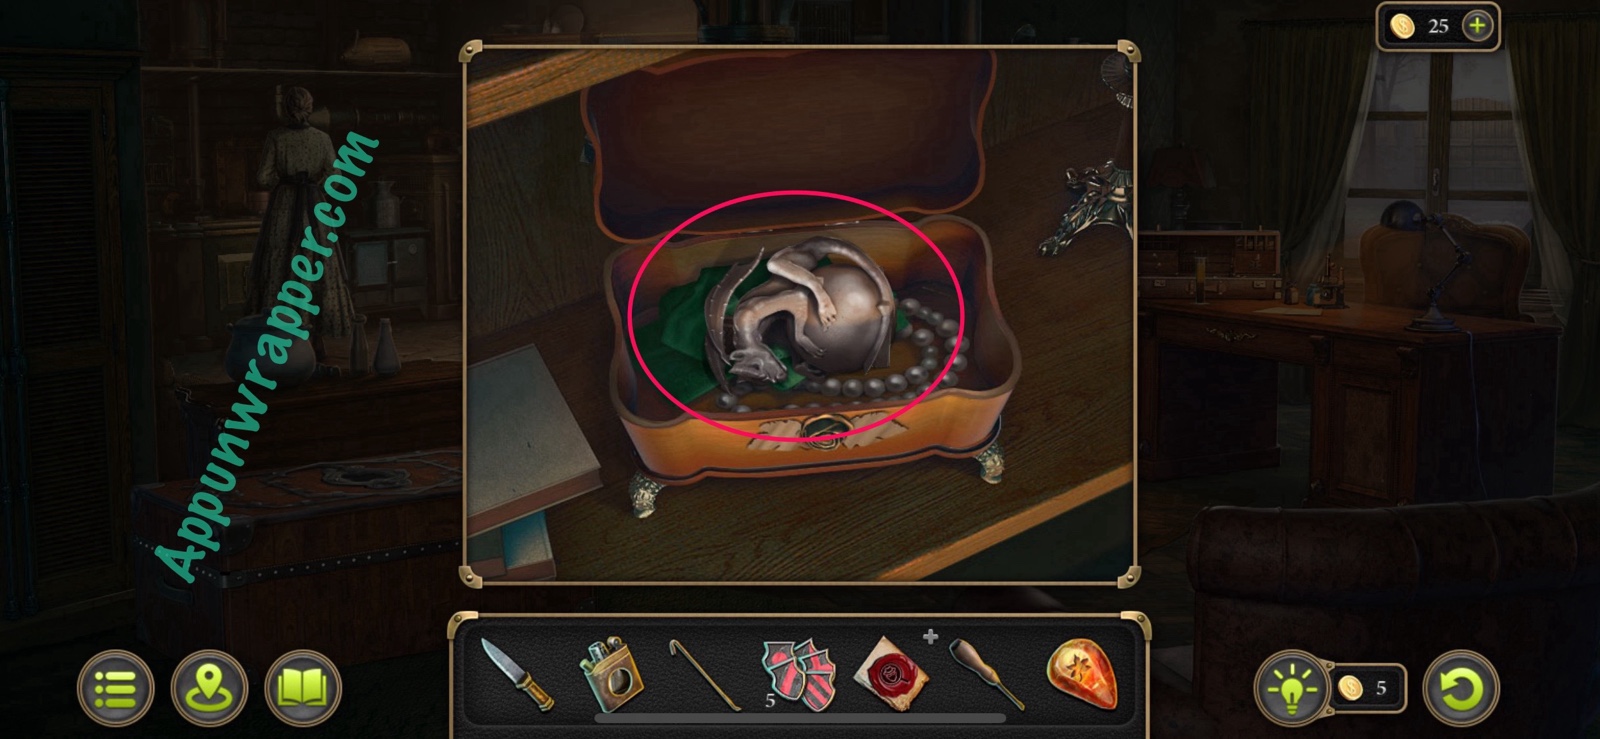
71. We now have all seven flowers, so go back to the farm house and place them on the locked box on the shelf. Then take the Statuette from inside.
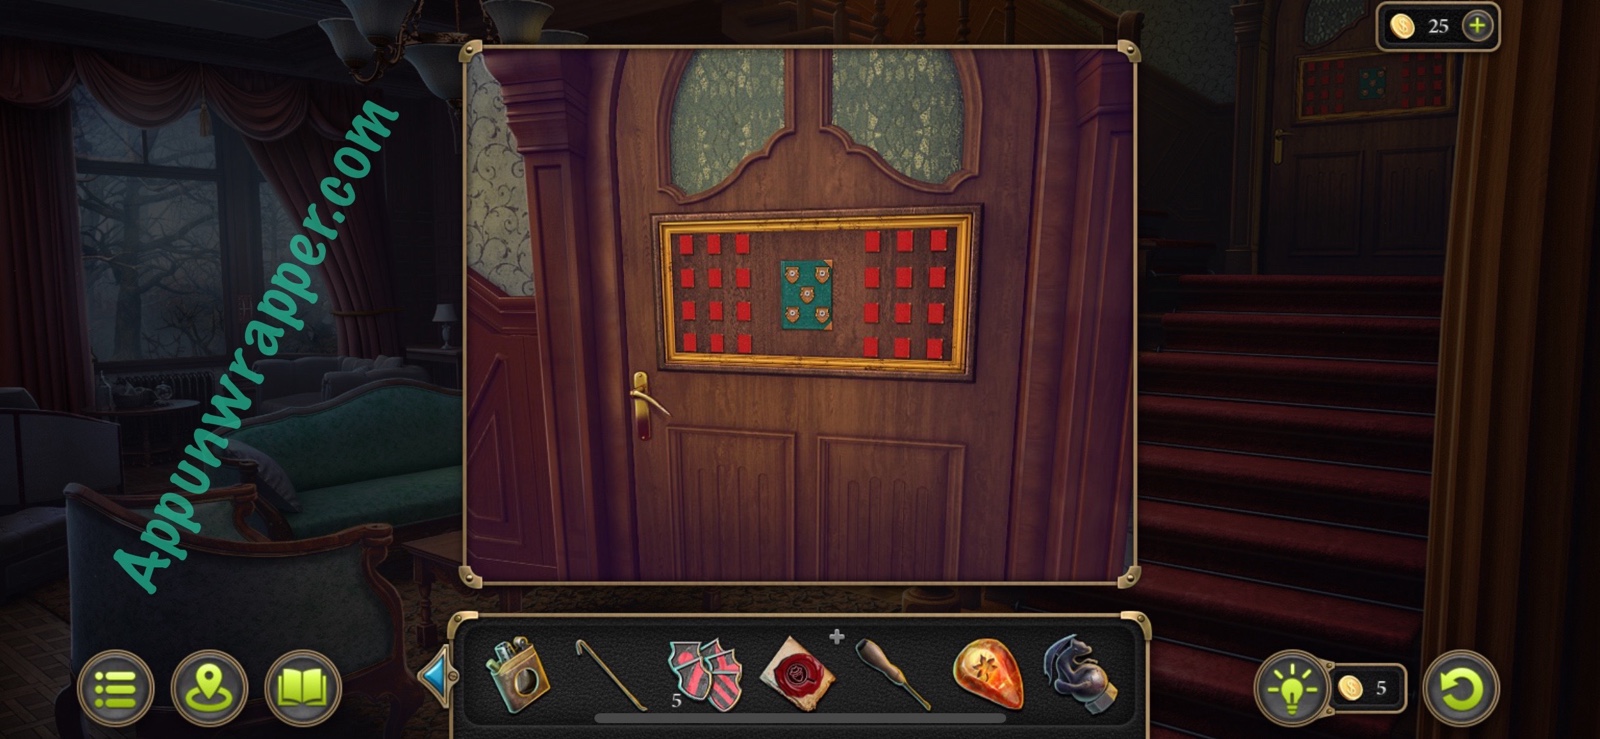
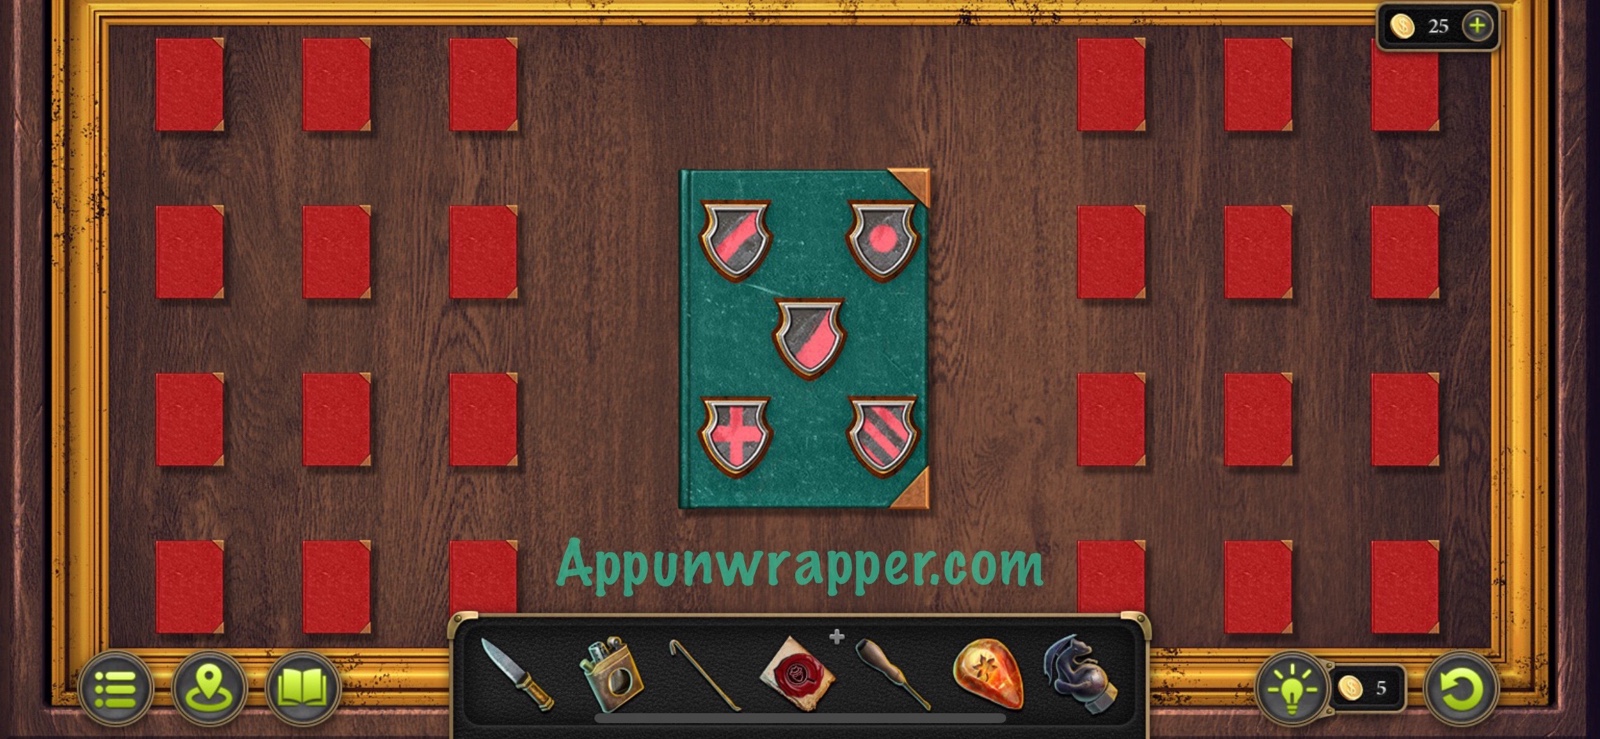
72. Go back to the count’s manor and tap on the puzzle on the library door. Place all five Details on it to reveal a puzzle. To solve the books puzzle, you need to open all the books. It’s like Lights Out, where the book you tap changes it and the books up, down, left and right of it to either open or closed, the opposite of what it was. Again, I have videos but yours might be different.
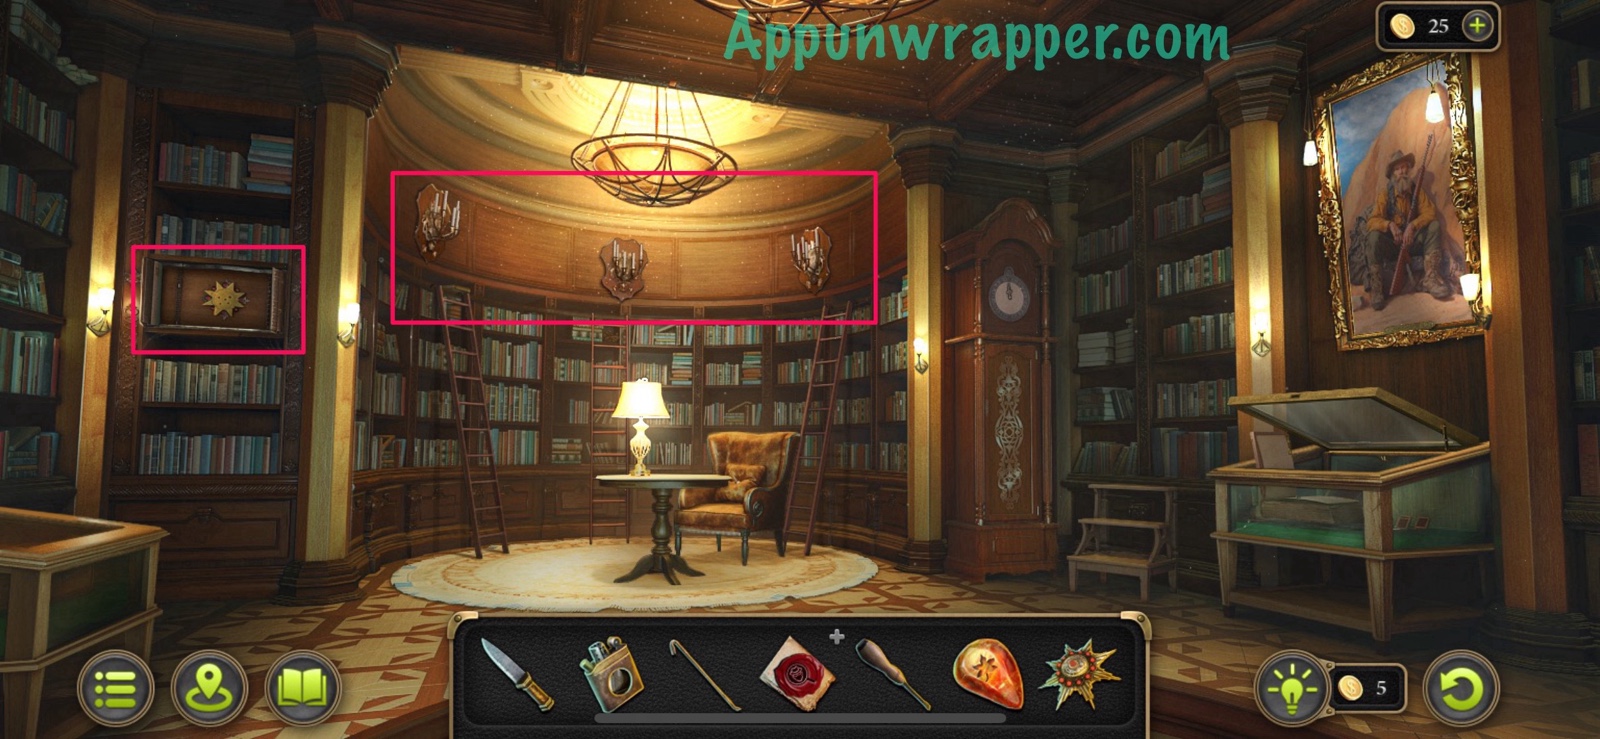
73. Head inside the library. Pick up the vinyl record collectible from the floor and the morphing object collectible under the display case. Other points of interest are the display case, the painting, the clock, and the three sconces above the table.
Collection: Vinyl record. (7/9)
Collection: Morphing object under display case. (13/49)
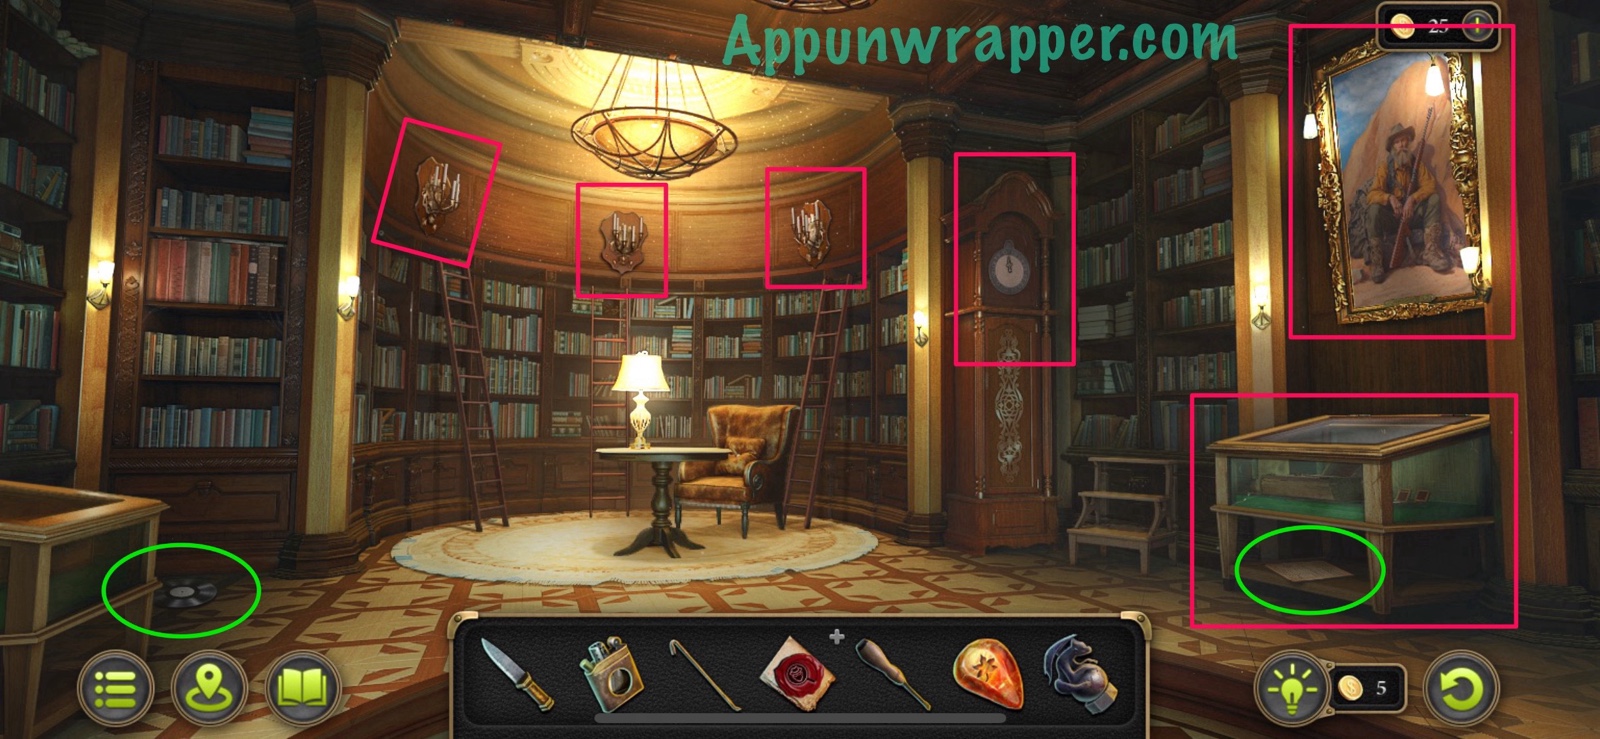
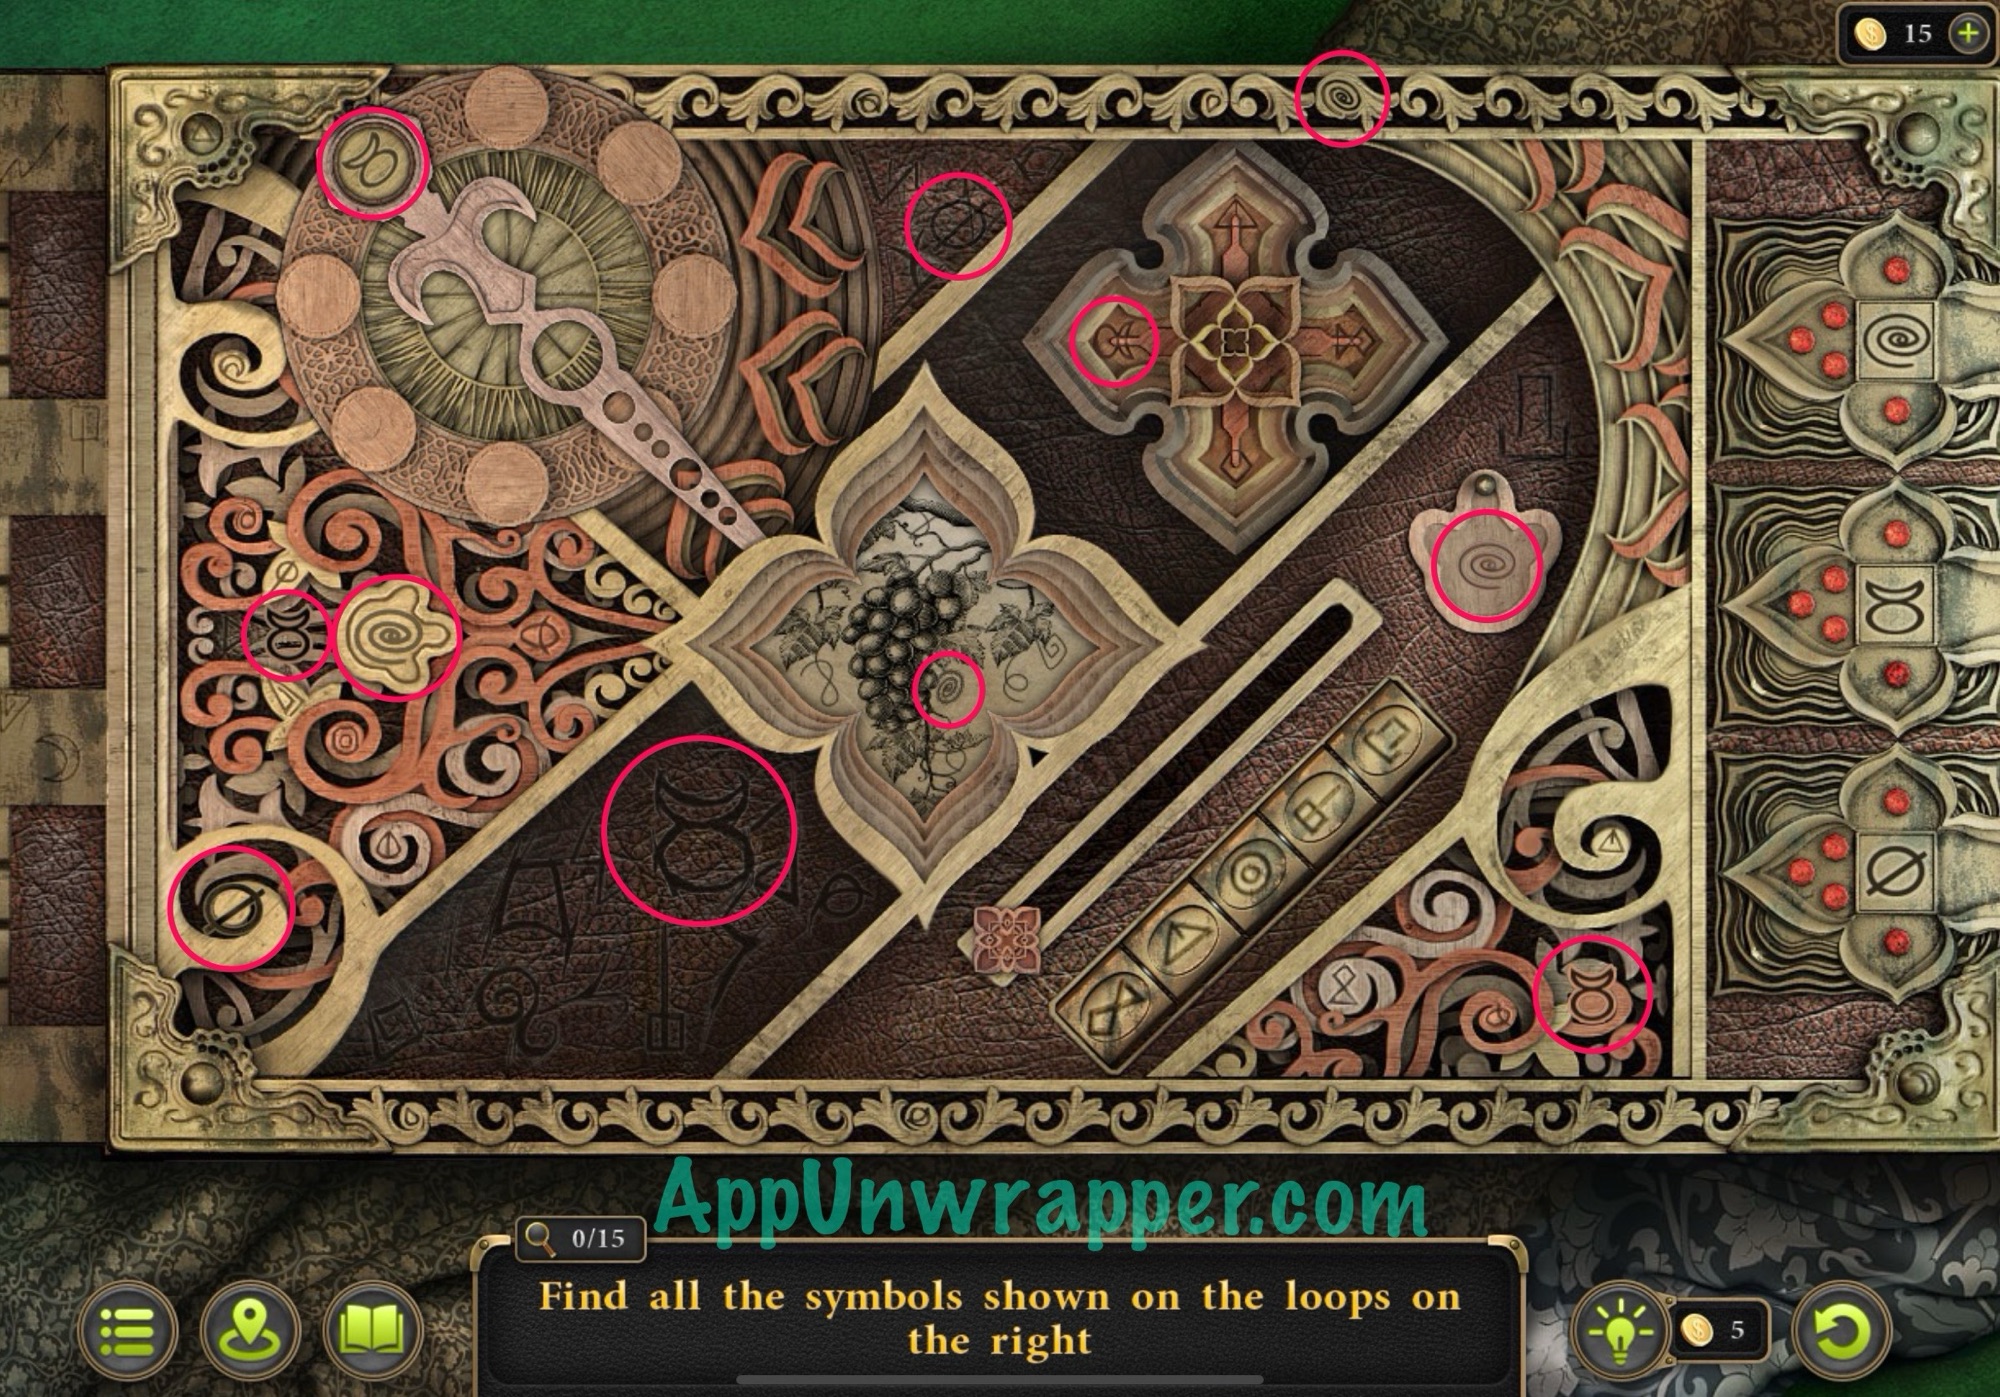
74. Start with the display case. Use the knife in the slot to open it. Then take the Order and the Statuette from inside. There’s also a hidden object puzzle to solve.
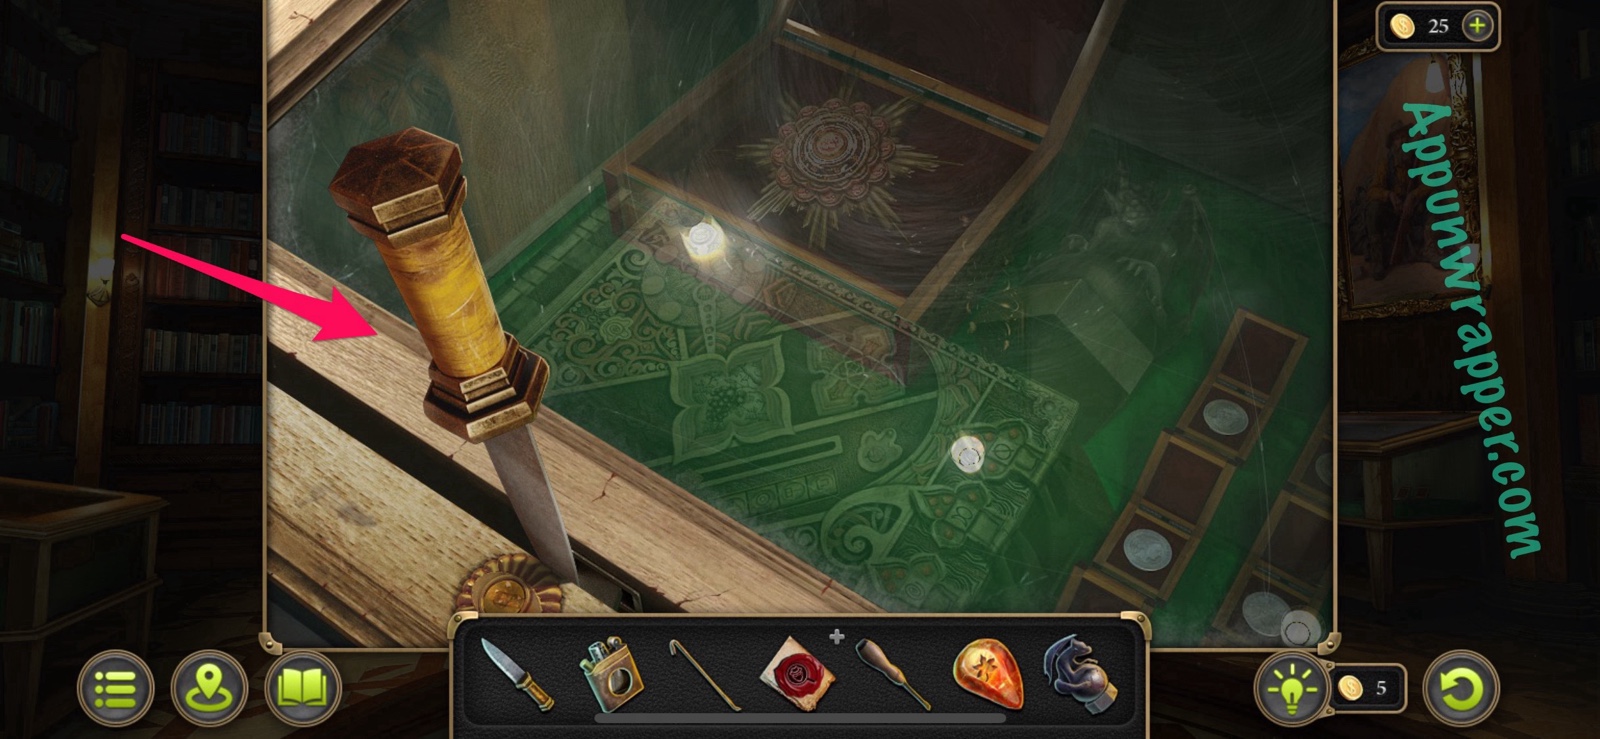
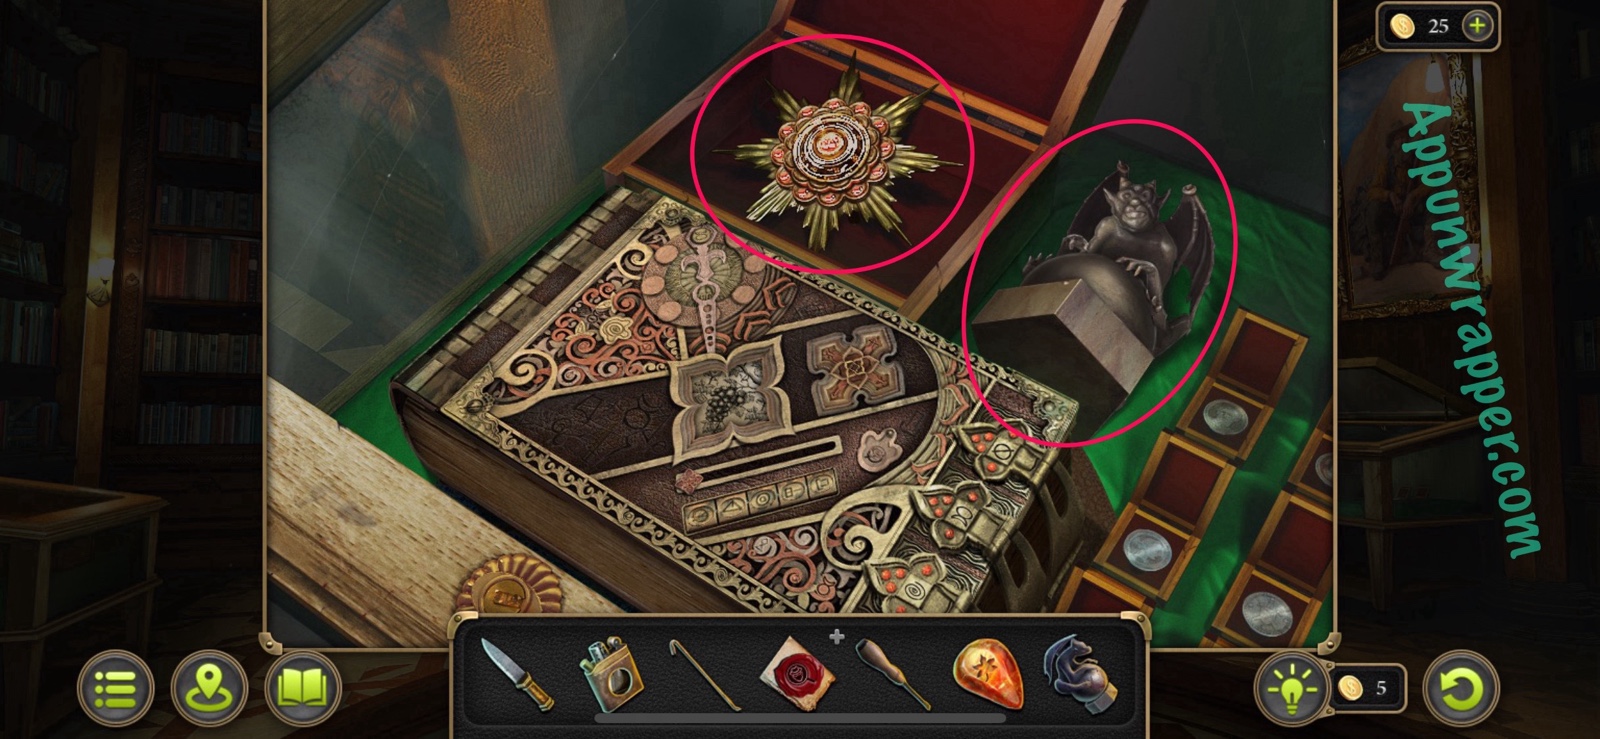
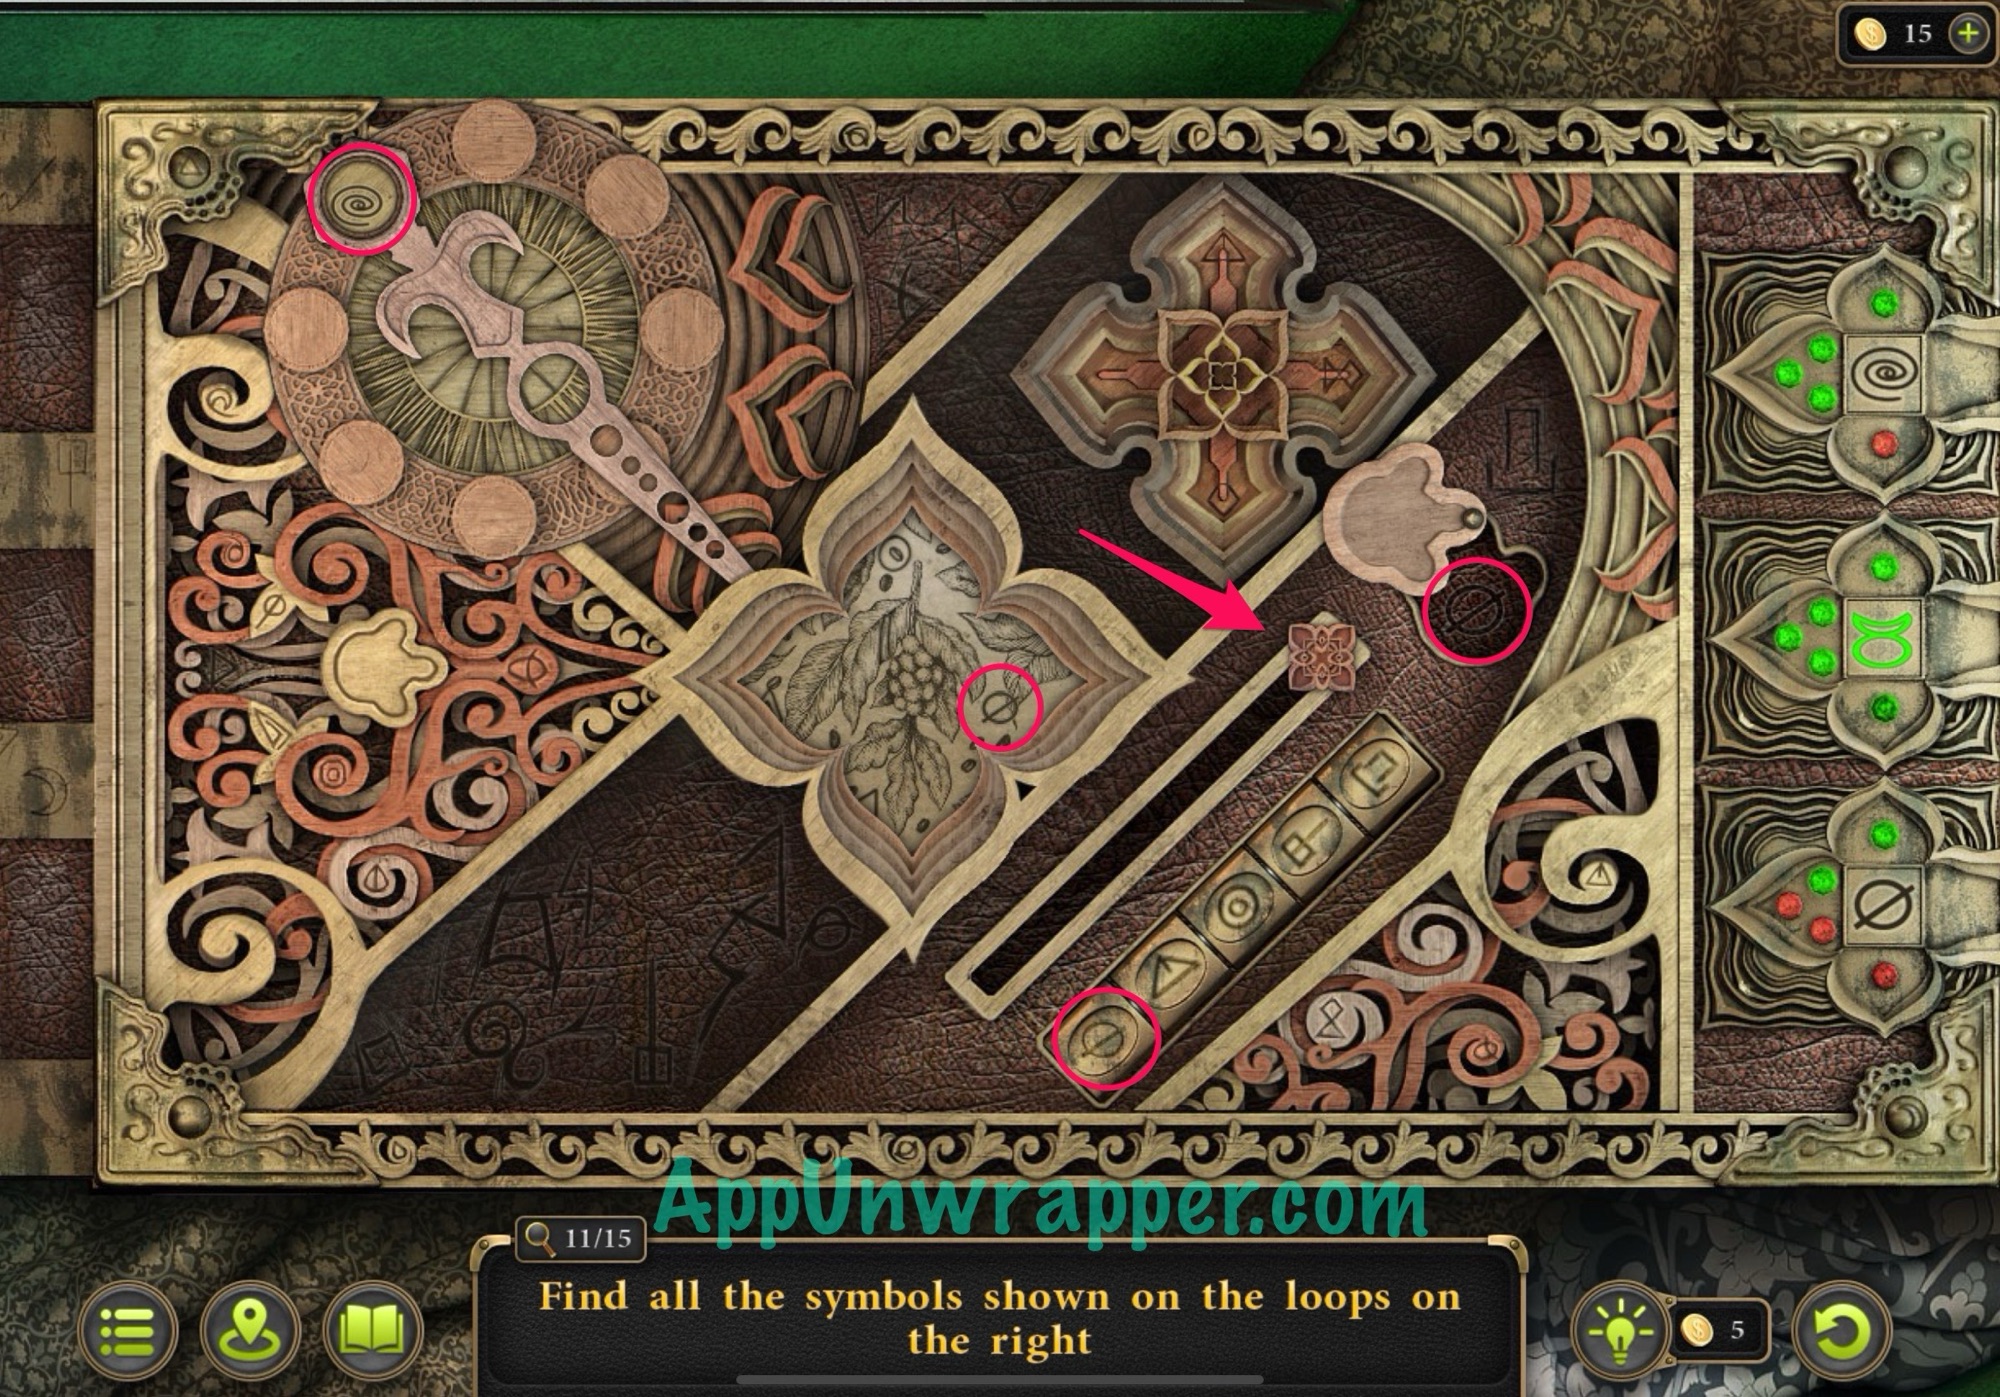
75. You need to find all the symbols. I’ll circle them for you. There’s 11 visible right away. Then there’s 4 more after you move the slider, press one of the buttons a few times, and turn the dial.
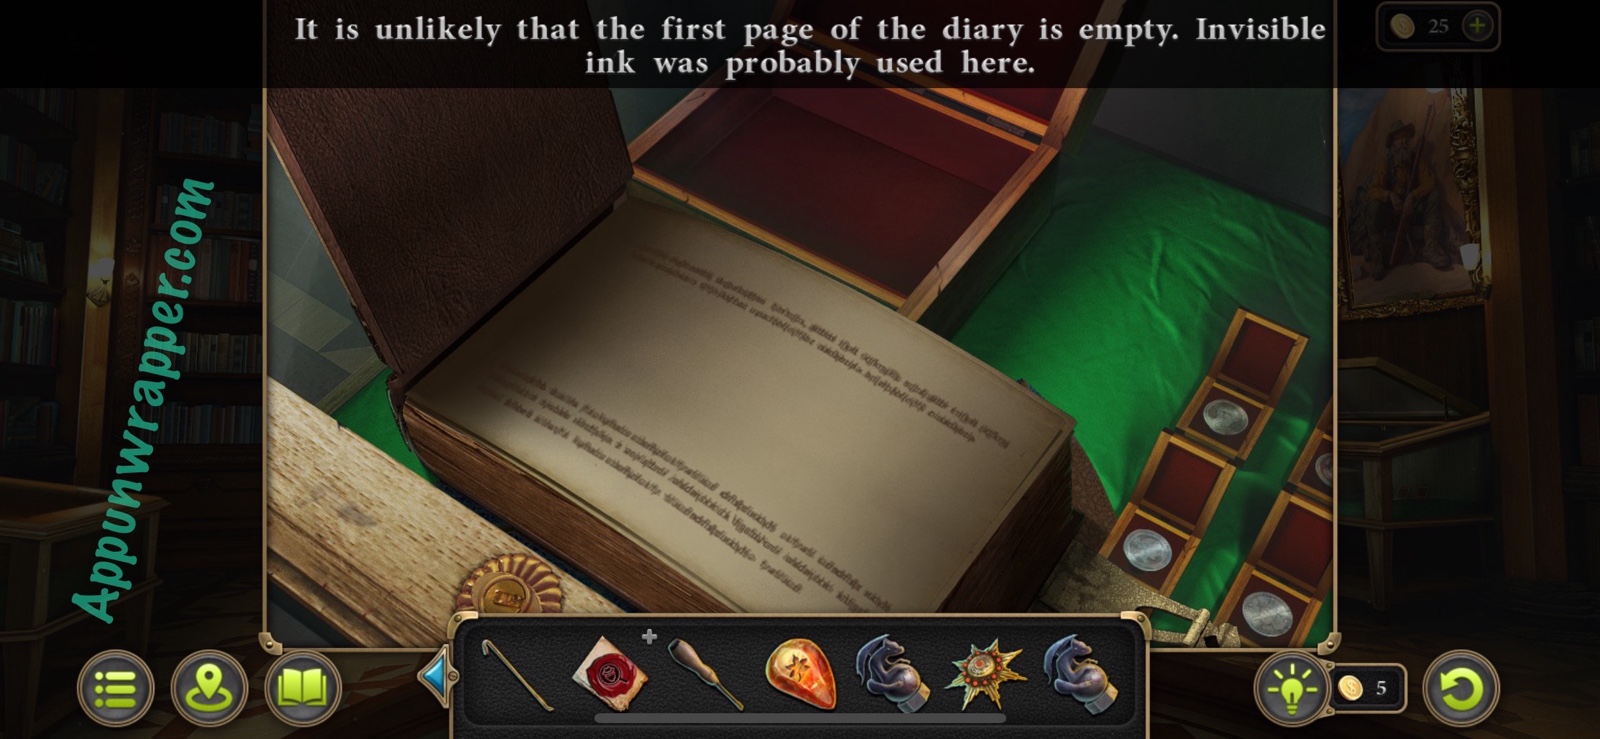
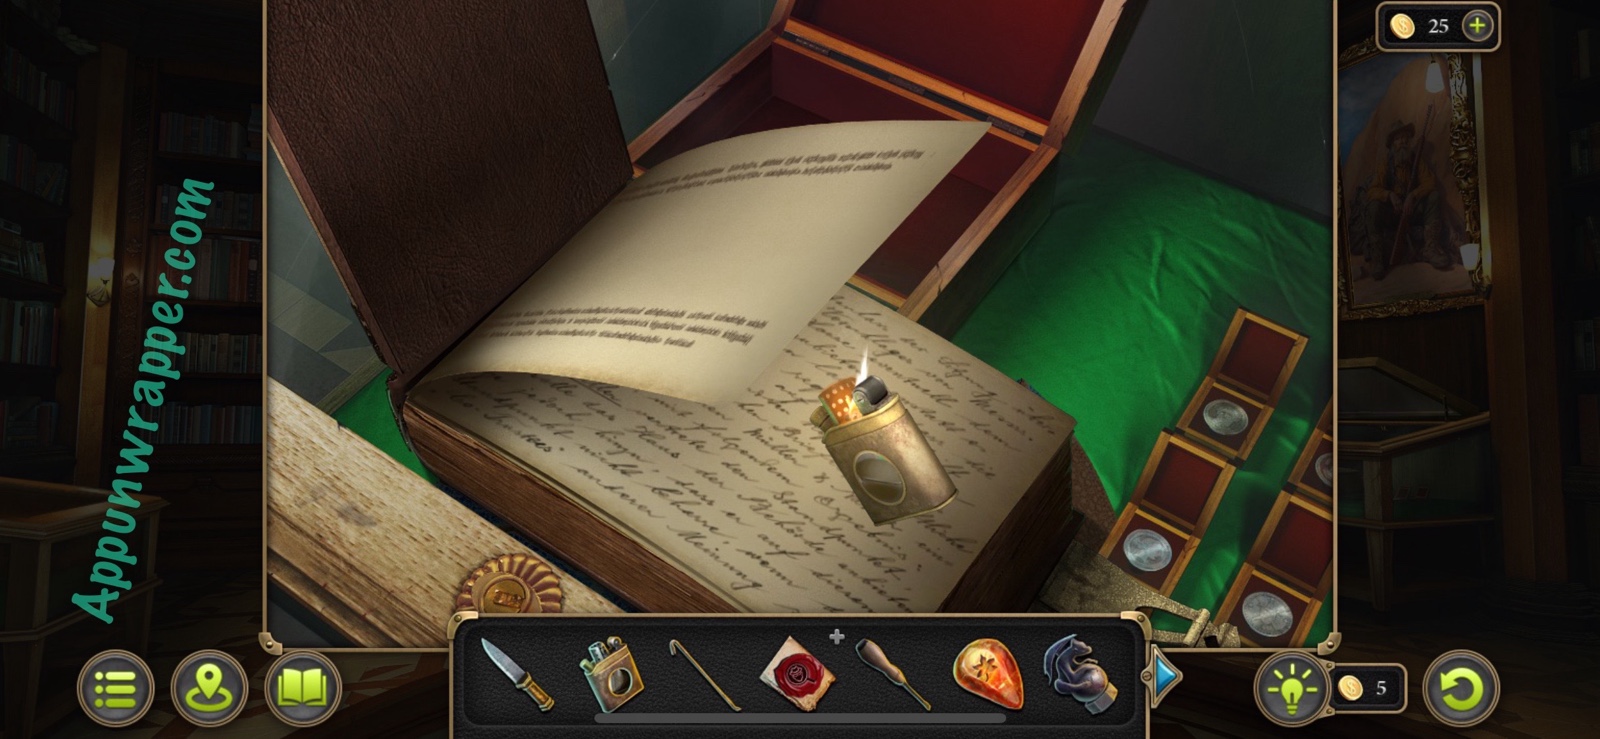
76. Now the diary is open. If you tap on the page, it’ll tell you that there’s likely invisible ink. So use the lighter on the diary to reveal a clue.
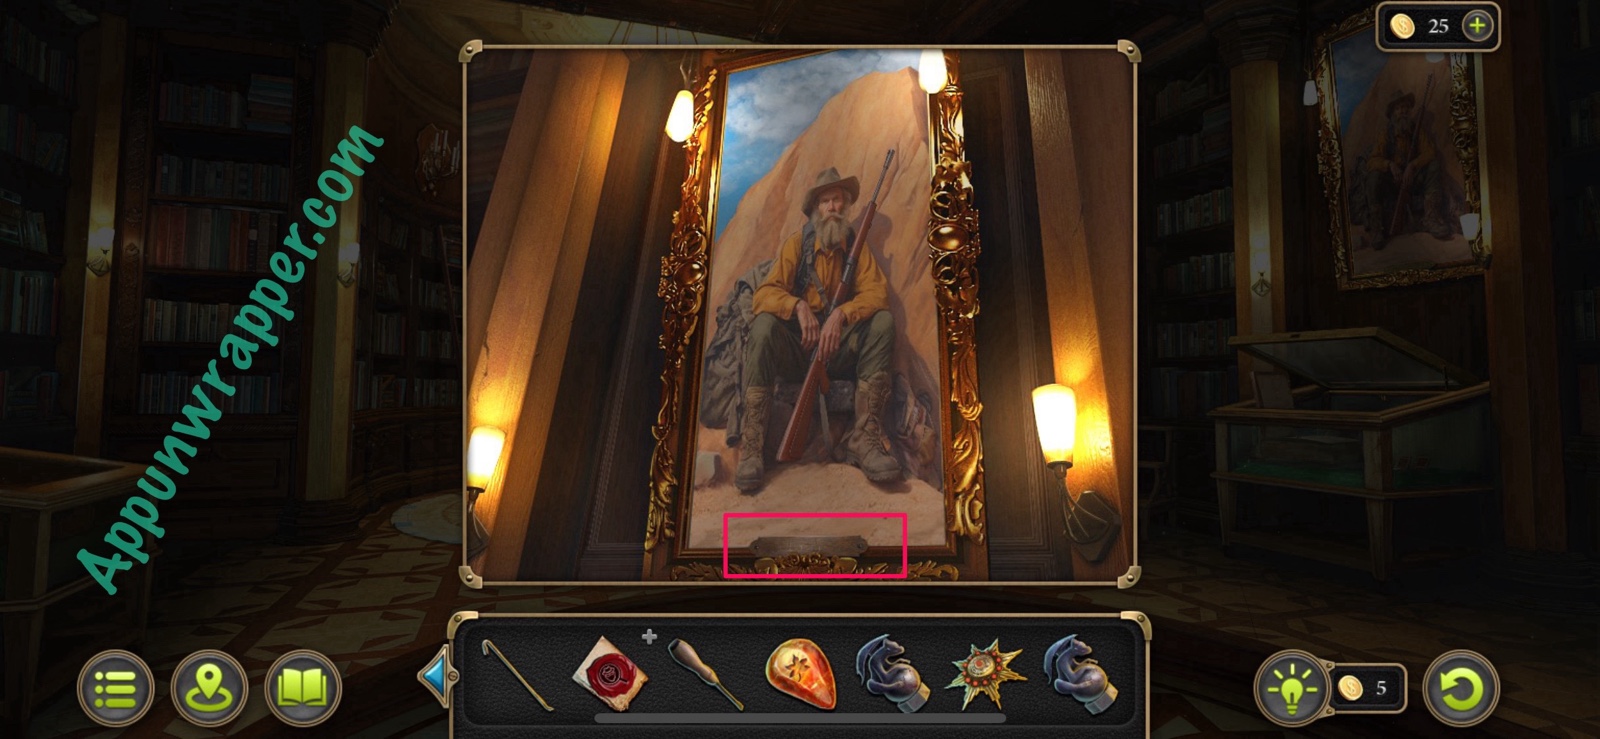
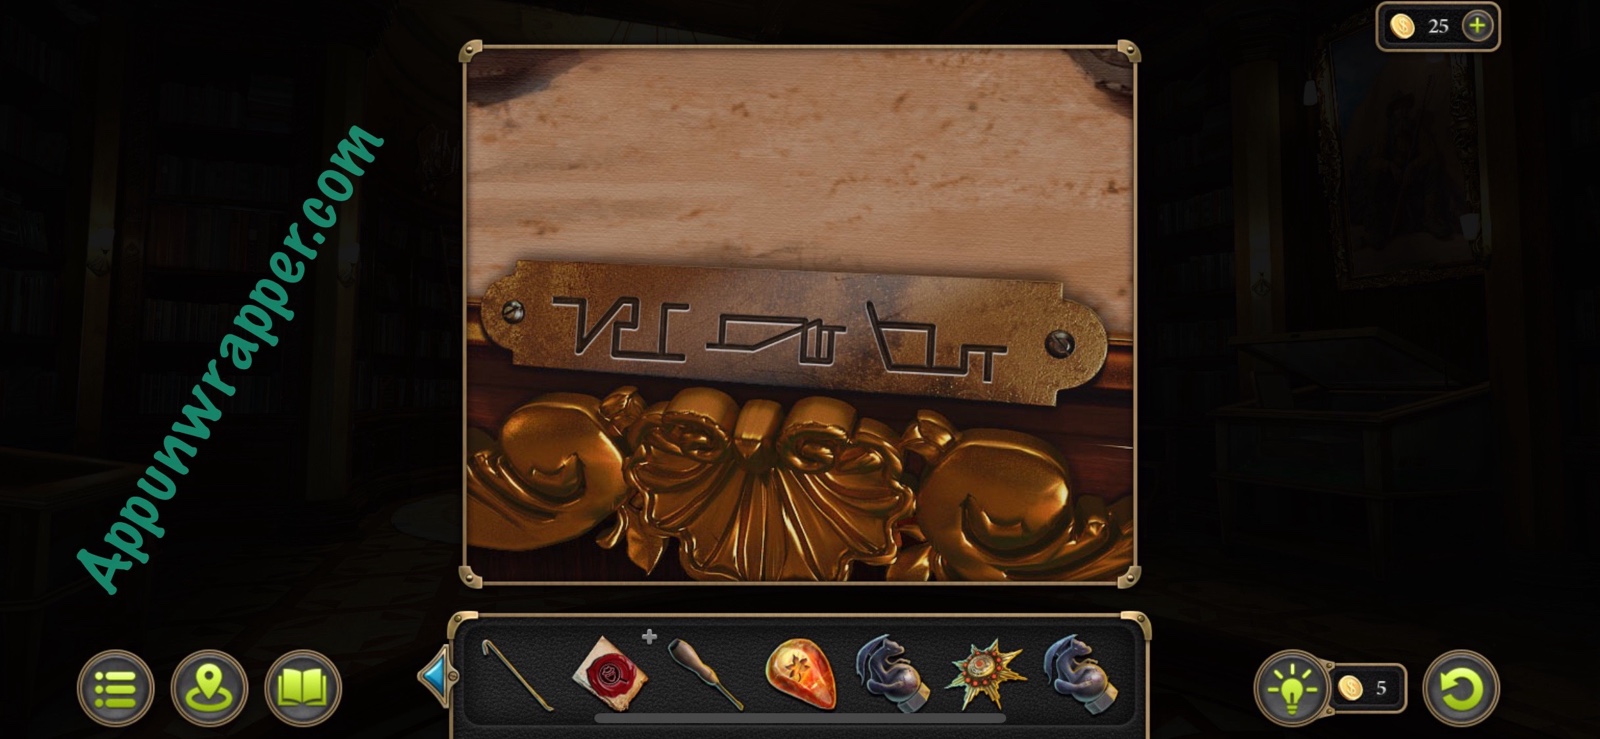
77. We’ll use the clue in a bit. First, look at the painting on the wall and take note of the symbols at the bottom. We’ll need that later.
78. Go back outside and place the last two Statuettes by the gargoyle statue. Now you have to solve another puzzle. This one’s not too bad. You just need to move the colored symbols around so they match the background. I’ll make a video to help you out, but again it might look different for you.


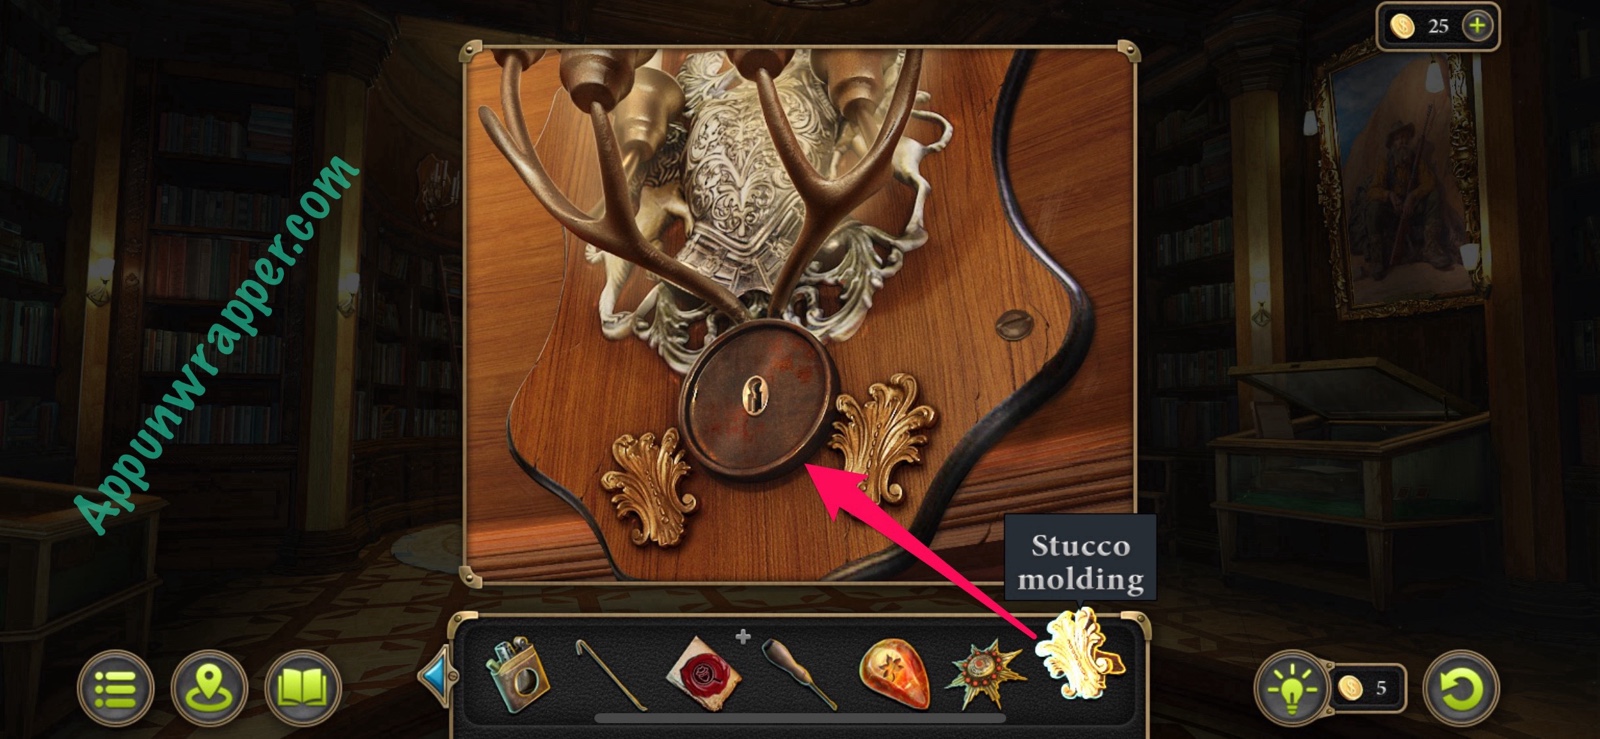
79. The other gargoyle will light up. Take the Stucco Molding from it.
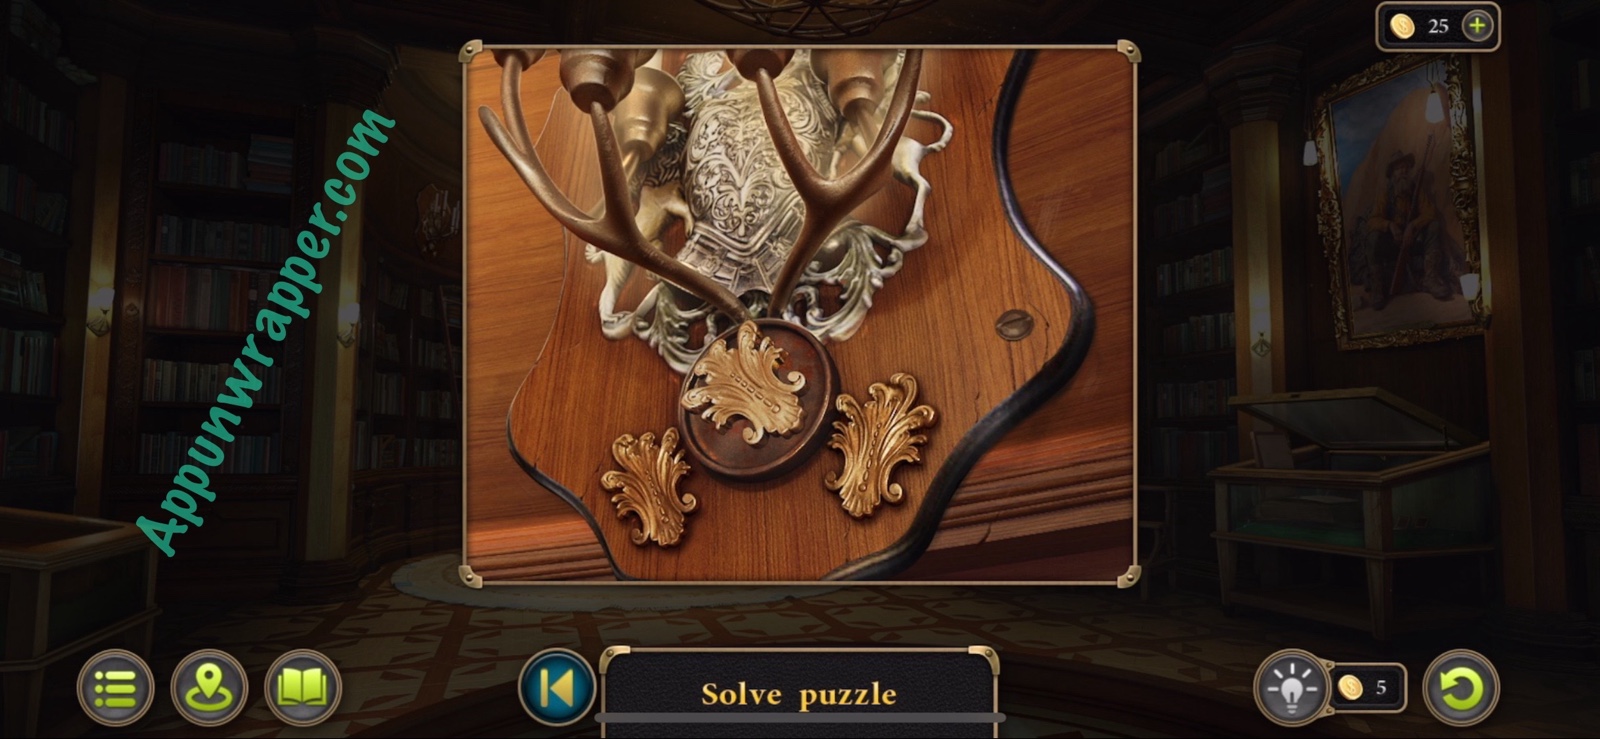
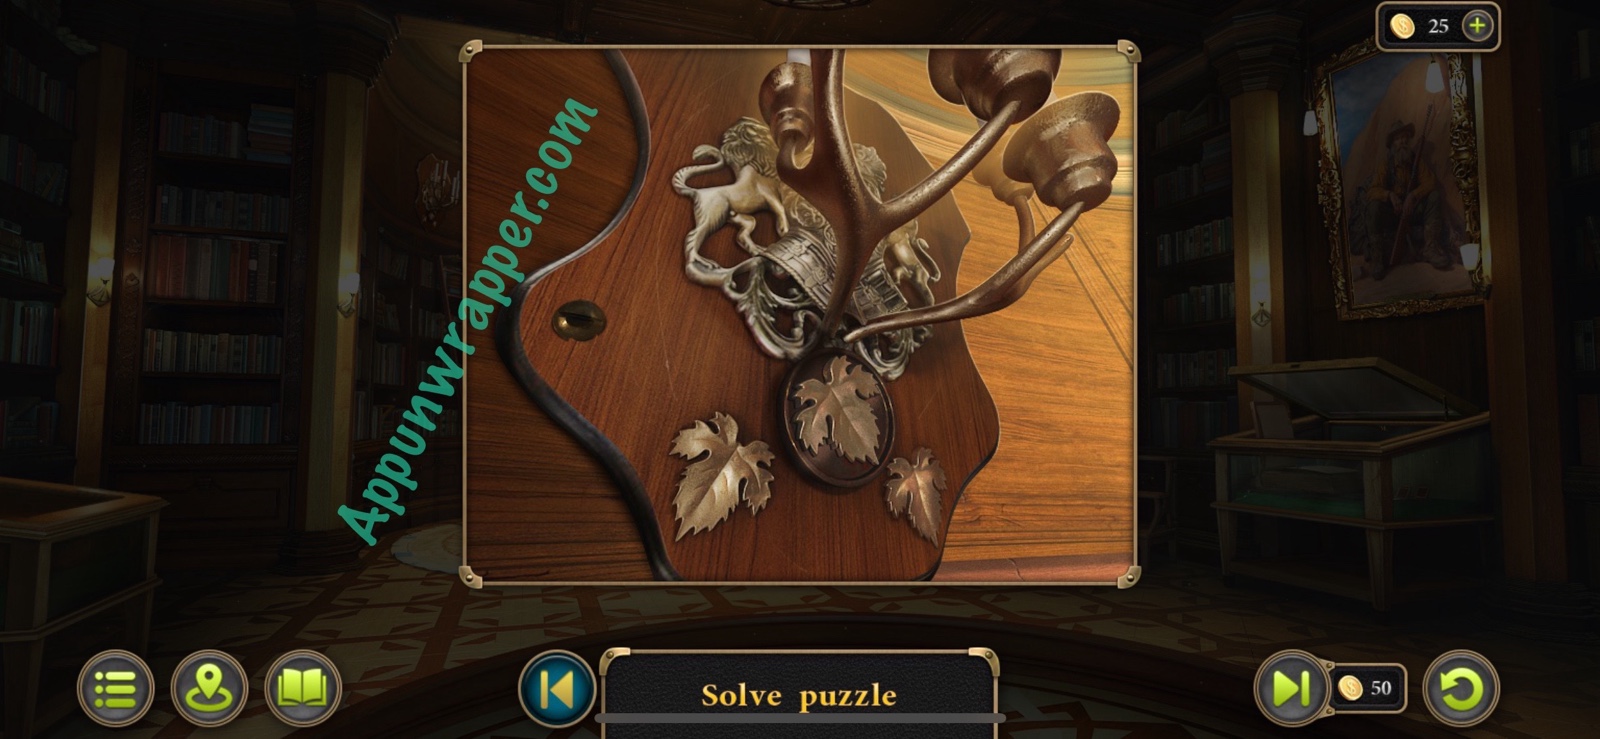
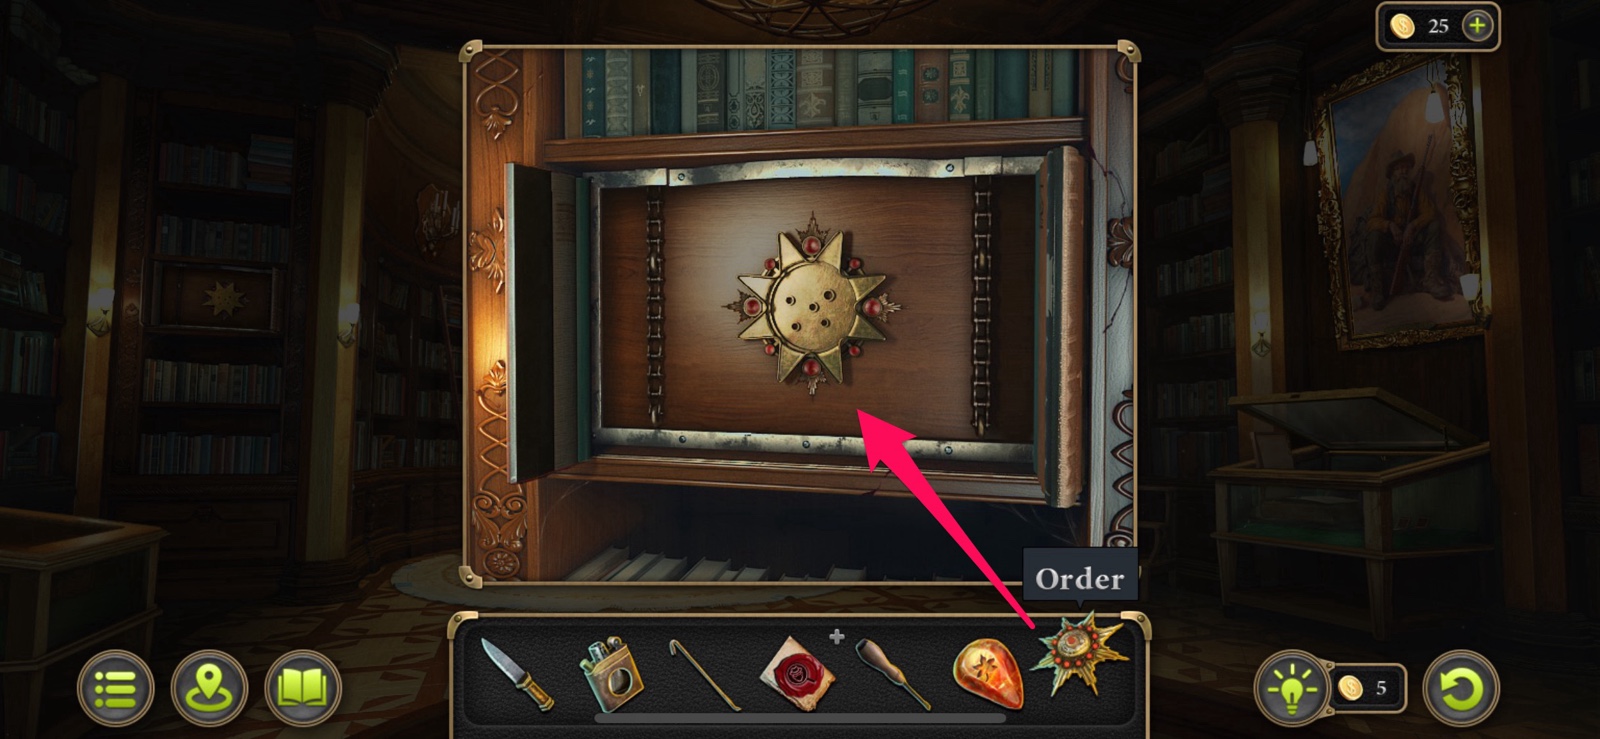
80. Go back to the library and inspect the sconces on the wall. Place the Stucco Molding on the right one and rotate it to match the clue from the diary. Yours might be different from mine. Then do the same for the other two. A secret panel will open between some books. Place the Order there to reveal a puzzle.
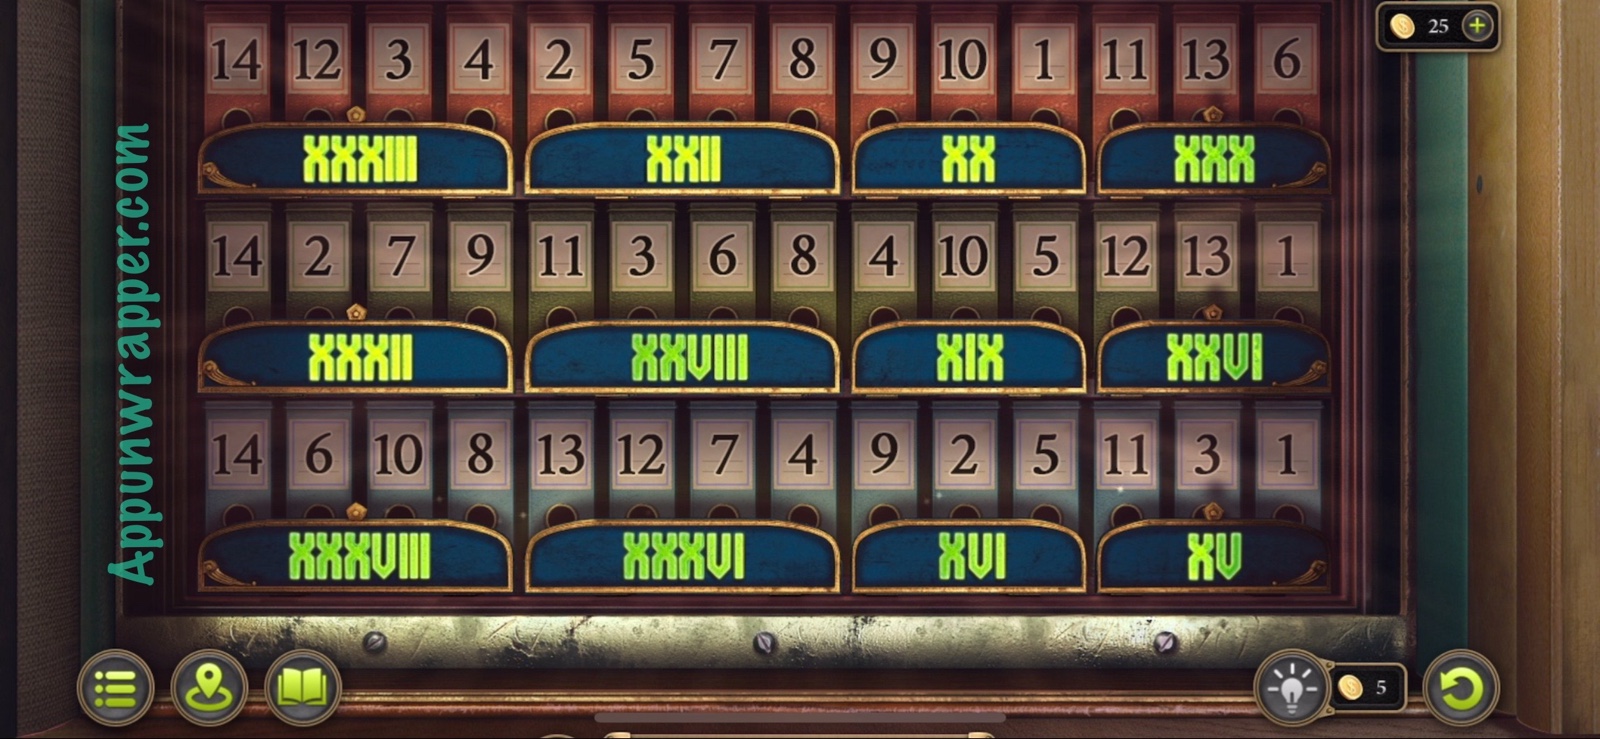
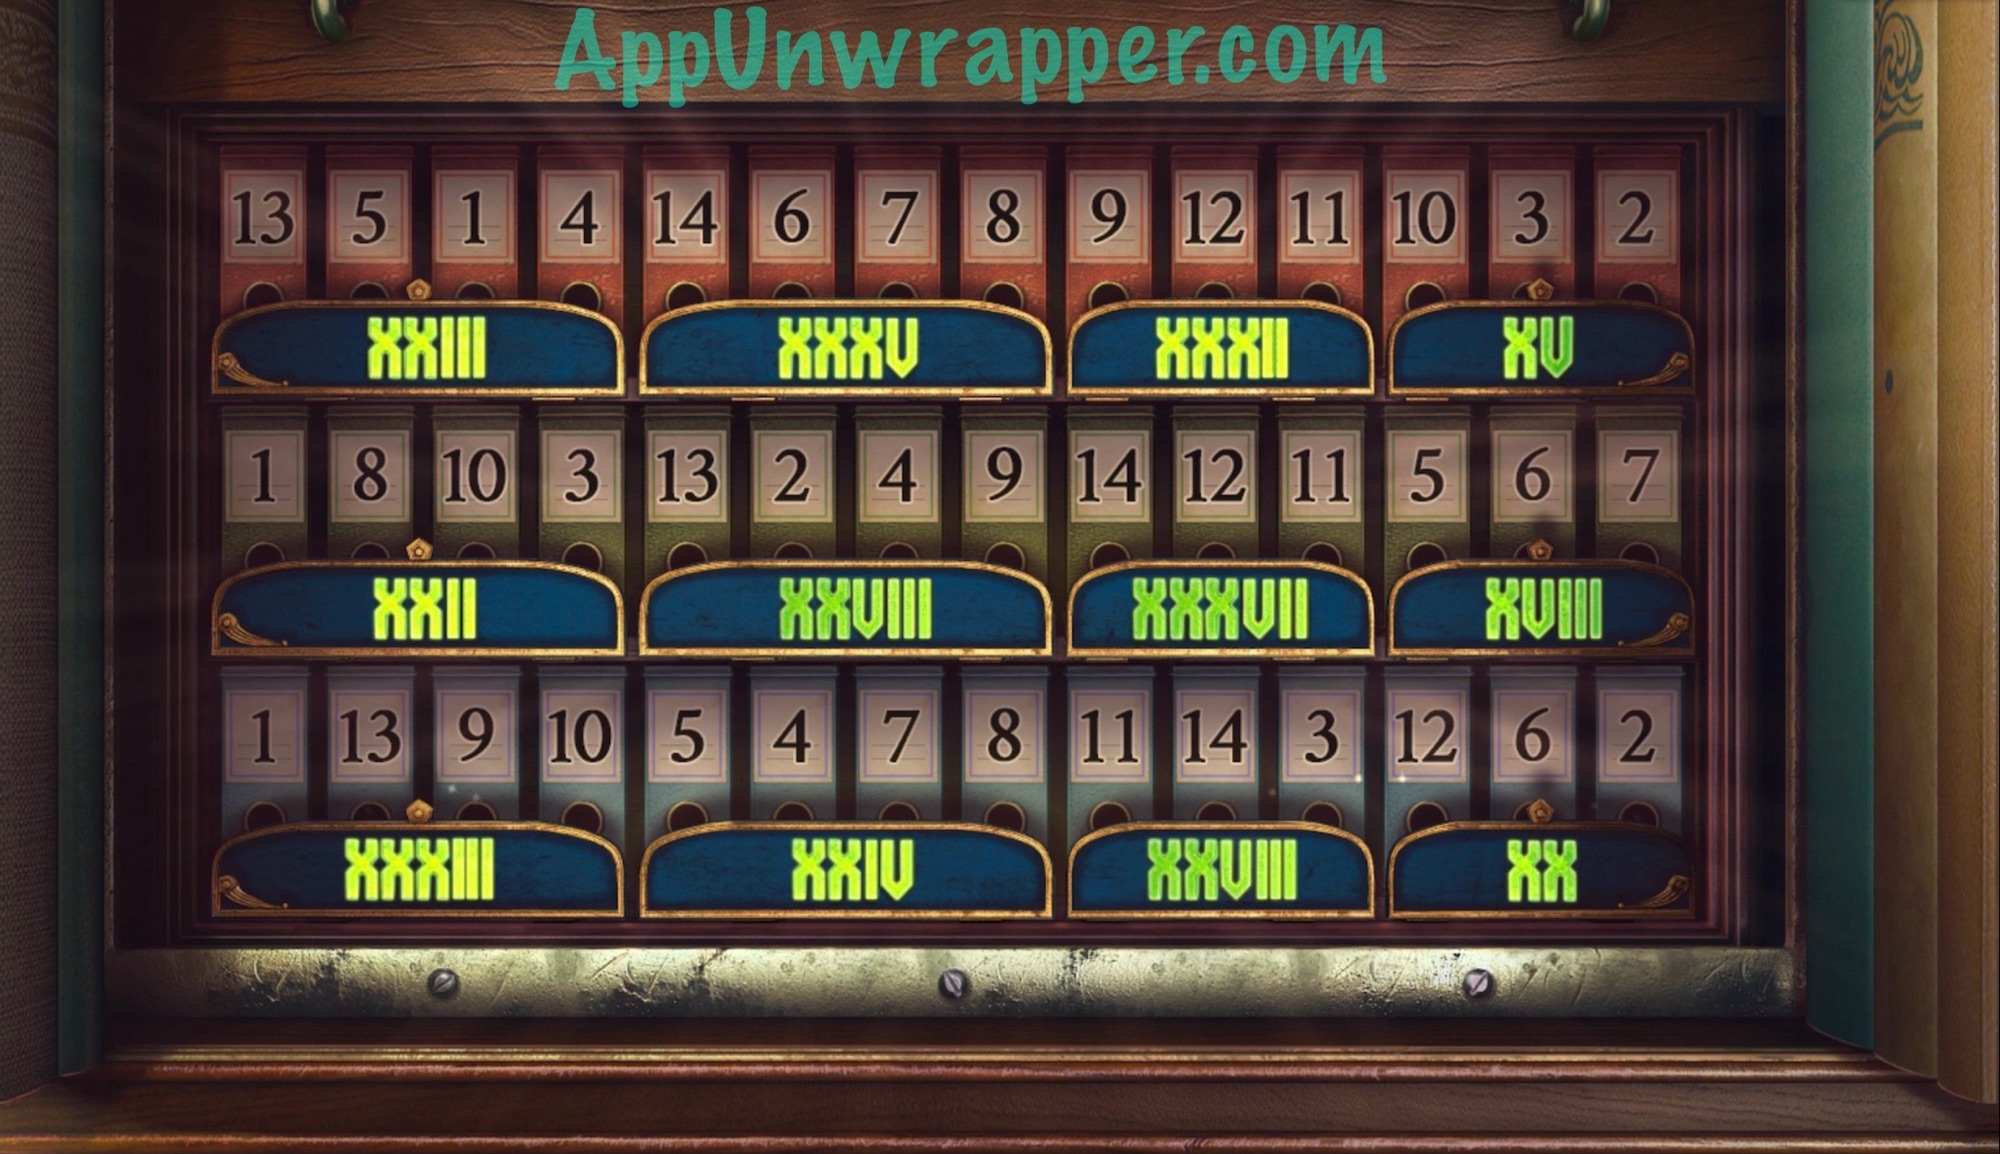
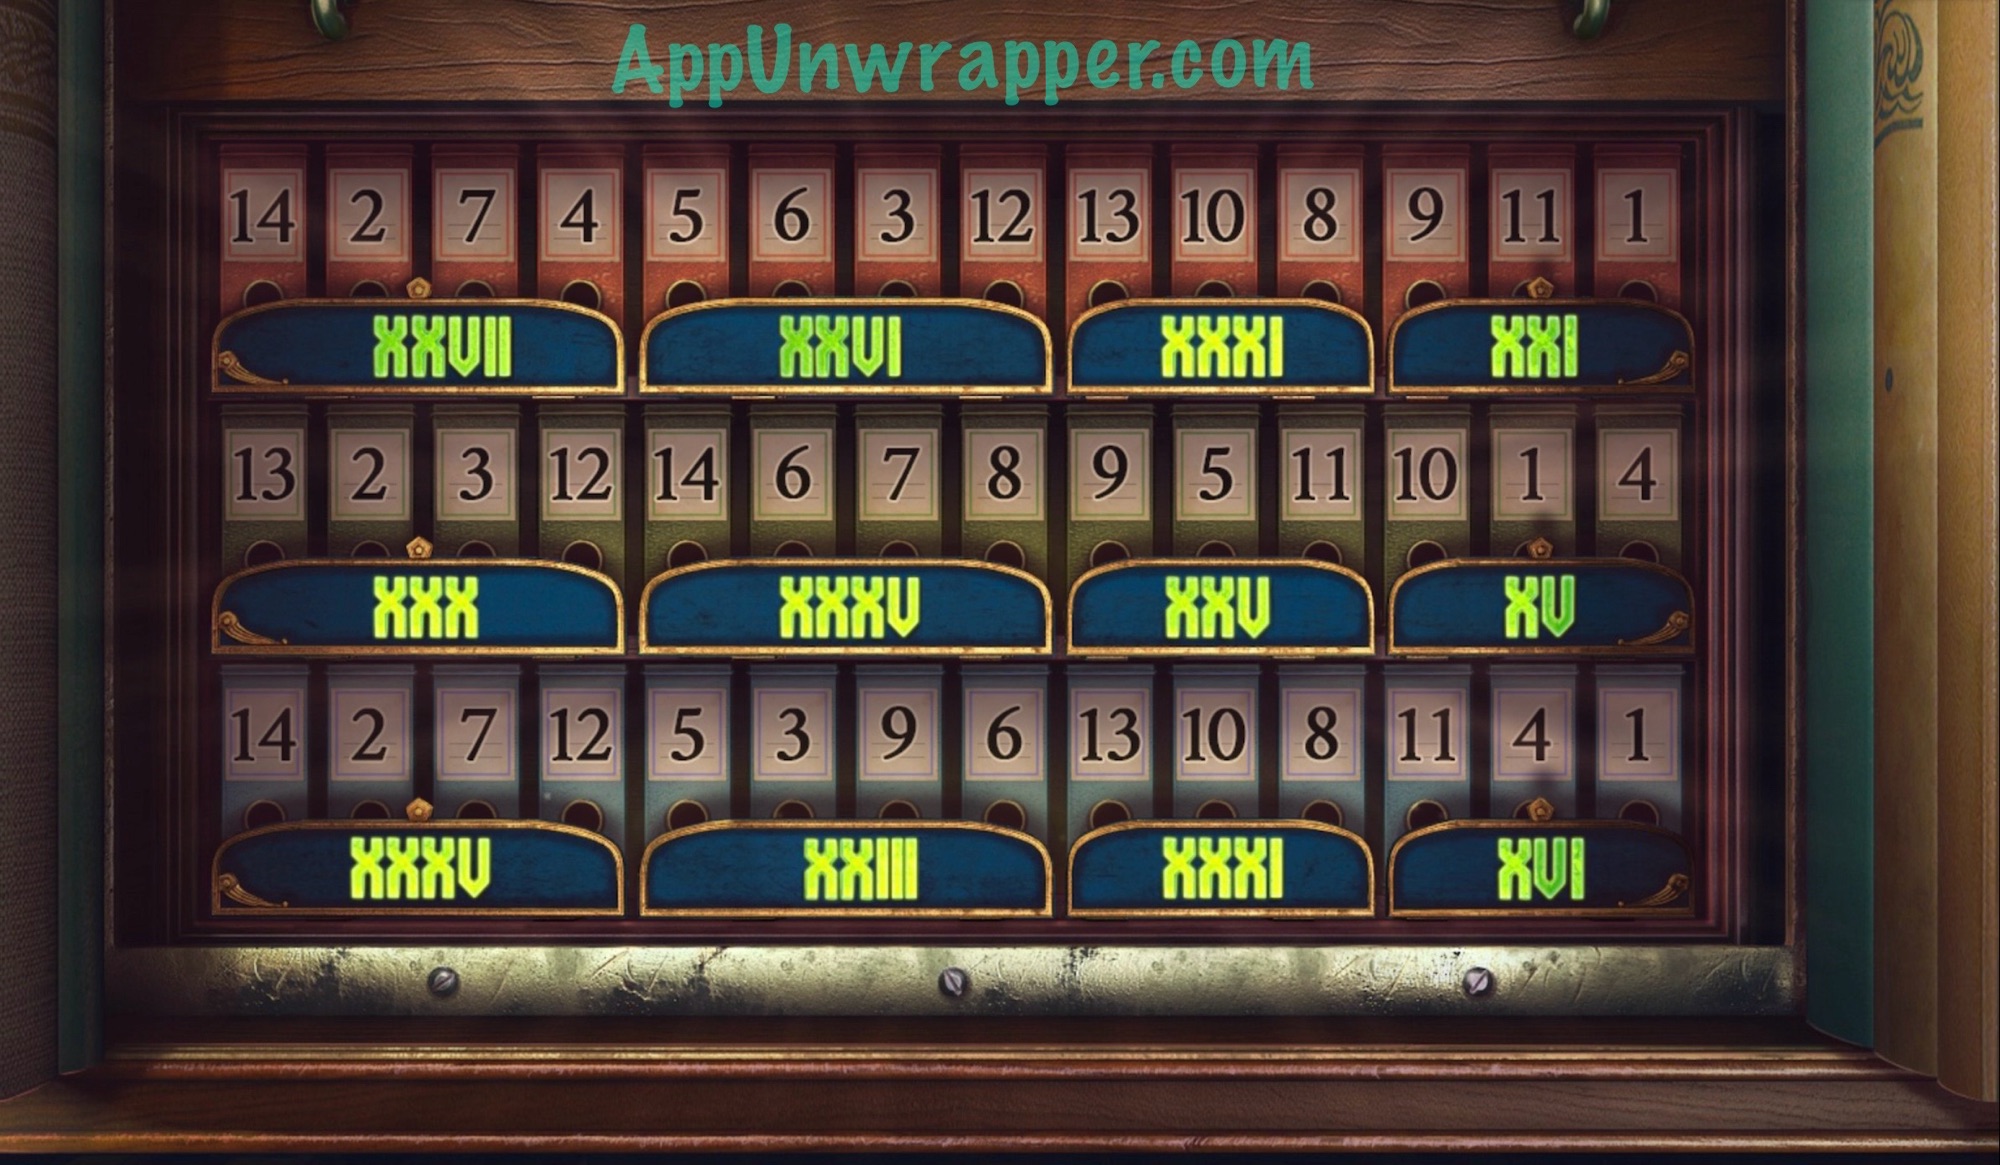
81. For the Roman numerals puzzle, you just need to move the numbers around until they all add up to the Roman numerals in front of them. Again, this is different each game, but I’ll show you a few different solutions to help you out. Then head down the passage to the secret room.
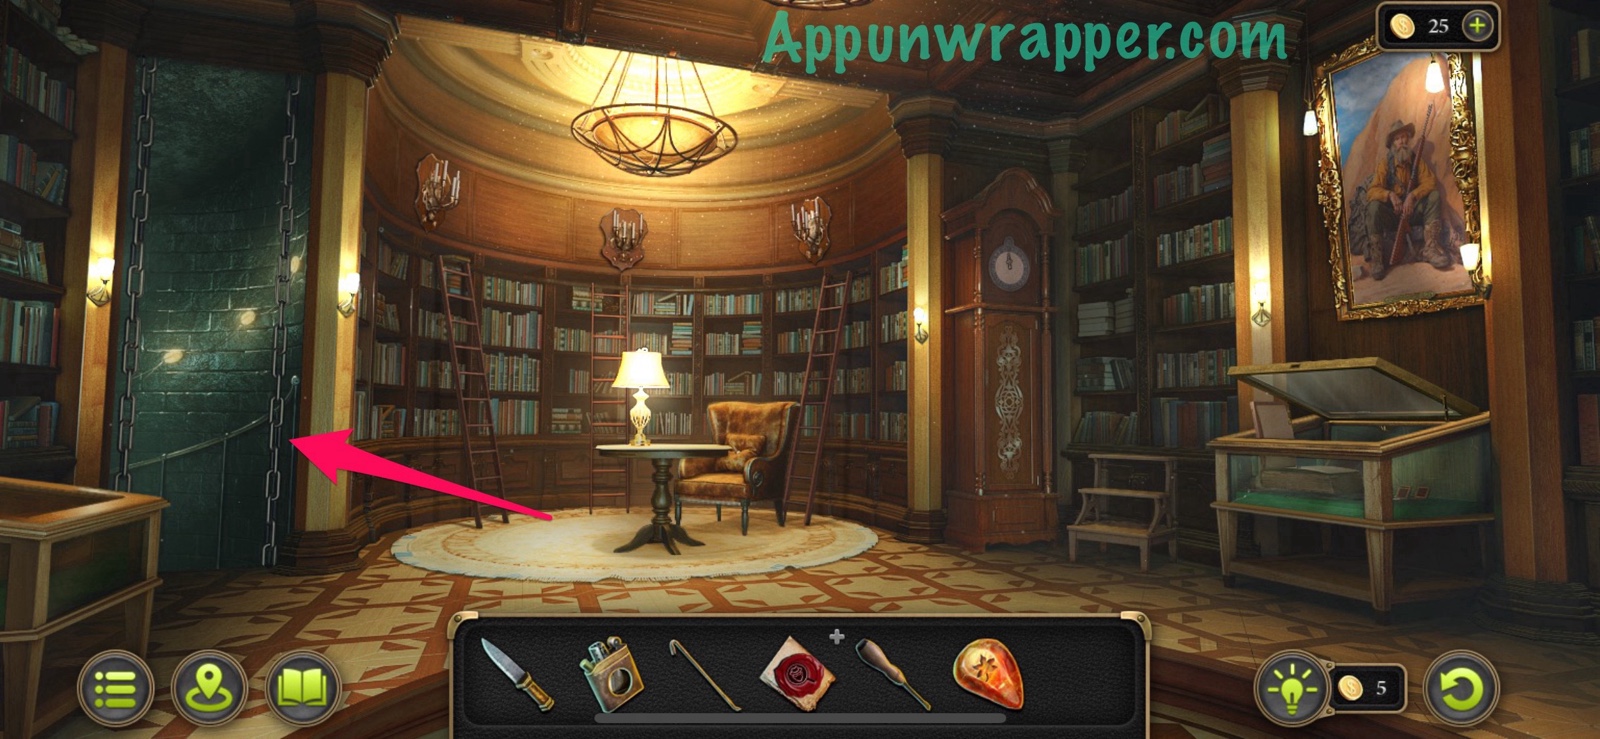
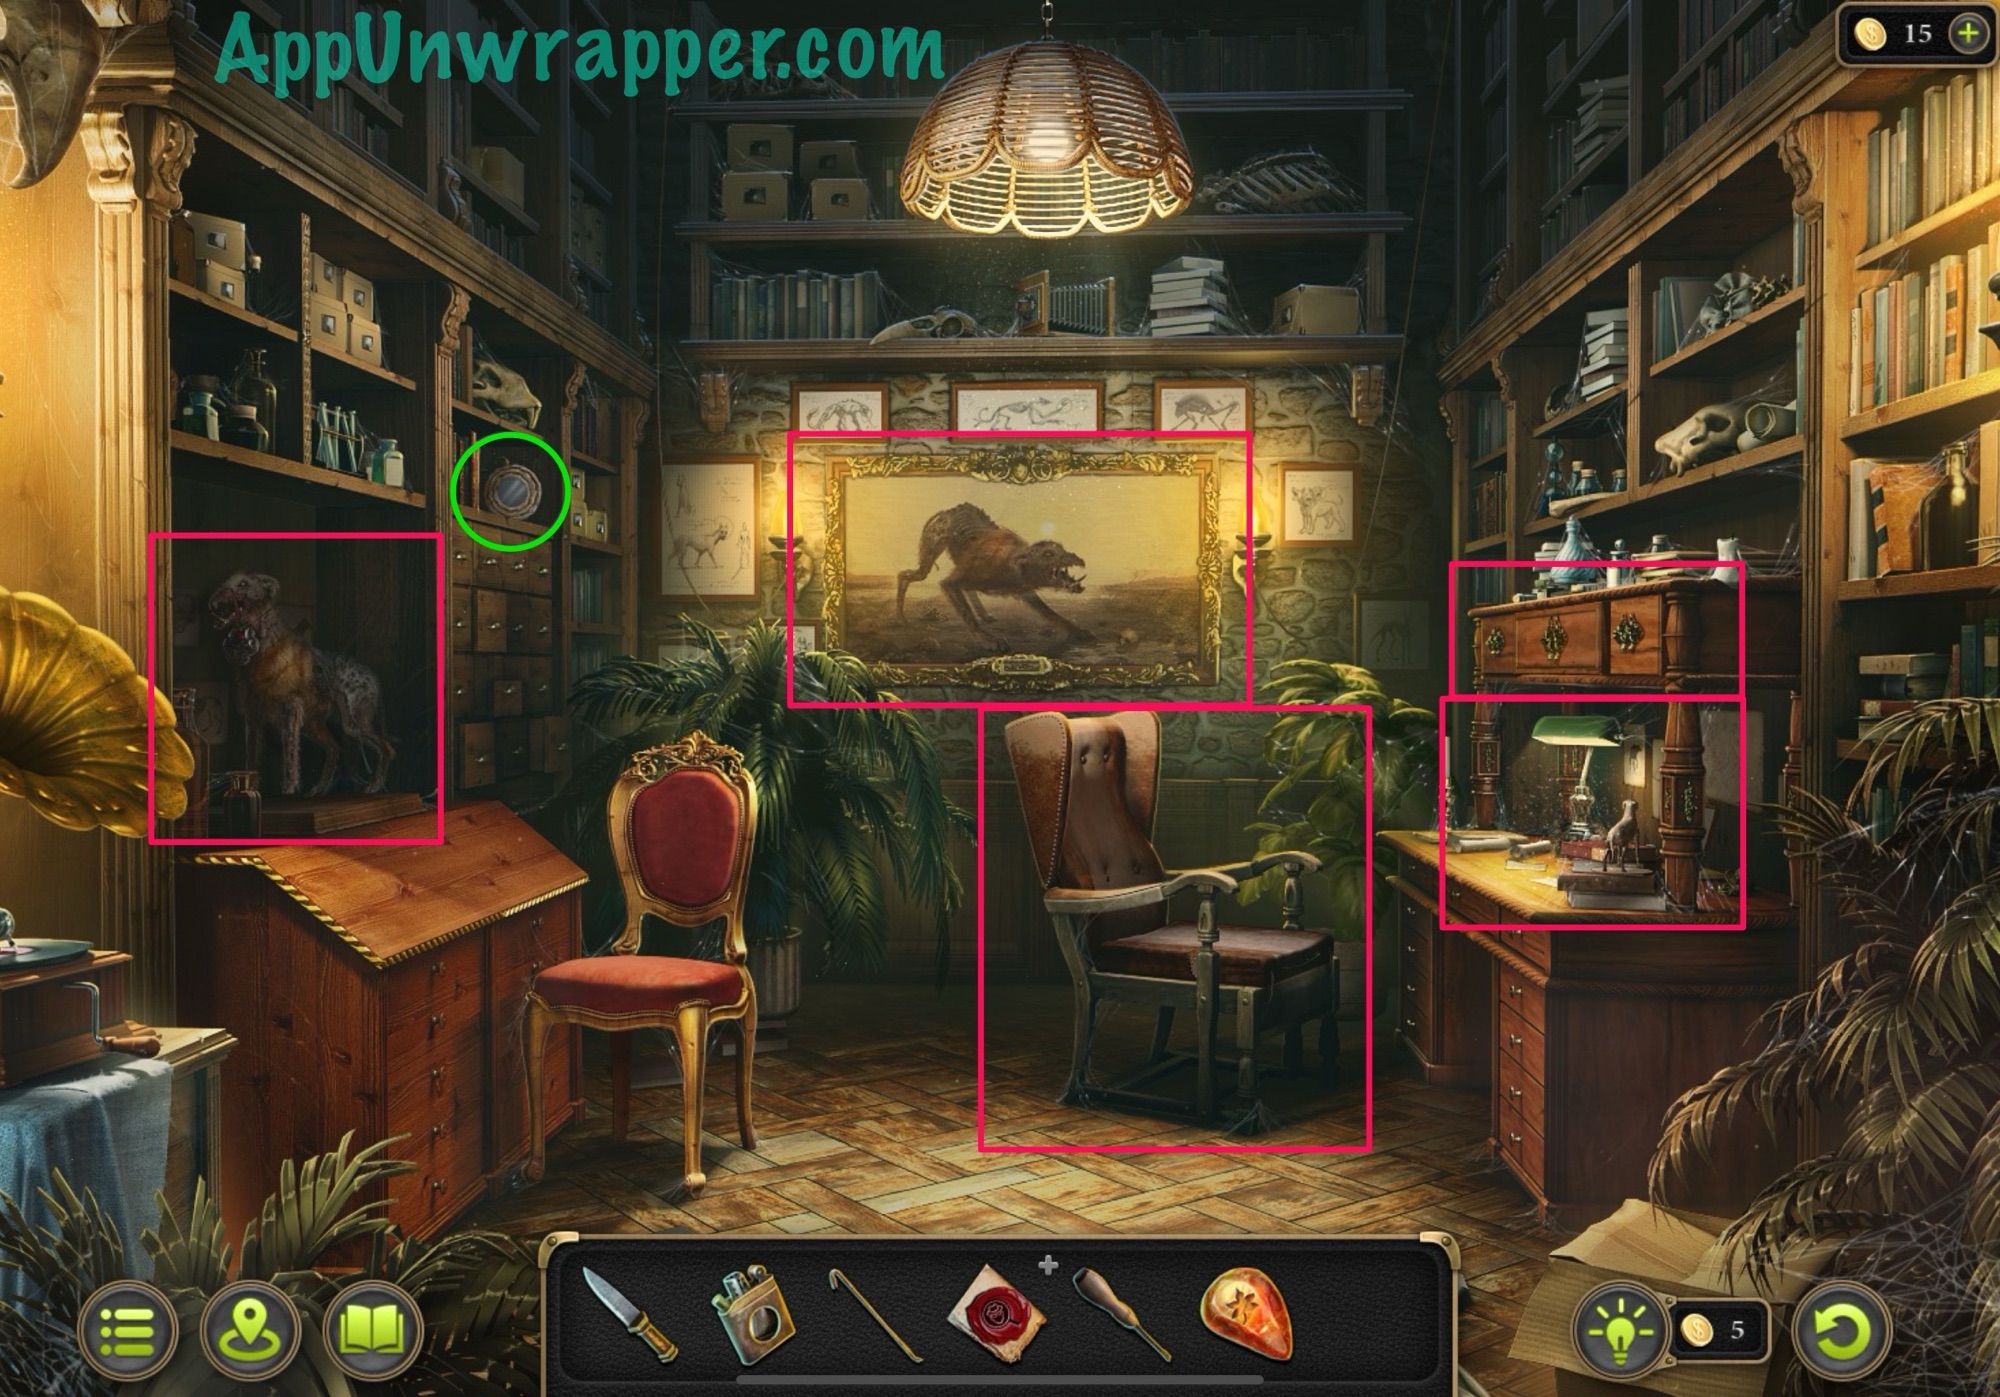
82. We’re now in Babington’s grandfather’s secret room. Grab the morphing object collectible from the shelf. The other points of interest are the stuffed demonic dog, the demonic dog painting, the desk chair to the right, the objects on the desk to the right, and the locked drawer above the desk.
Collection: Morphing object on shelf. (14/49)
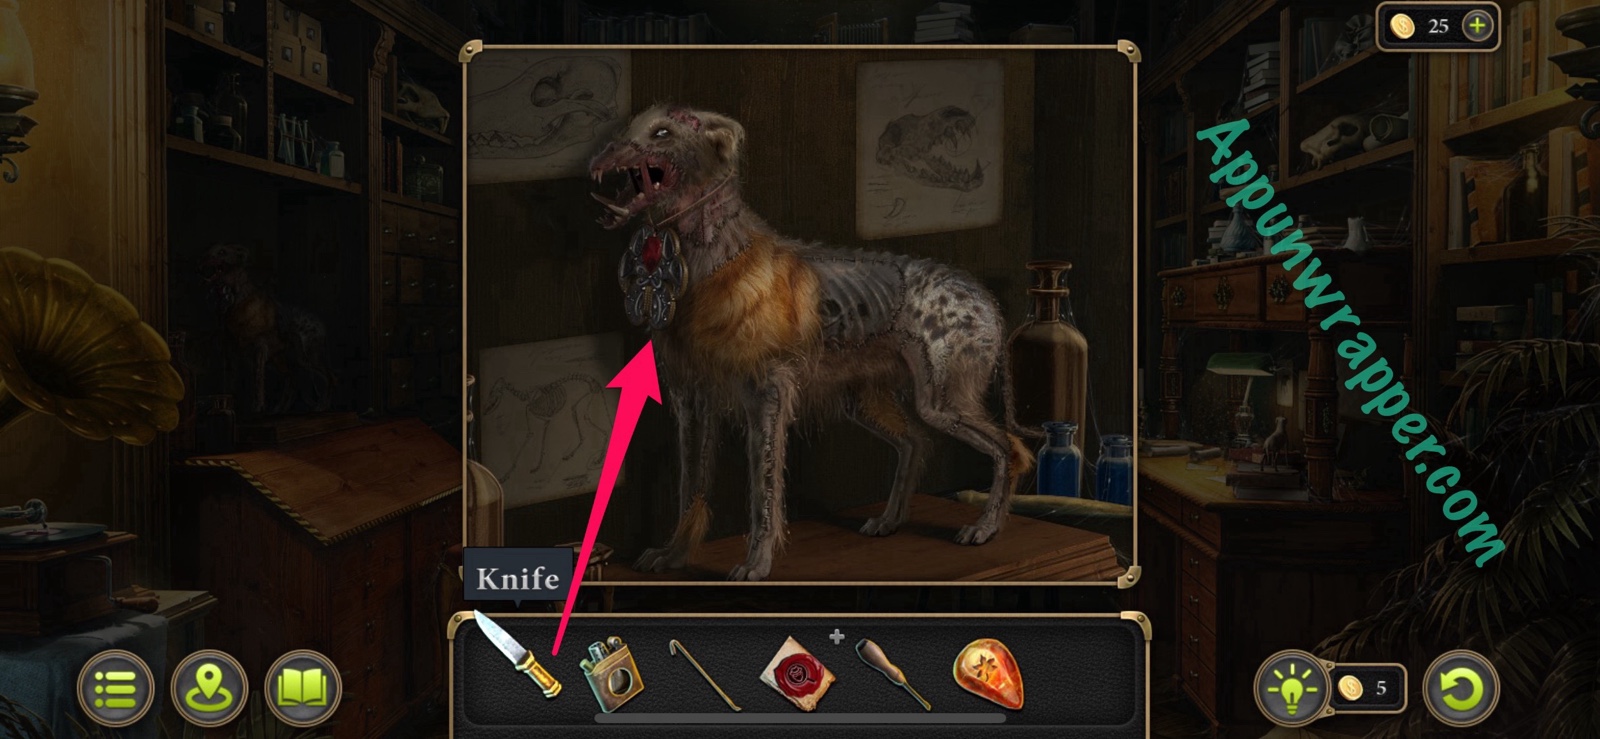
83. Let’s start with the stuffed demonic dog. Use the knife to cut the Pendant off from around its neck and collect it.
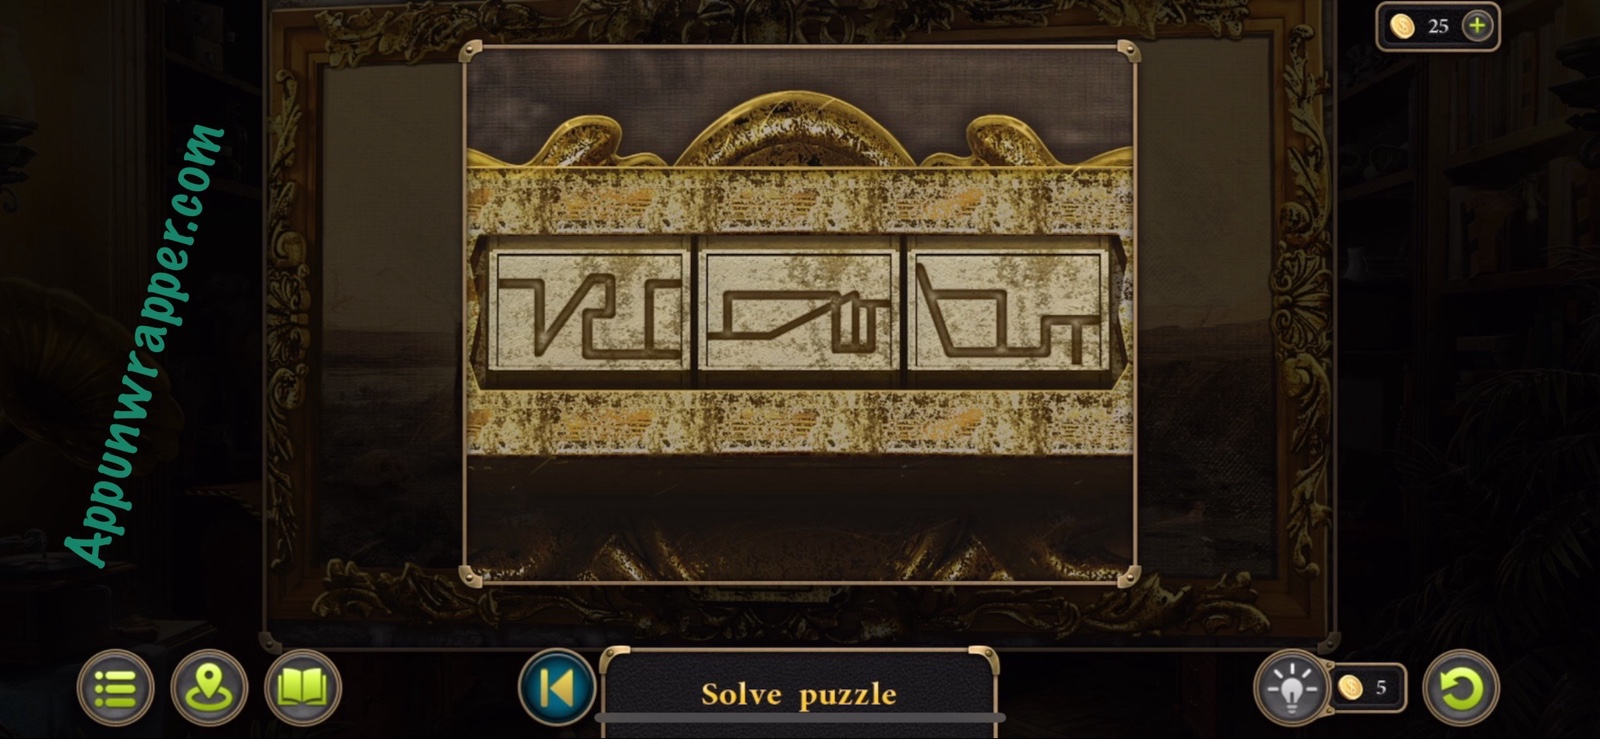
84. Next, inspect the demonic dog painting. There are three symbols at the bottom that you need to change to the ones from the painting you saw in the library. Again, yours might be different from mine so check your painting again.
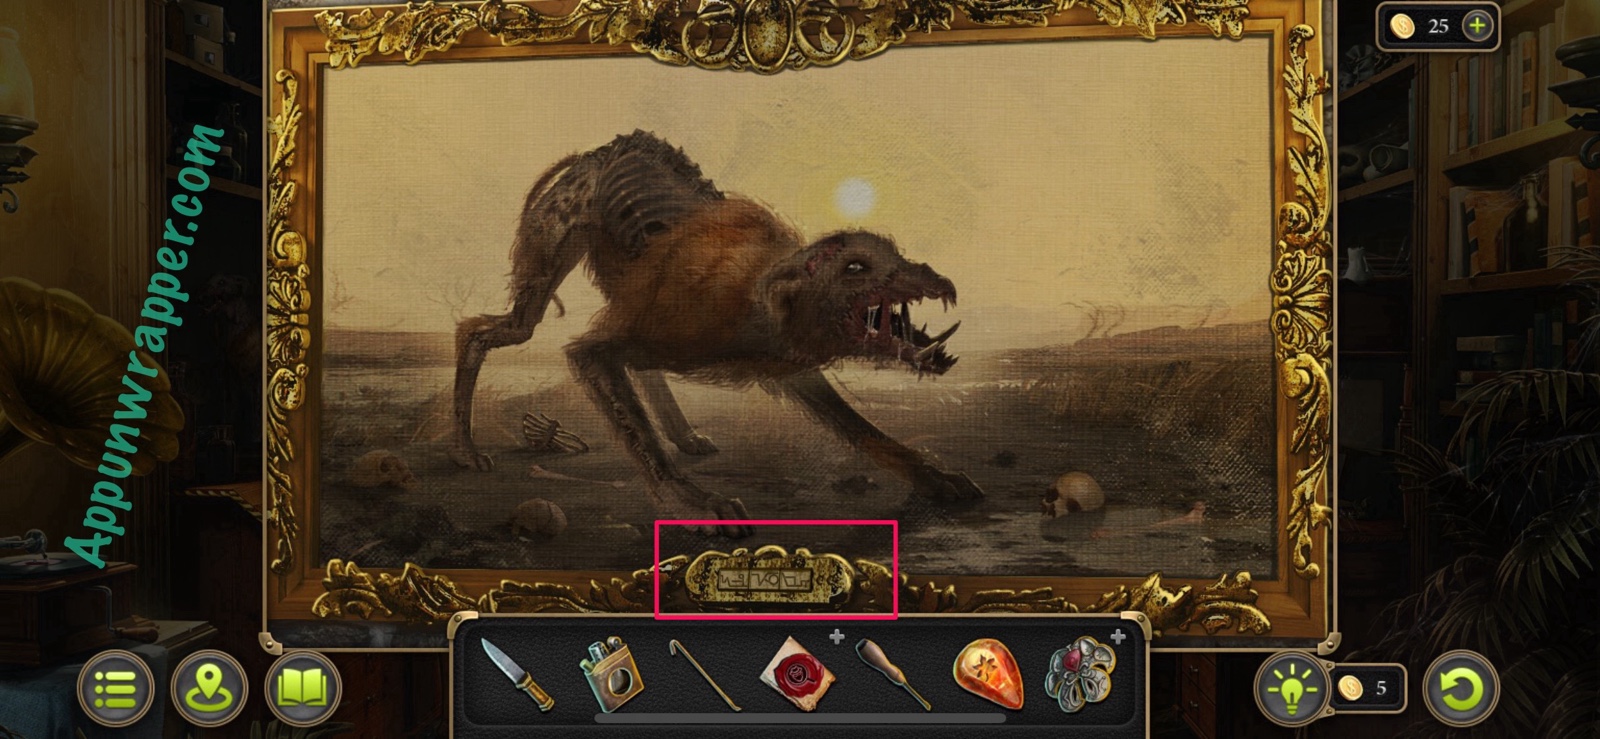
85. There’s a vault behind the painting. Tap on it and then take the scroll that’s taped to it. It’s a Clue. We need to fill it in by visiting all the locations on the clue.
86. Next, look at the desk. Turn the dog figurine and take the Key that pops out.
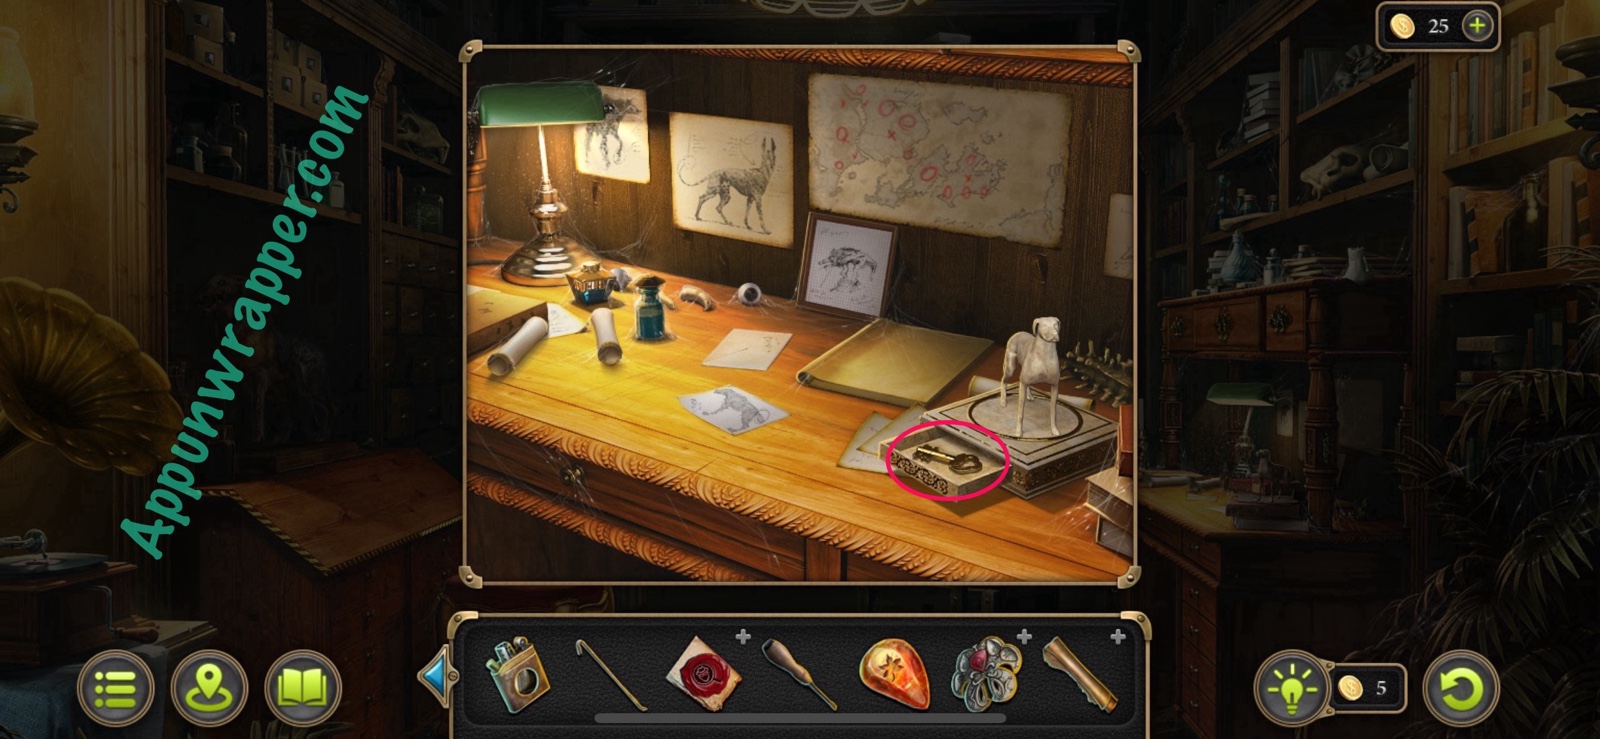
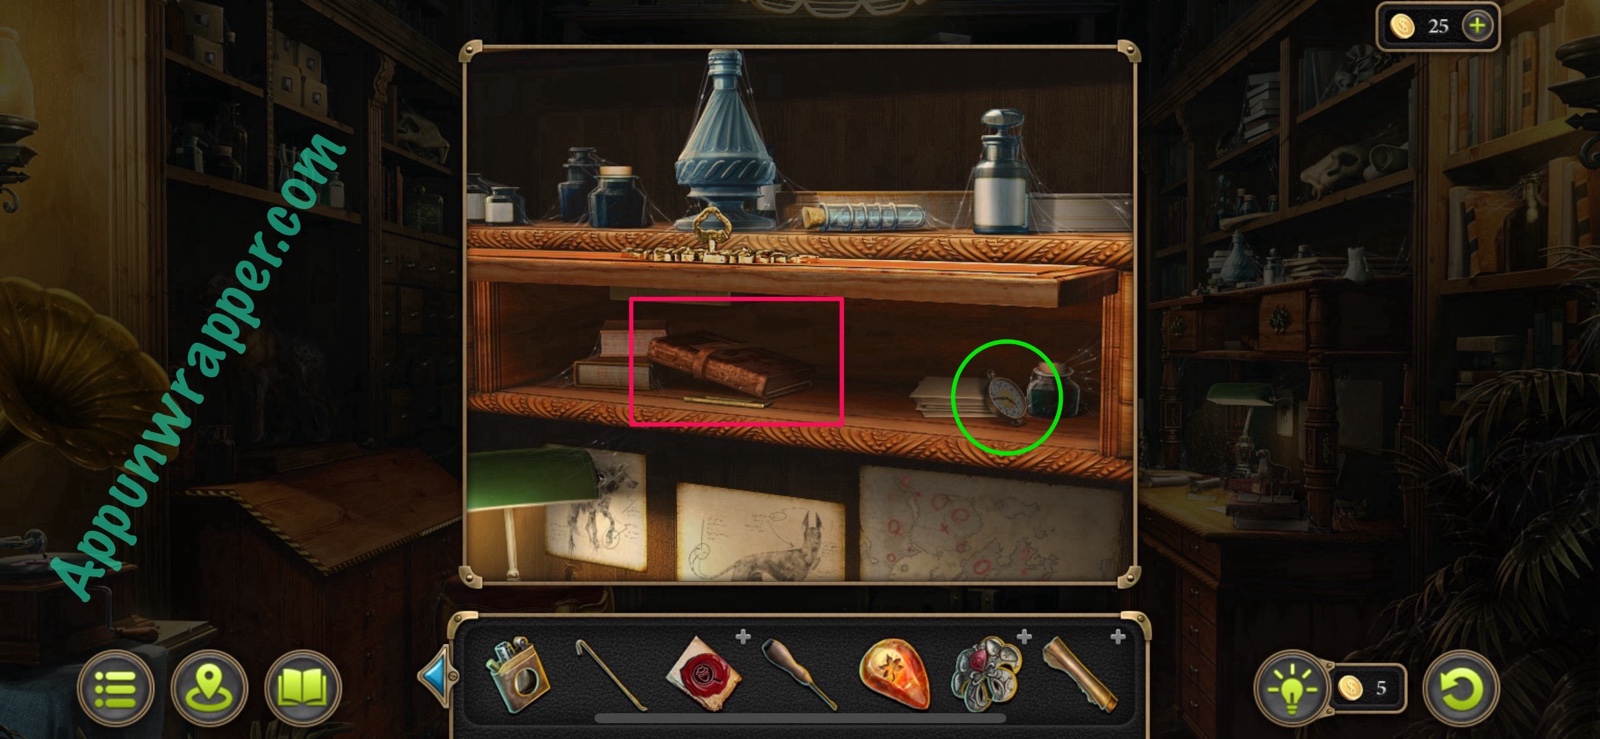
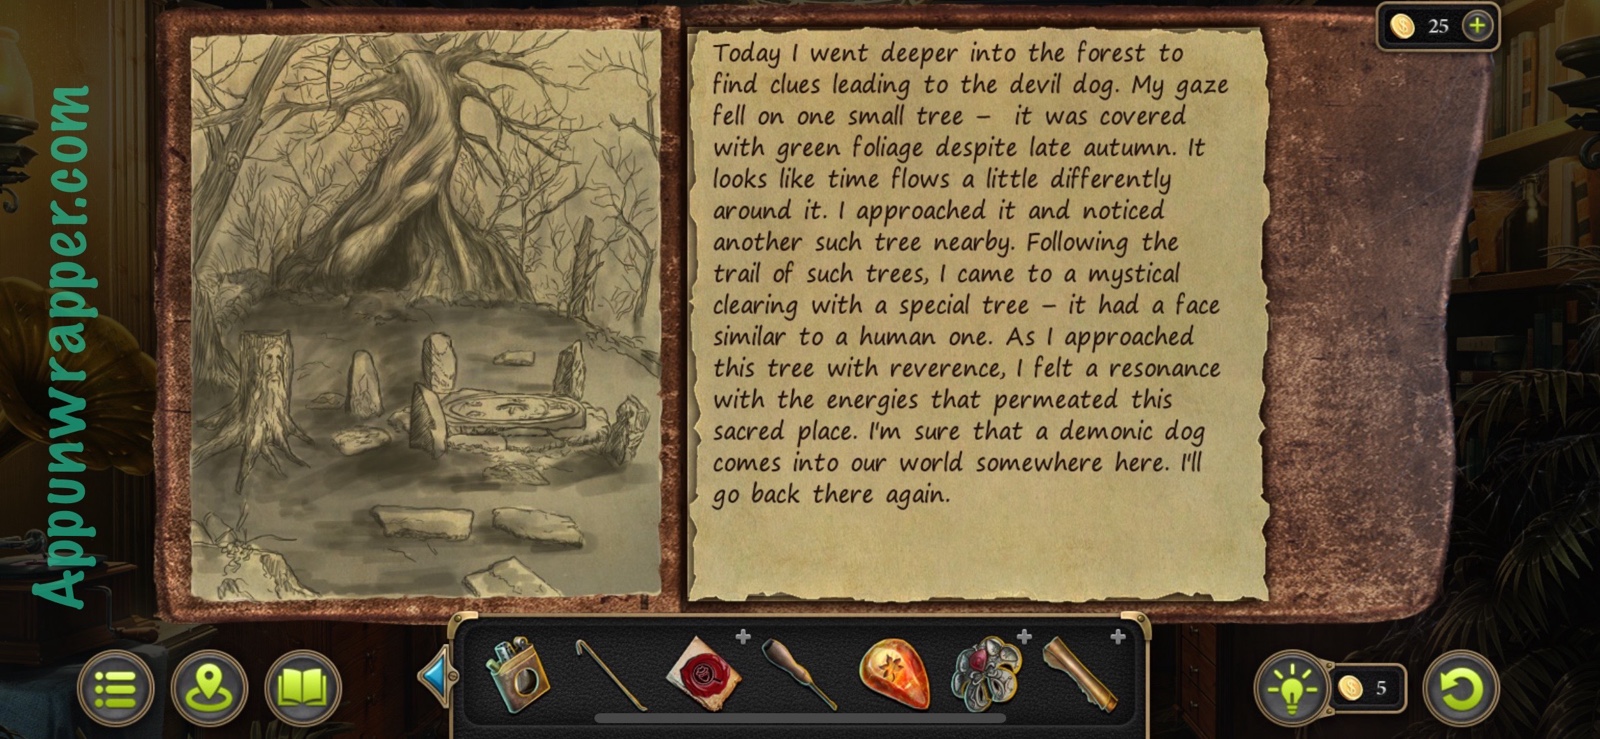
87. Use the key to unlock the drawer above the desk. Grab the pocket watch collectible and read through the journal to get directions how to go deeper into the forest.
Collection: Pocket watch. (6/9)
Task complete: Explore the legend of the dog.
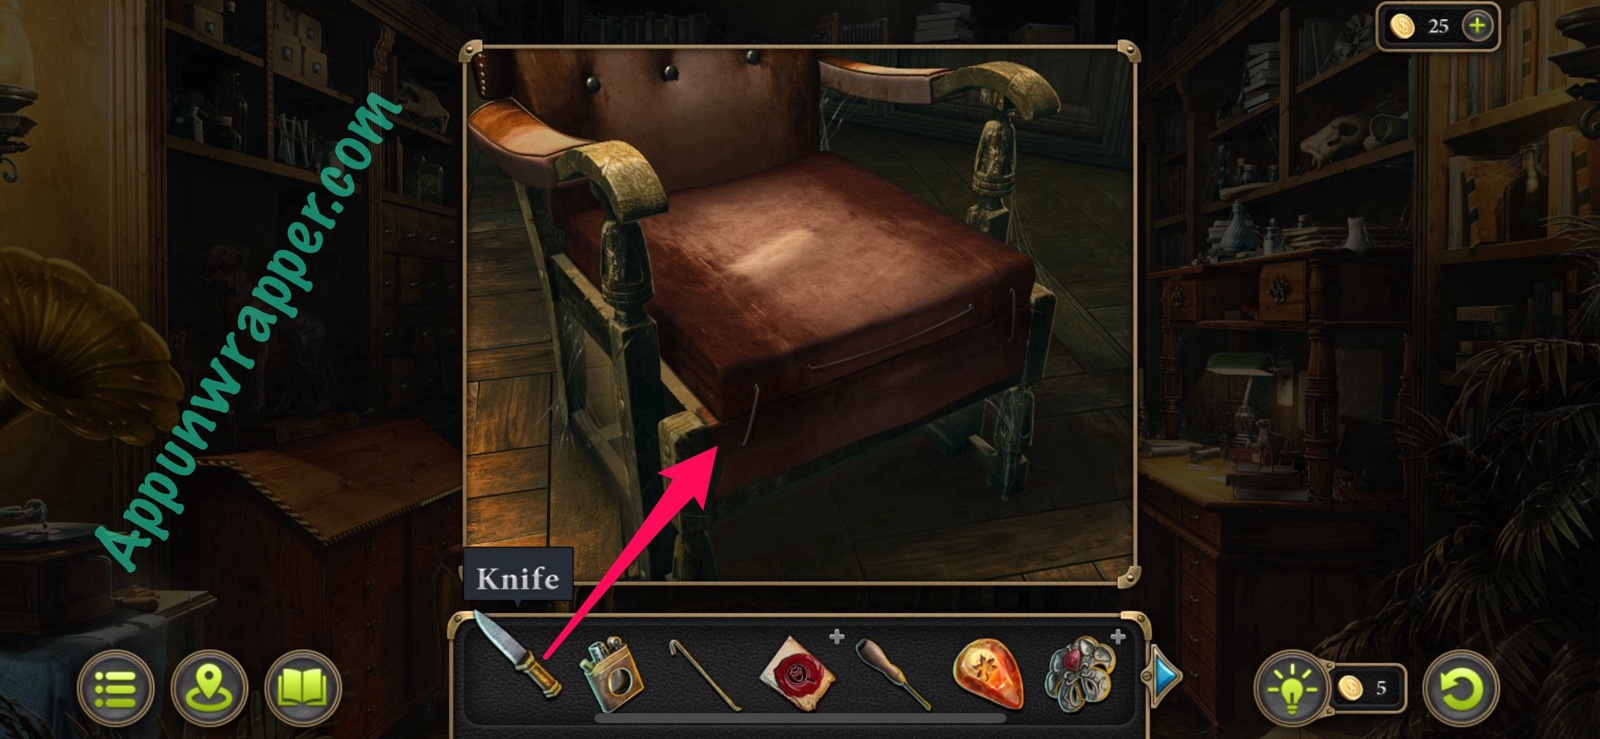
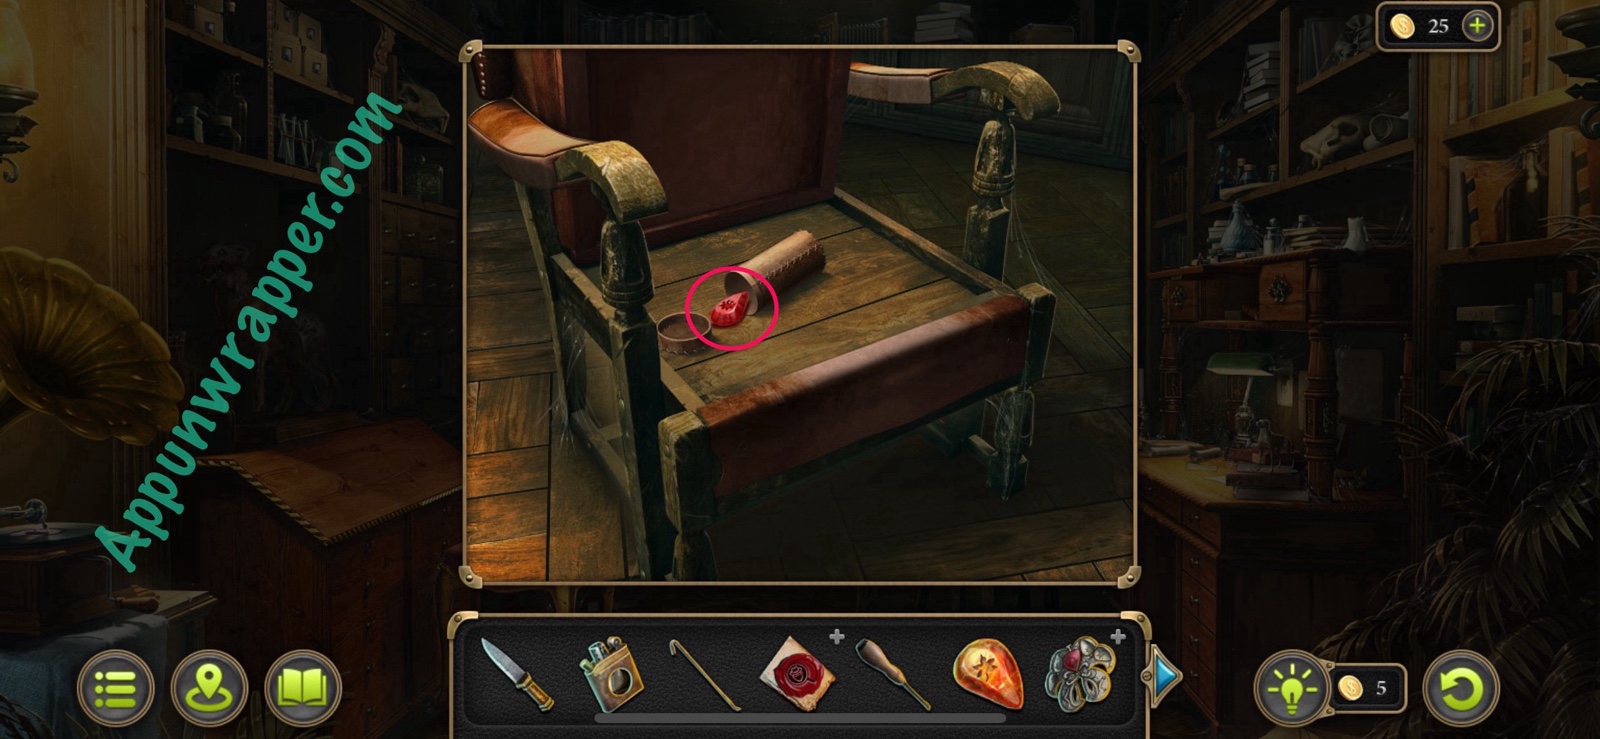
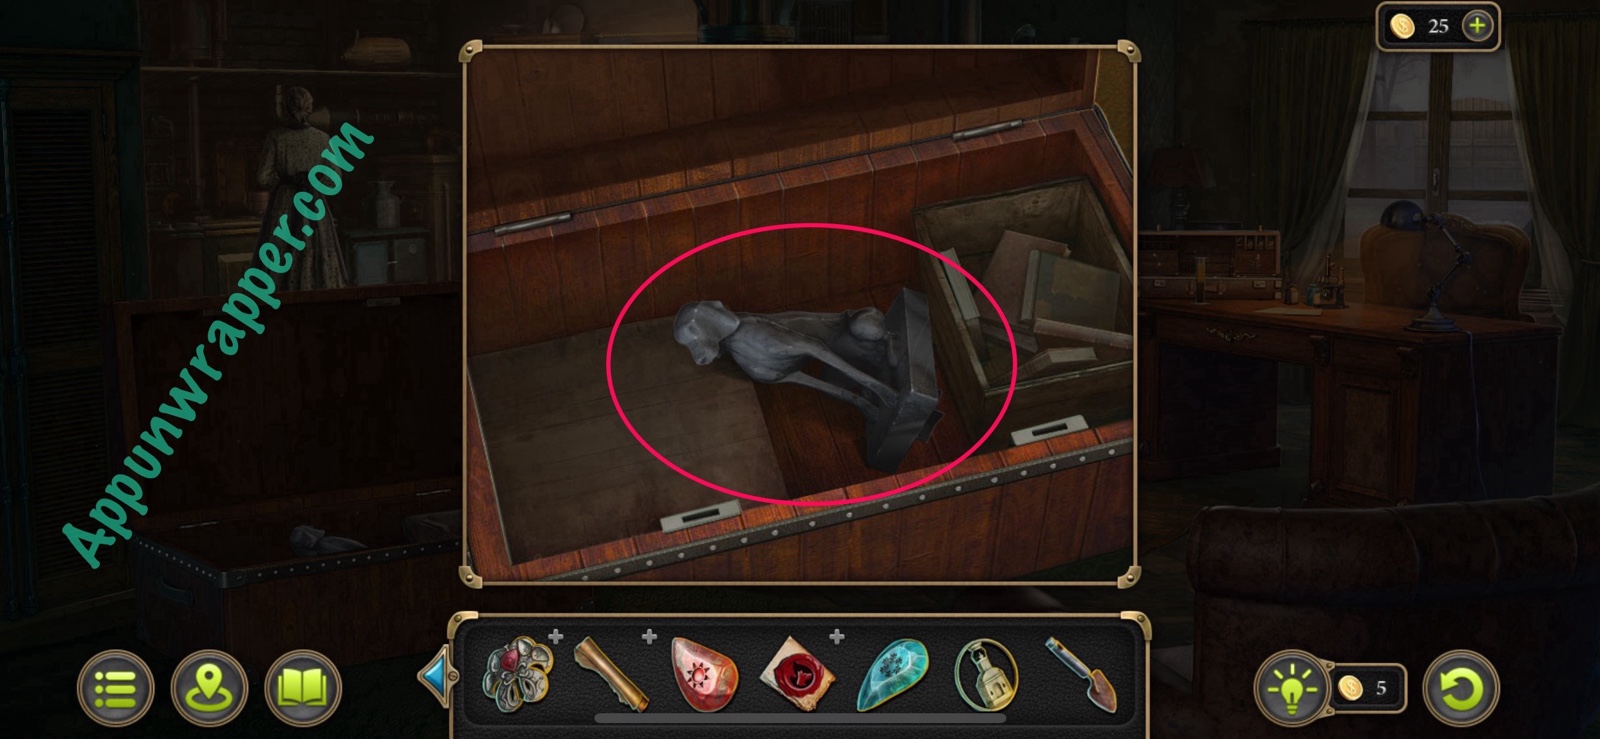
88. Now, examine the chair. There’s a lump in it. Use the knife to cut it open and find a canister. Open the canister and take the Red Stone.
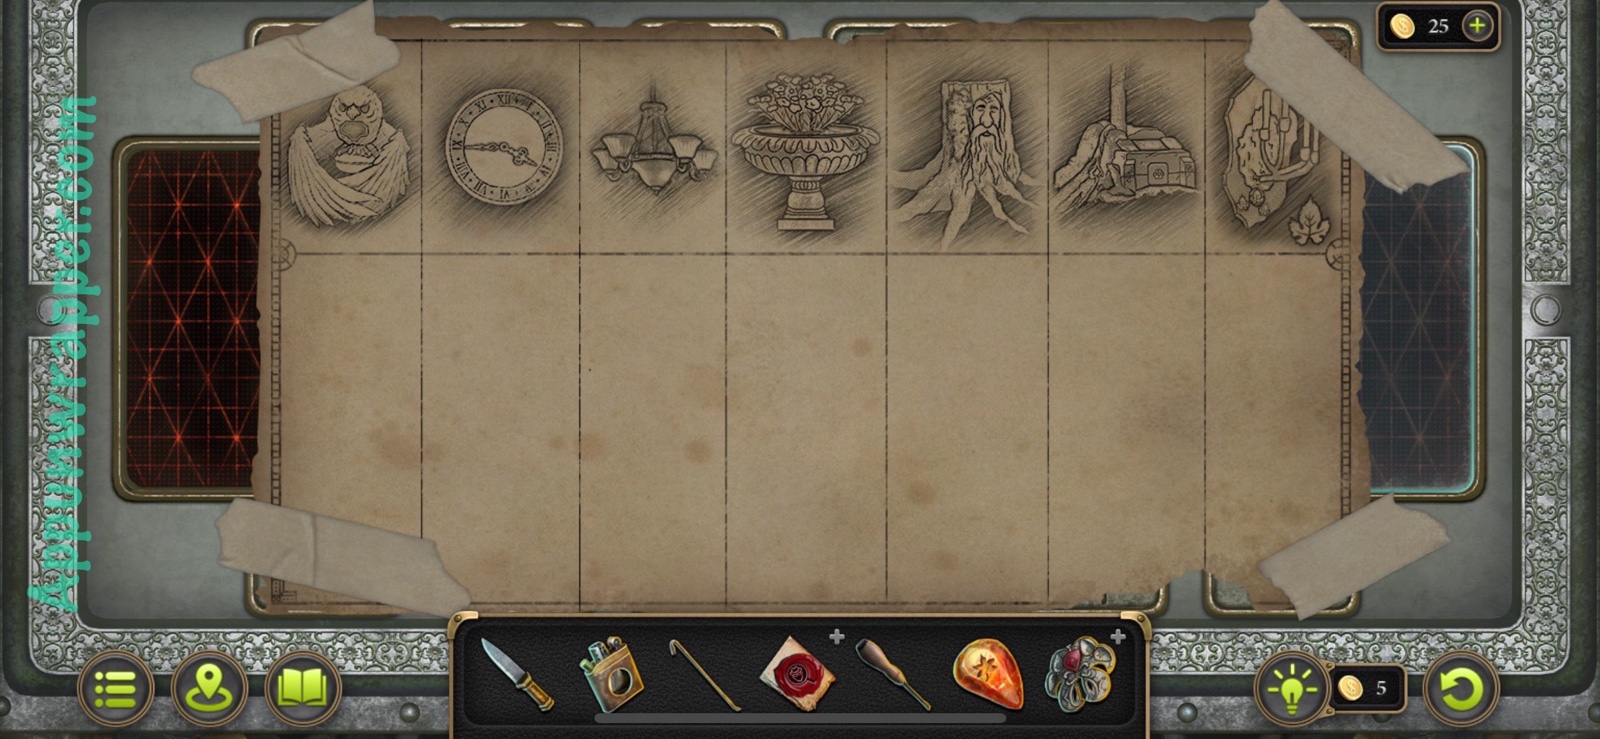
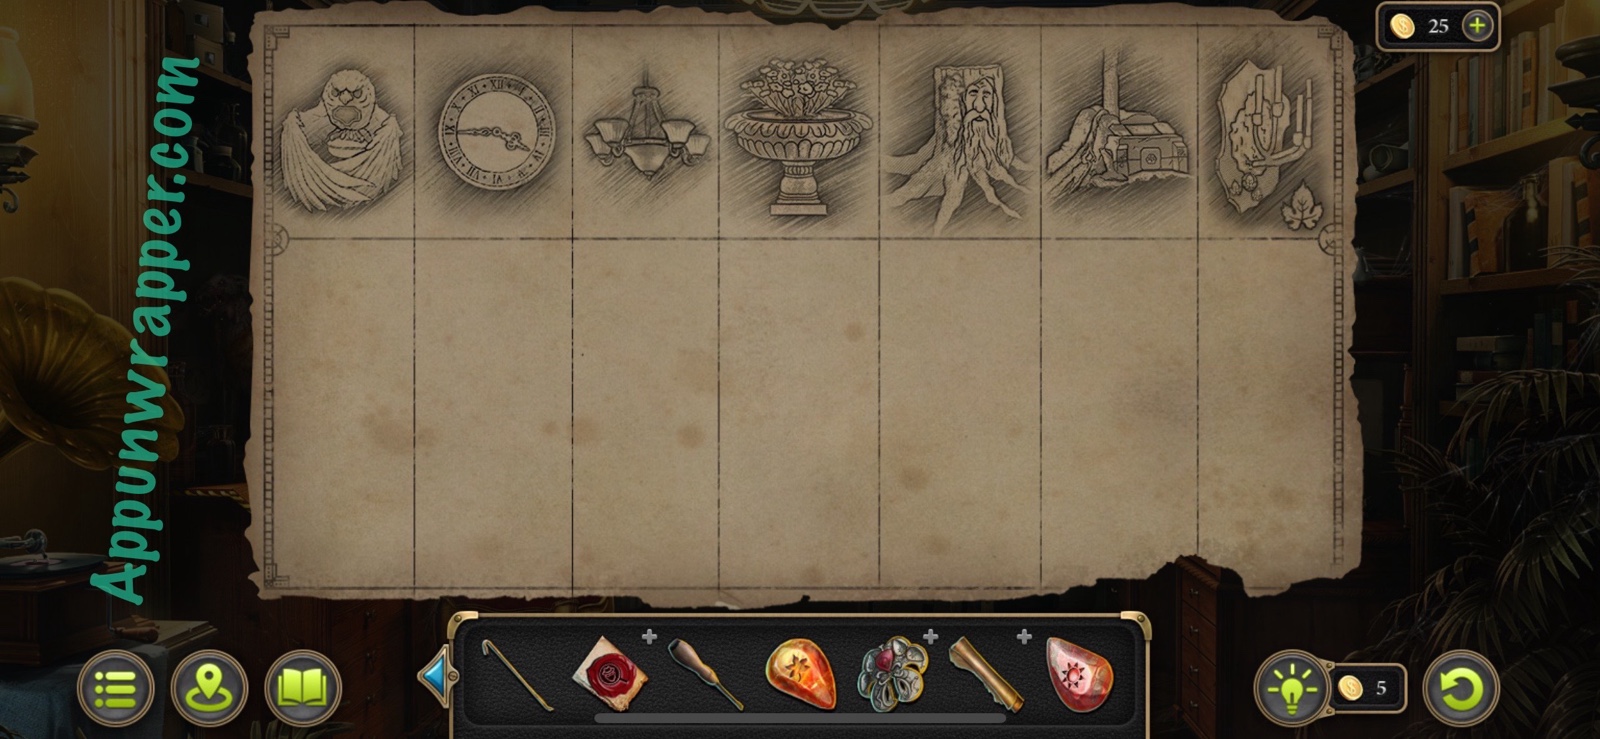
89. Now let’s start filling in information on the Clue scroll in your bag. Take a look at it again and notice the seven objects shown.
90. Let’s start with the left sconce in the library. Use the screwdriver to remove the panel and notice the three symbols behind it. It should now be filled in on the scroll.

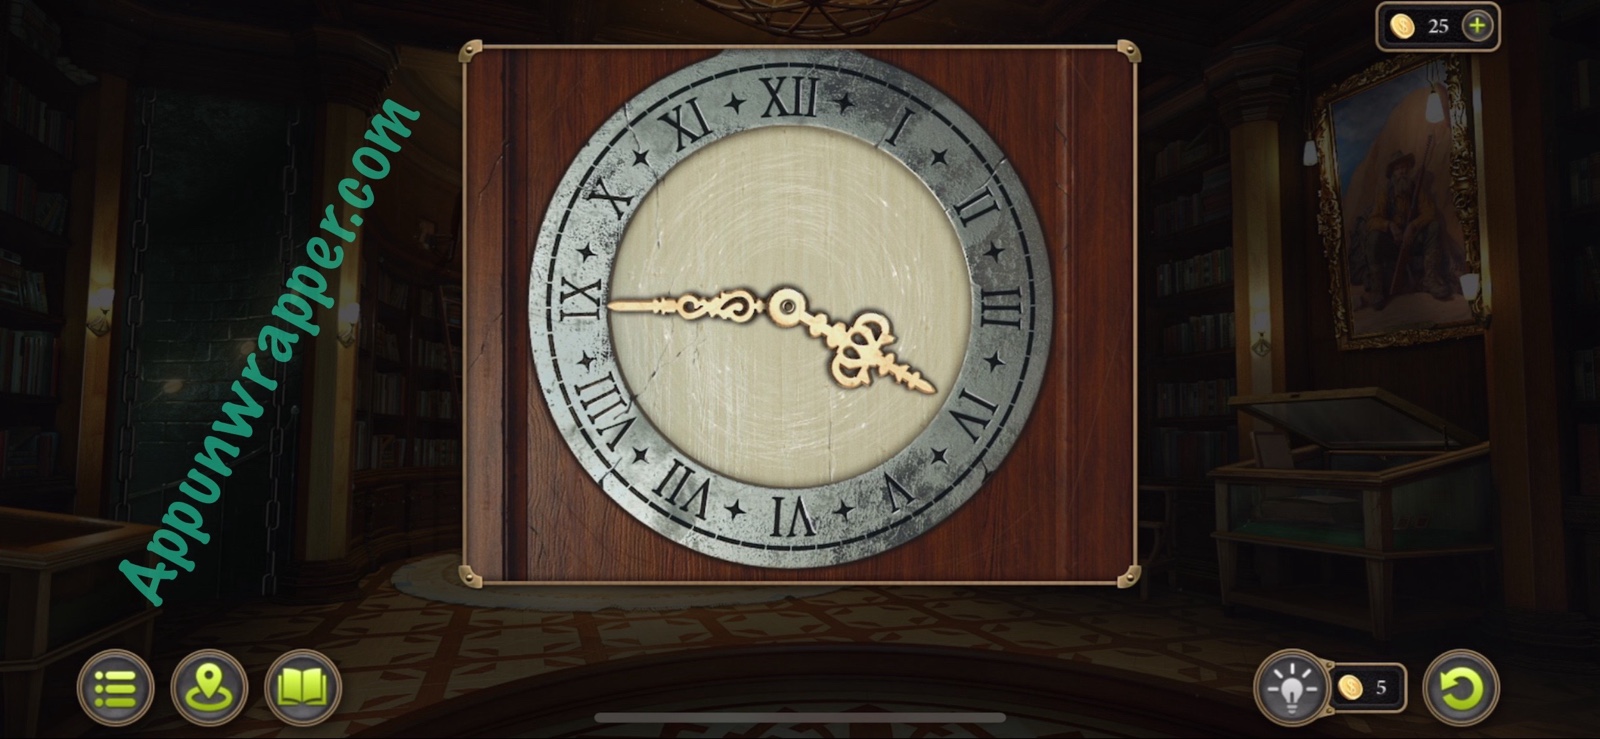
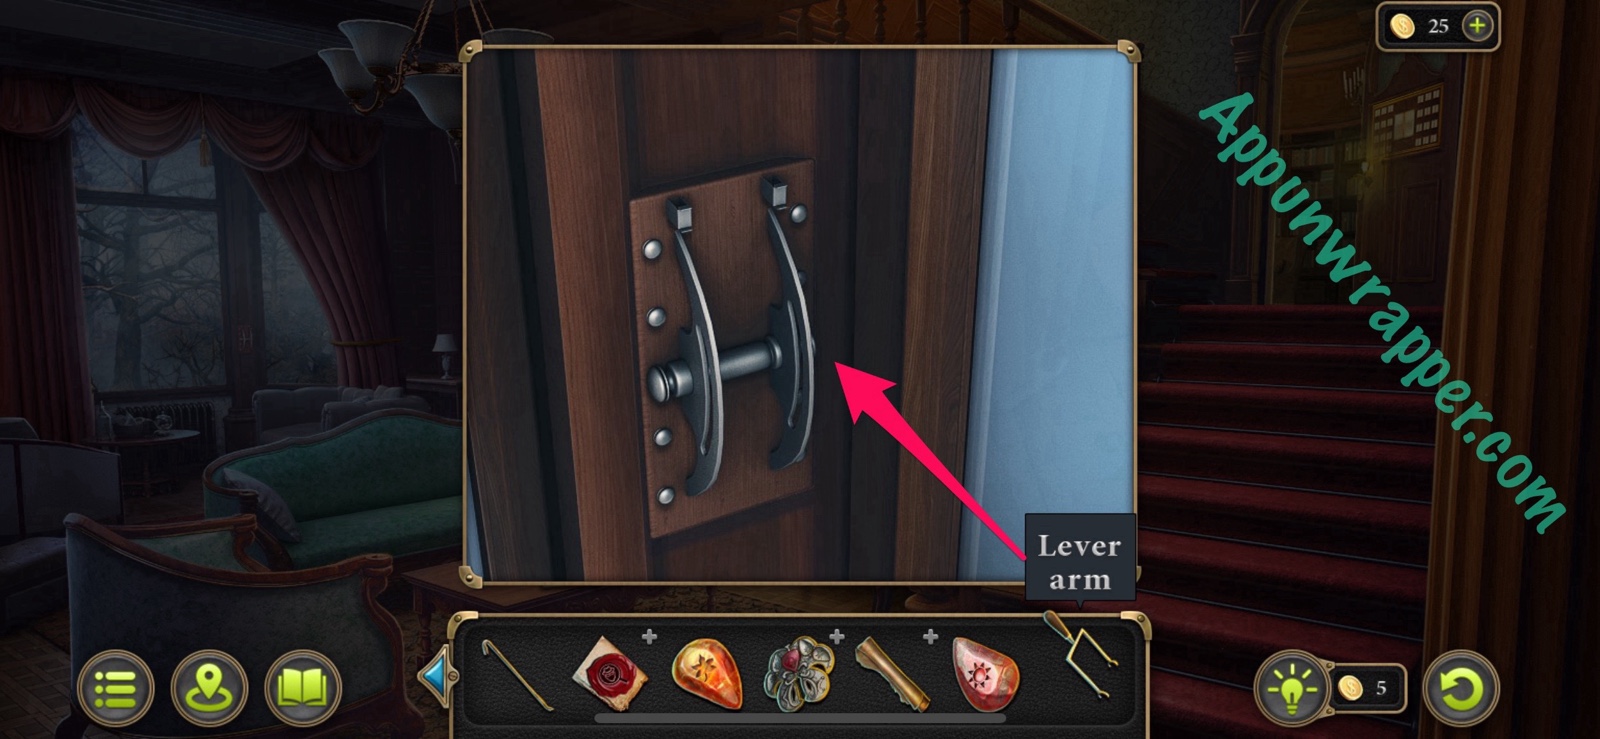
91. Next, go to the clock and change the time to 4:45, as shown on the scroll. Take the Lever Arm and get another clue for the scroll.
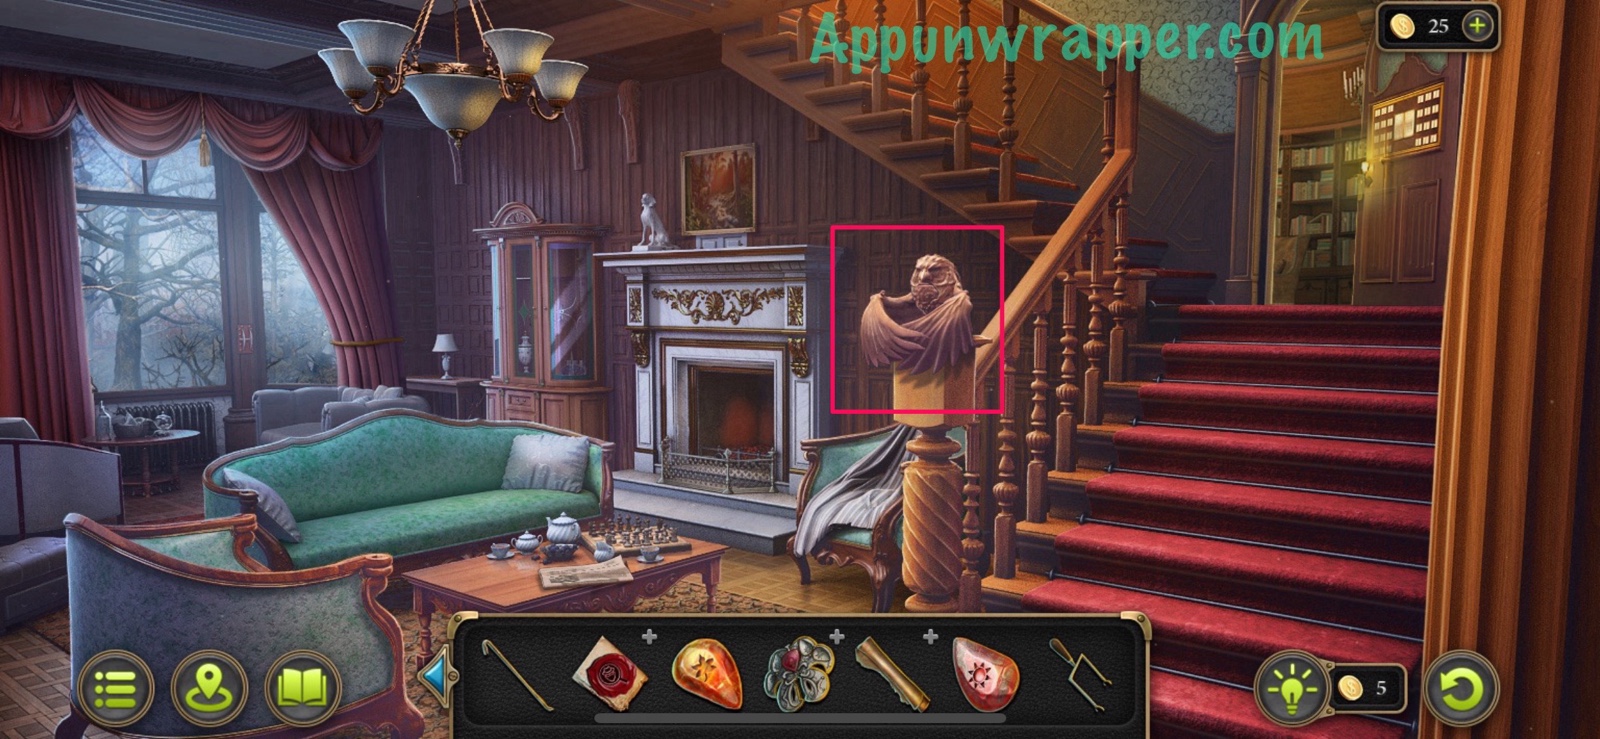
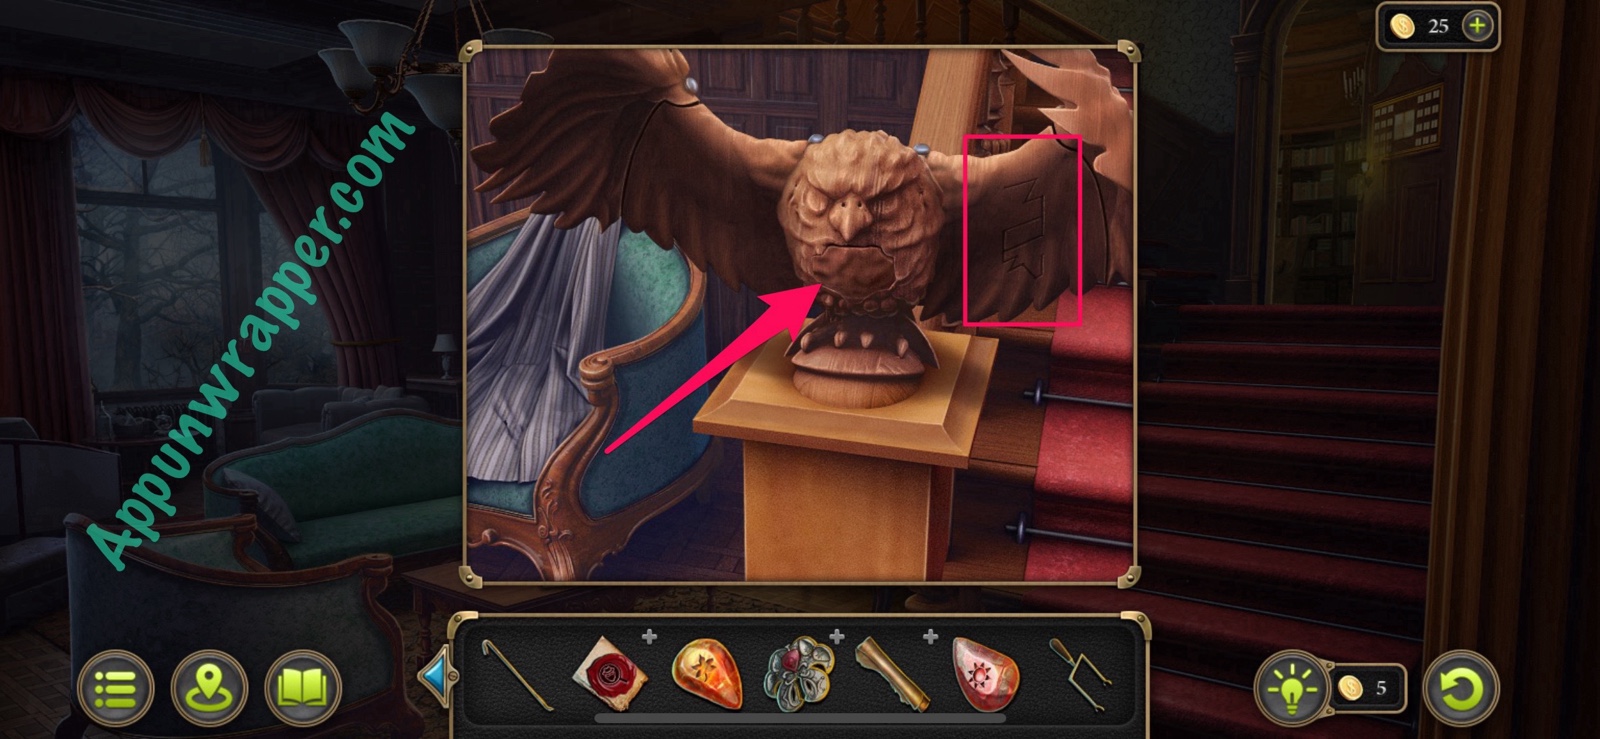
92. Go back to the living room and inspect the owl sculpture. Press the button on its chest to get it to spread its wings and show you another clue for your scroll.
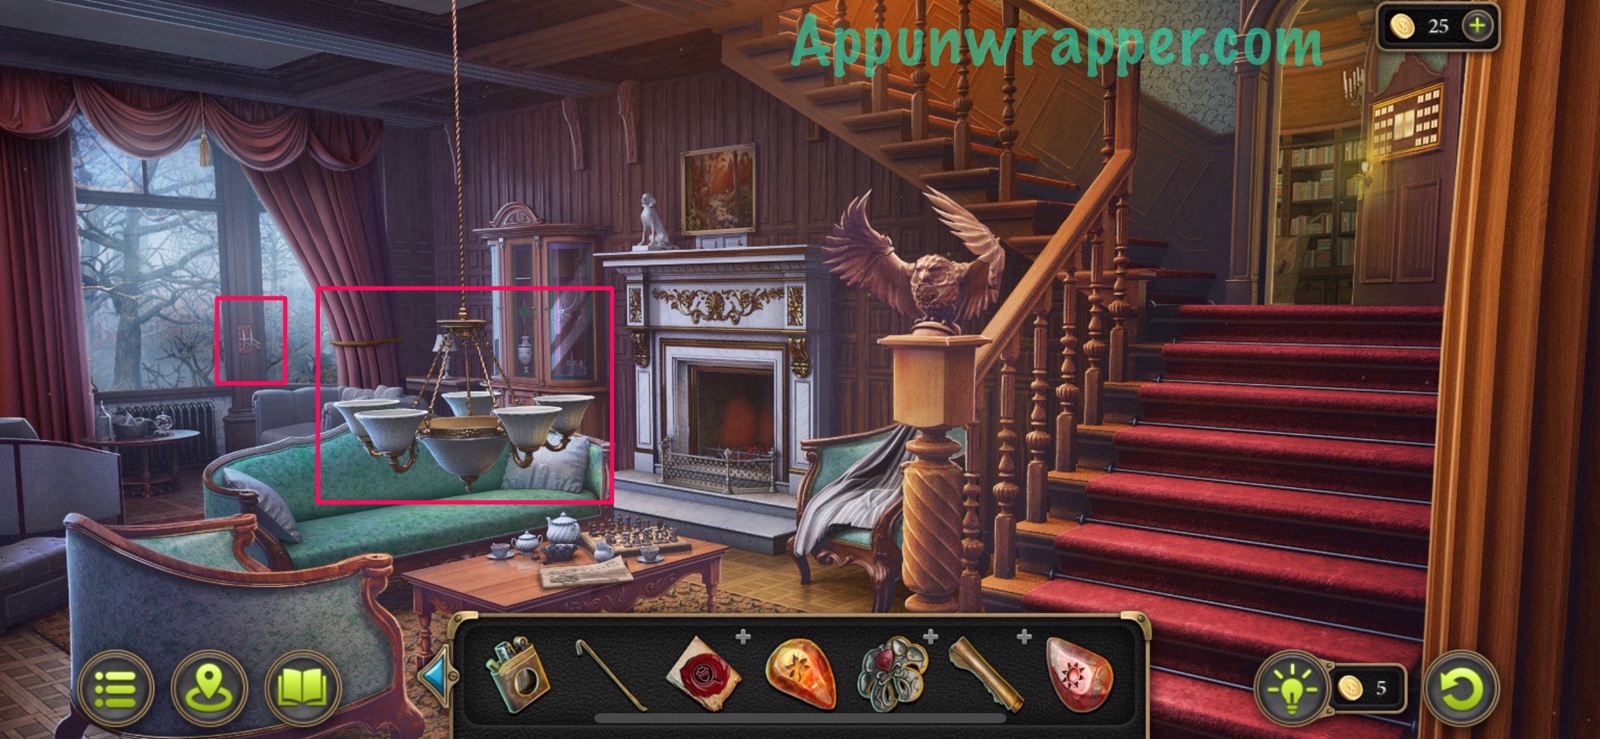
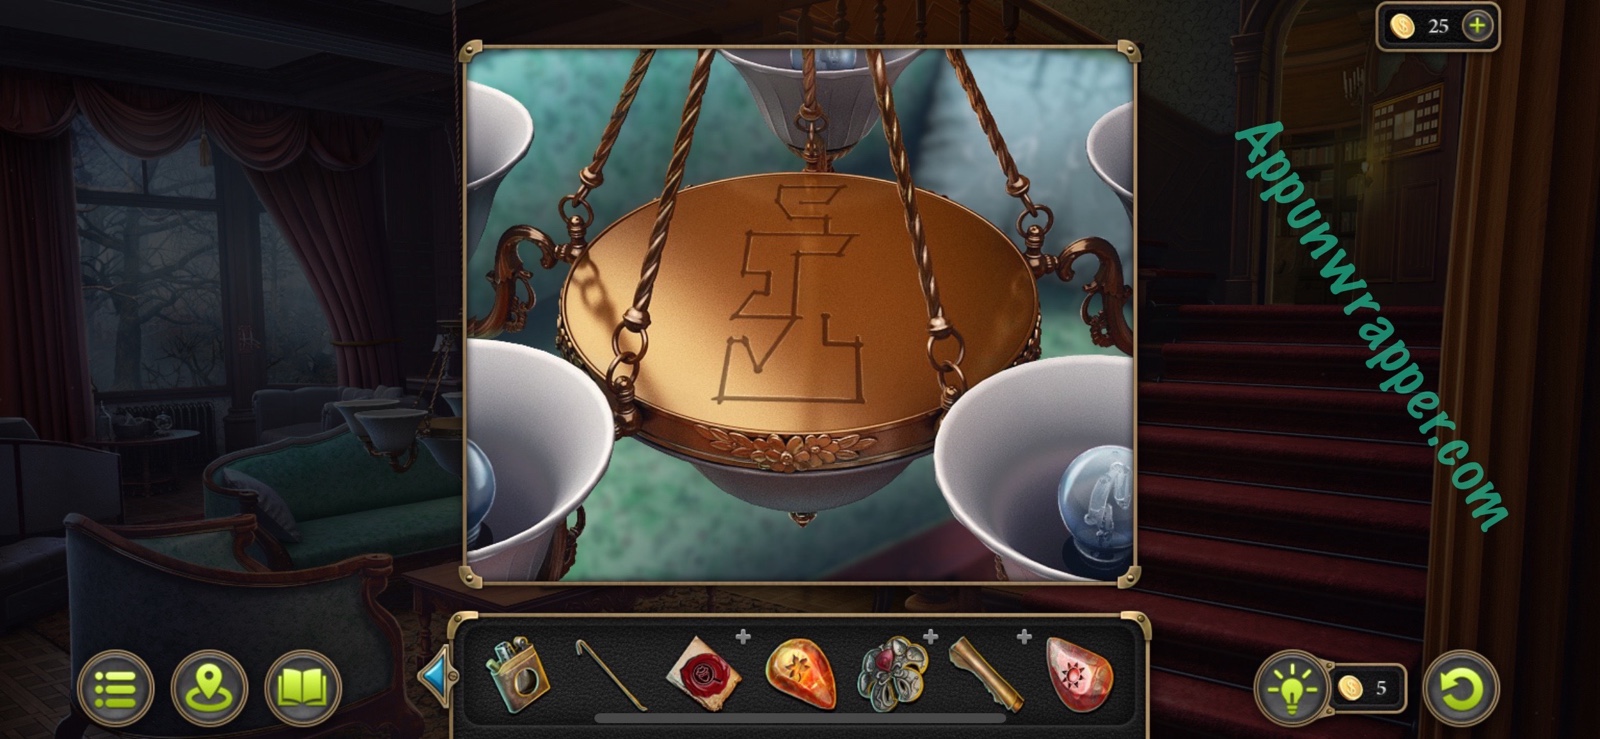
93. Place the lever arm in the slot between the windows and pull it down to lower the chandelier. There’s another clue for your scroll there.
94. We can’t get the rest of the clues yet, so let’s use the information we found to explore deeper into the forest. Find the fallen stump again. This time we can go through because we know where we’re going.
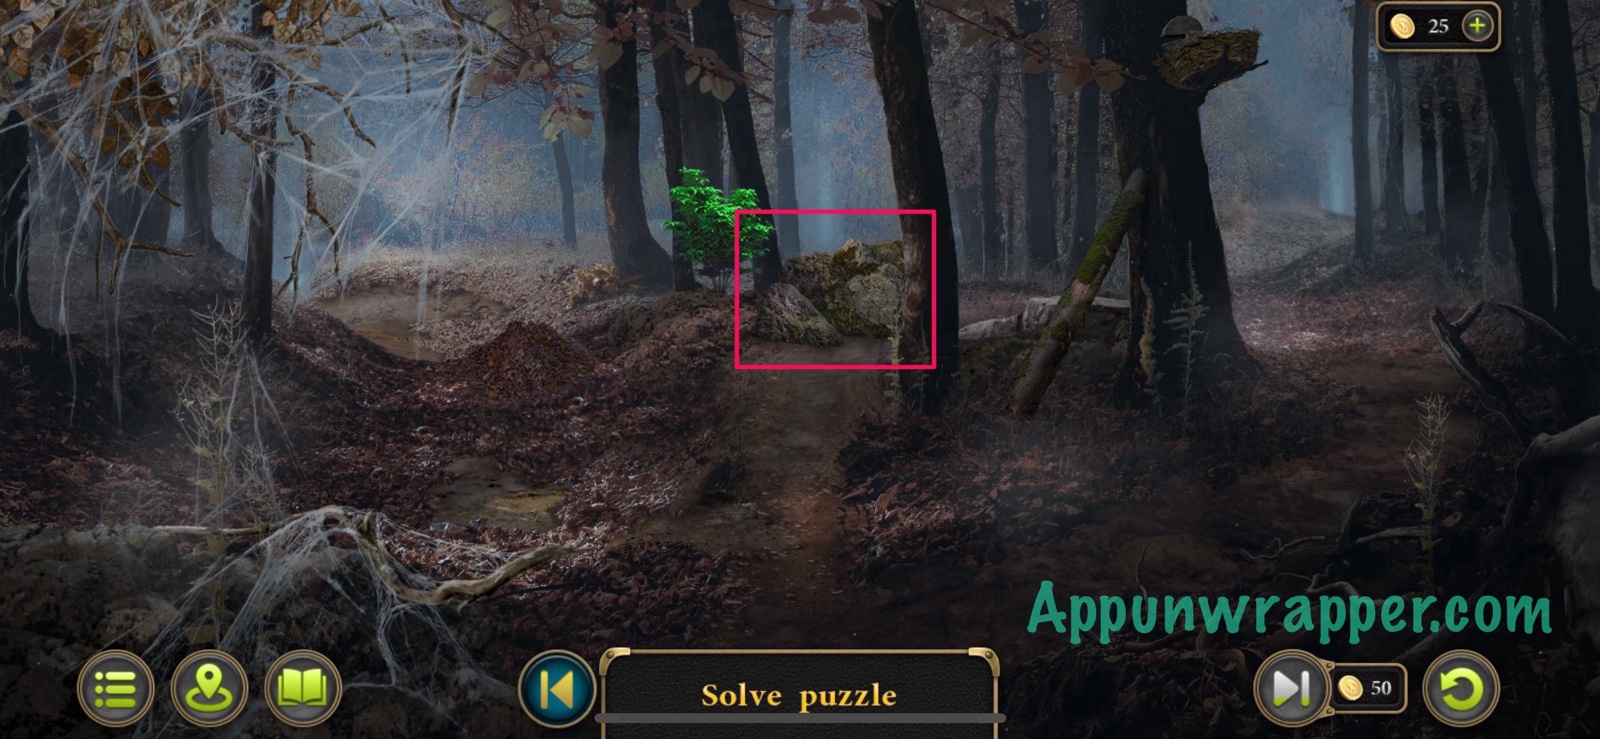
95. According to the journal, we need to follow the green trees. So do that. Each time you see a green tree, tap on it. If something is blocking your way, move it.

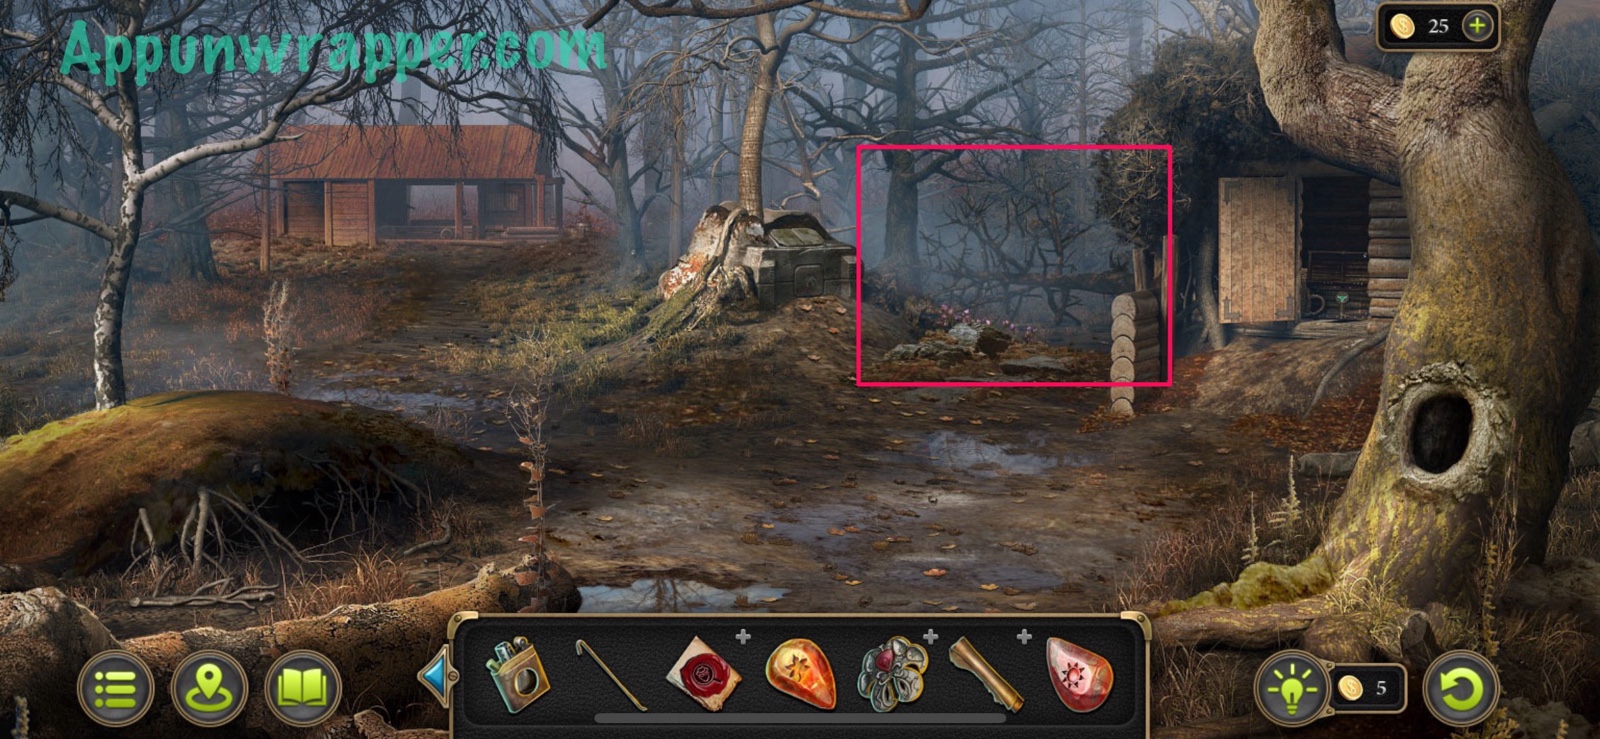
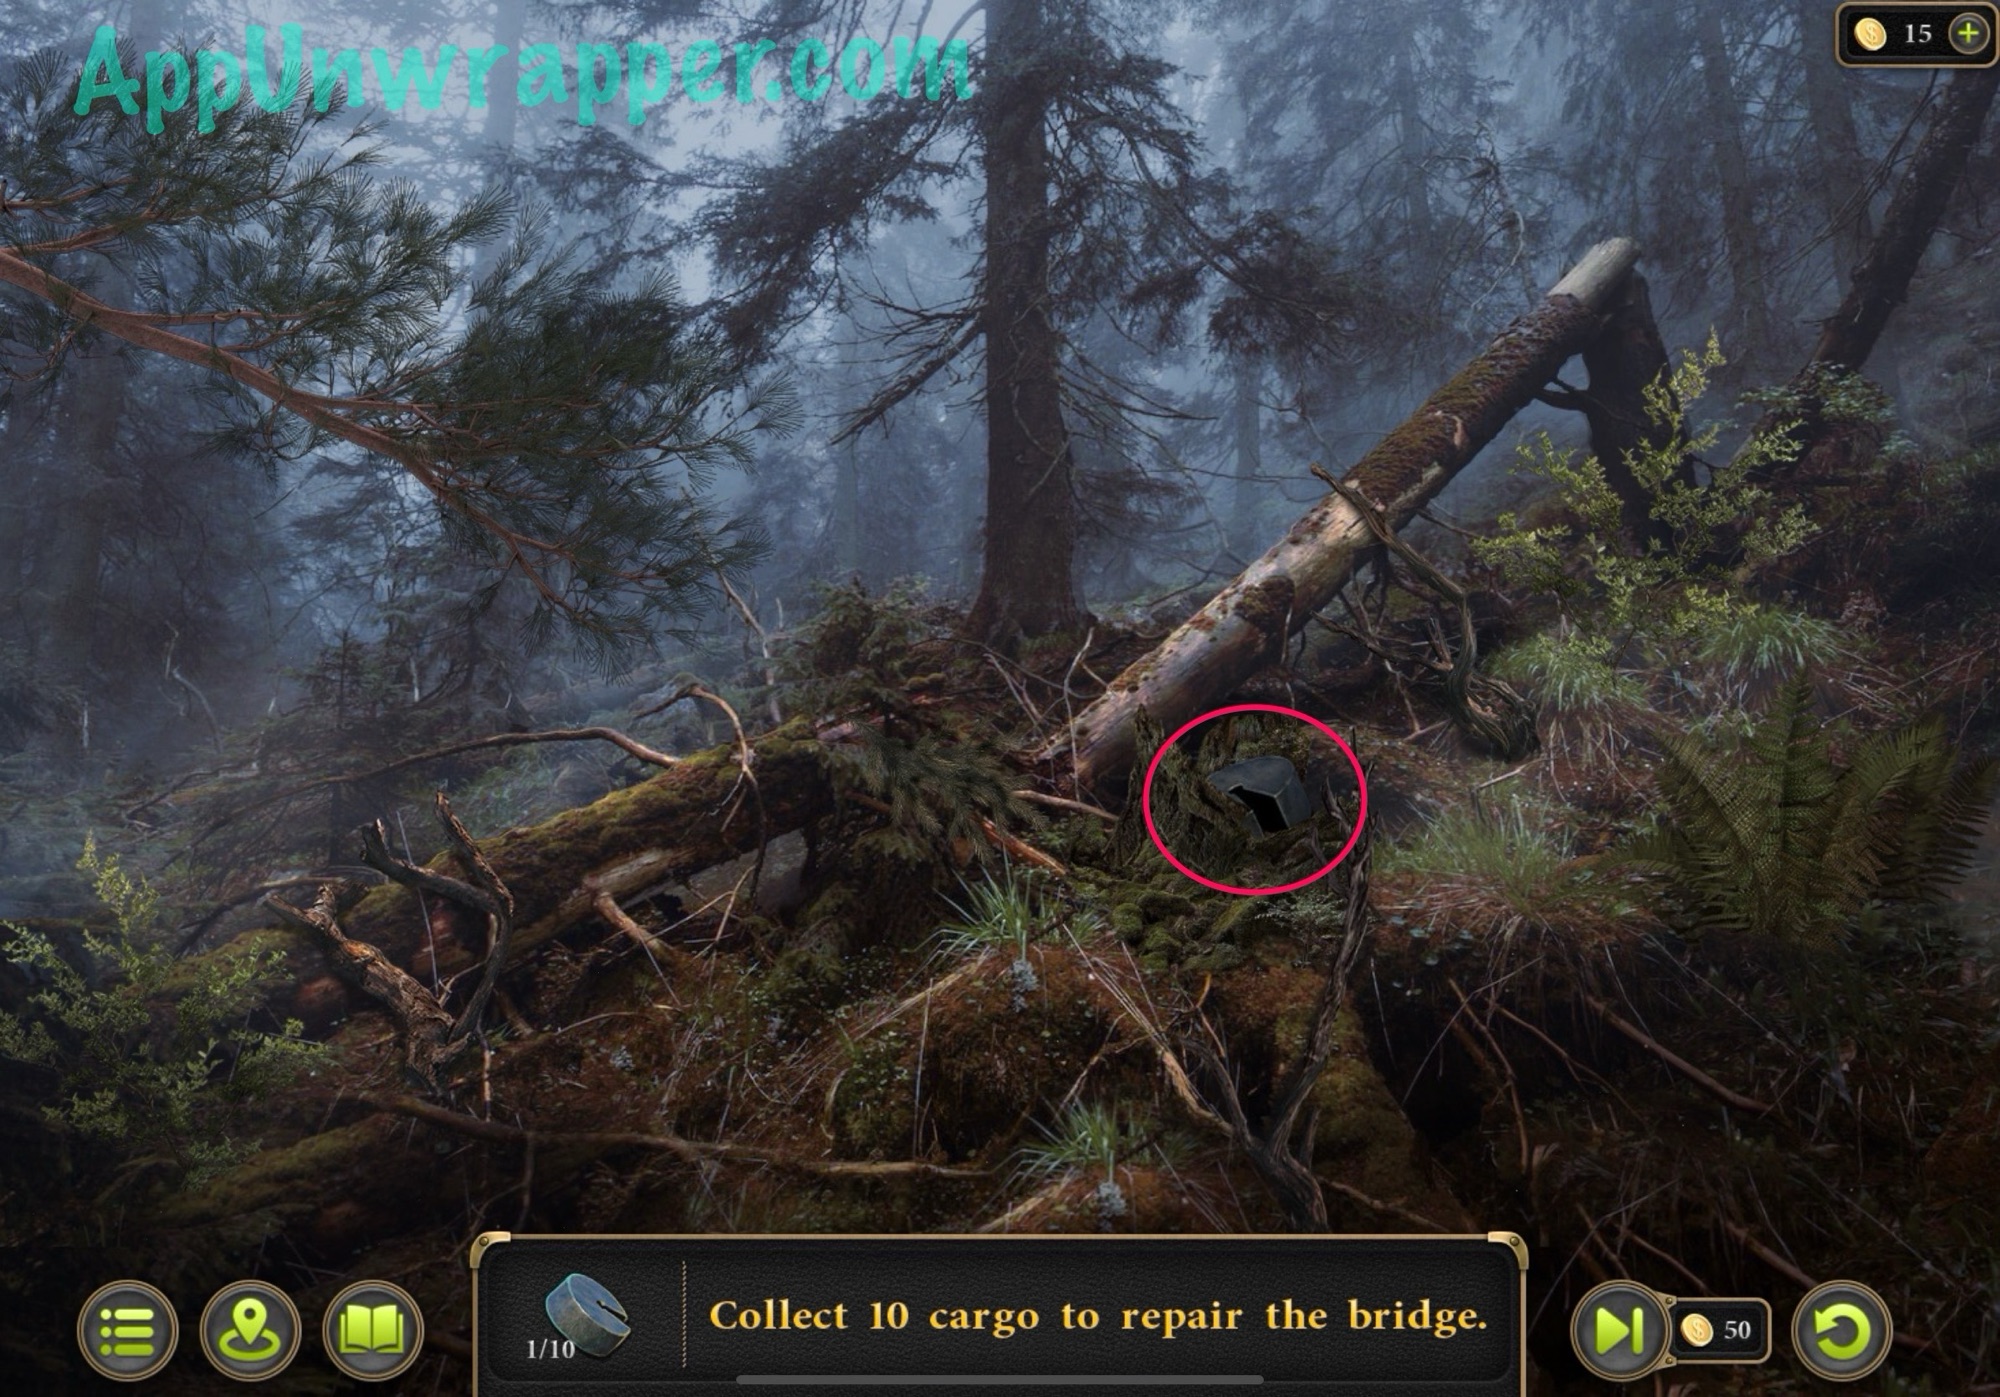
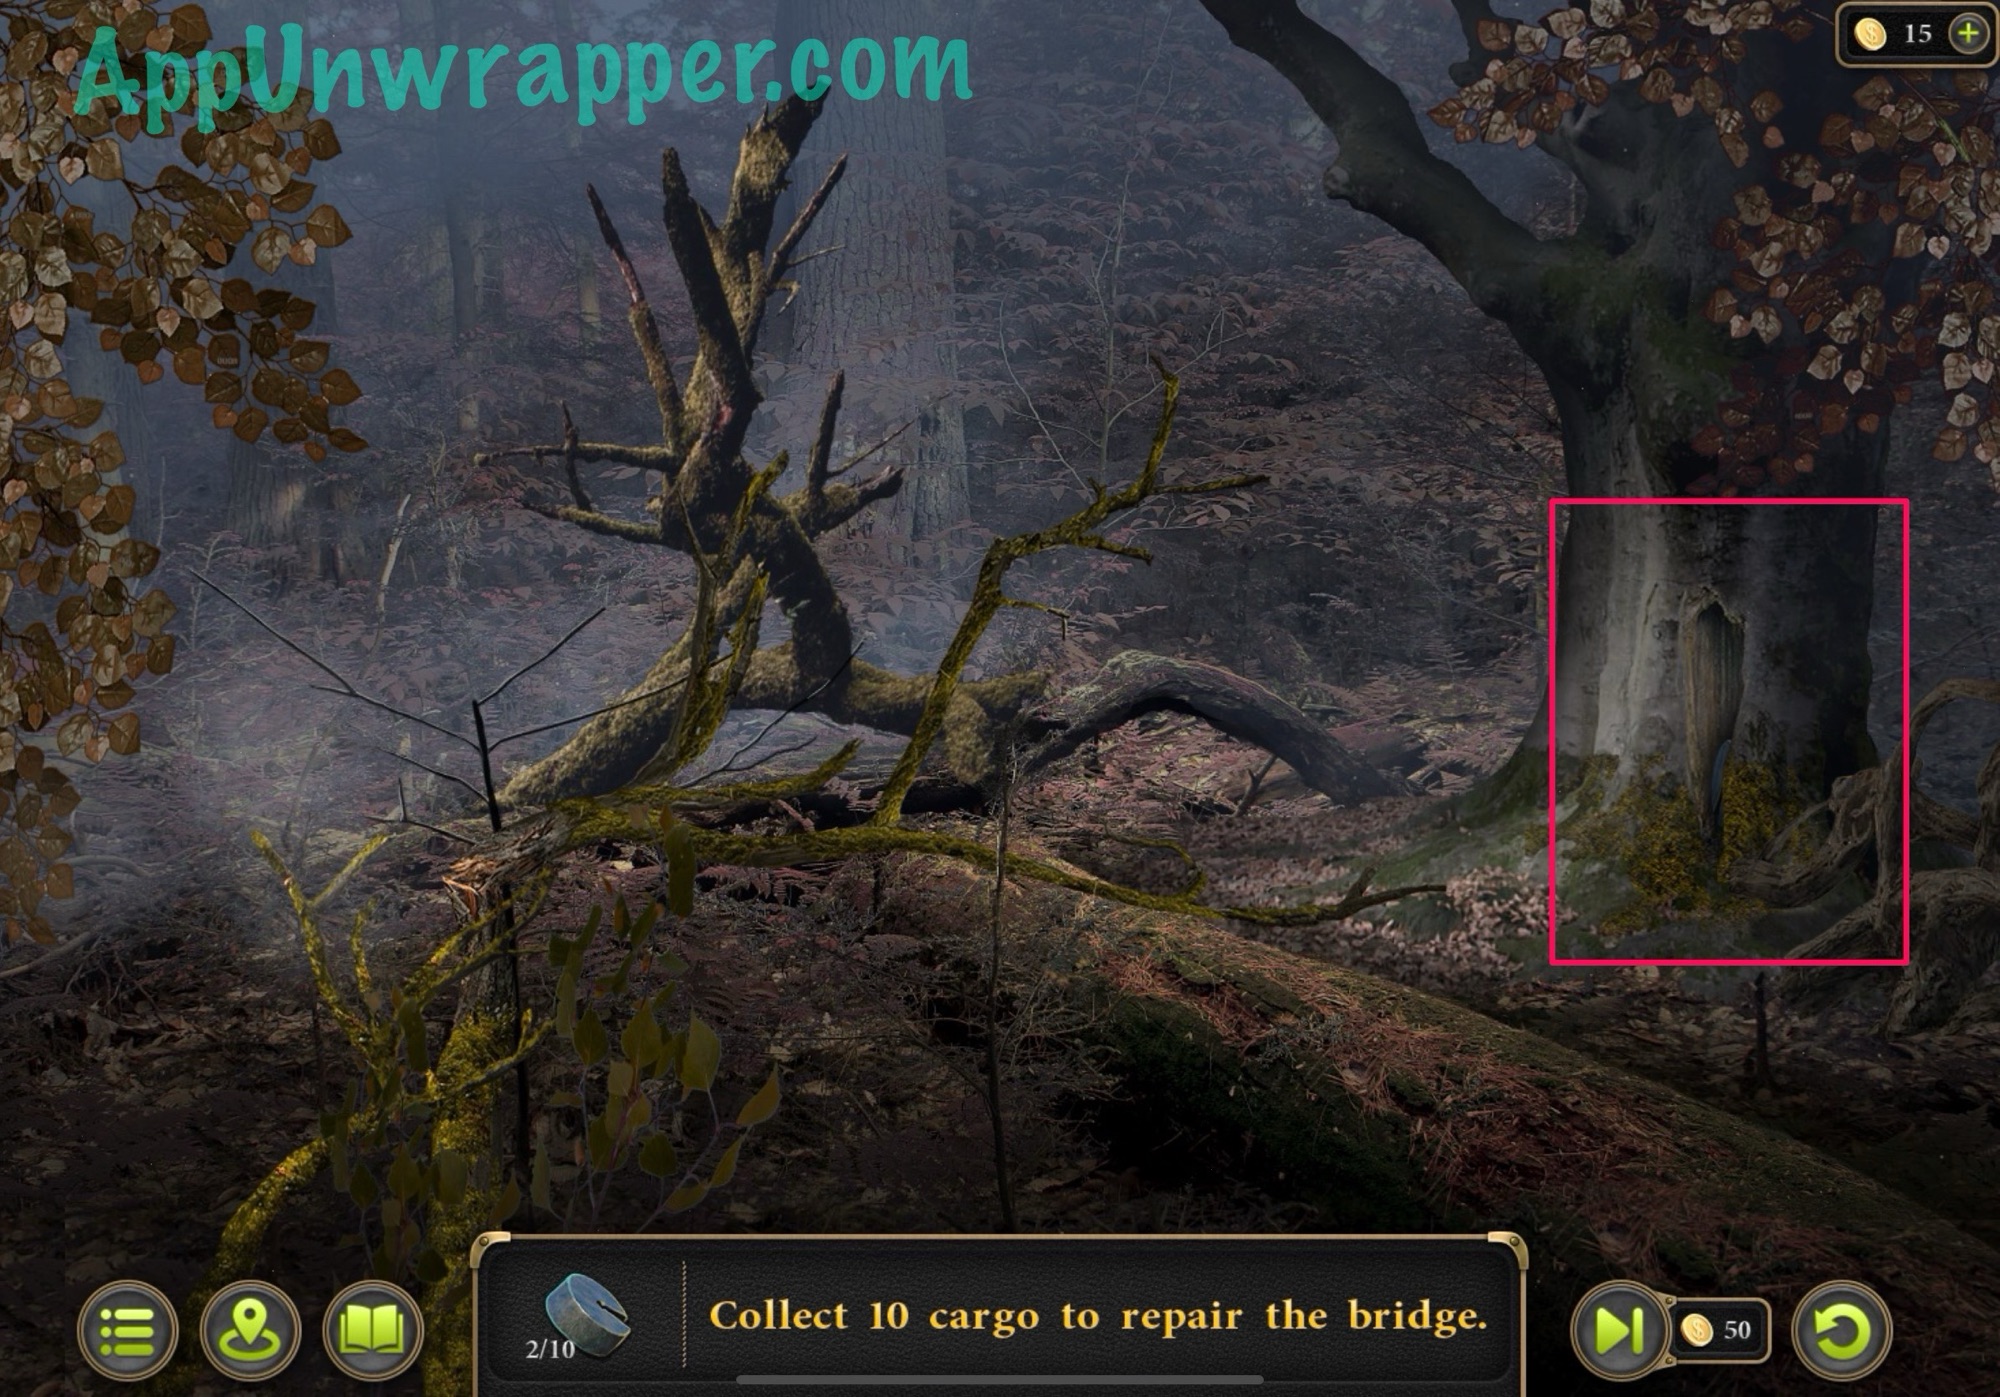
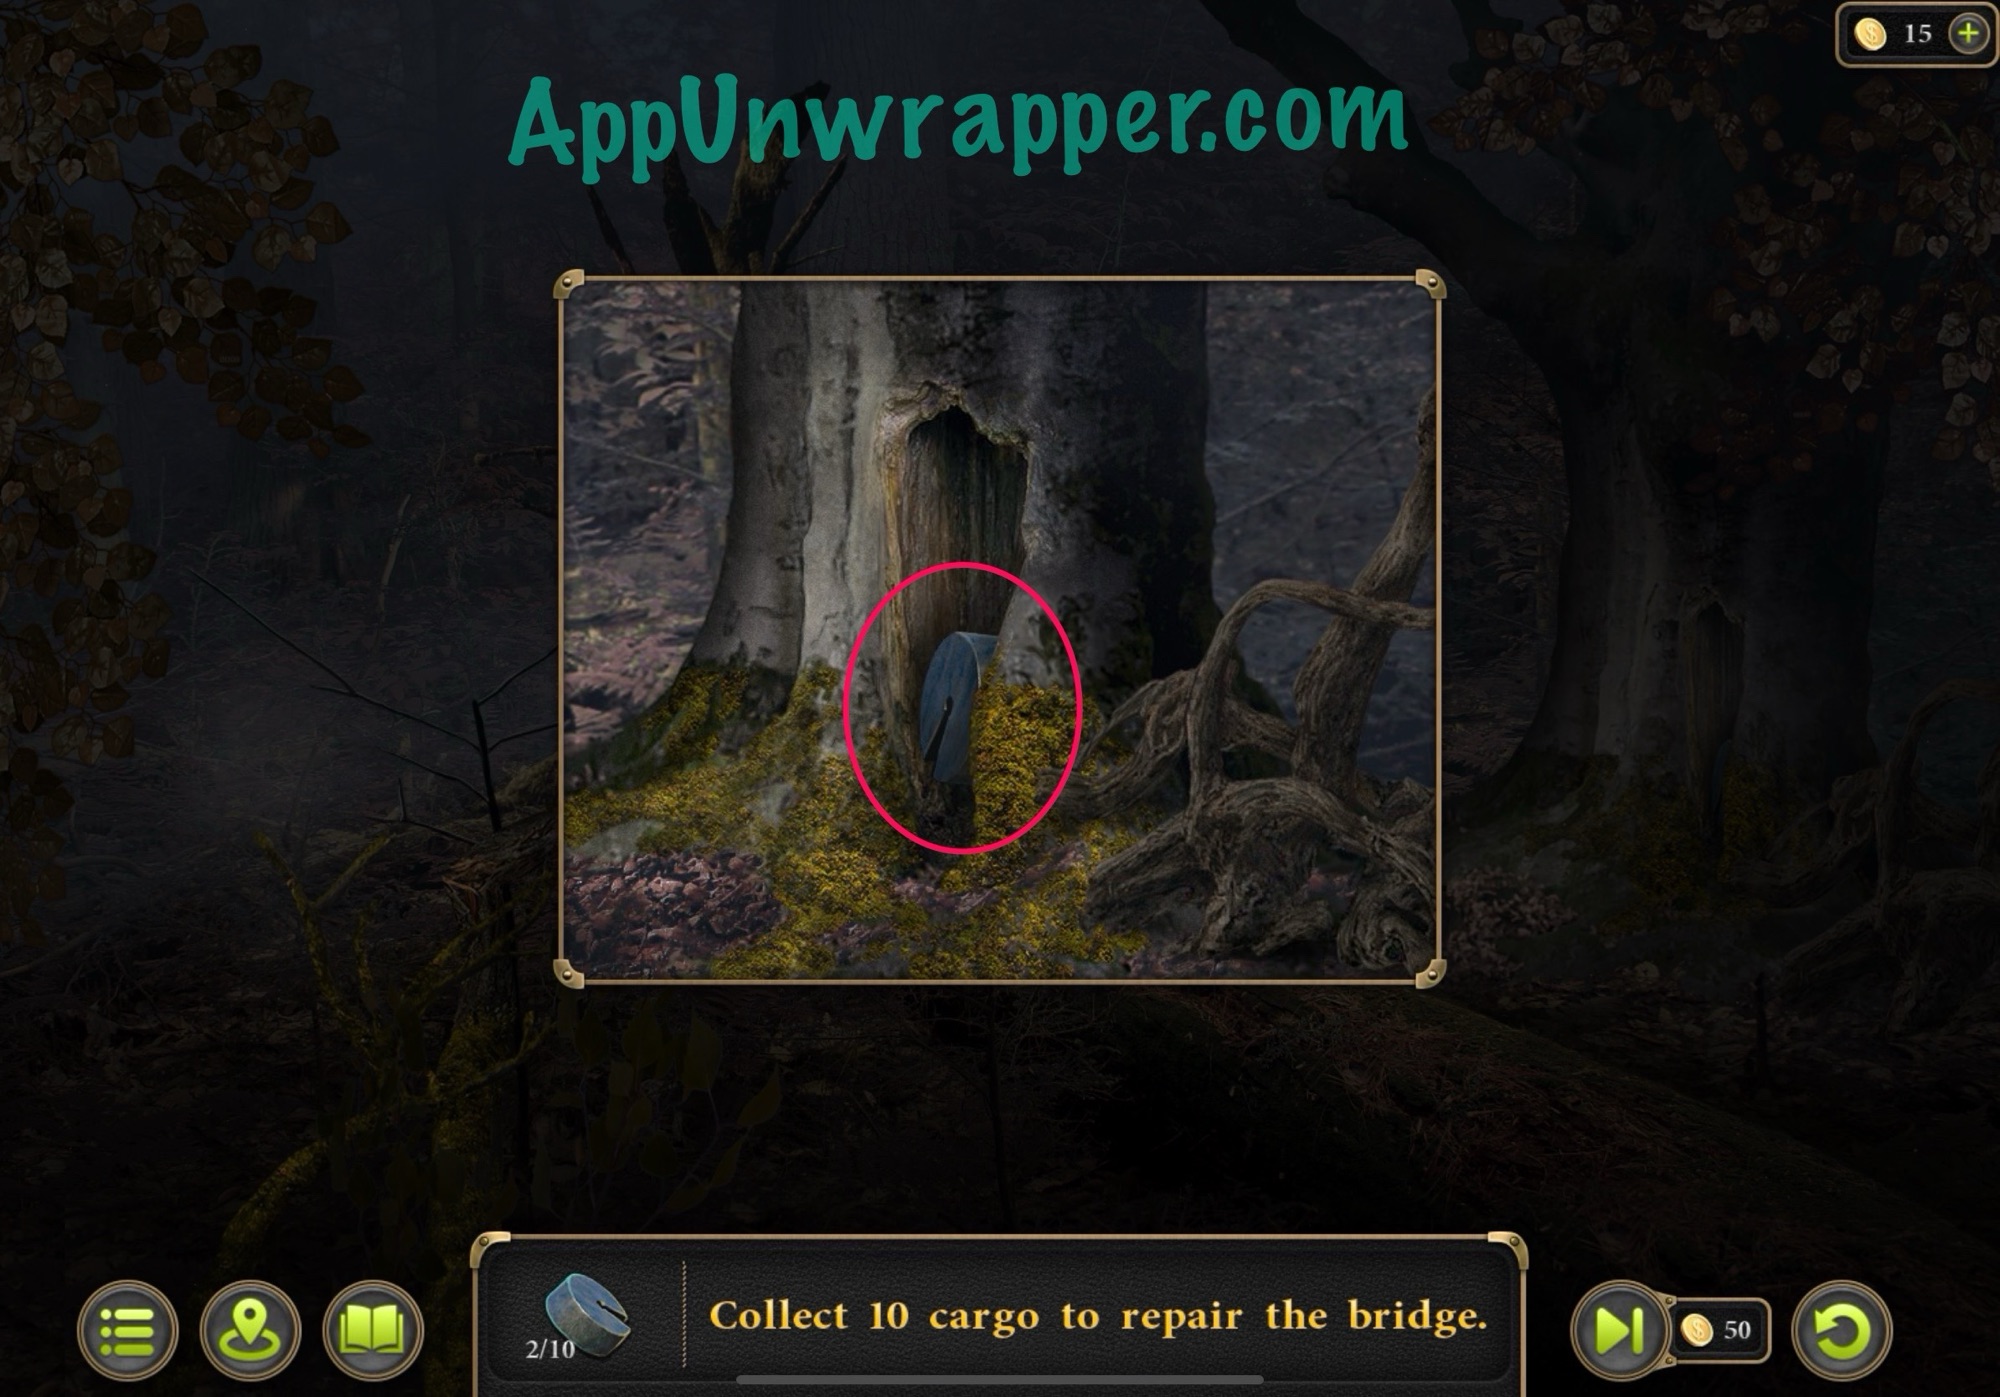
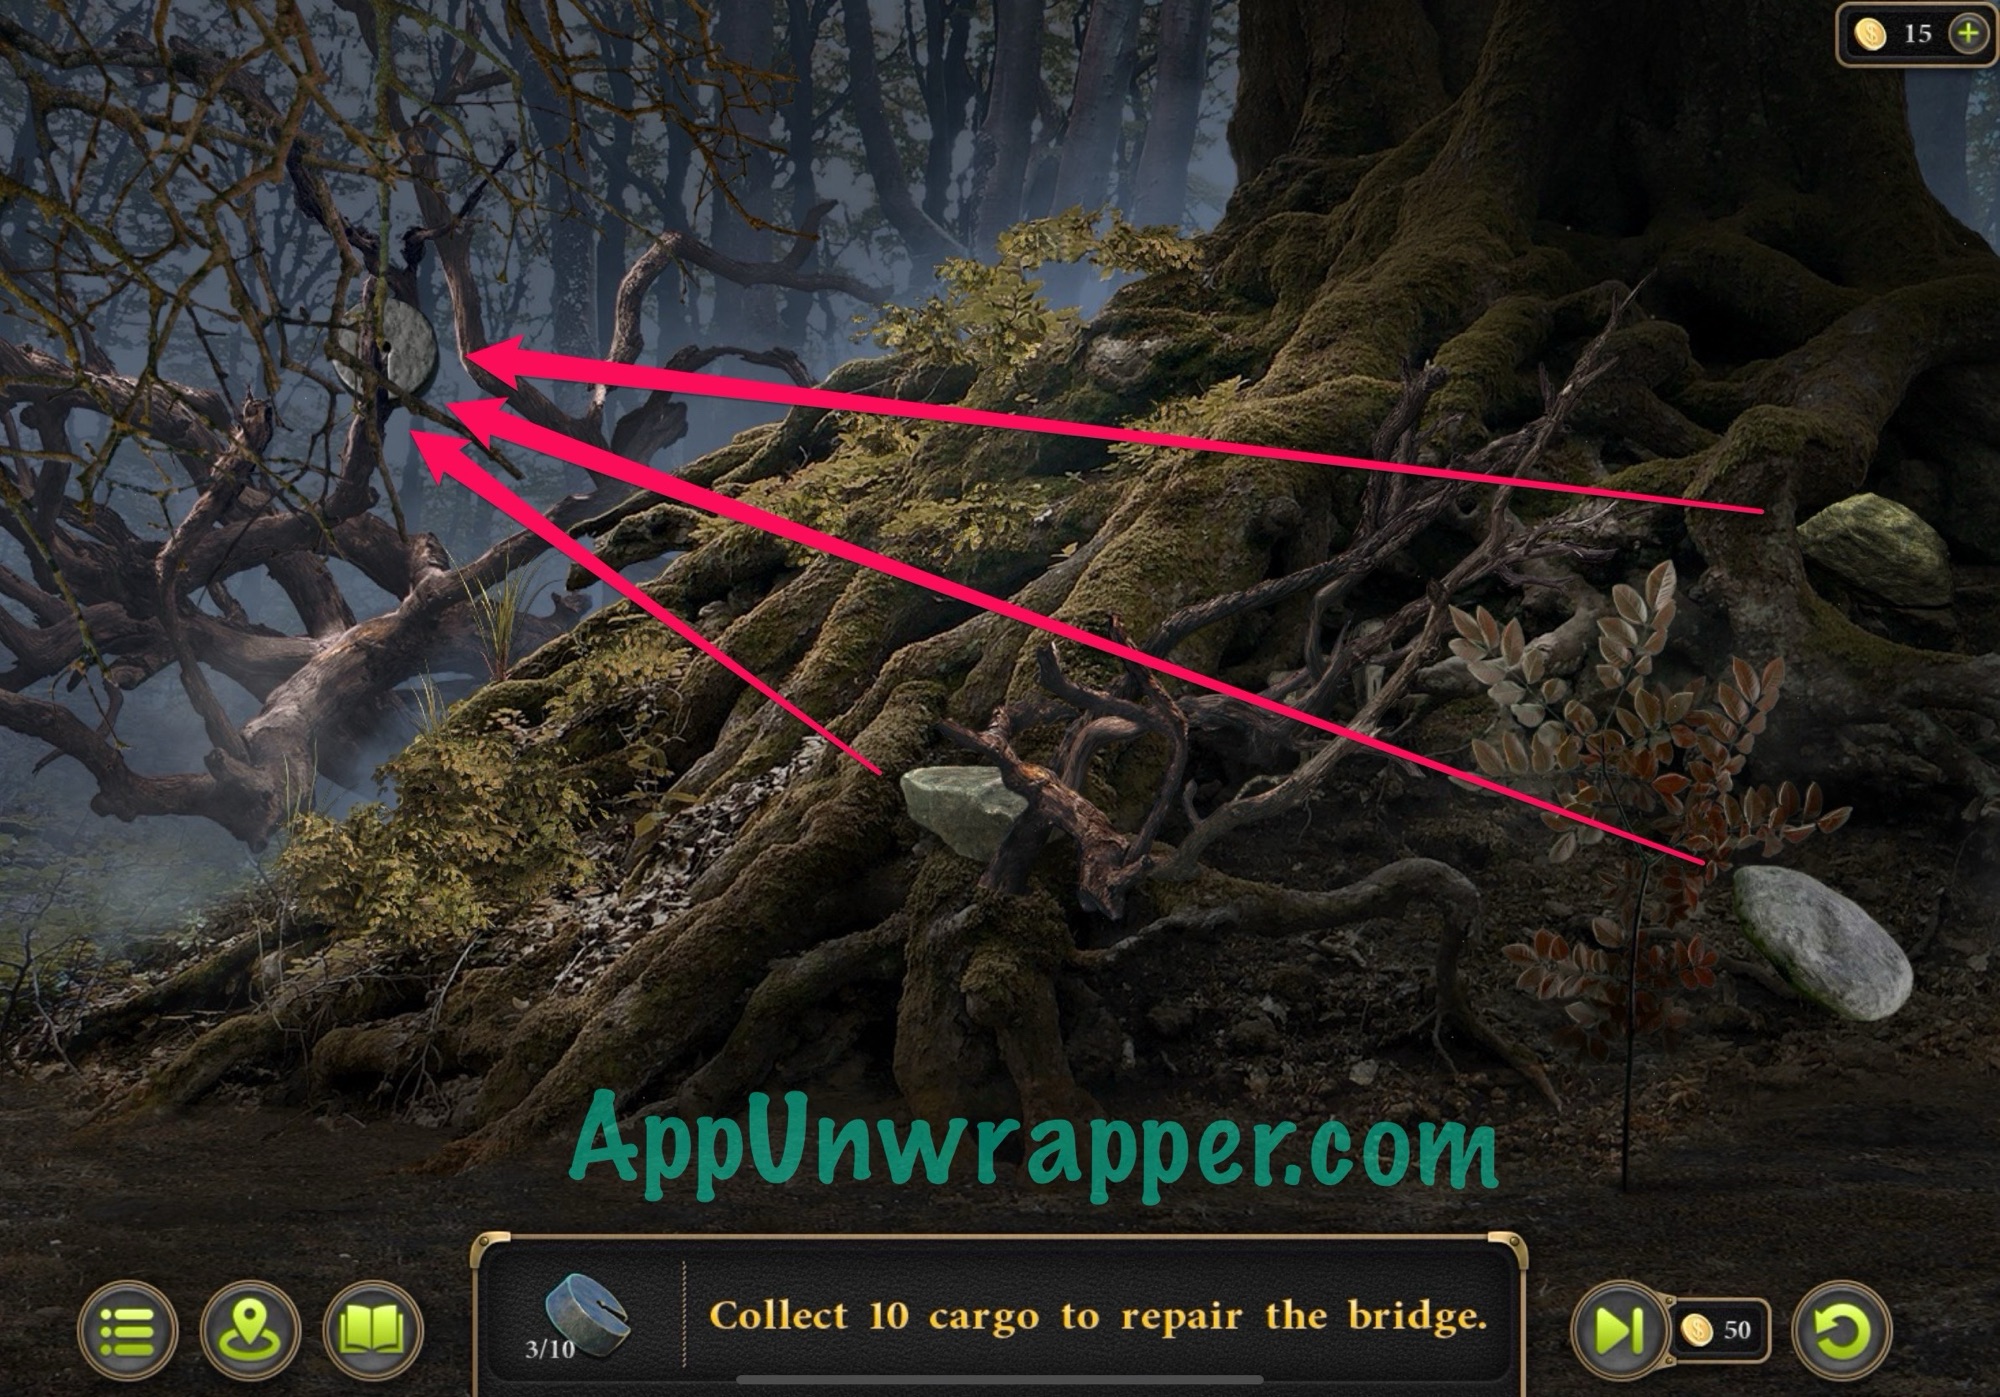
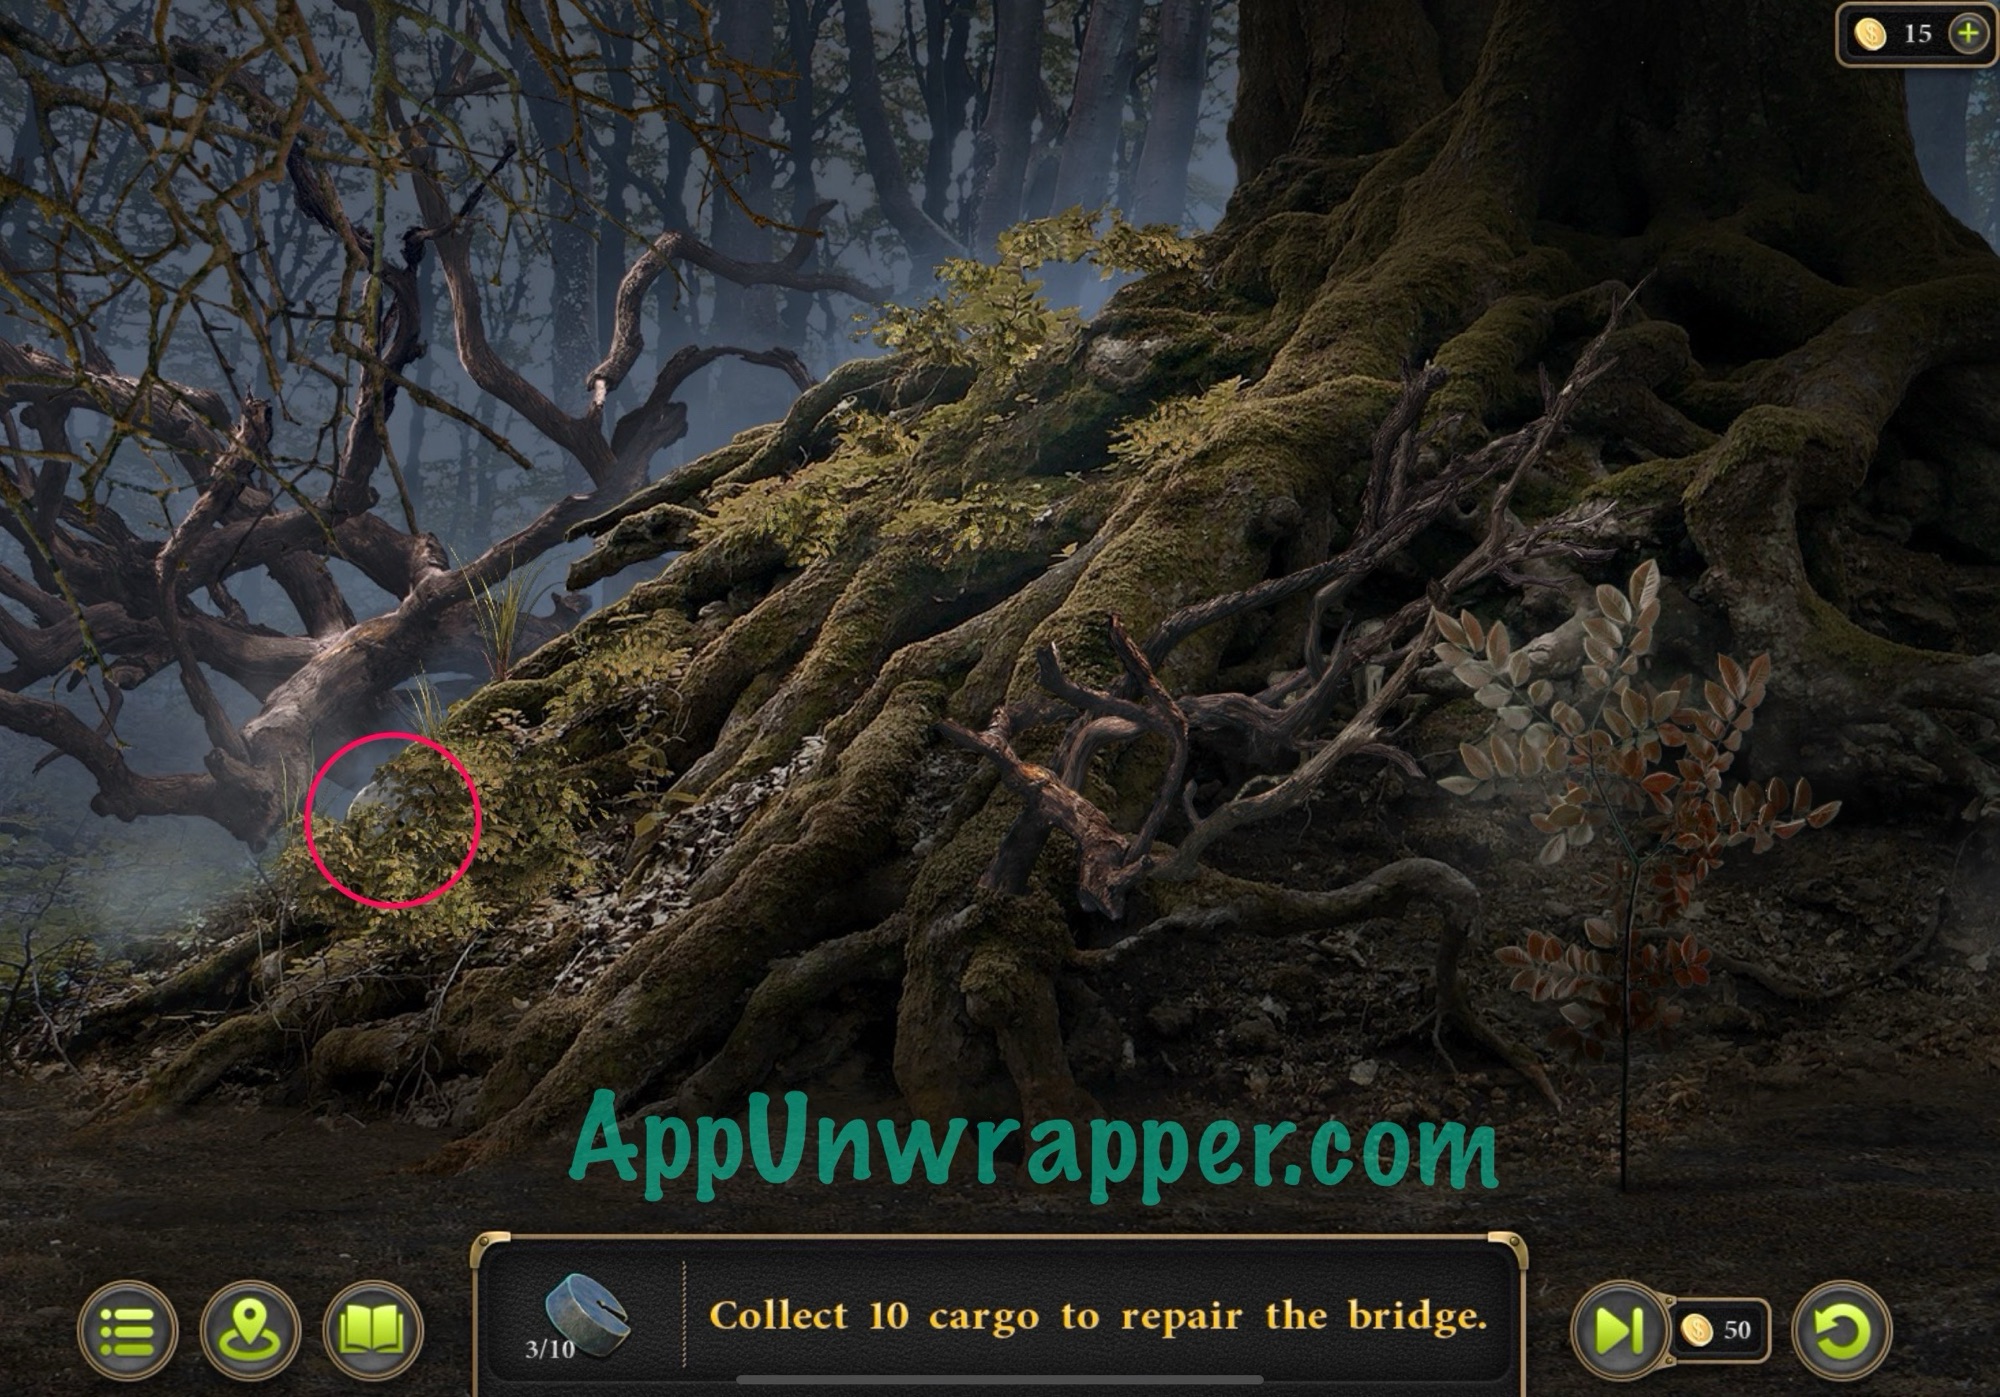
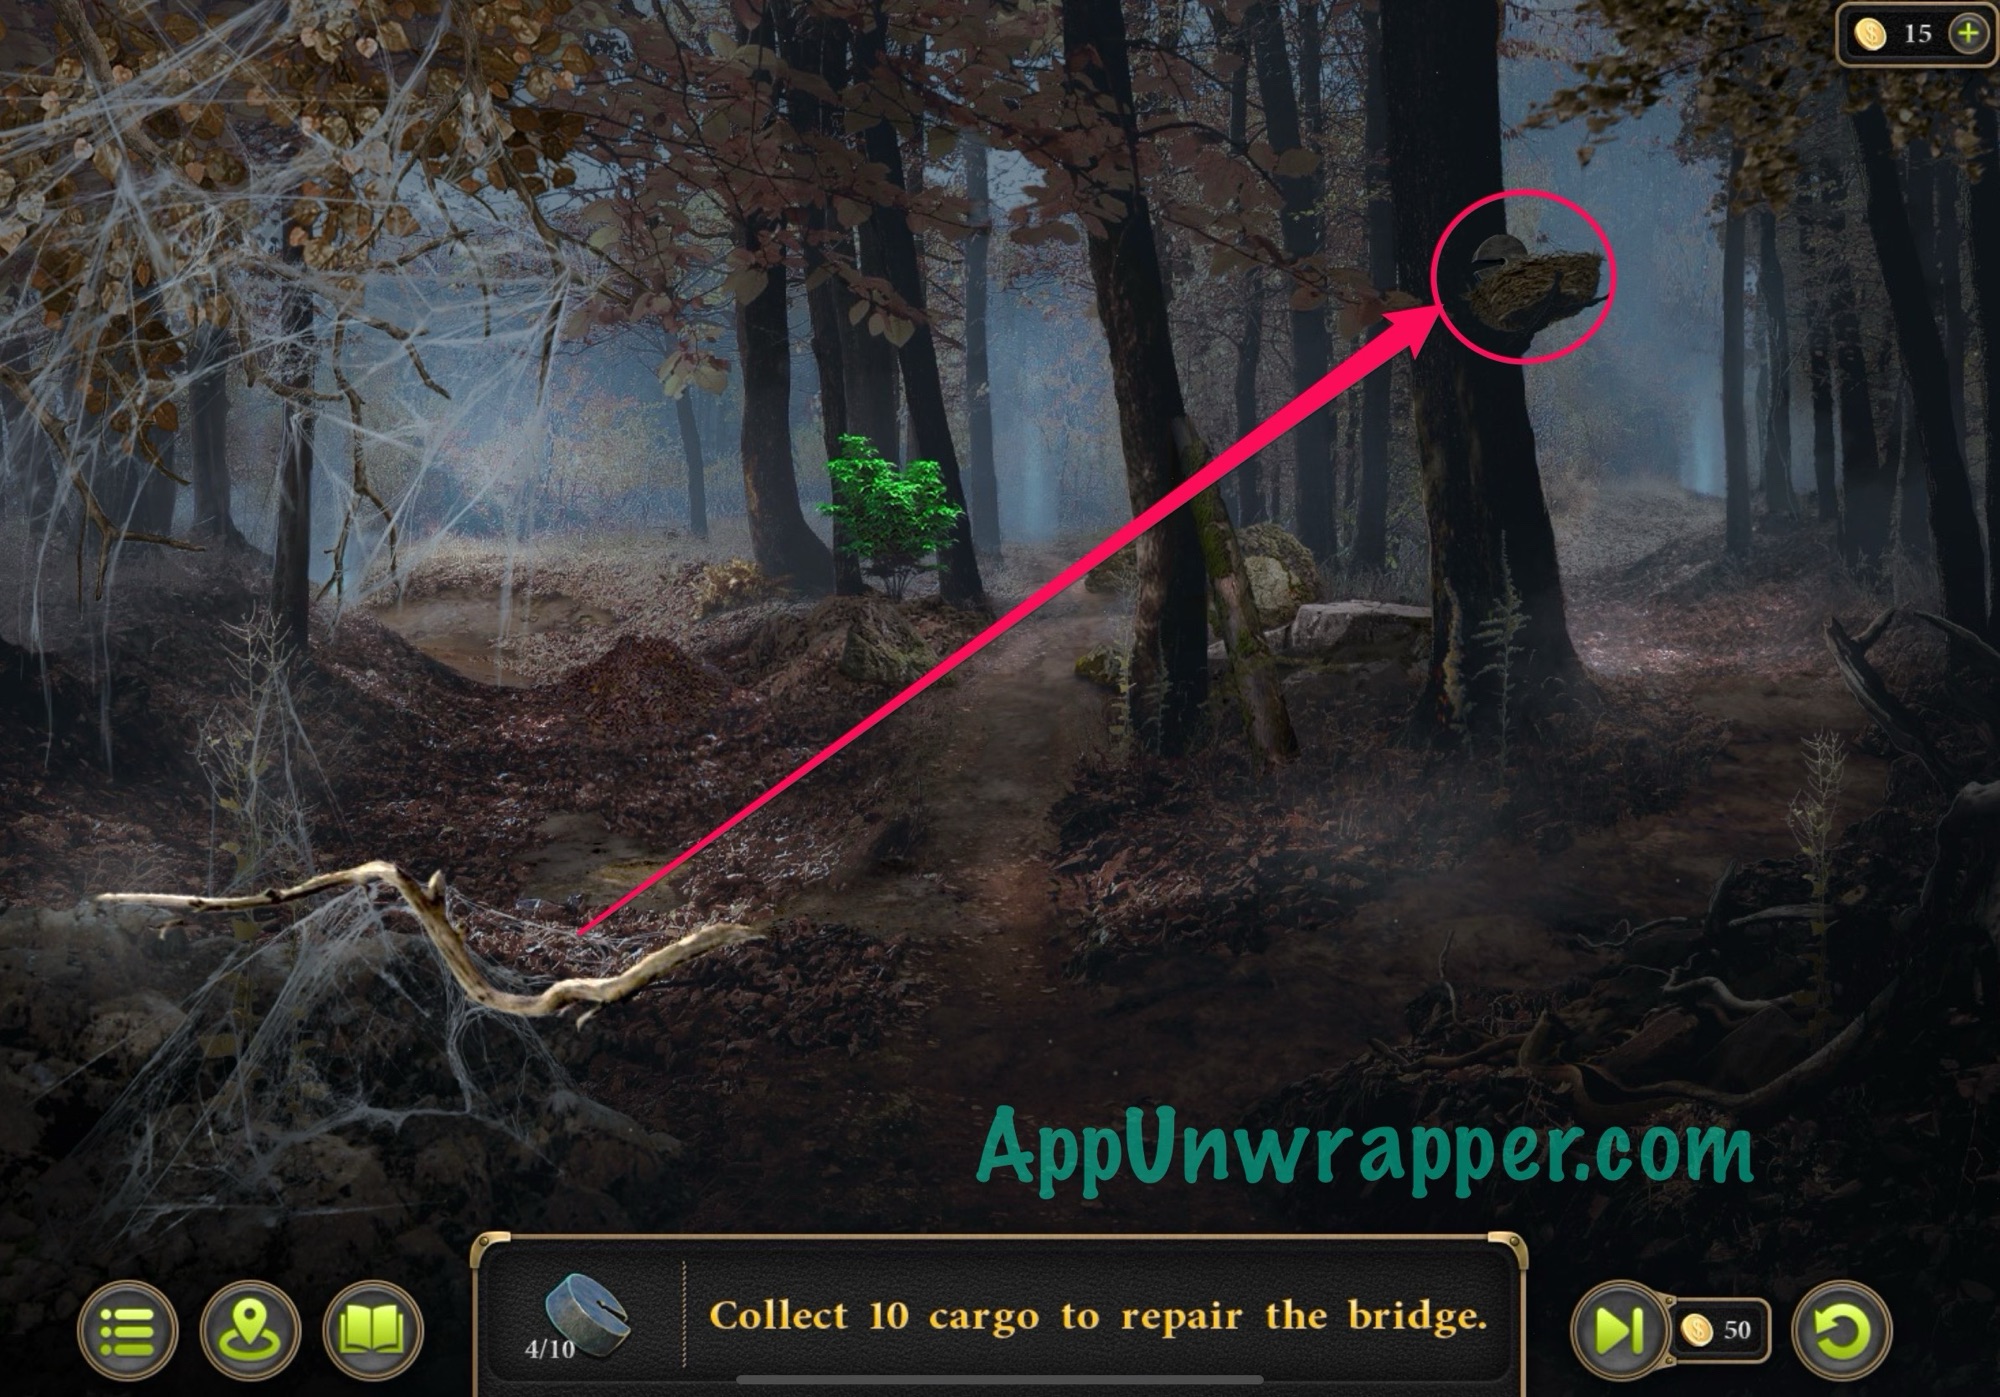
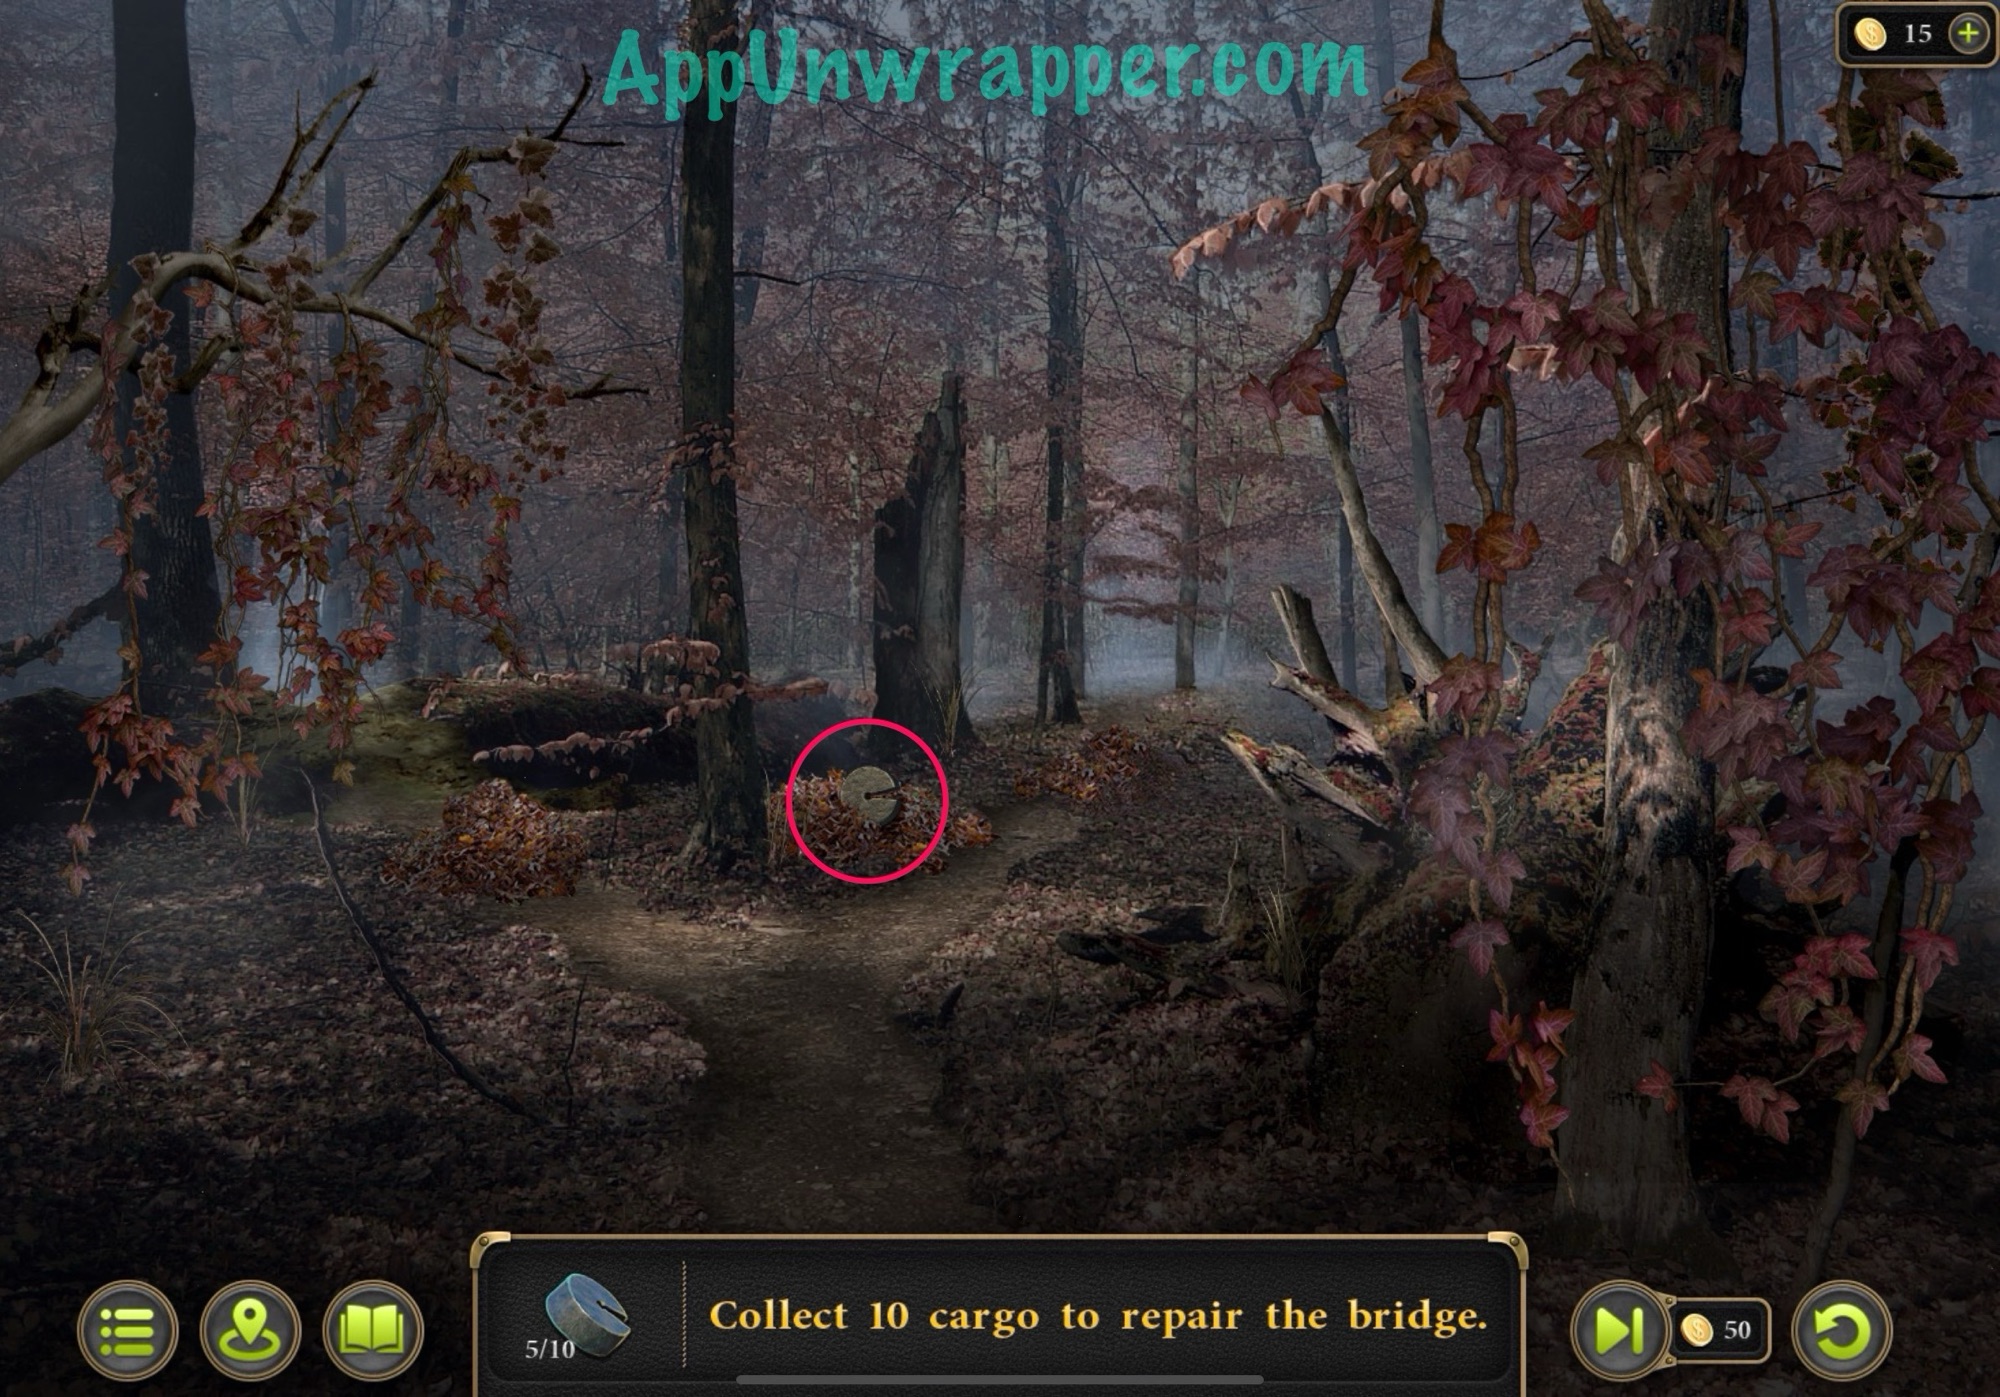
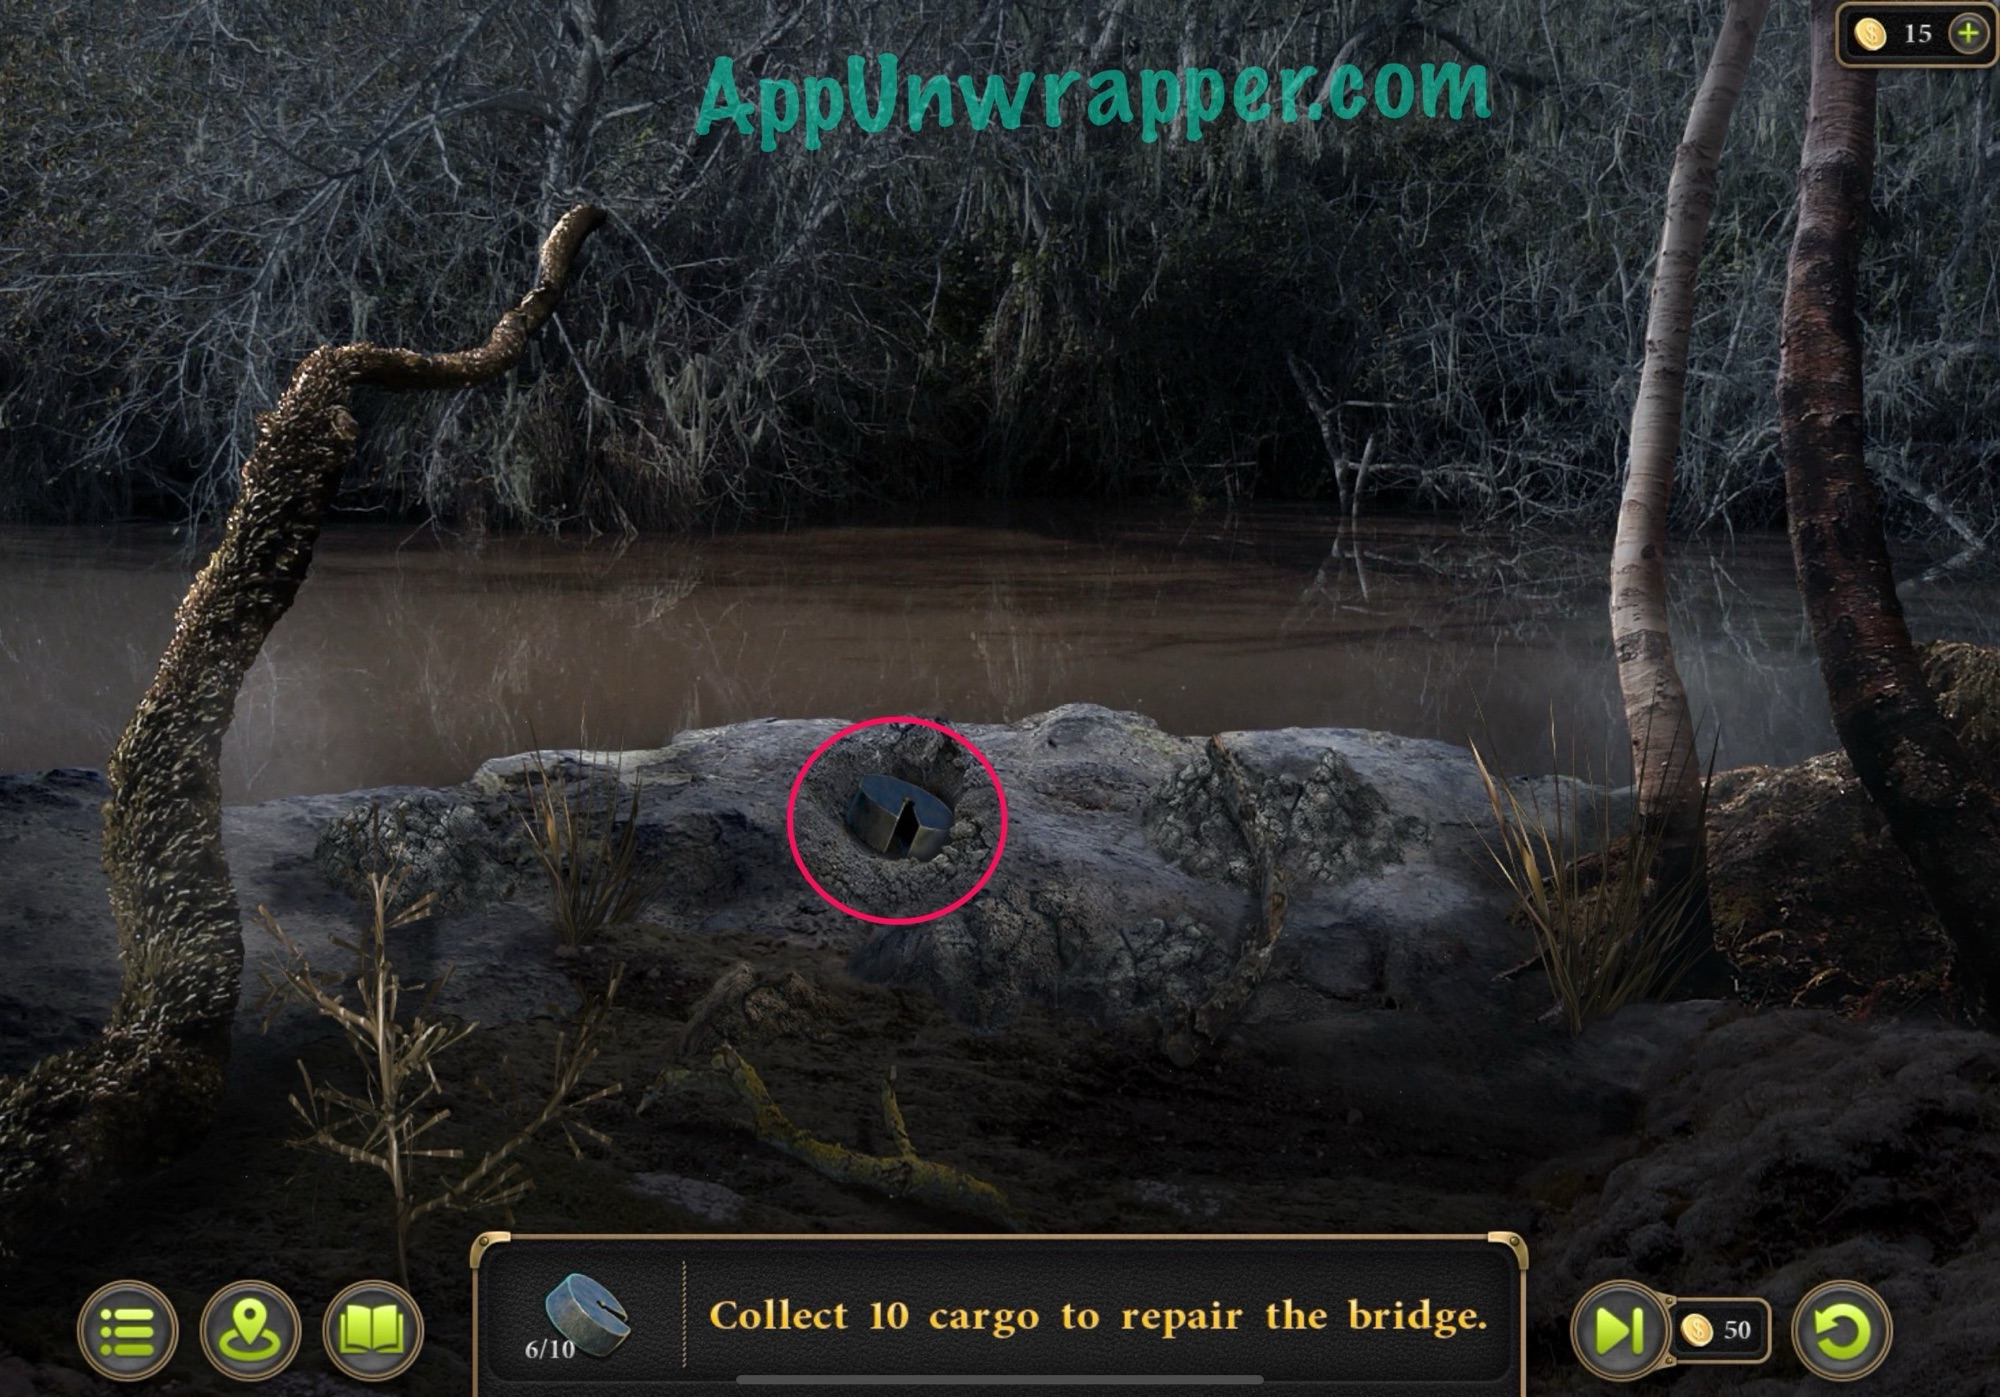
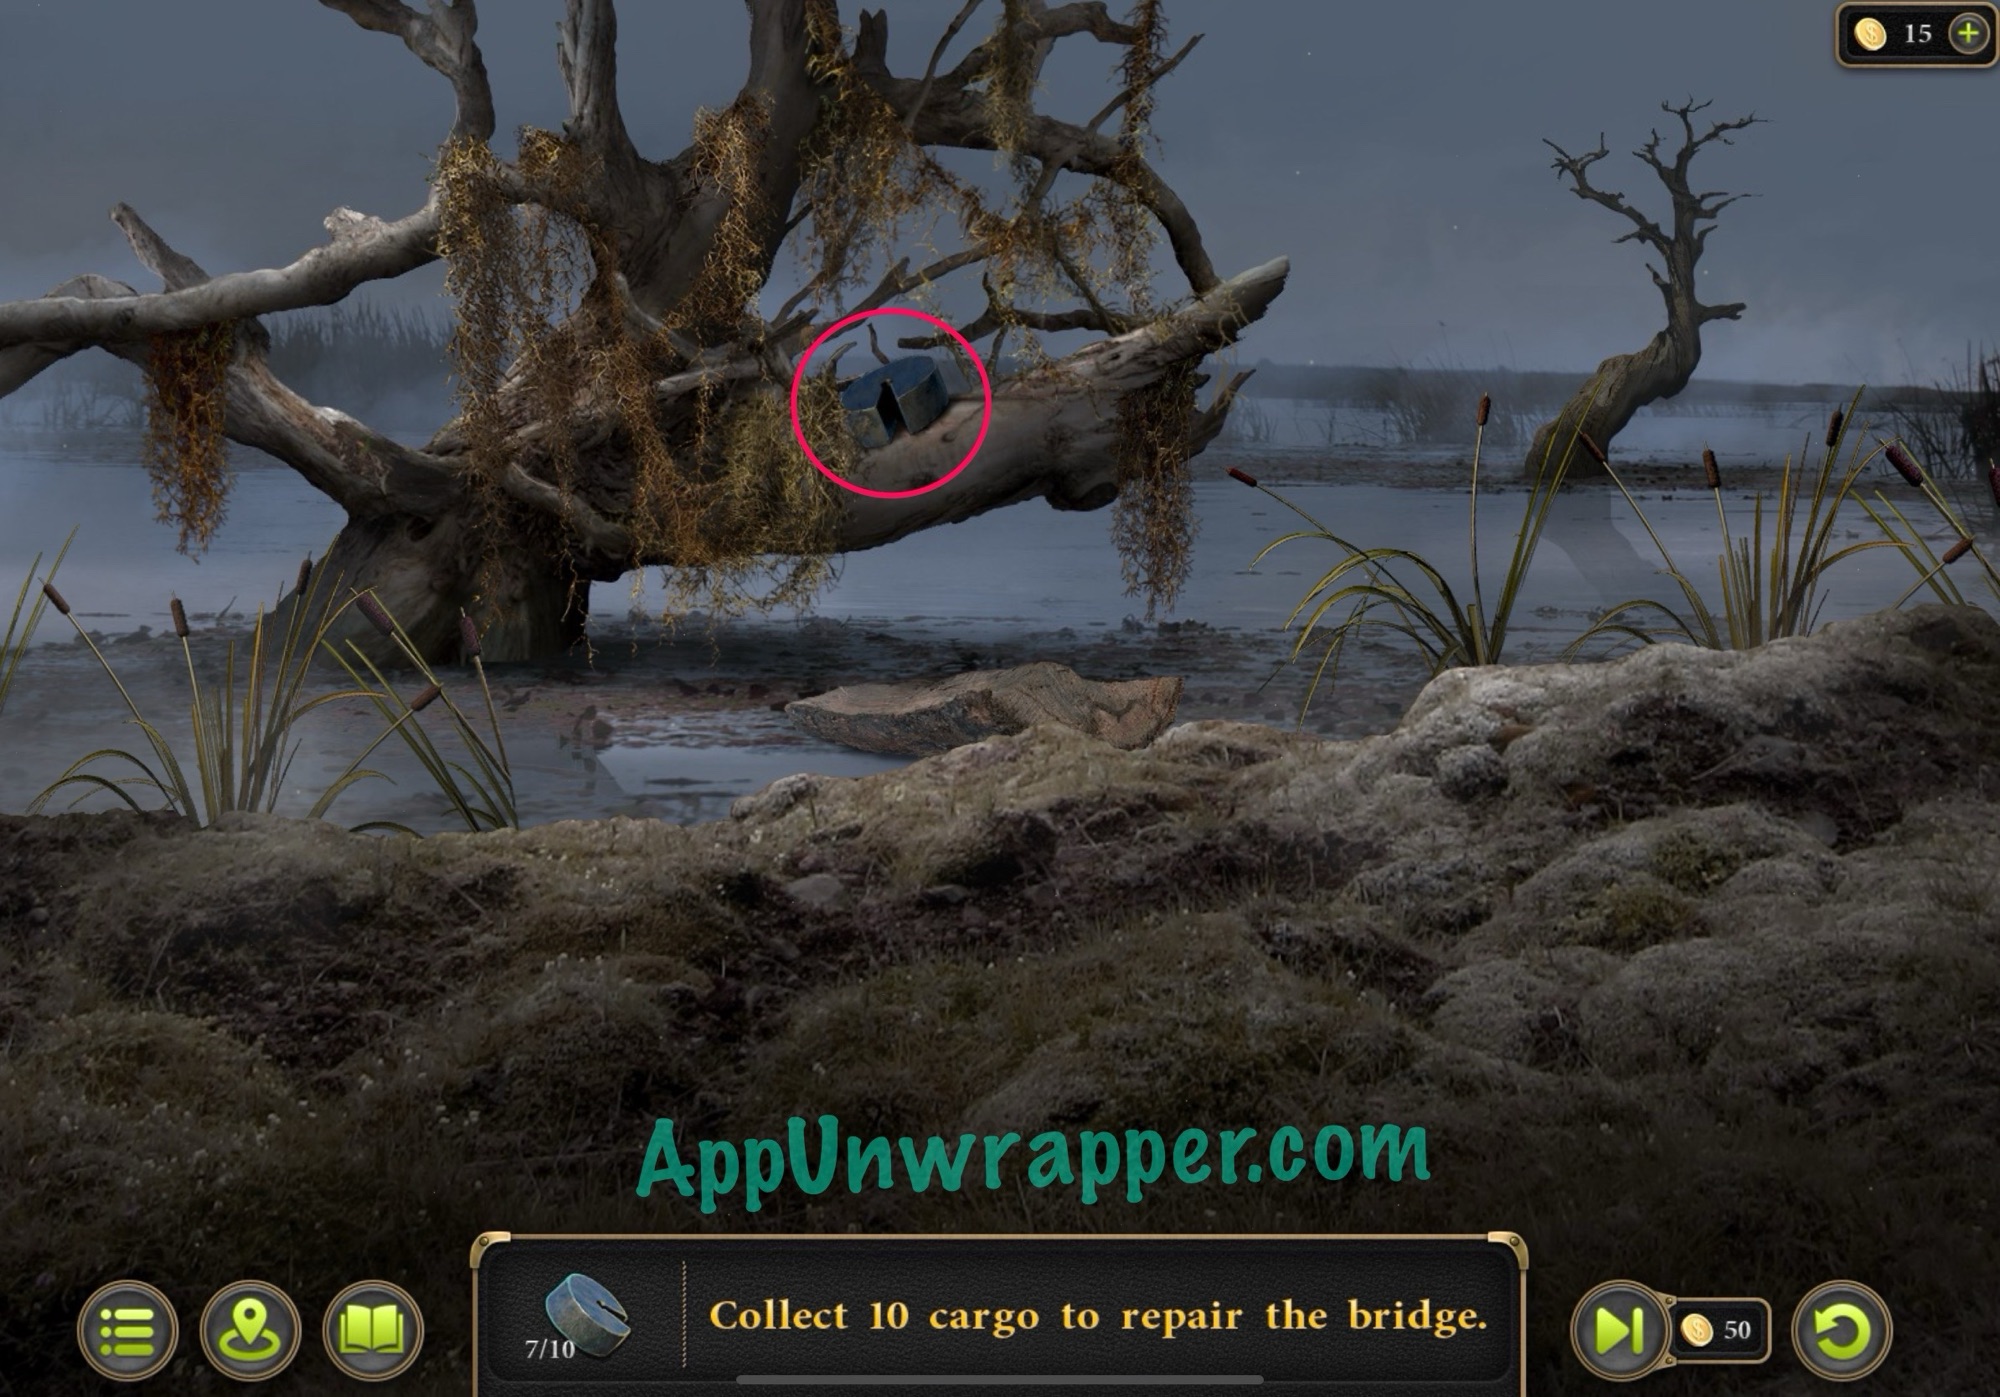
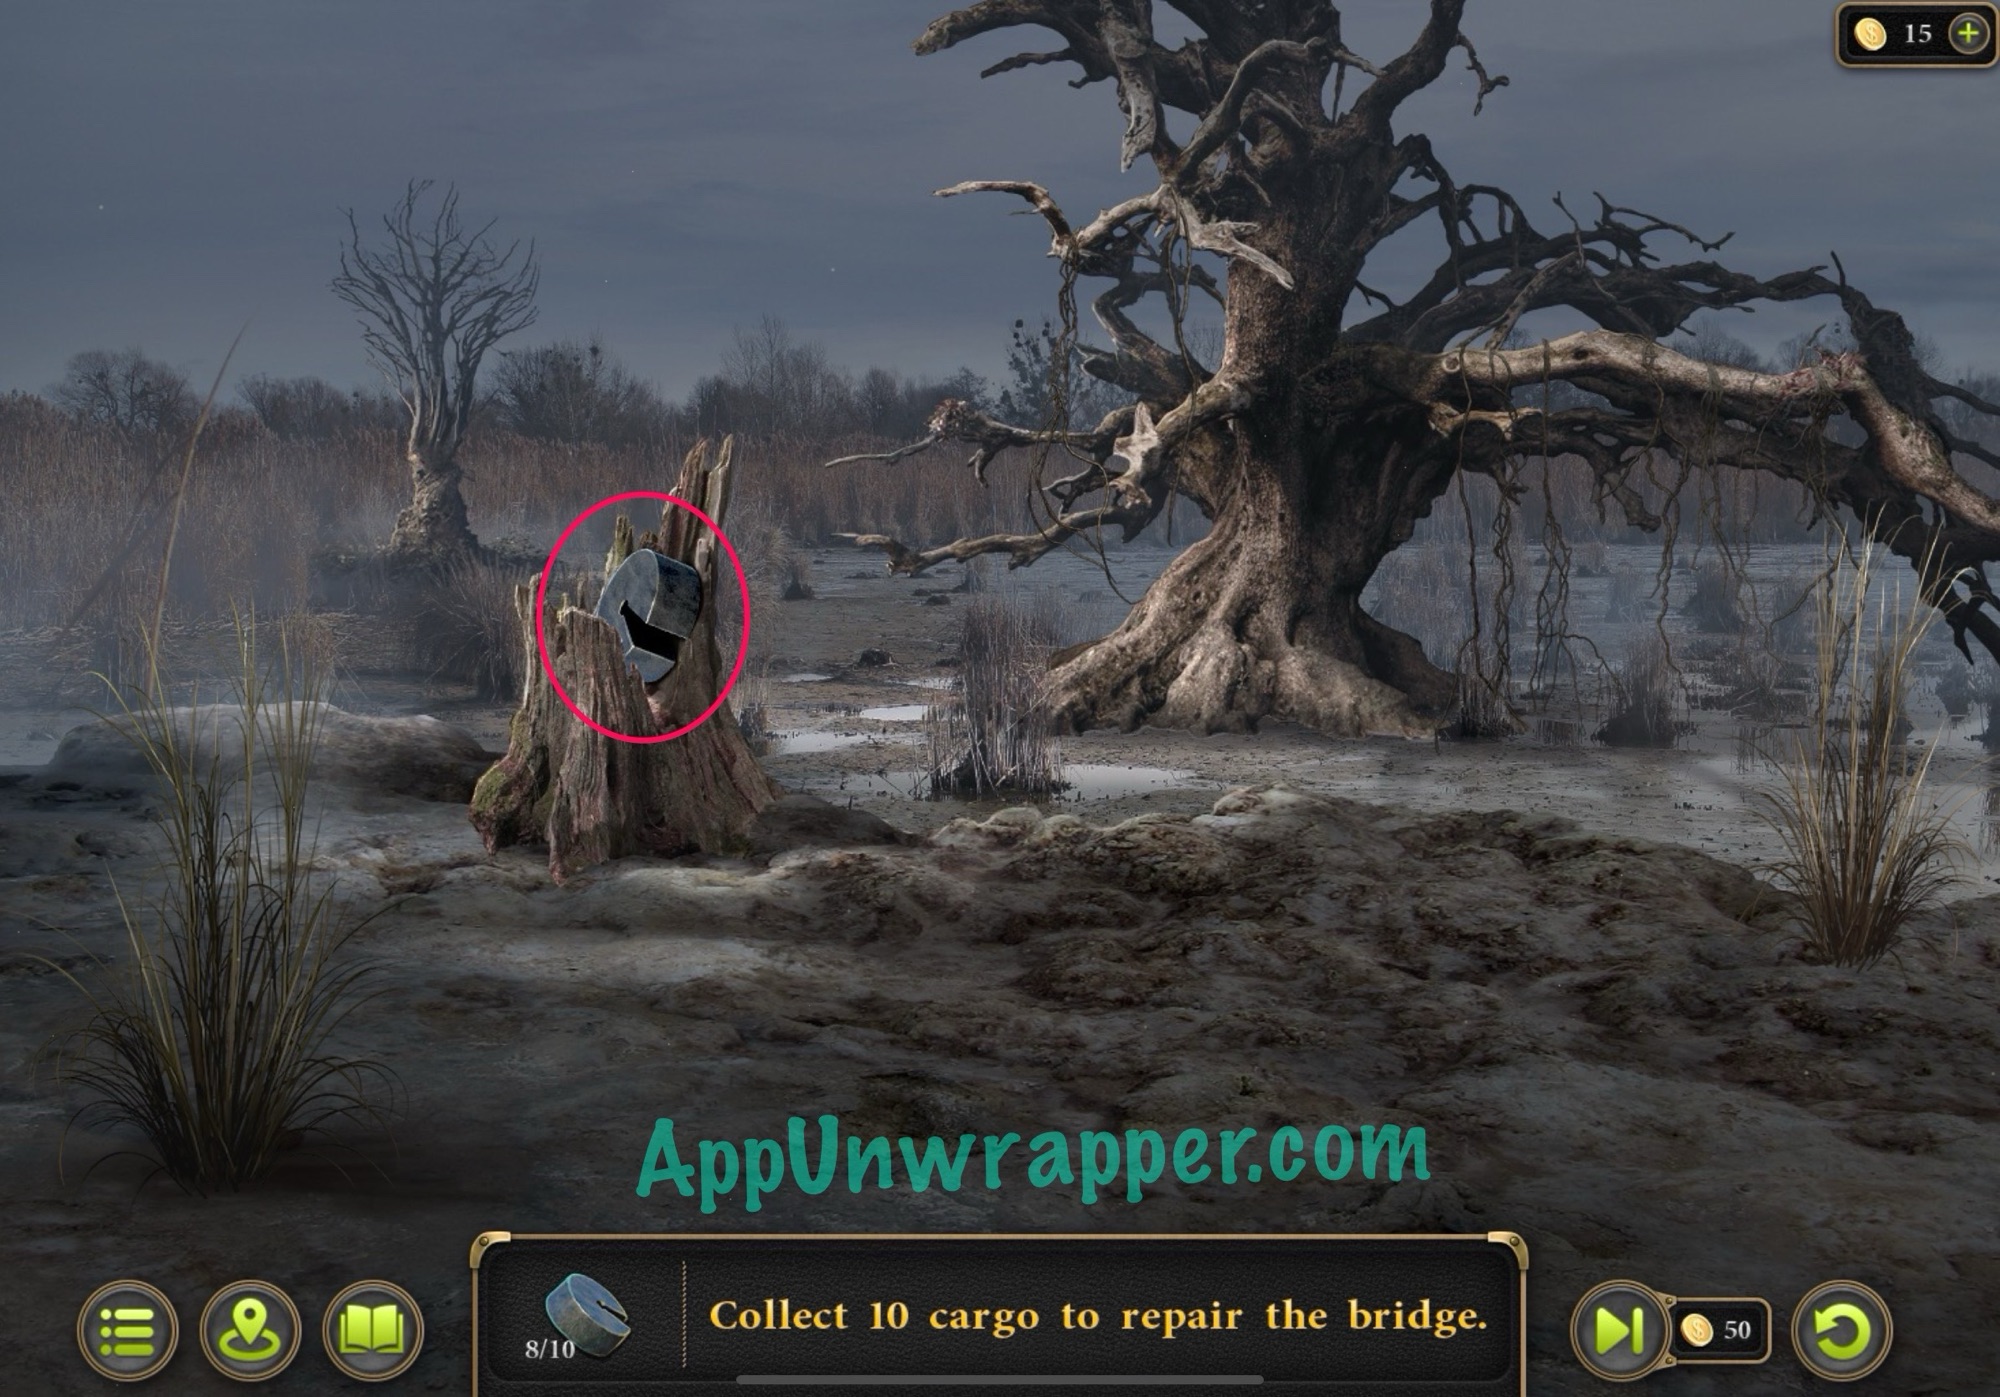
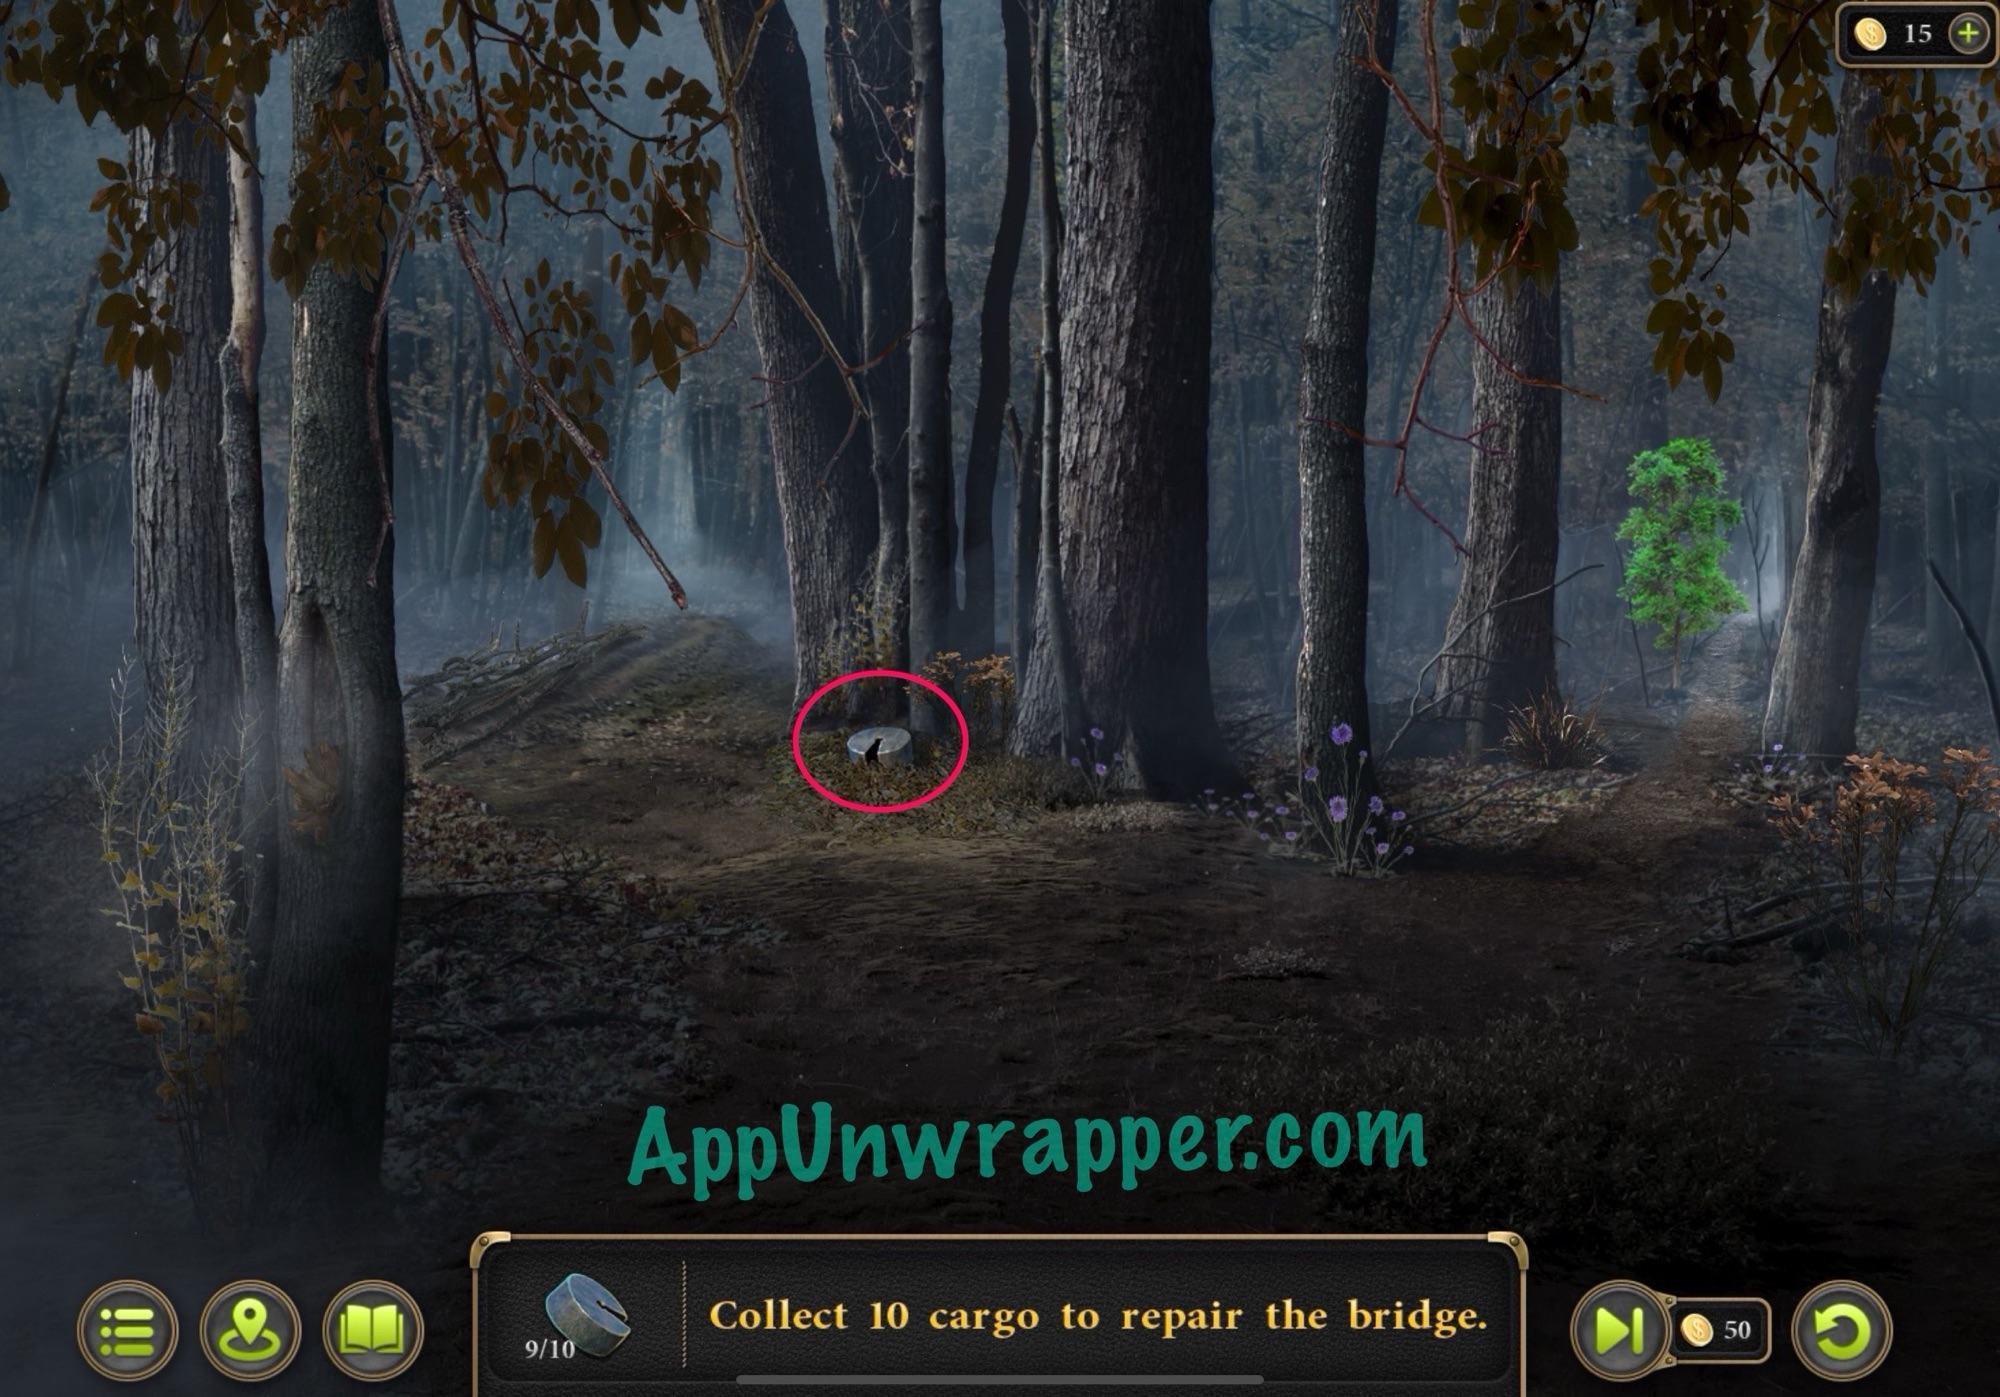
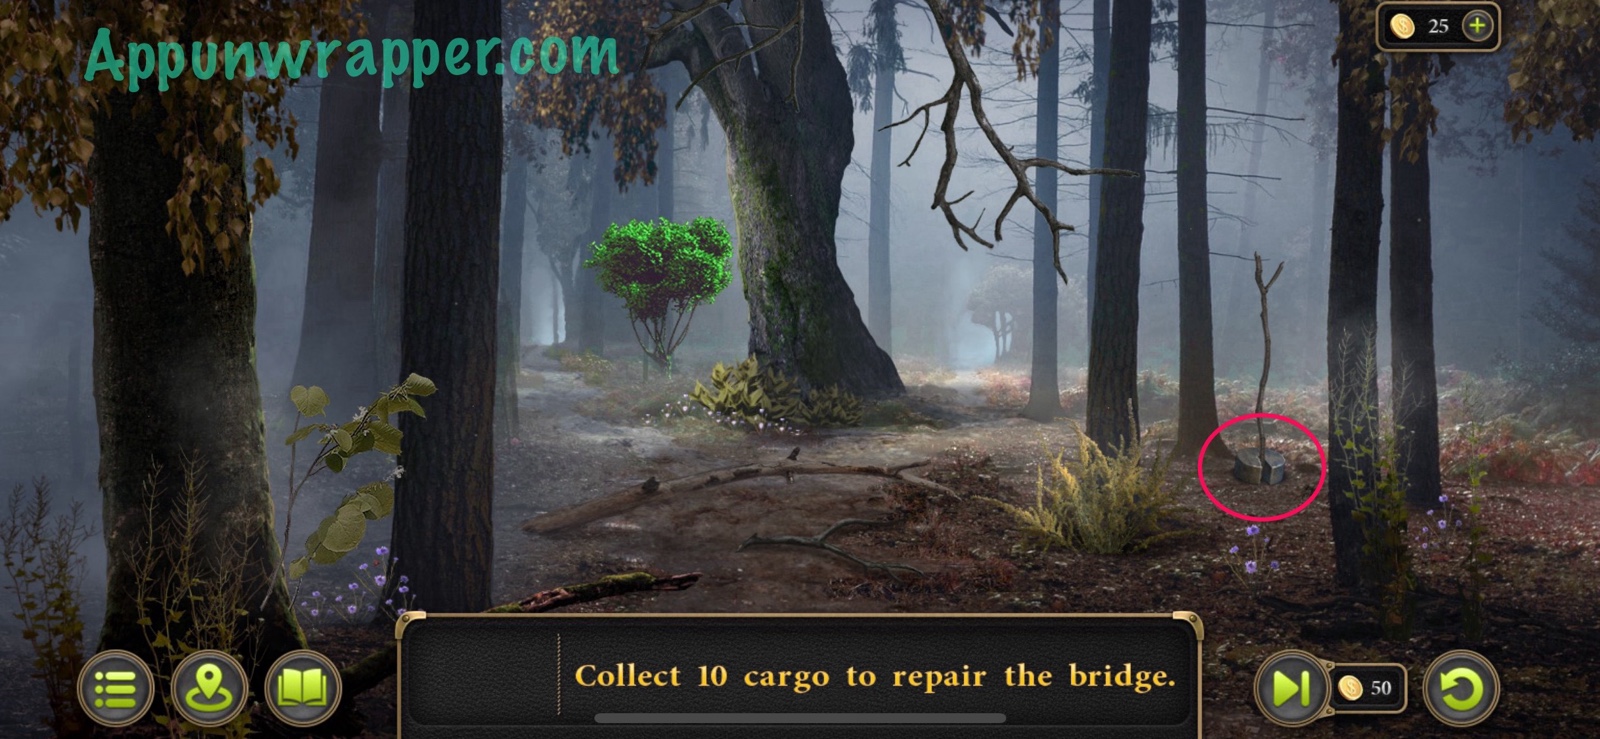
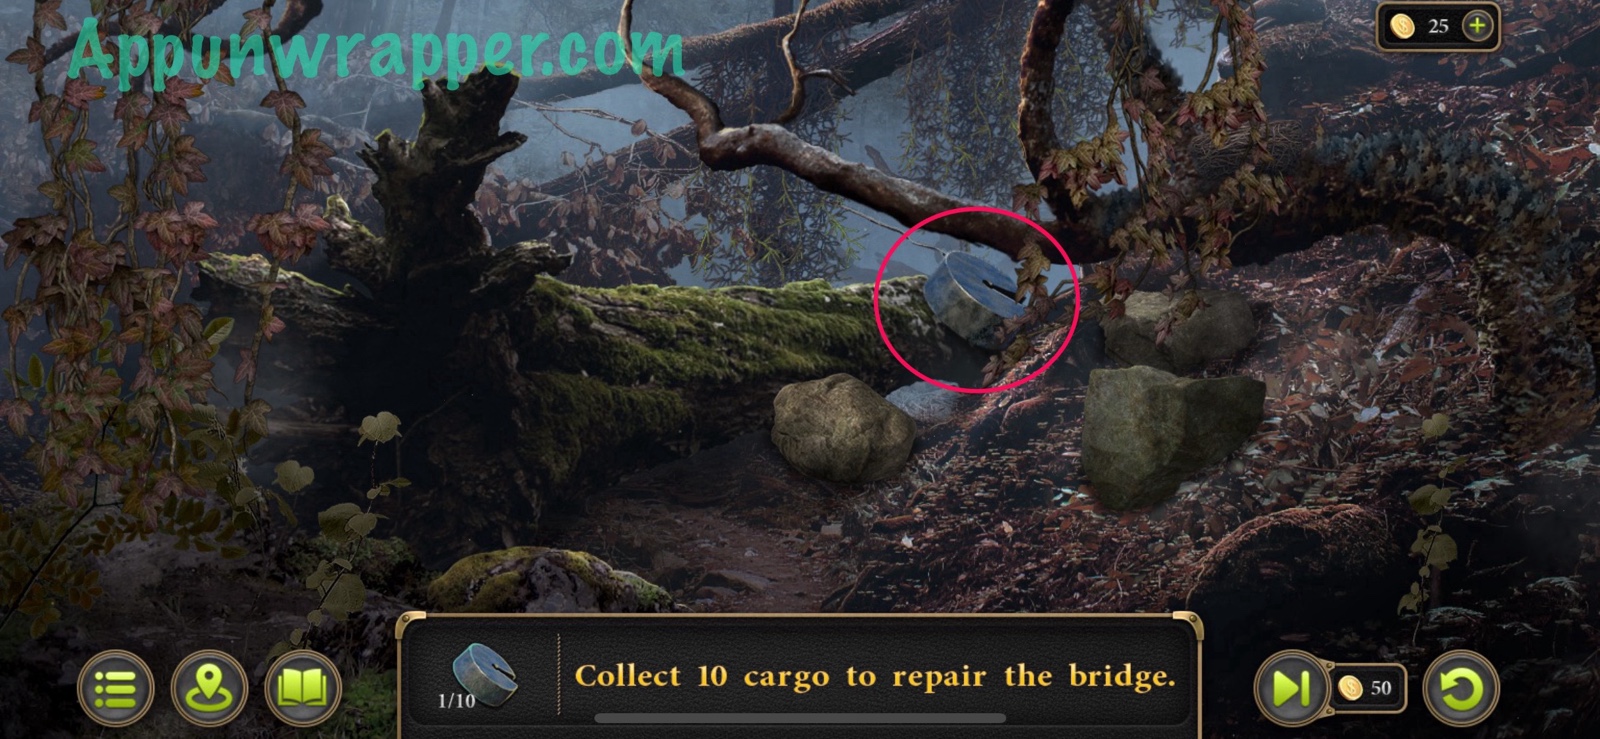
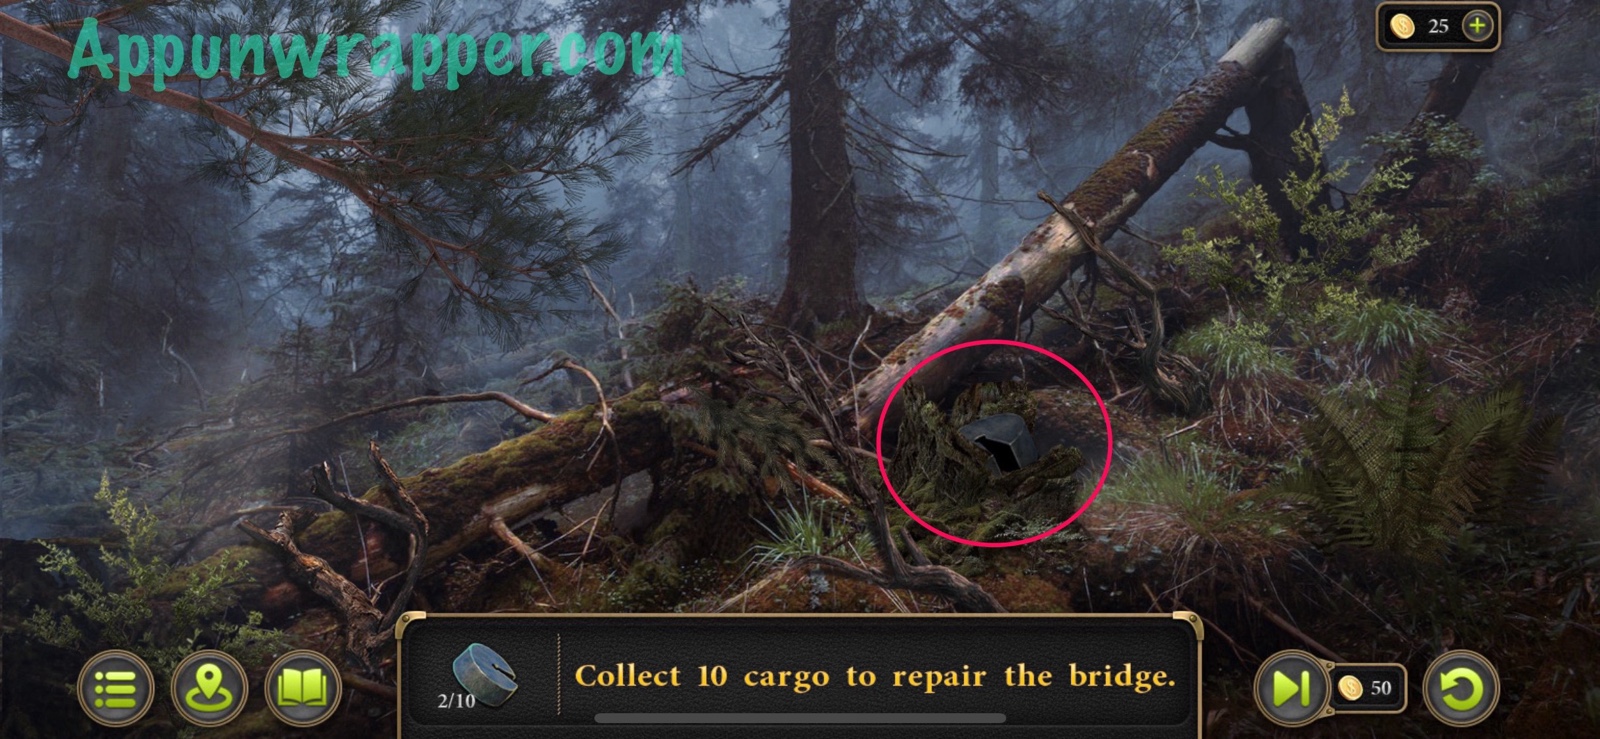
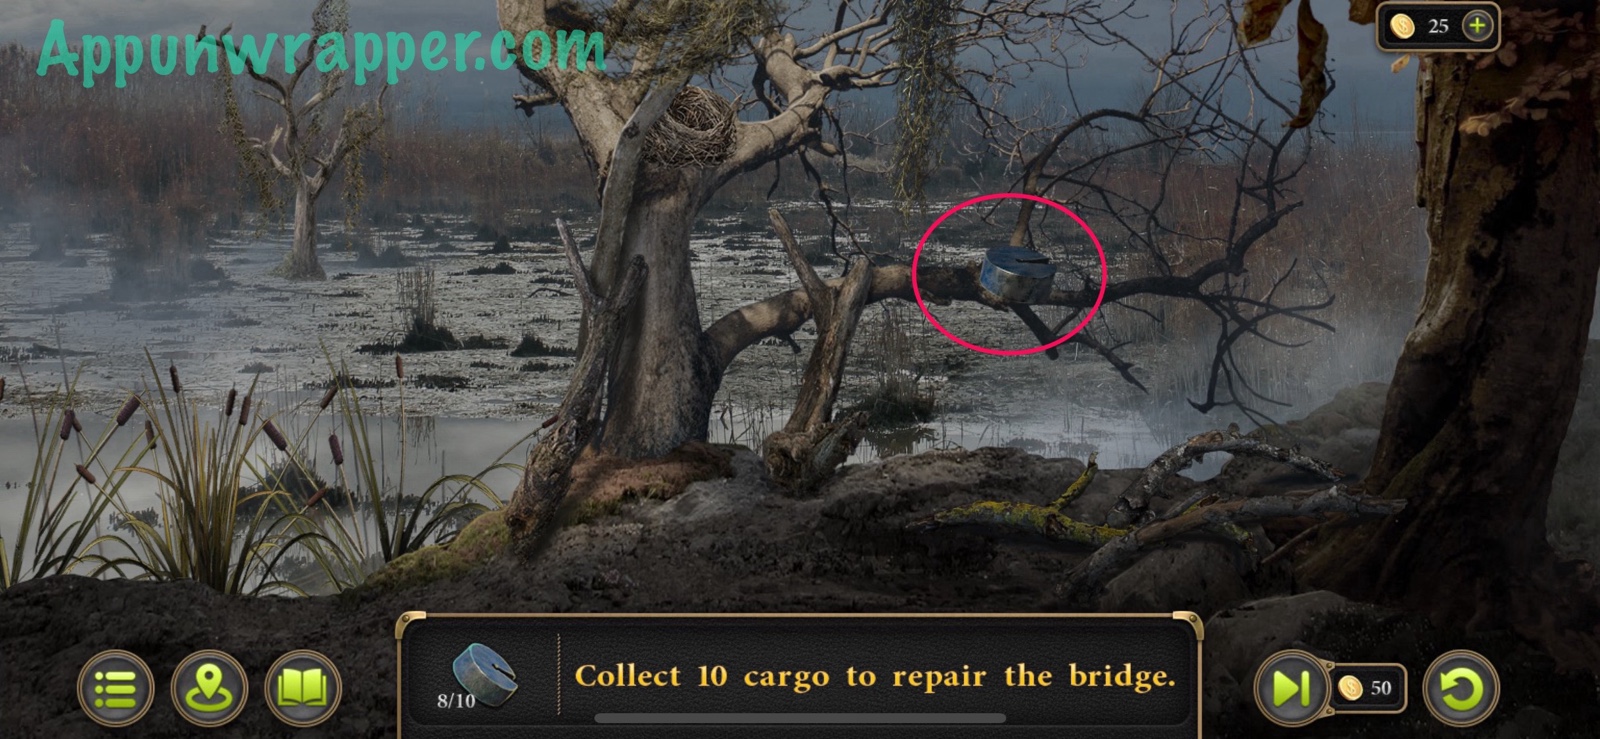
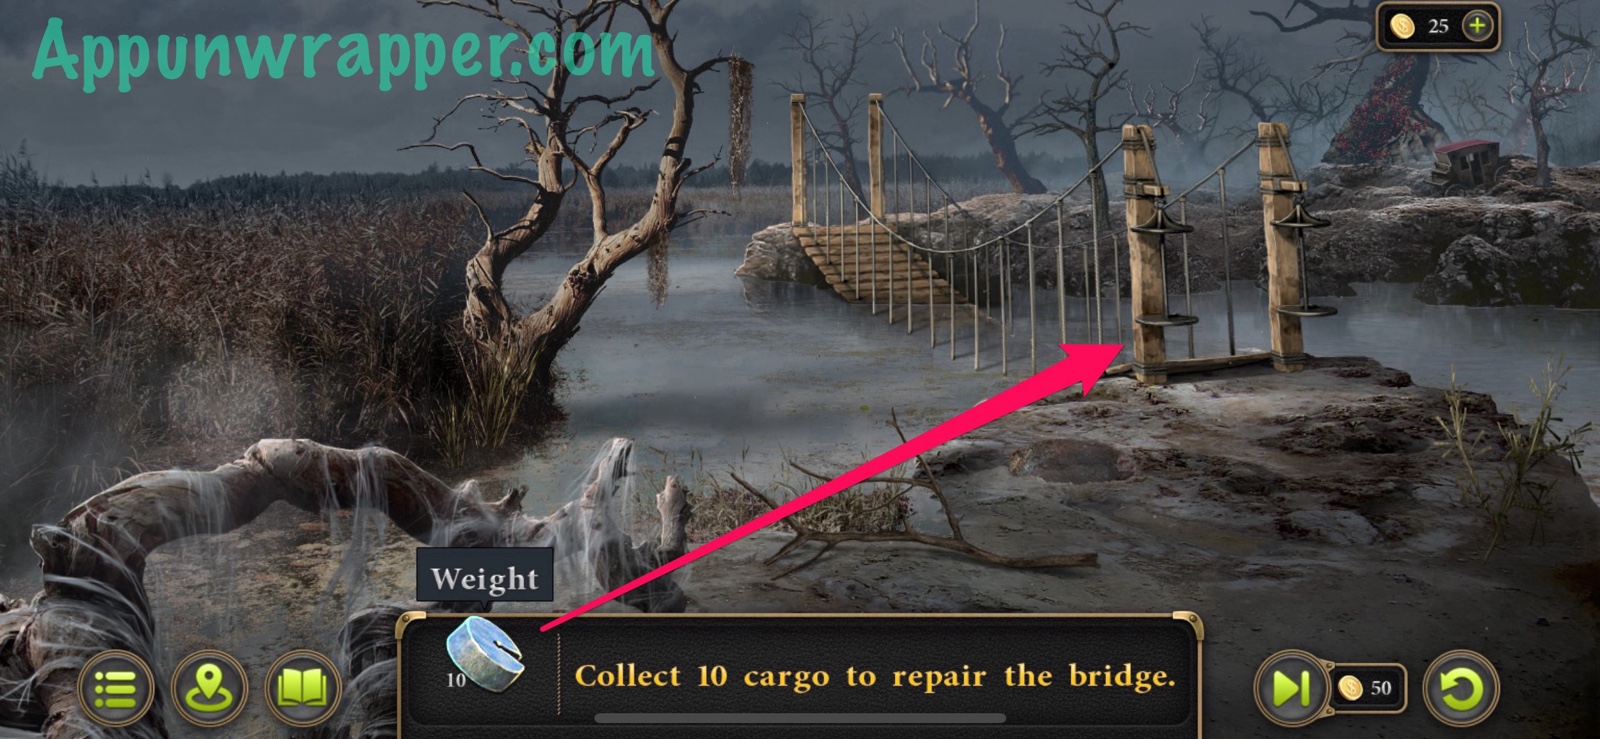
96. When you get to the end, there’s a sunken bridge. You need backtrack around the forest to find 10 Cargo (or weights) to fix the bridge. Apparently, even this can be different each game, so I’ll just show you any locations where I’ve found weights and you can see if yours are there. Sometimes you have to use objects in the environment to reach a weight, like a rock or stick. Basically, just tap everywhere in every one of the forest scenes until you have all ten. I don’t think you can find more than one in a single scene.
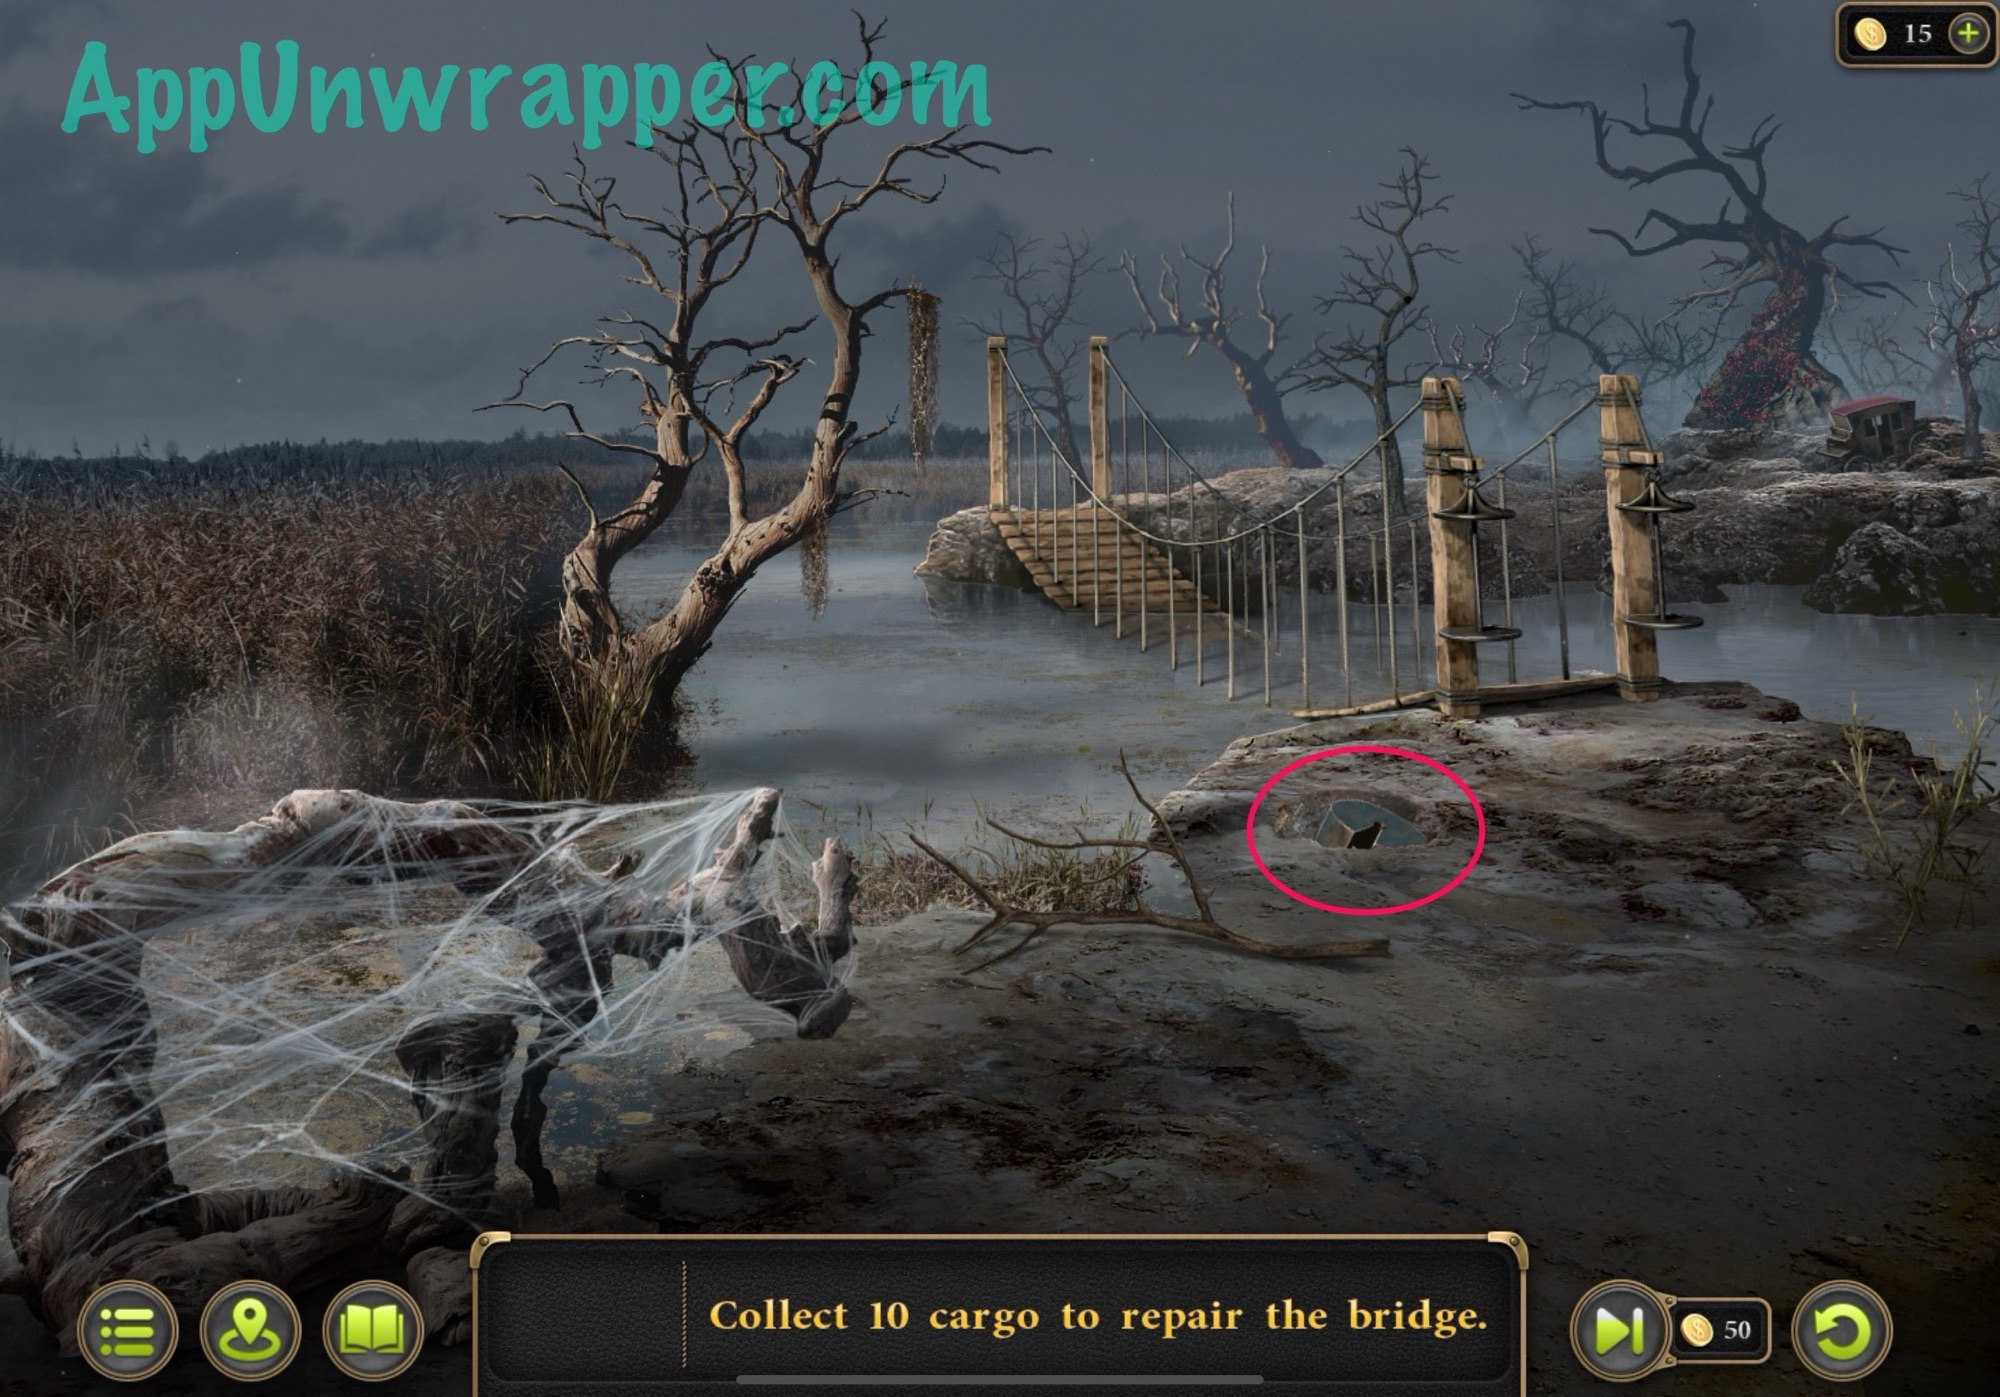
97. Go back to the bridge and place all 10 Cargo down so you can cross and get deeper into the forest.
New task: Investigate the ritual. (File: Strange ritual)
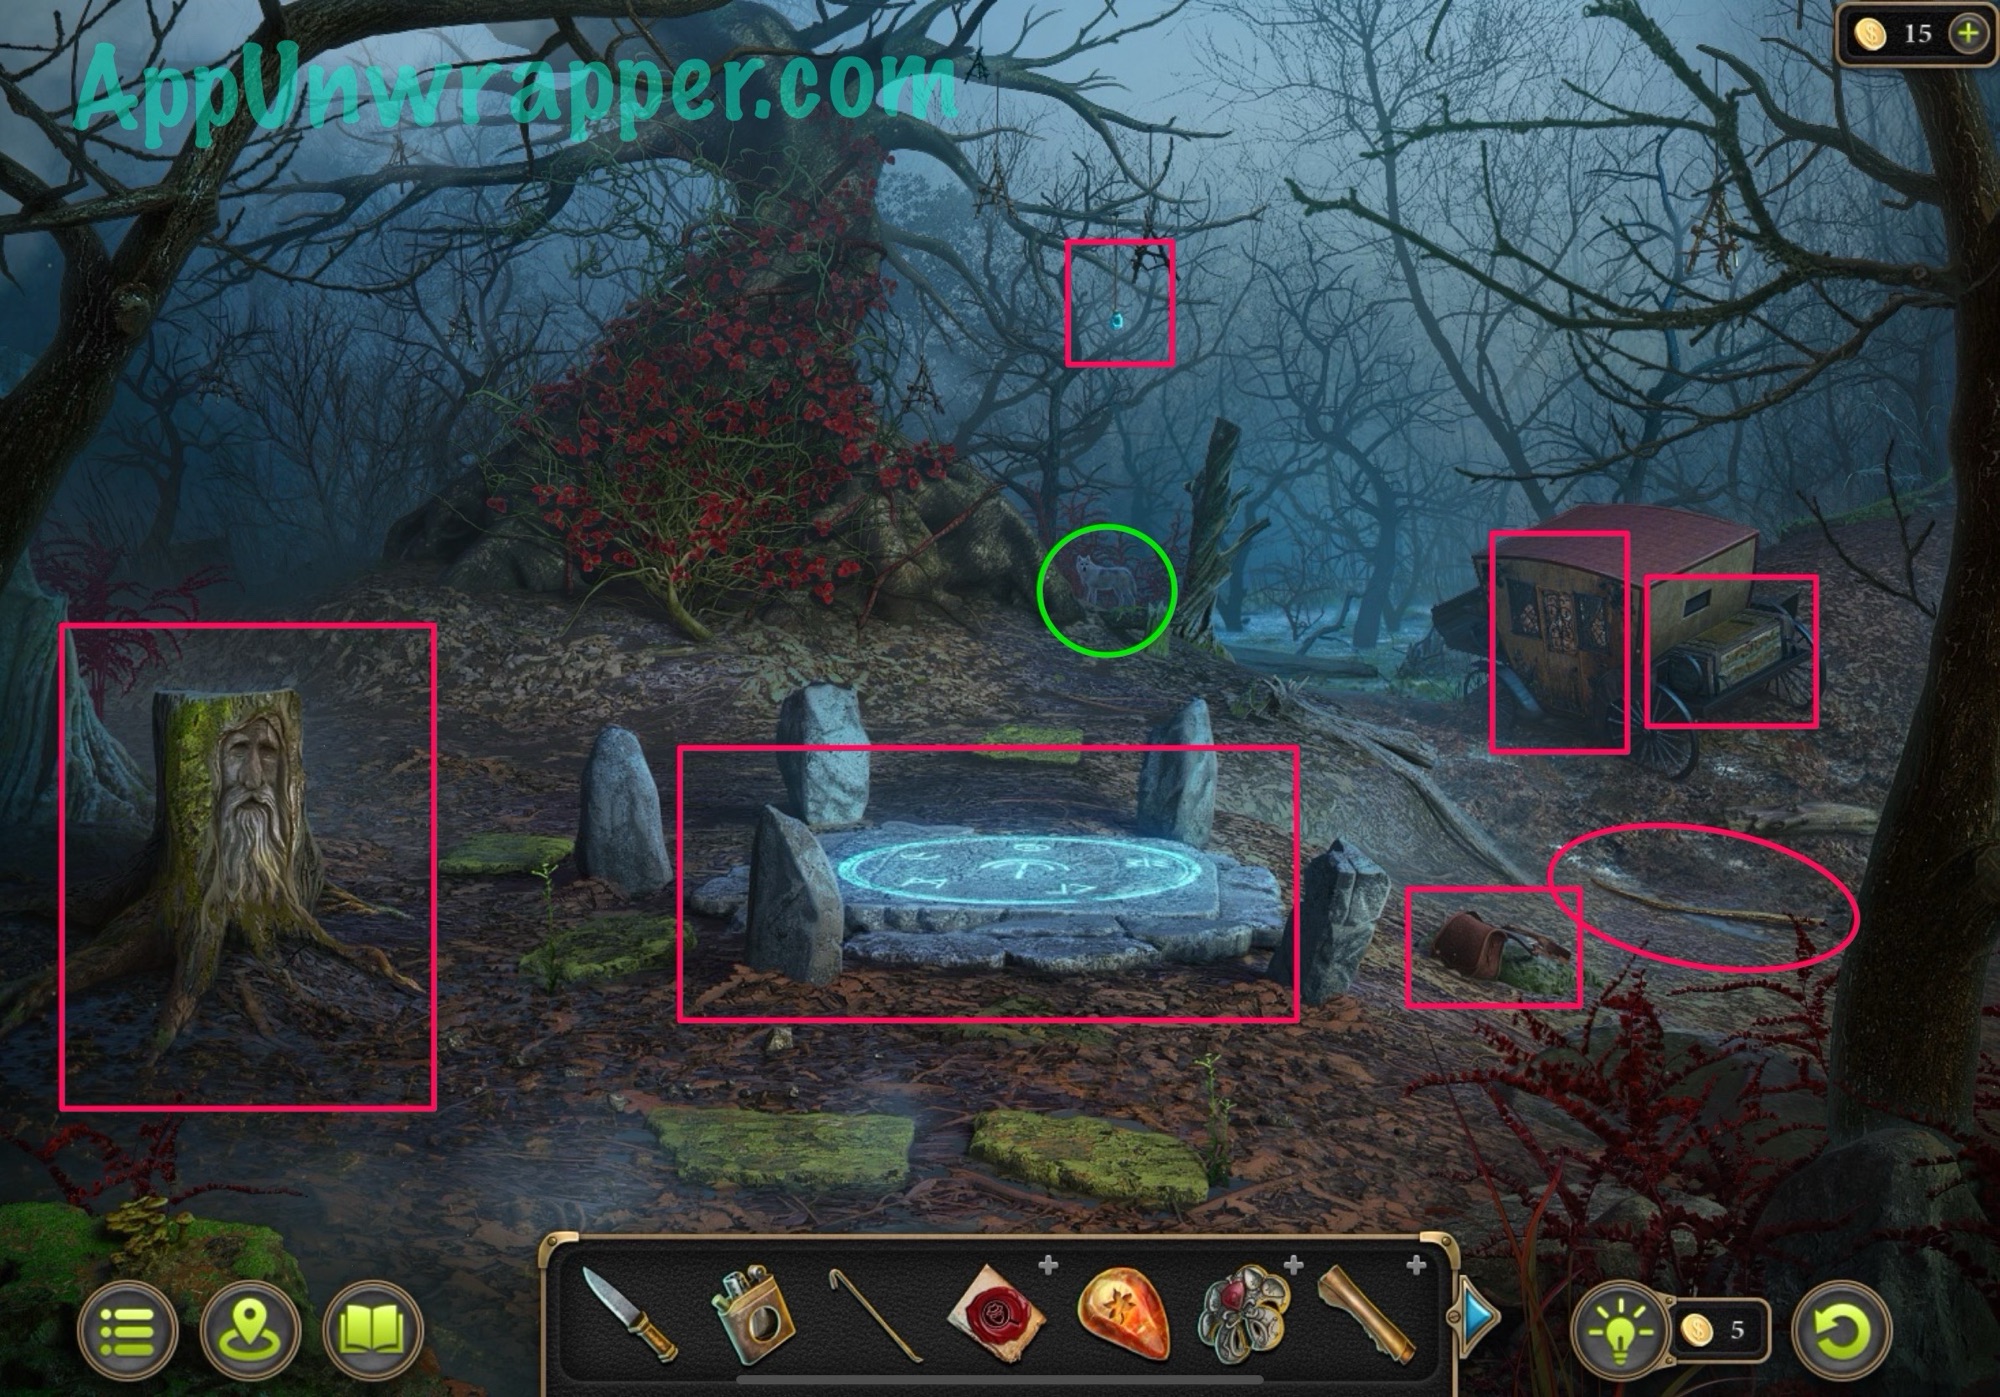
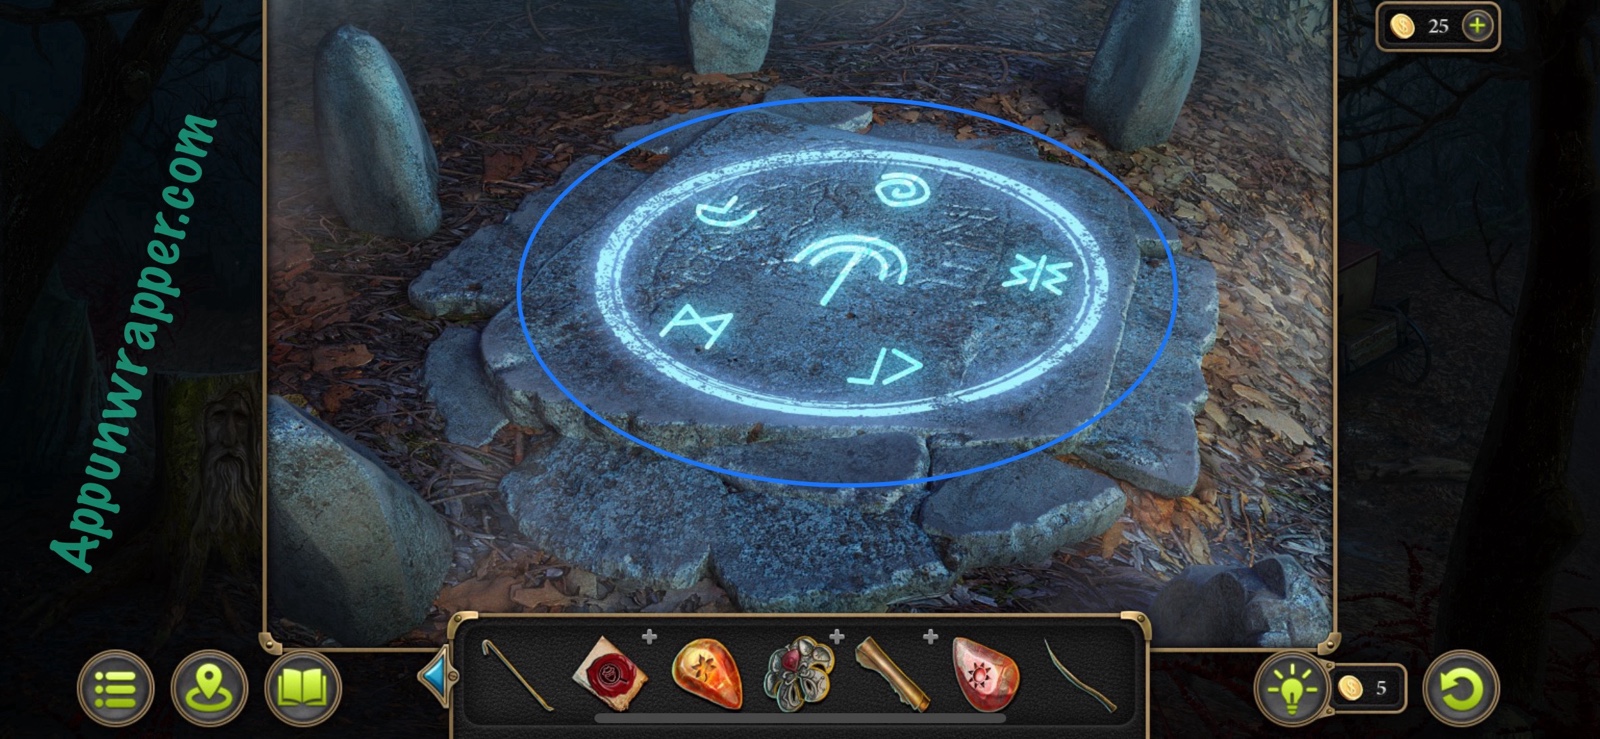
98. Grab the stick and also collect the morphing object that looks like a wolf/dog. Take notice of all the points of interest. There’s the circle with symbols, a log with a face on it, a carriage door and carriage trunk, a bag, and a pendant hanging from a tree.
Collection: Morphing object of wolf/dog. (15/49)
99. Let’s start with the circle on the ground. Tap on it and collect it as evidence.
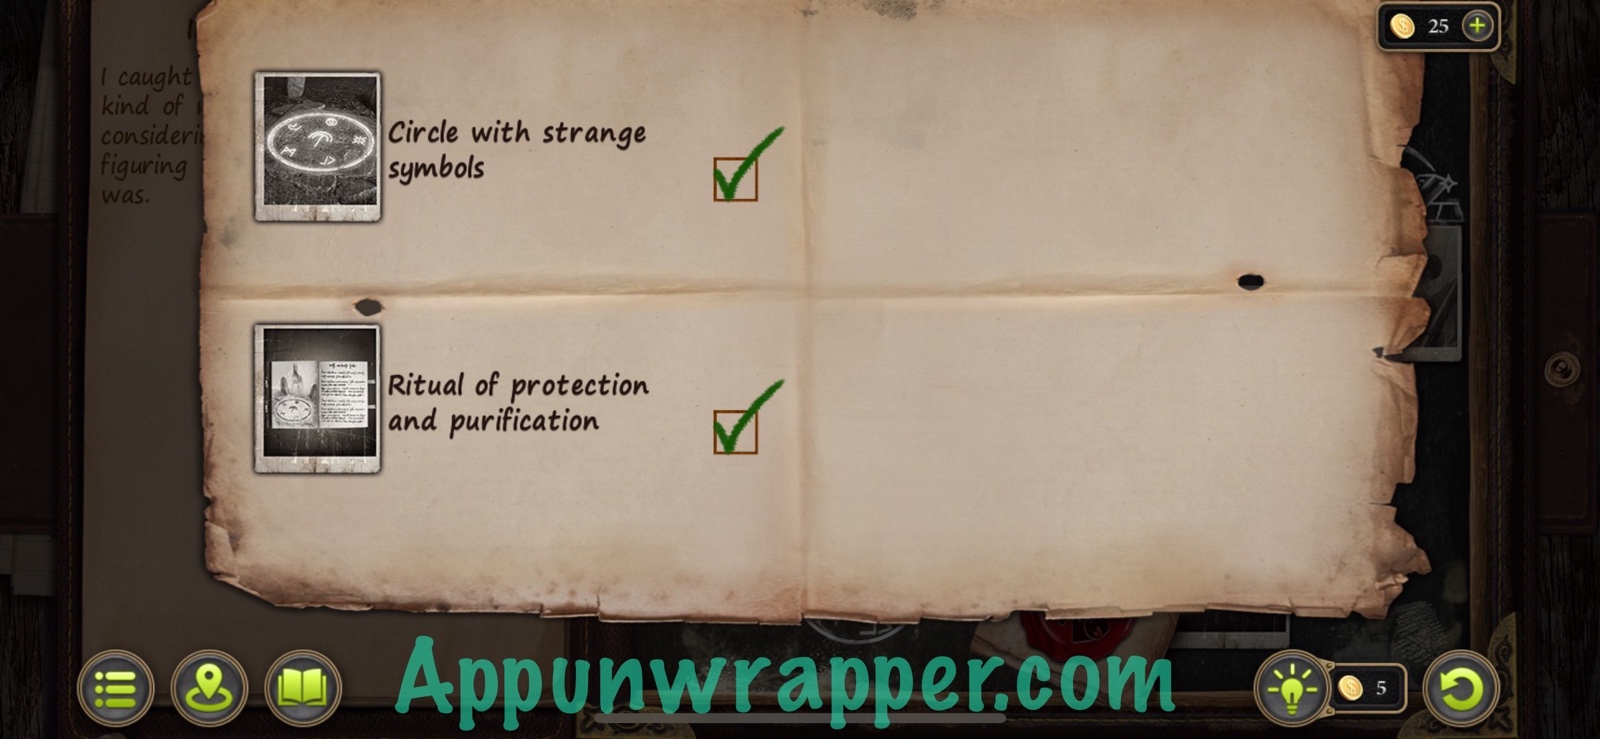
Evidence: Circle with strange symbols. (Strange ritual 1/2)
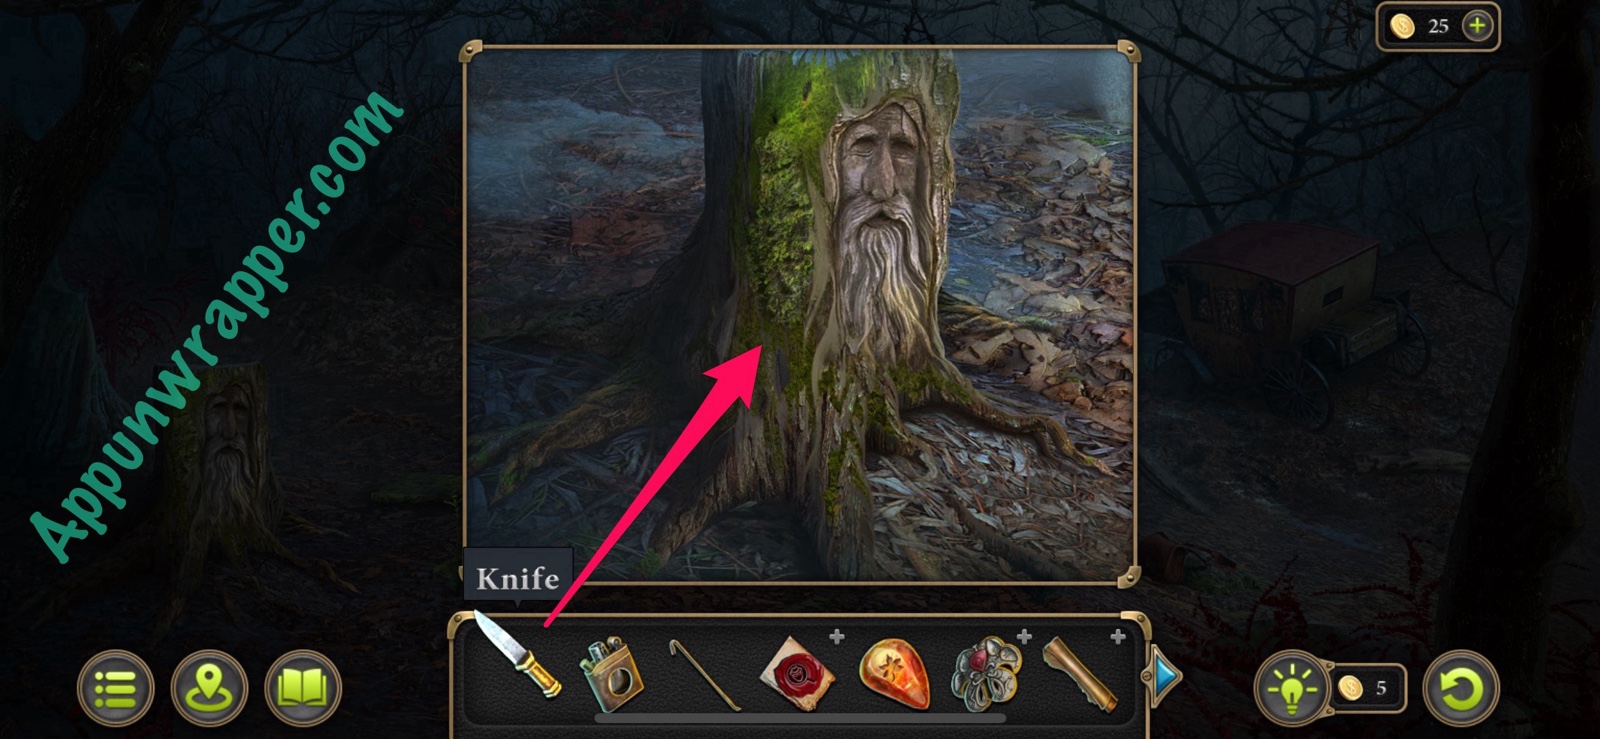
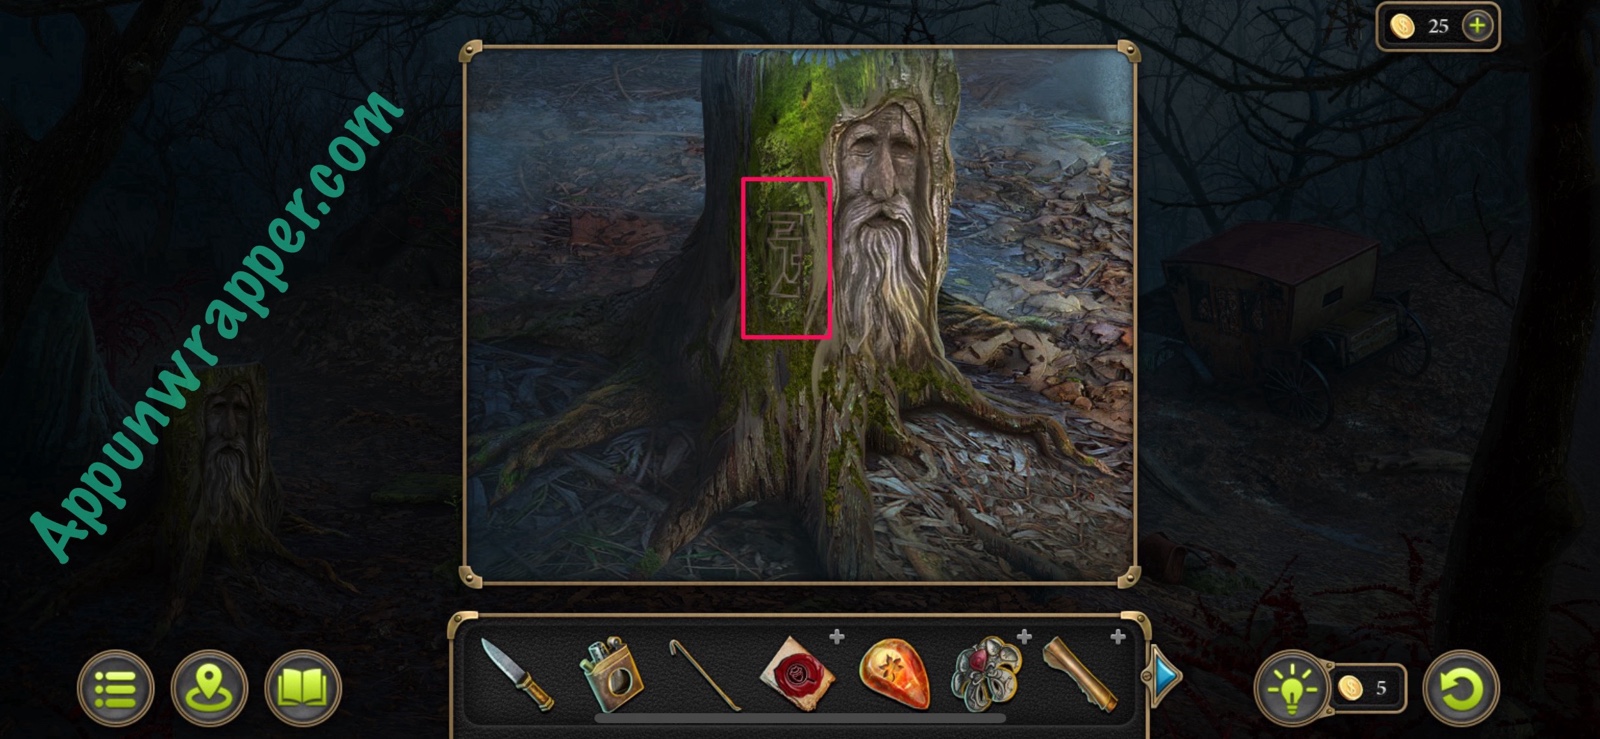
100. Next, examine the tree trunk. Use your knife to scrape off some of the moss, revealing more symbols to be added to your scroll.
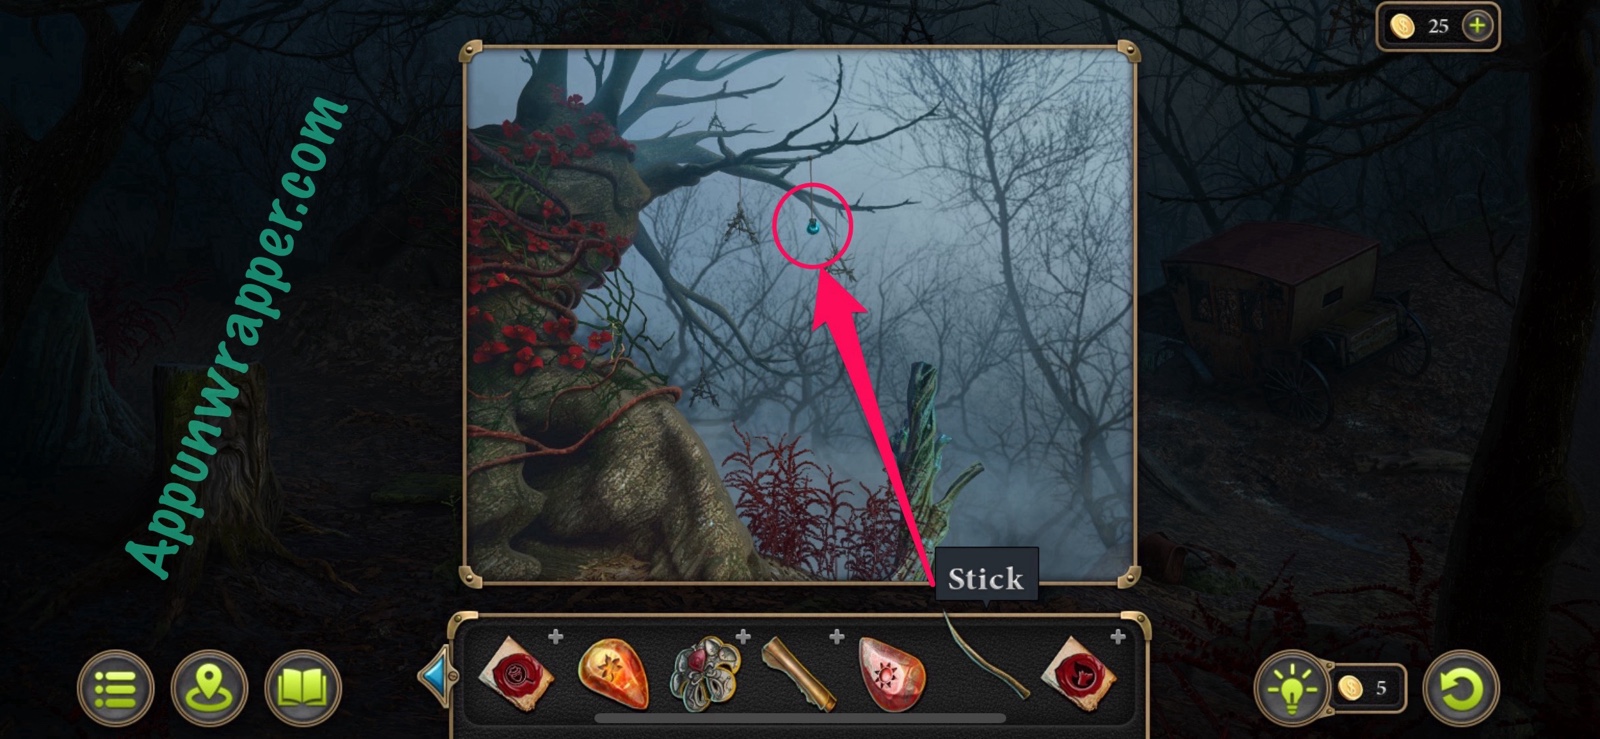
101. Now tap on the pendant hanging from the tree. Use the stick to reach it and get a Blue Stone.
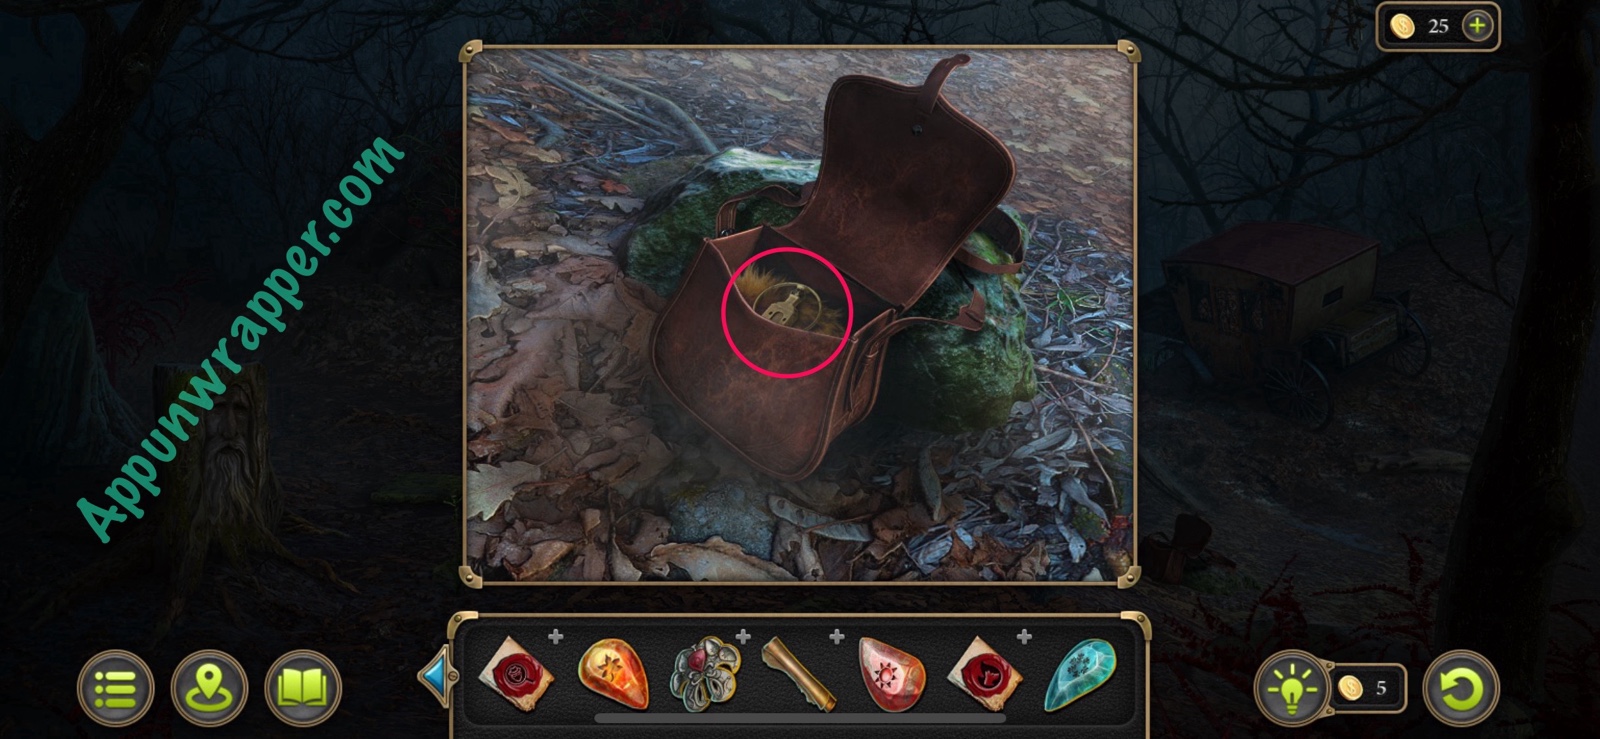
102. Next, open the bag and get the Figurine from inside.
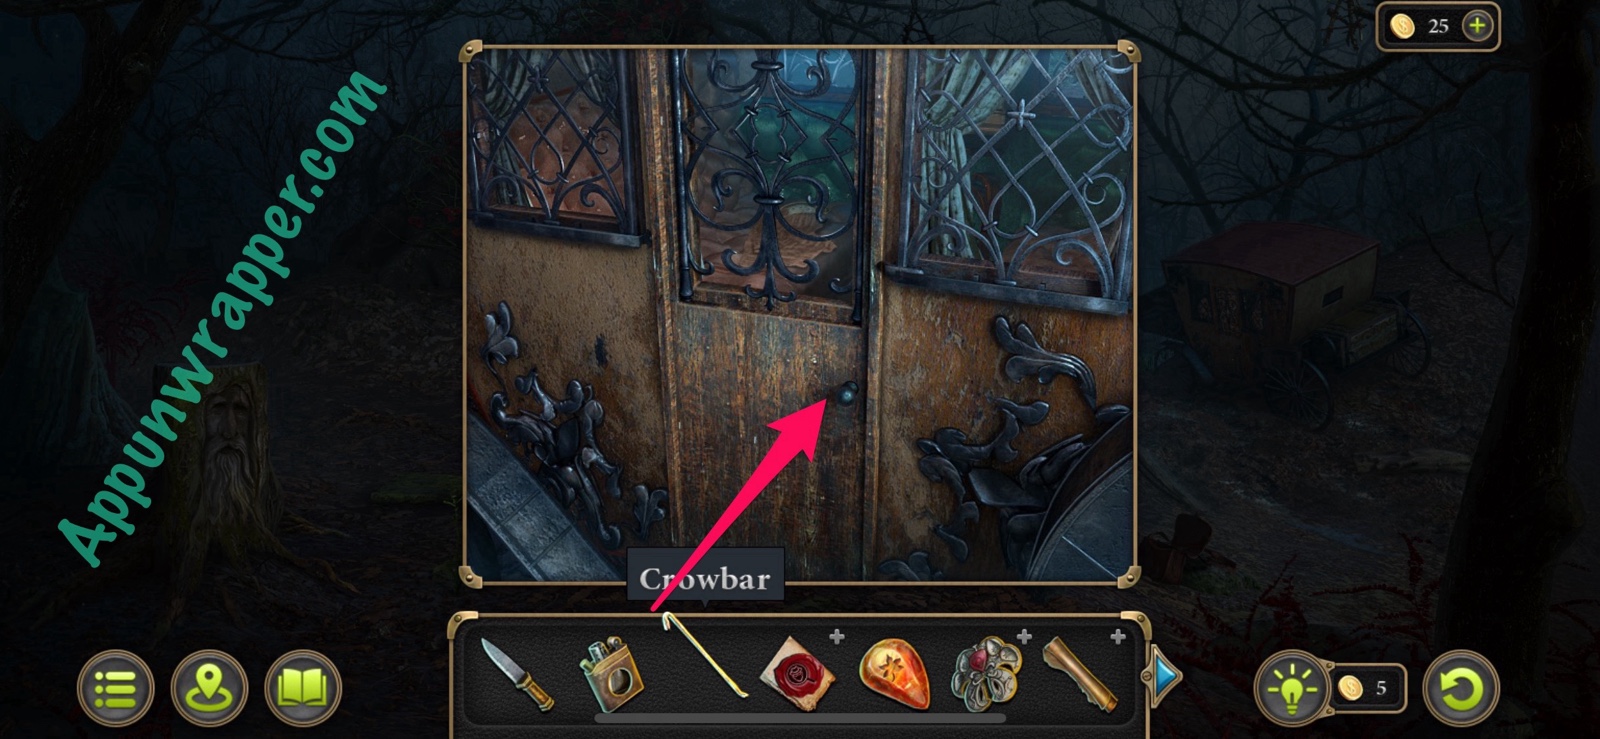
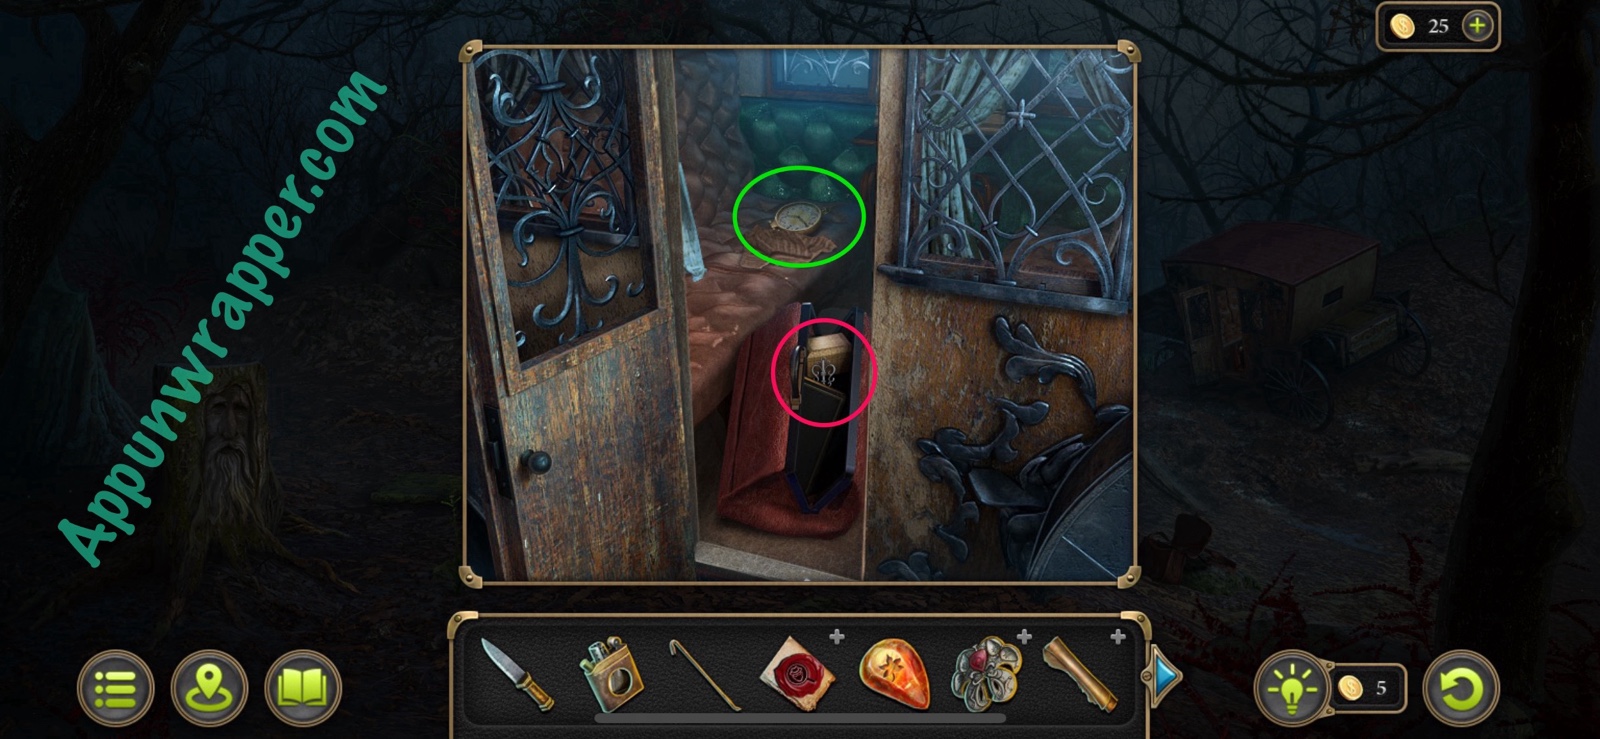
103. Inspect the carriage door. Use the crowbar to pry it open. Then open the bag and grab the Key. Also, look under the fabric for a pocket watch collectible.
Collection: Pocket watch. (7/9)
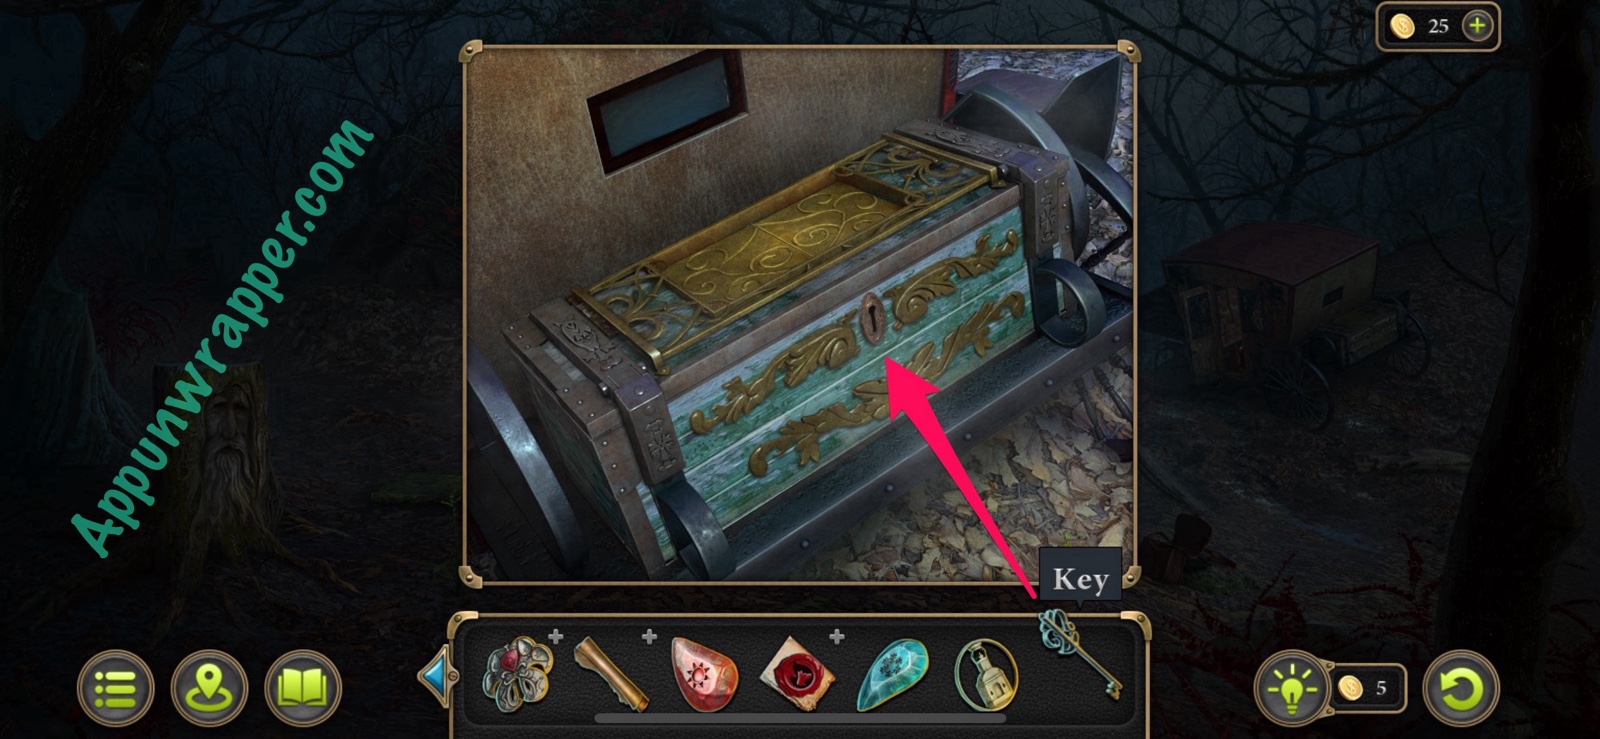
104. Now look at the trunk in back of the carriage. Use the key to unlock it and reveal another puzzle.
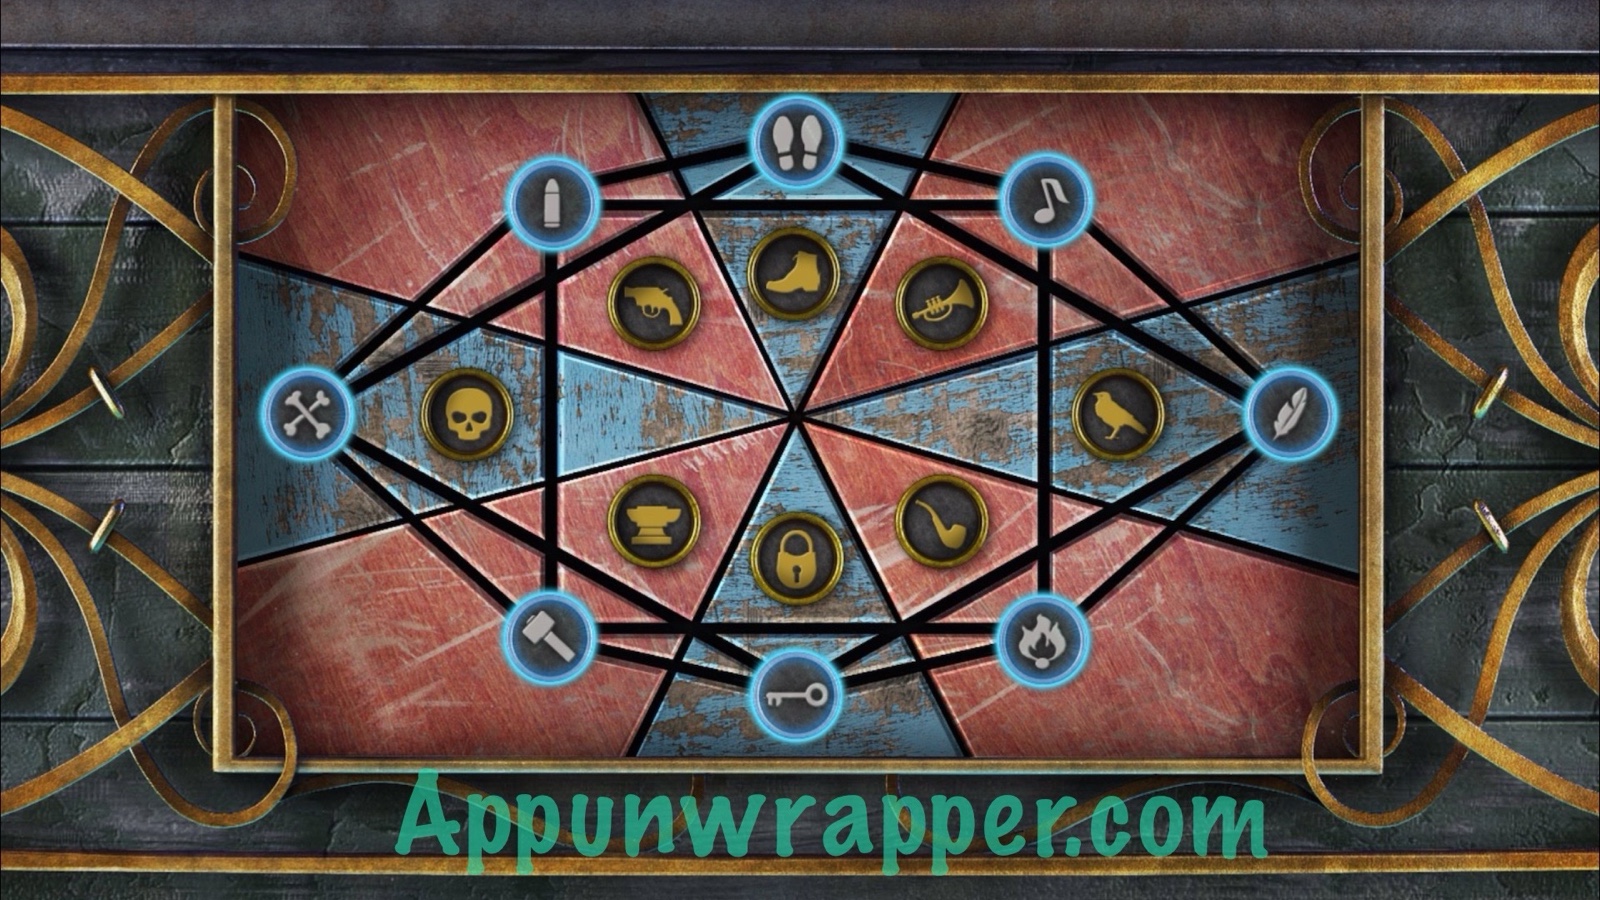
105. For this puzzle, you basically have to match different associations by tapping the symbols to rotate three connecting ones at a time. I made some videos, but again, it starts differently each time. But the end result should go:
Skull + Bones
Gun + Bullet
Shoe + Footprints
Trumpet + Music Note
Bird + Feather
Pipe + Flame
Lock + Key
Anvil + Hammer
106. Take the Detail and Garden Trowel from inside.
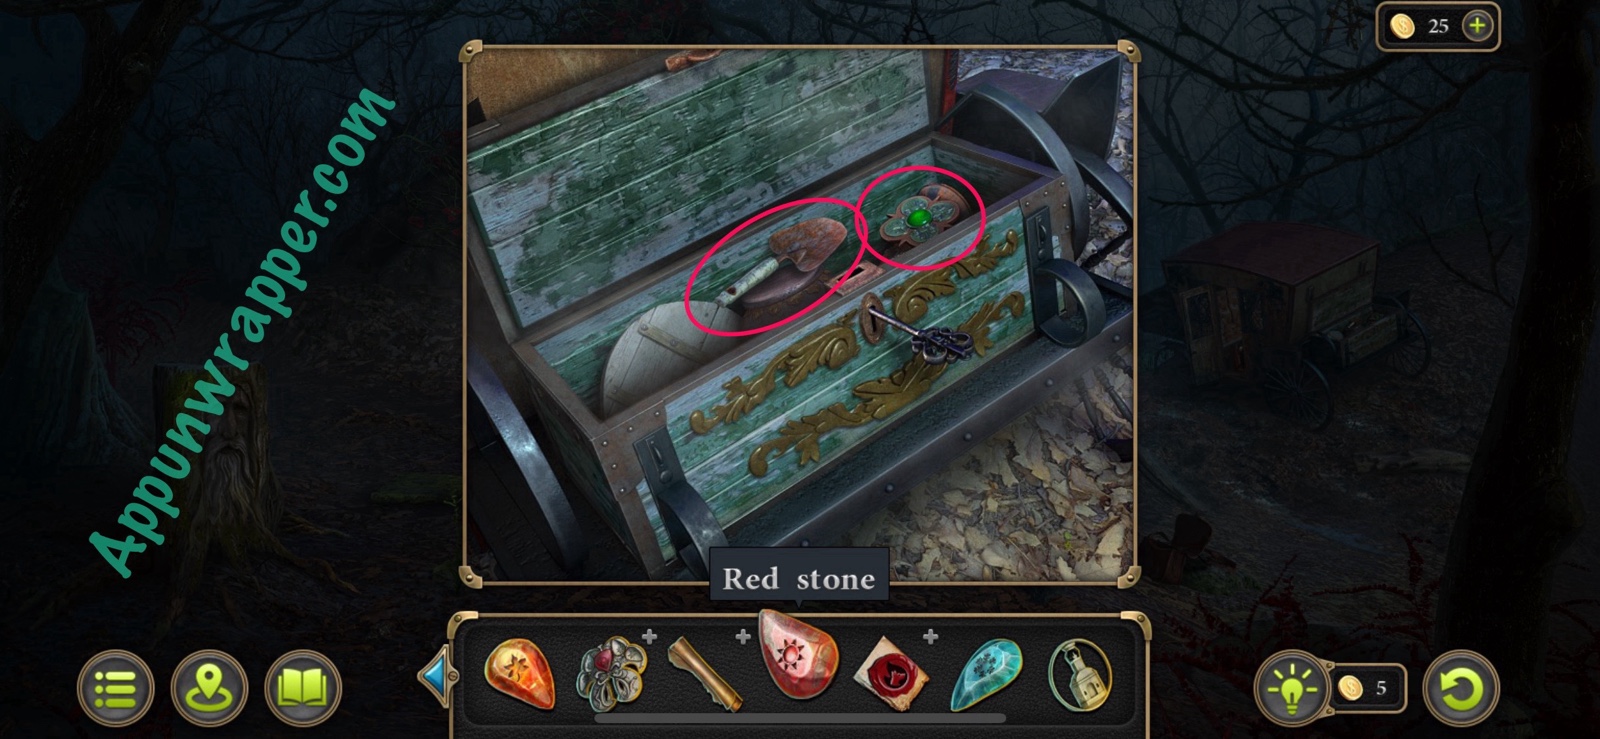
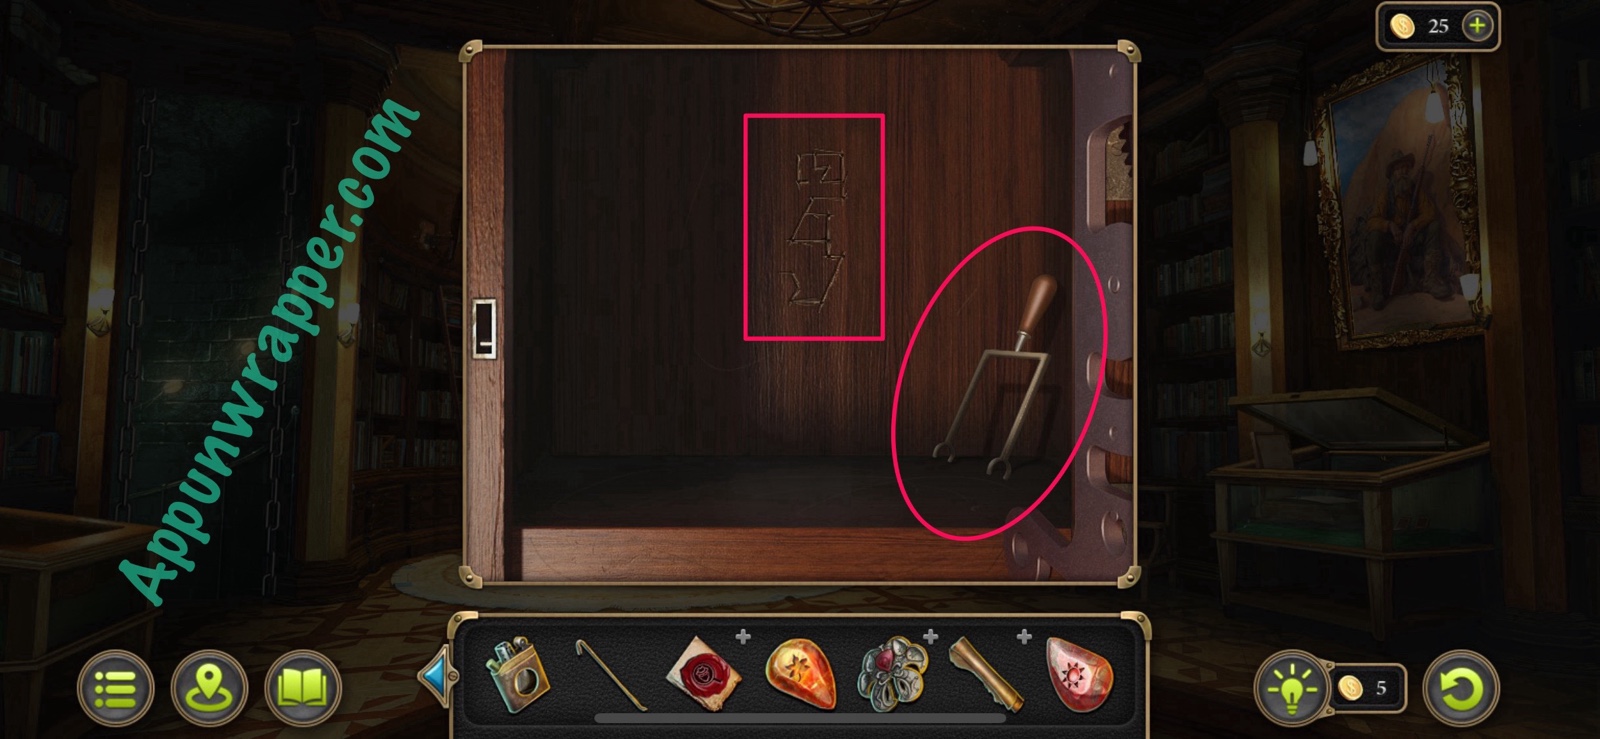
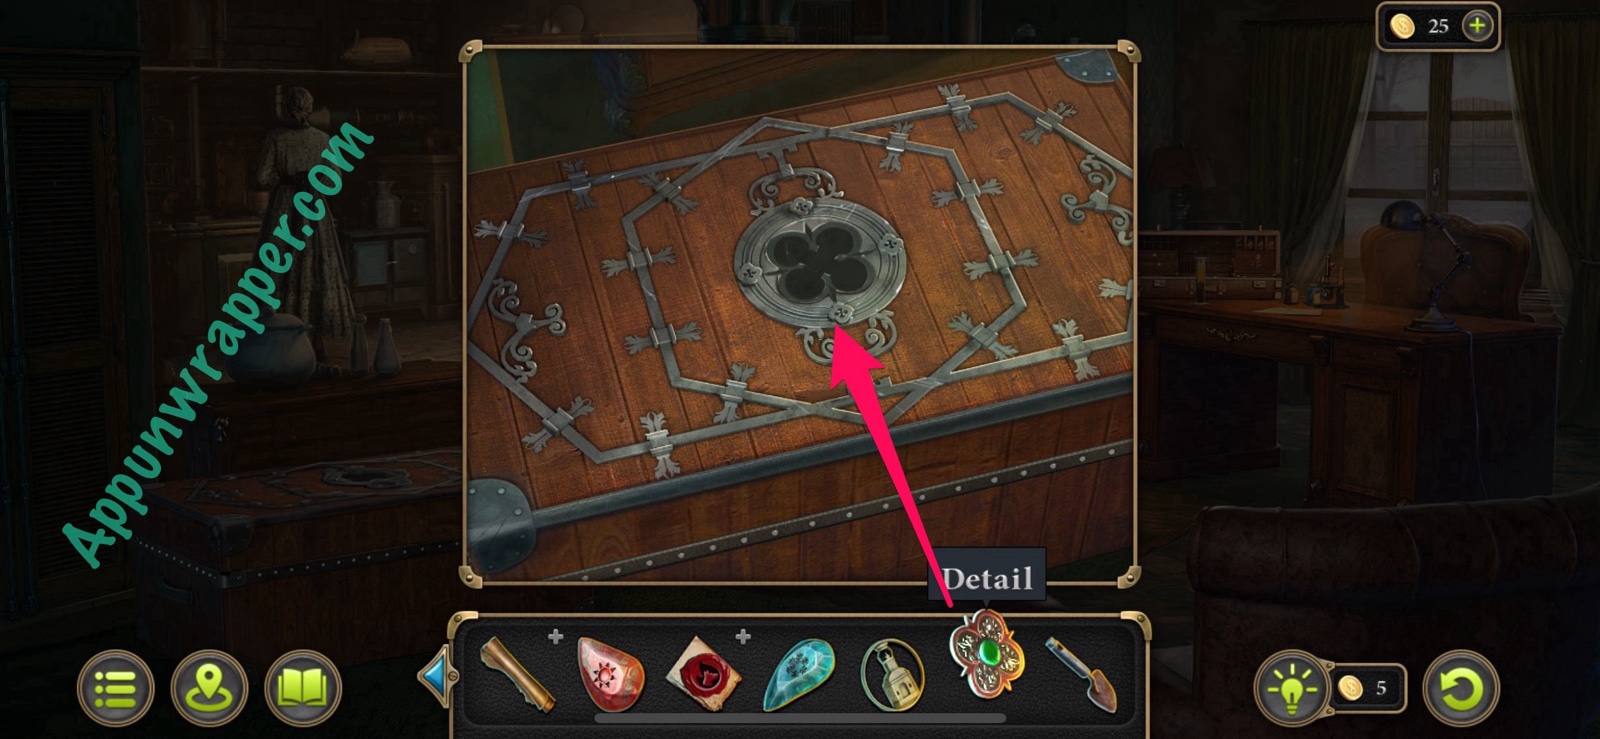
107. Go back to the farm house and place the Detail in the slot on the trunk. Take the dog Statuette from inside.
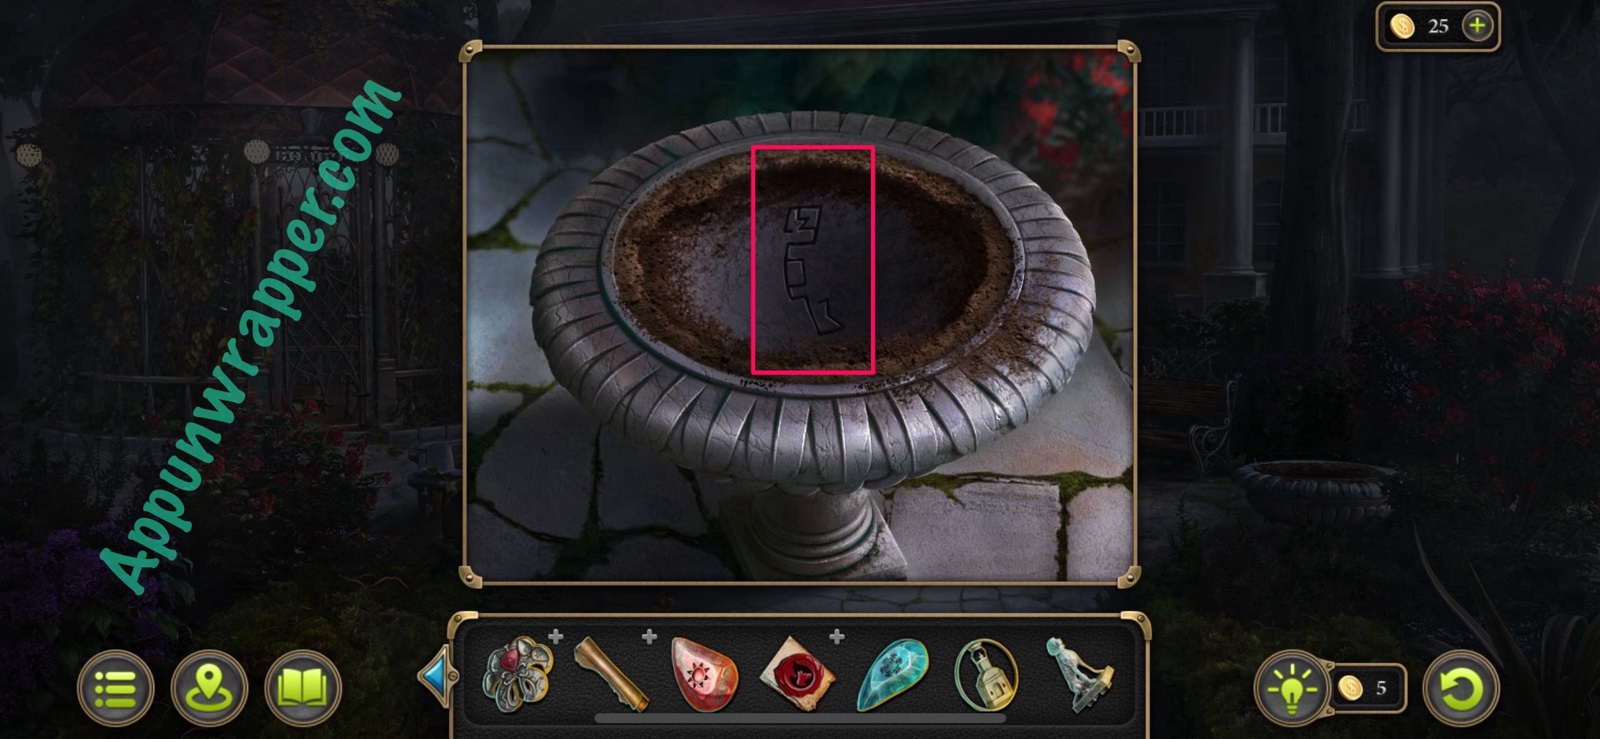
108. Go back to the count’s estate and use the garden trowel on the potted flowers to get another clue for your scroll.

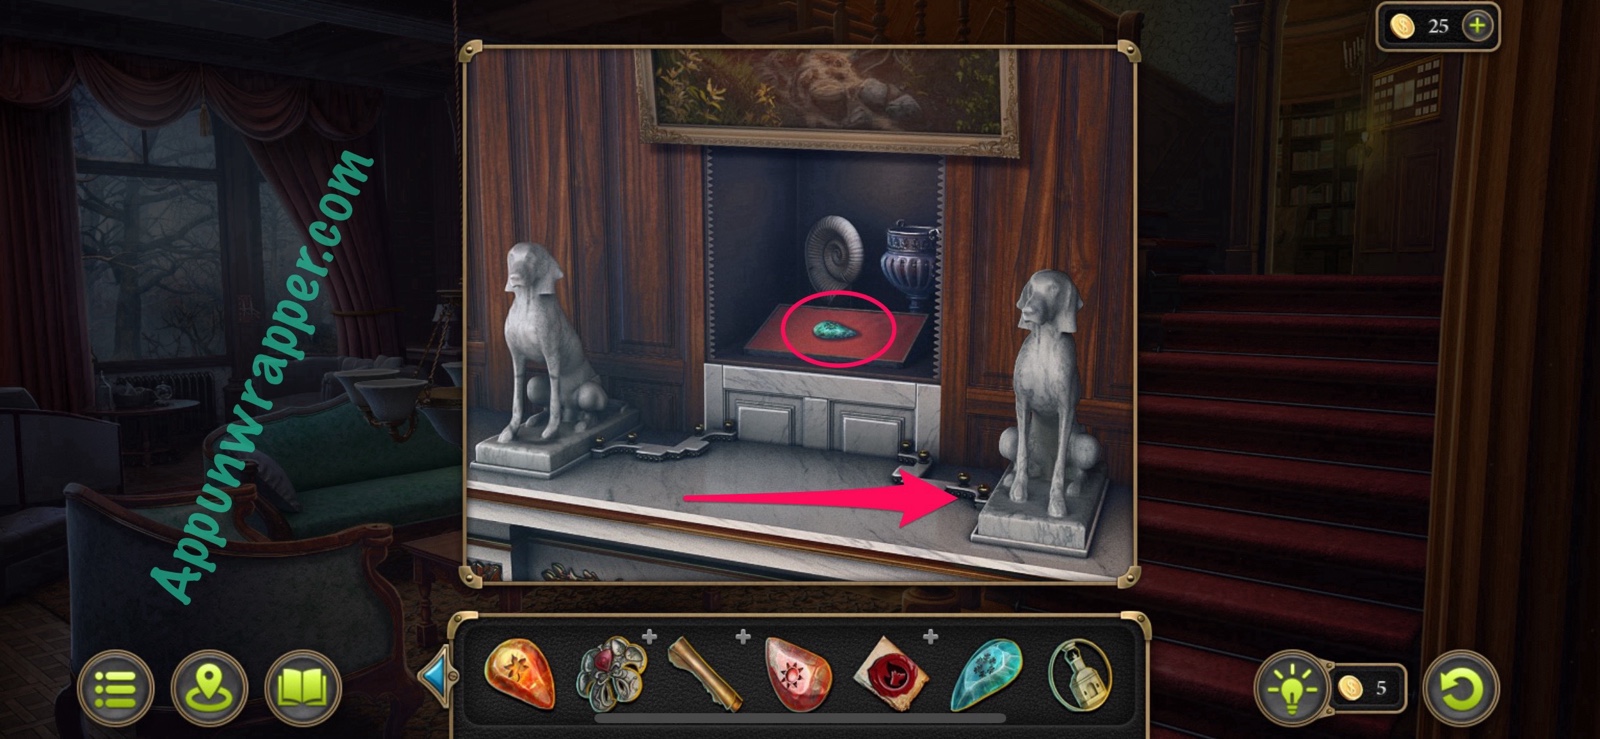
109. Go inside to the living room and place the statuette on the mantelpiece next to the other one. Take the Green Stone.
110. Take out the Pendant from your bag and place all four colored stones in the correct slots.
111. Go back to the temple and look at the display case to the left. Use the Figurine to open it and then tap on the miniatures to access a new puzzle.
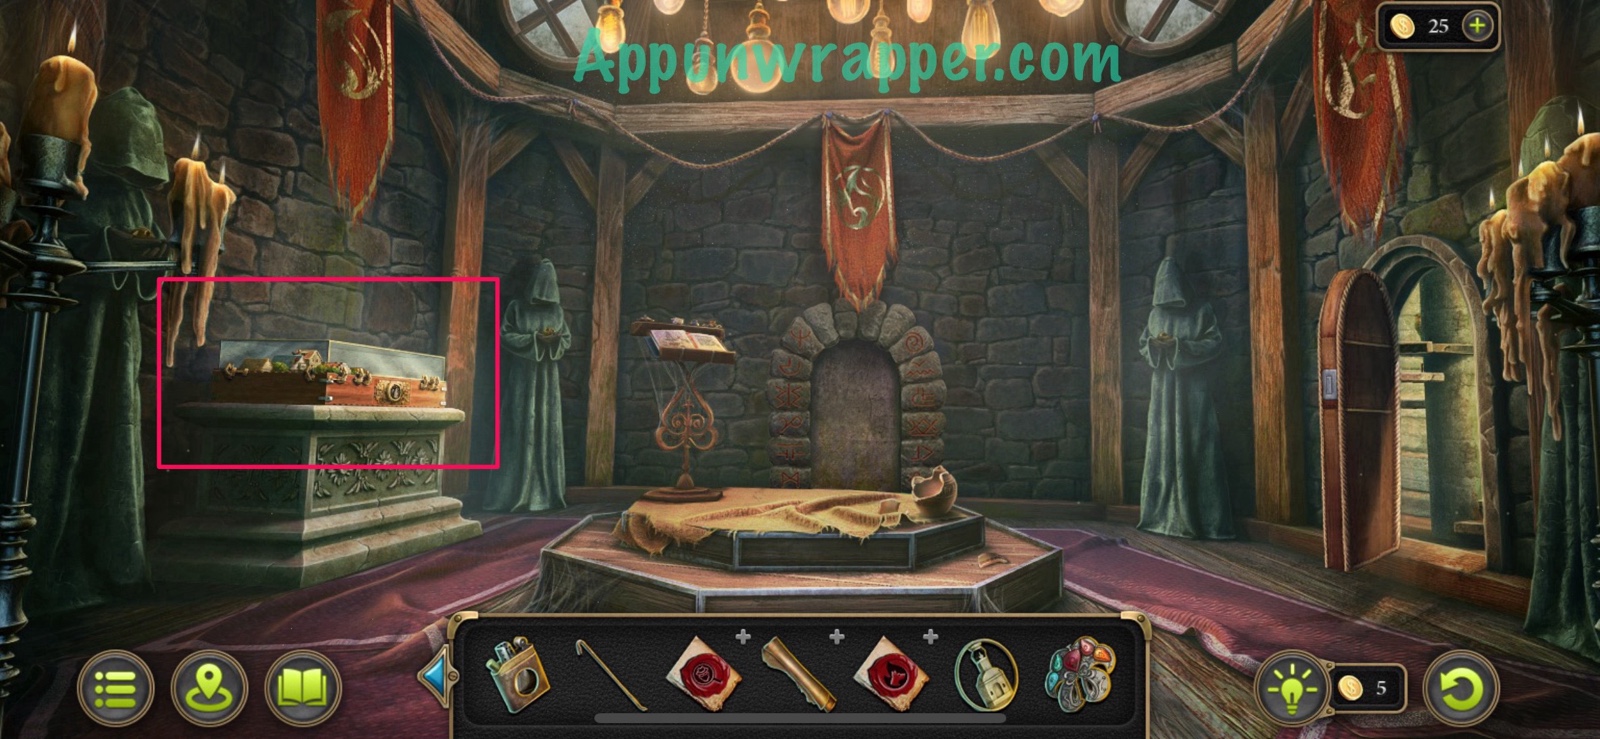
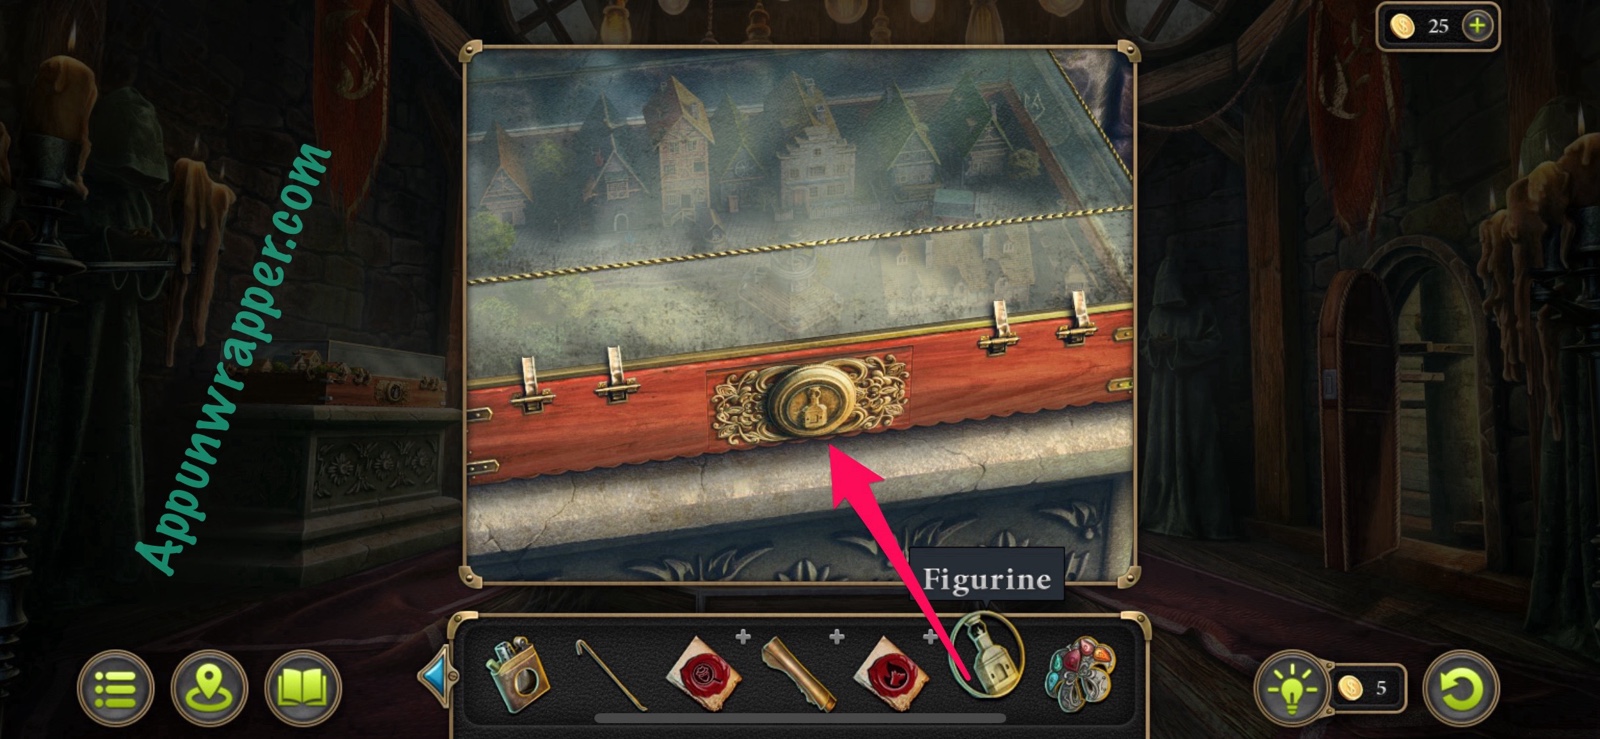
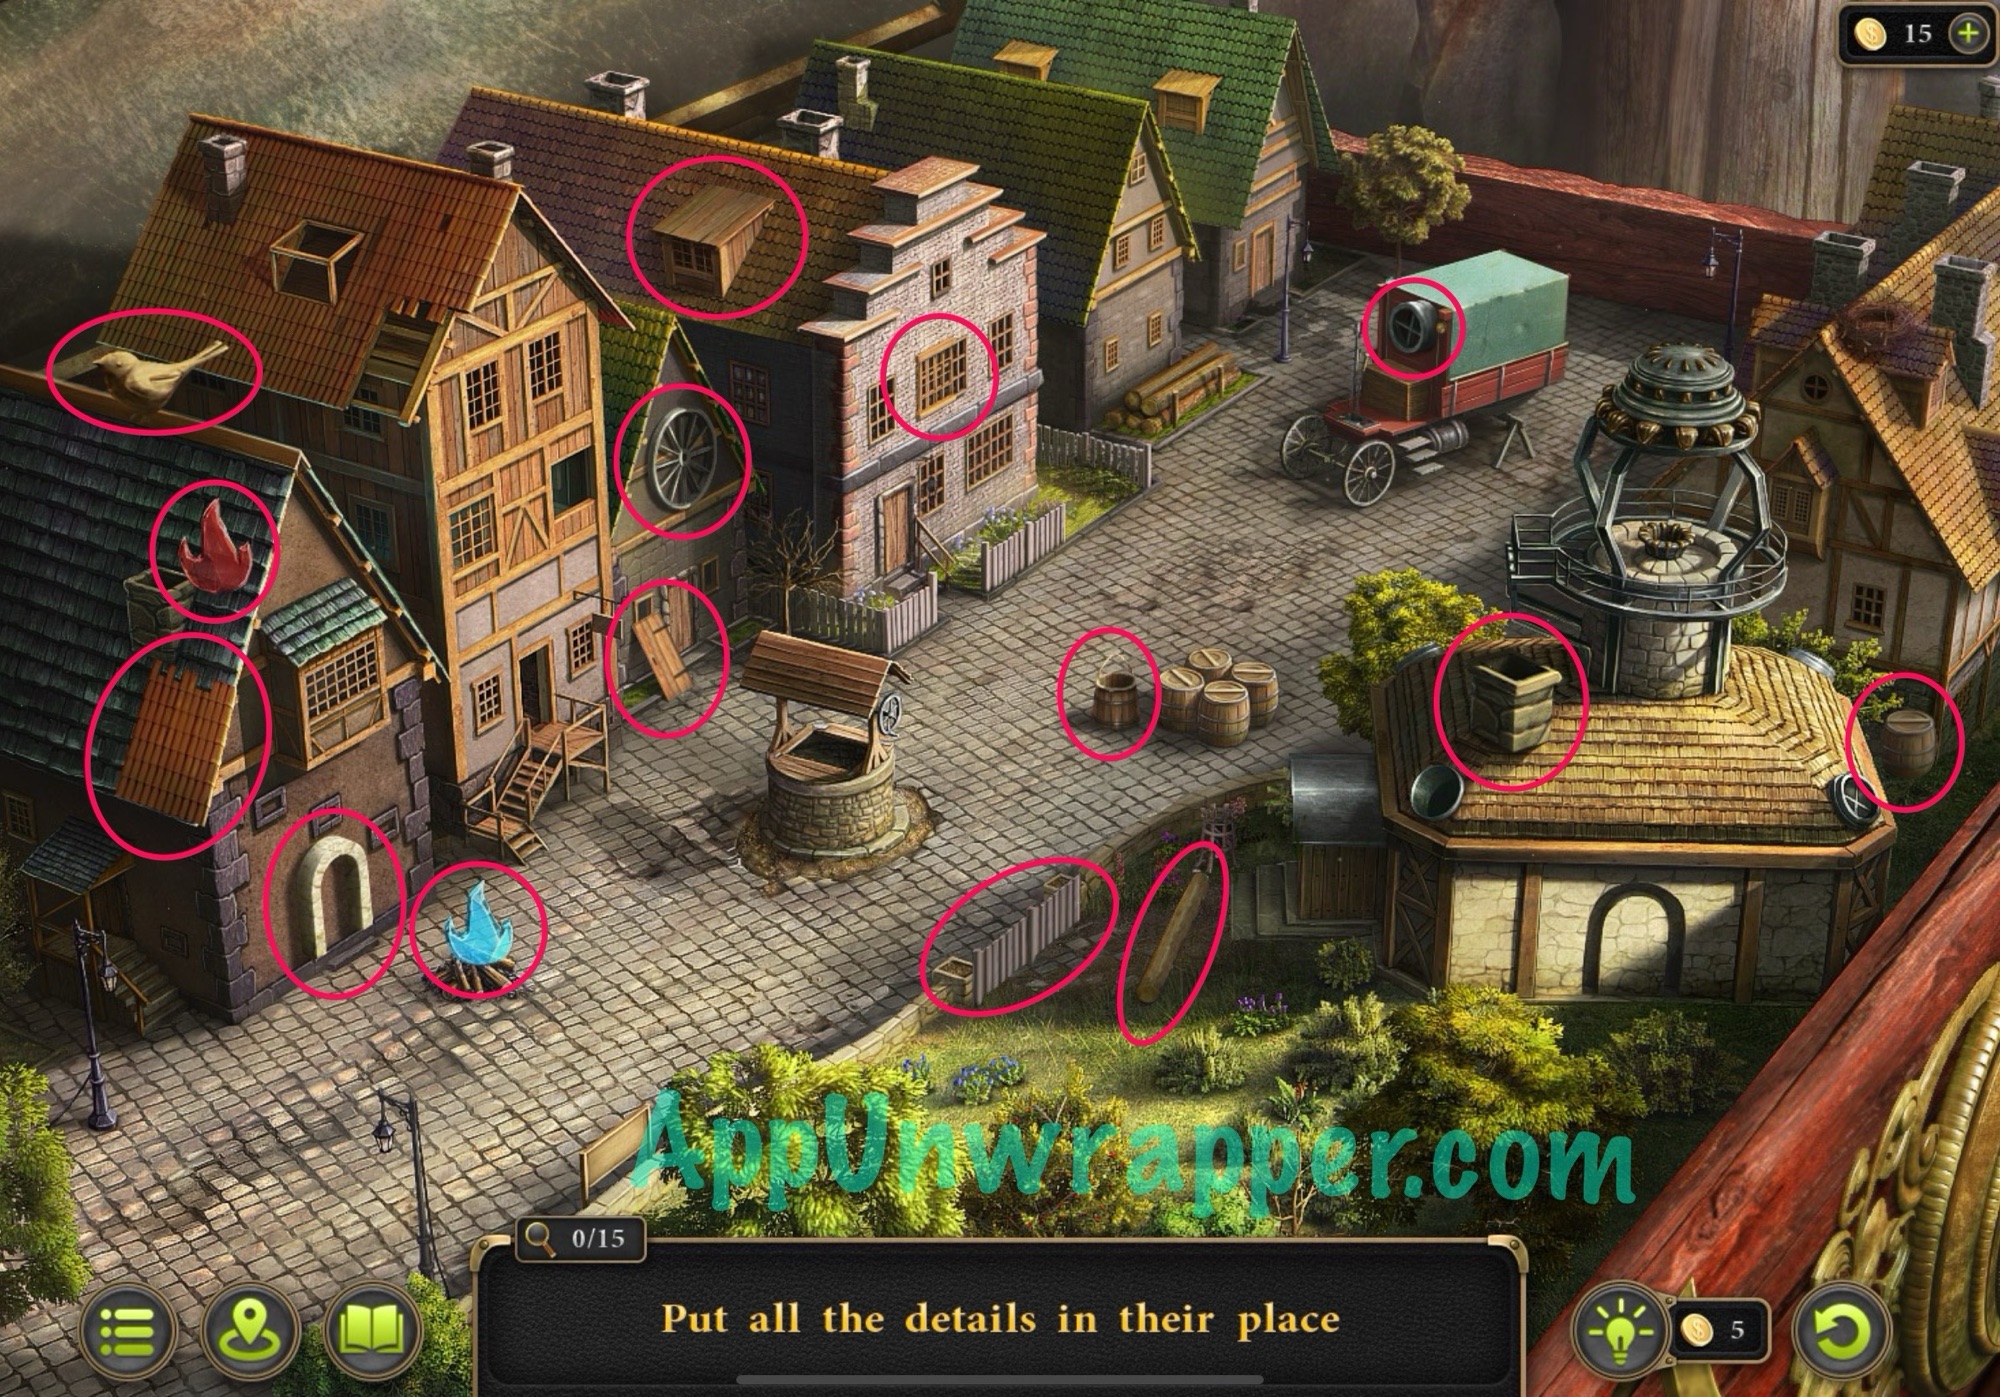
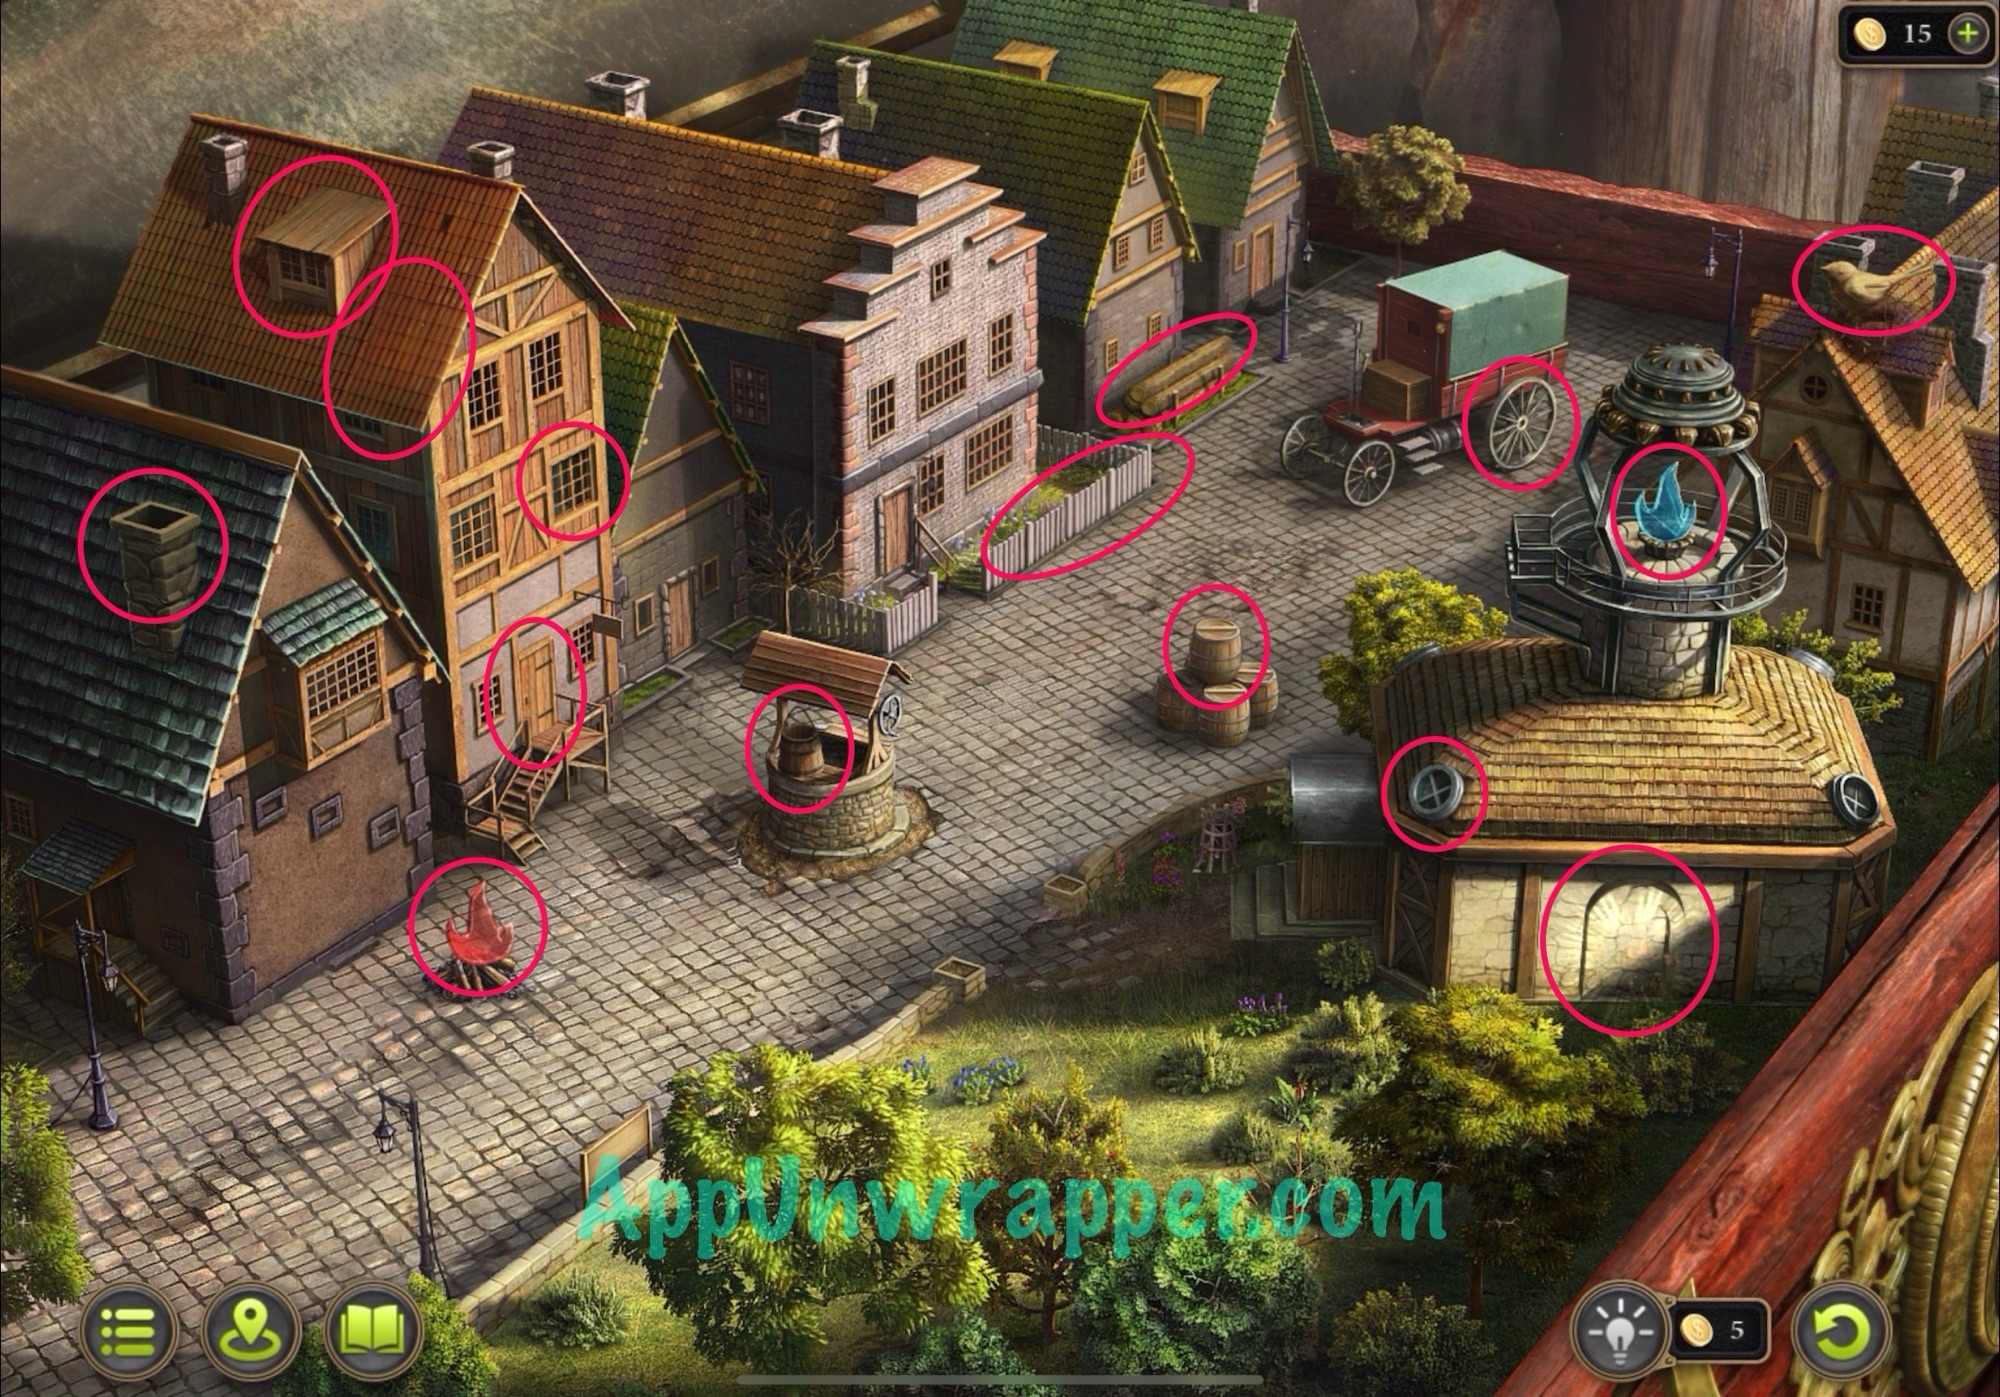
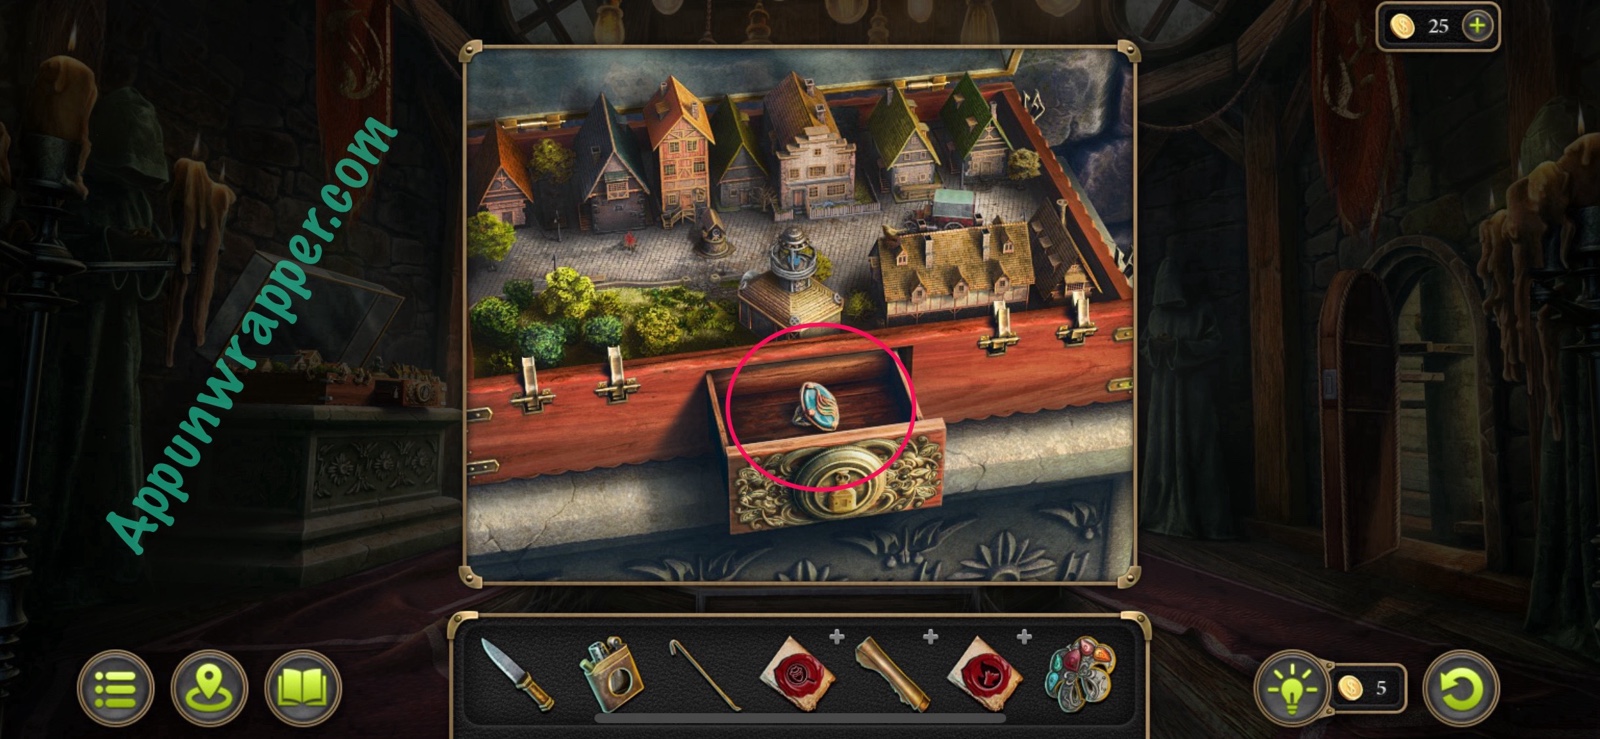
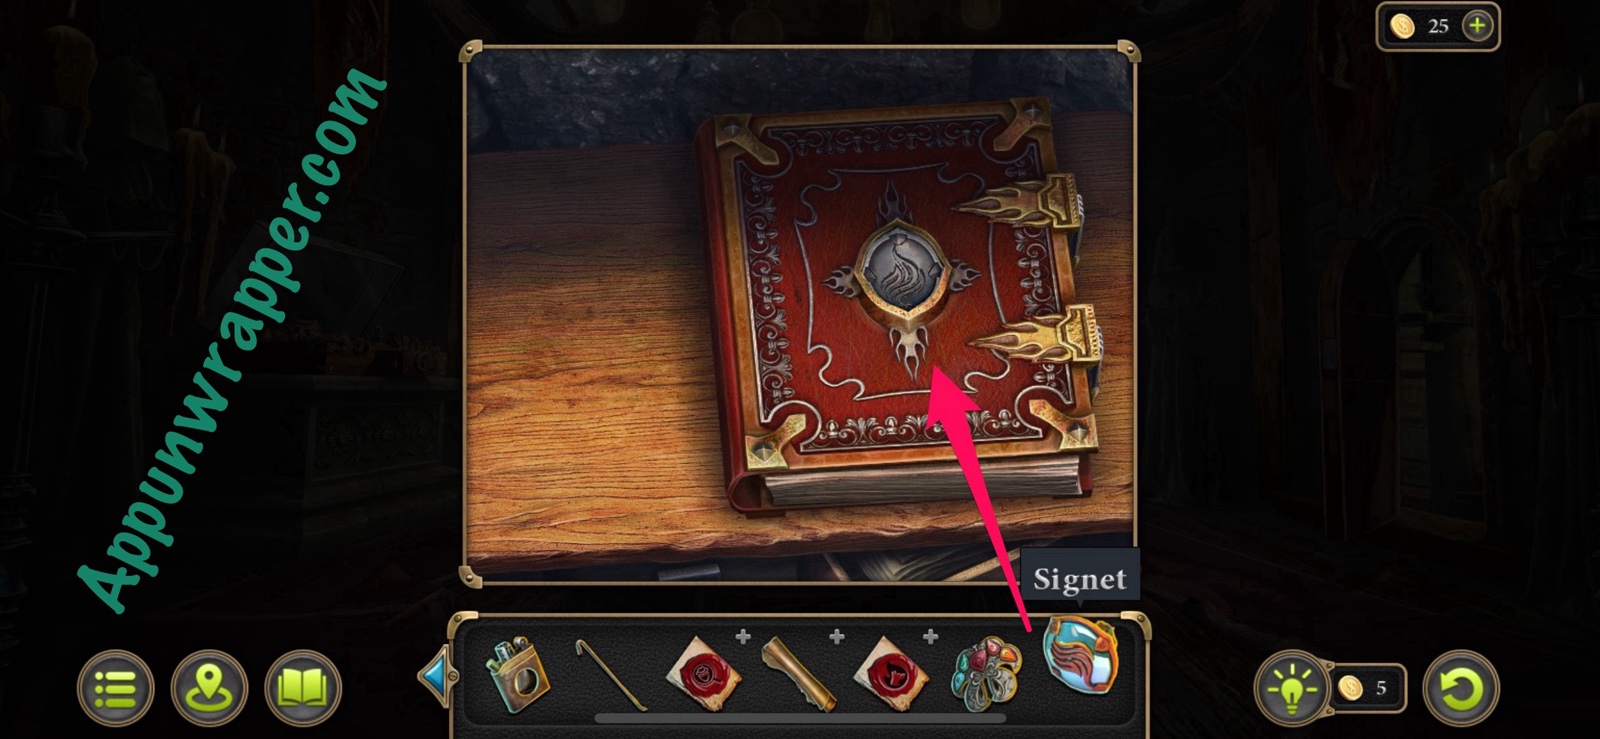
112. You need to put all the details in their place. I’m going to first circle all the details that are out of place and then show you how it should look with them in the right place. Then take the Signet ring.
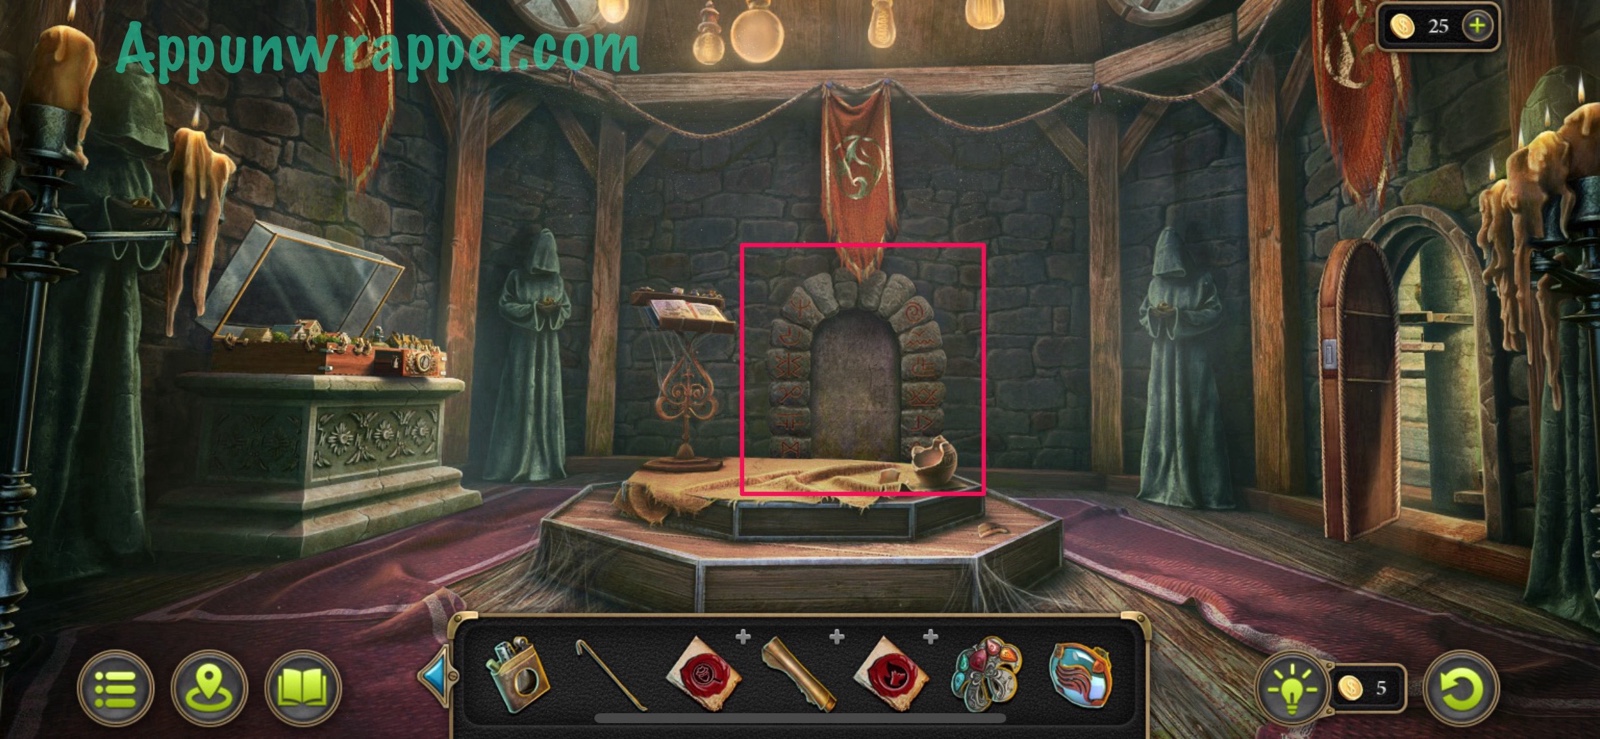
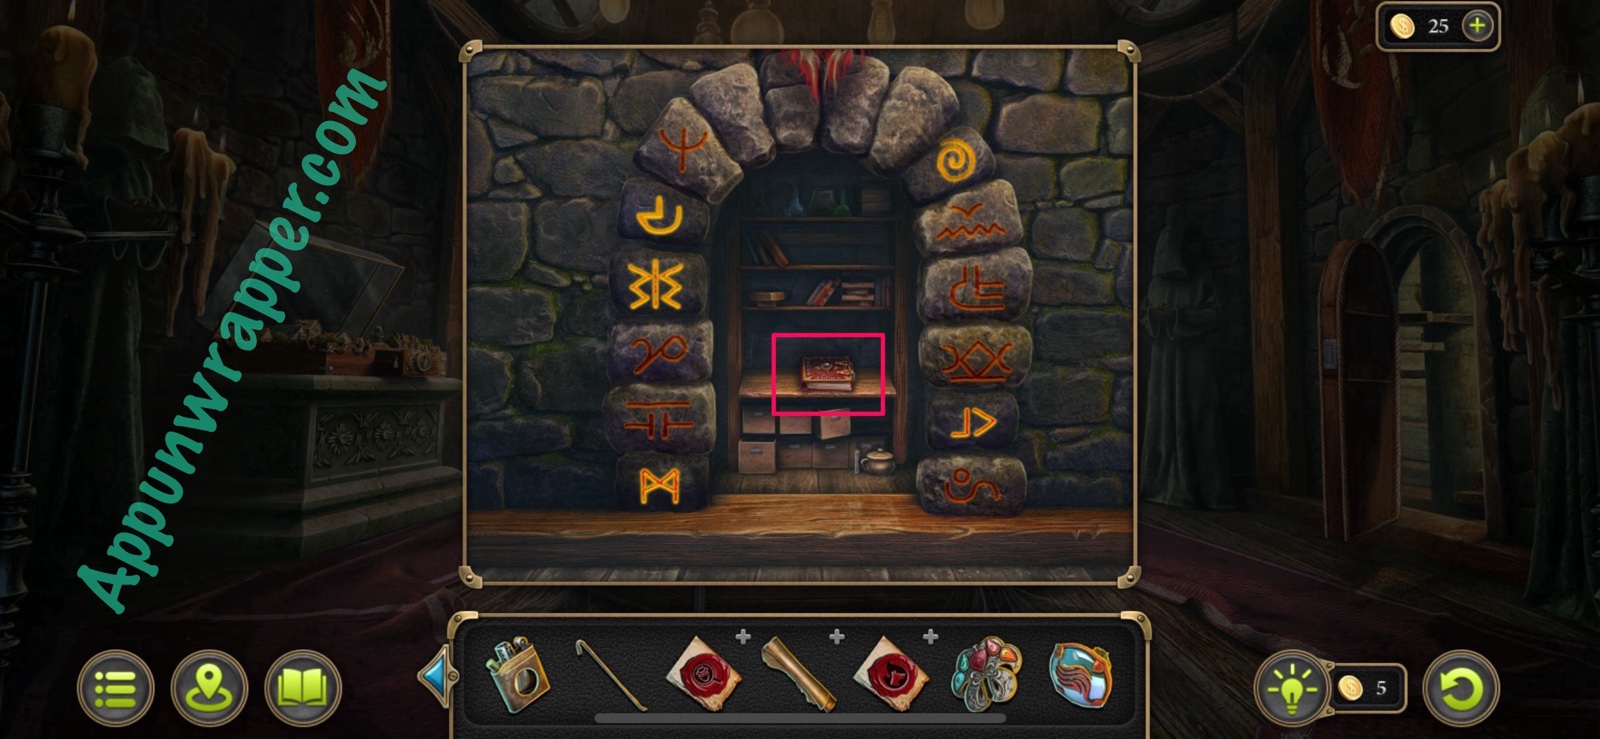
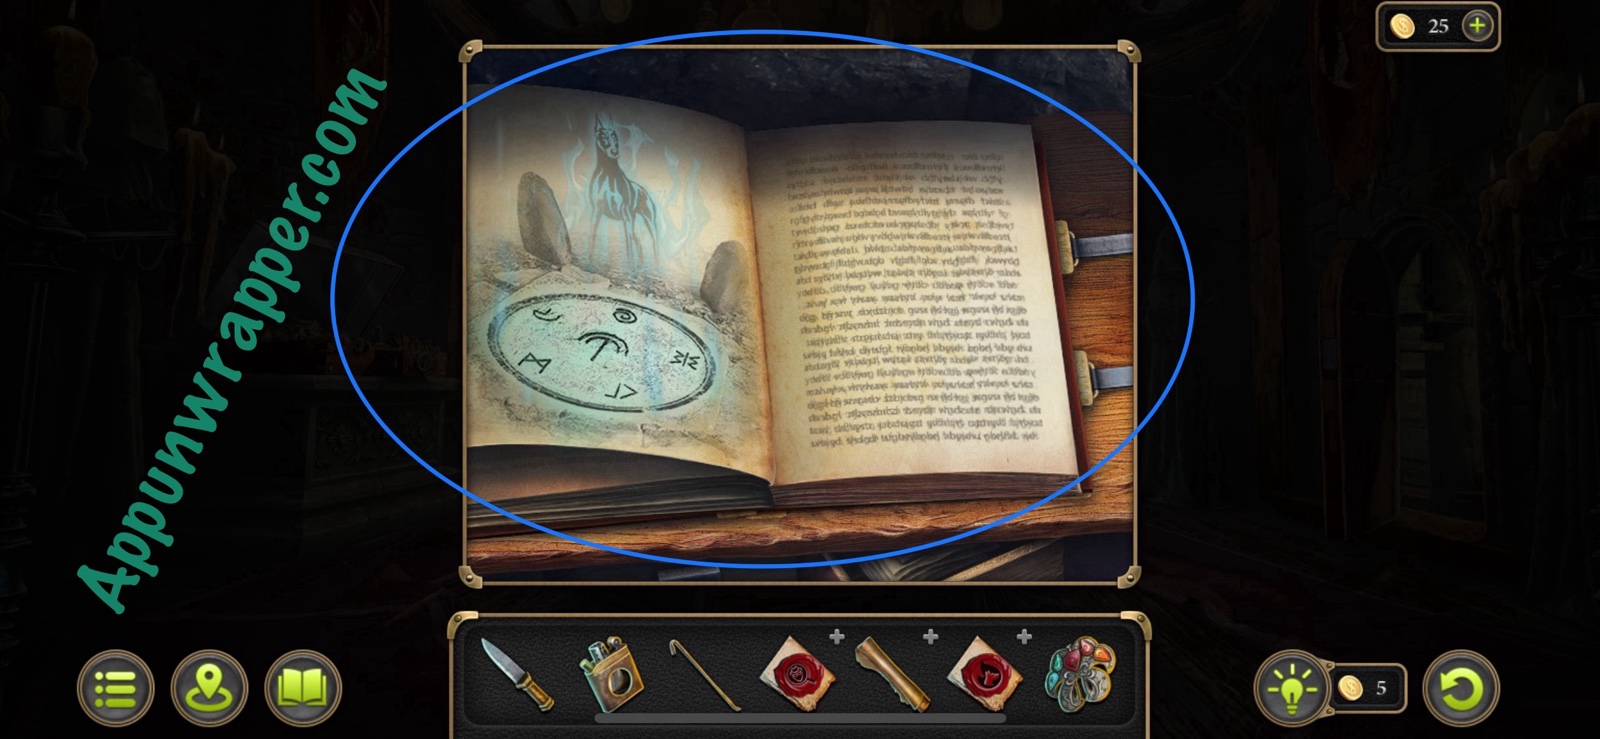
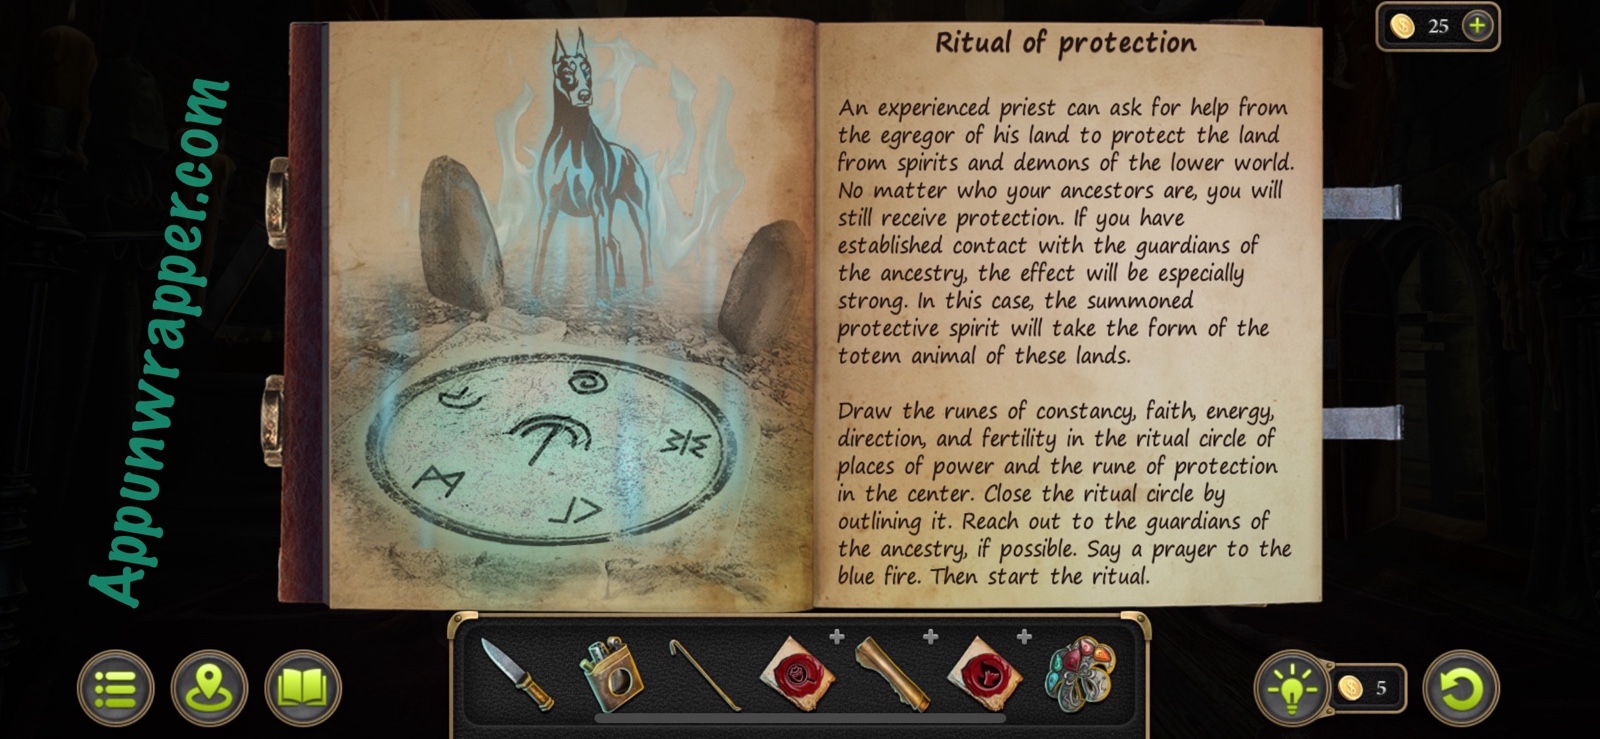
113. Go to the back of the room where there’s a stone doorway with symbols on it. Press the symbols that you saw in the strange circle to open the closet. Look at the book in the closet and place the signet in the slot on its cover to open it. Read about the ritual of protection to collect it as evidence. It seems the cleric performed the ritual to protect the town, not for nefarious reasons.
Evidence: Ritual of protection and purification. (Strange ritual 2/2)
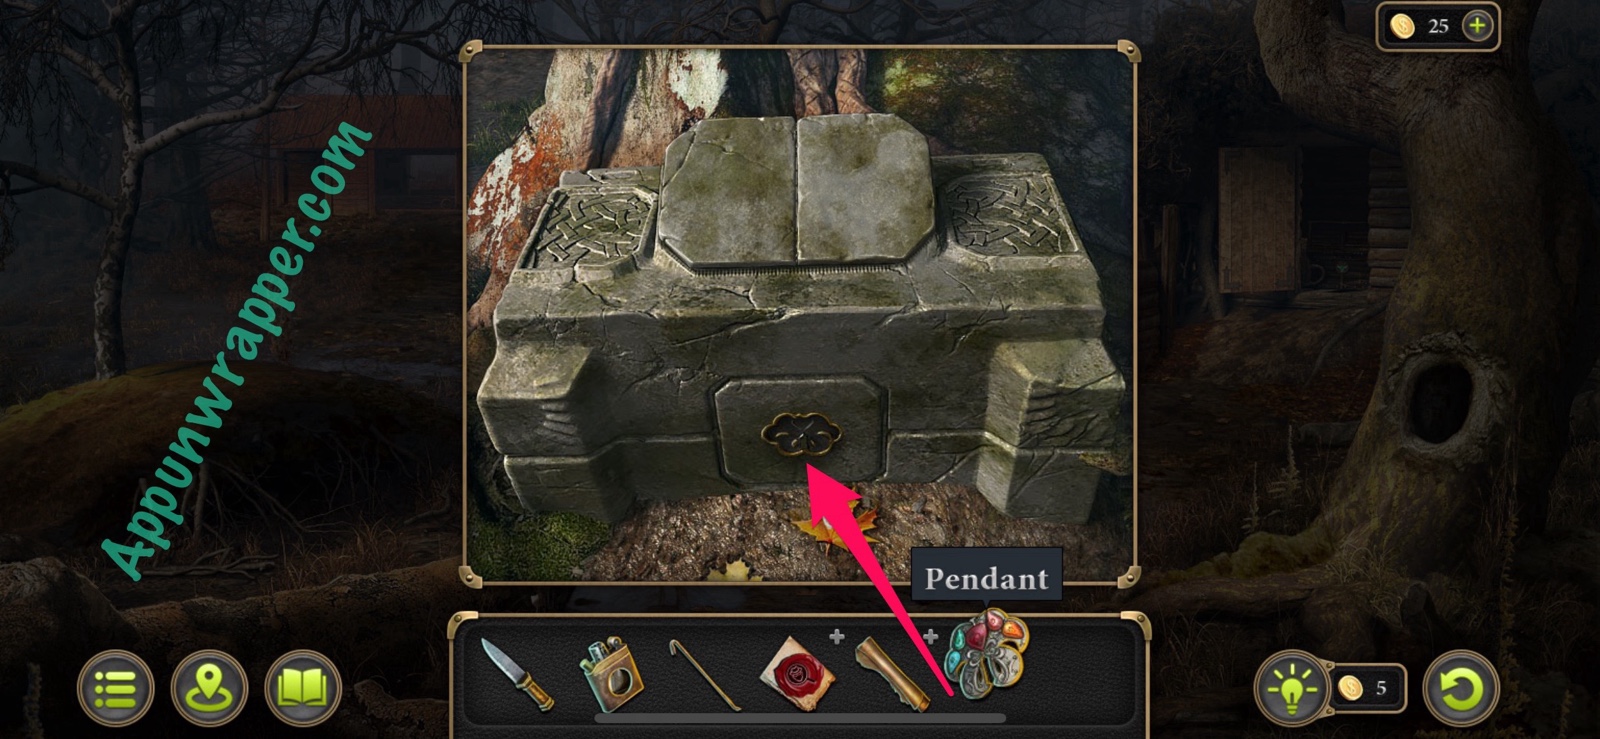
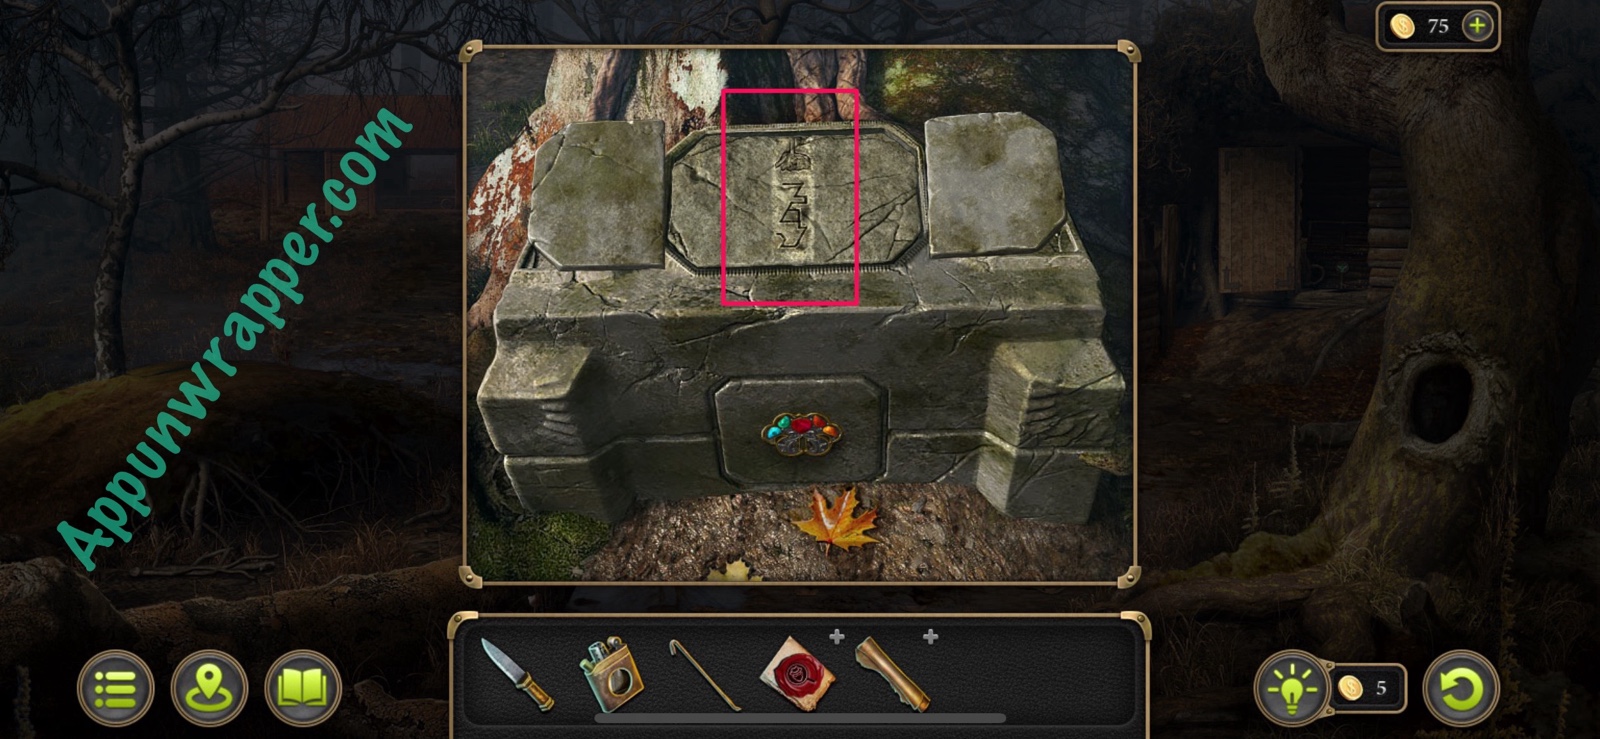
114. Go back to the mysterious forest and place the pendant on the stone pedestal. Open it up to reveal another puzzle, one about seasons. This one’s a royal pain in the butt. You need to get all the colored pieces to the tiles that have black symbols that match them, but you can only move them to tiles that match their colors. And each one changes the color to another color. Red changes to orange, orange changes to blue, blue changes to green, and green changes to red. I’ll make as many videos as I can before I go out of my mind from it. You’re mostly on your own since it’s different each game.
115. Now you’ll get another clue for your scroll and should have all seven. Look at it and then tap on it to get the w game to acknowledge you have all of them.
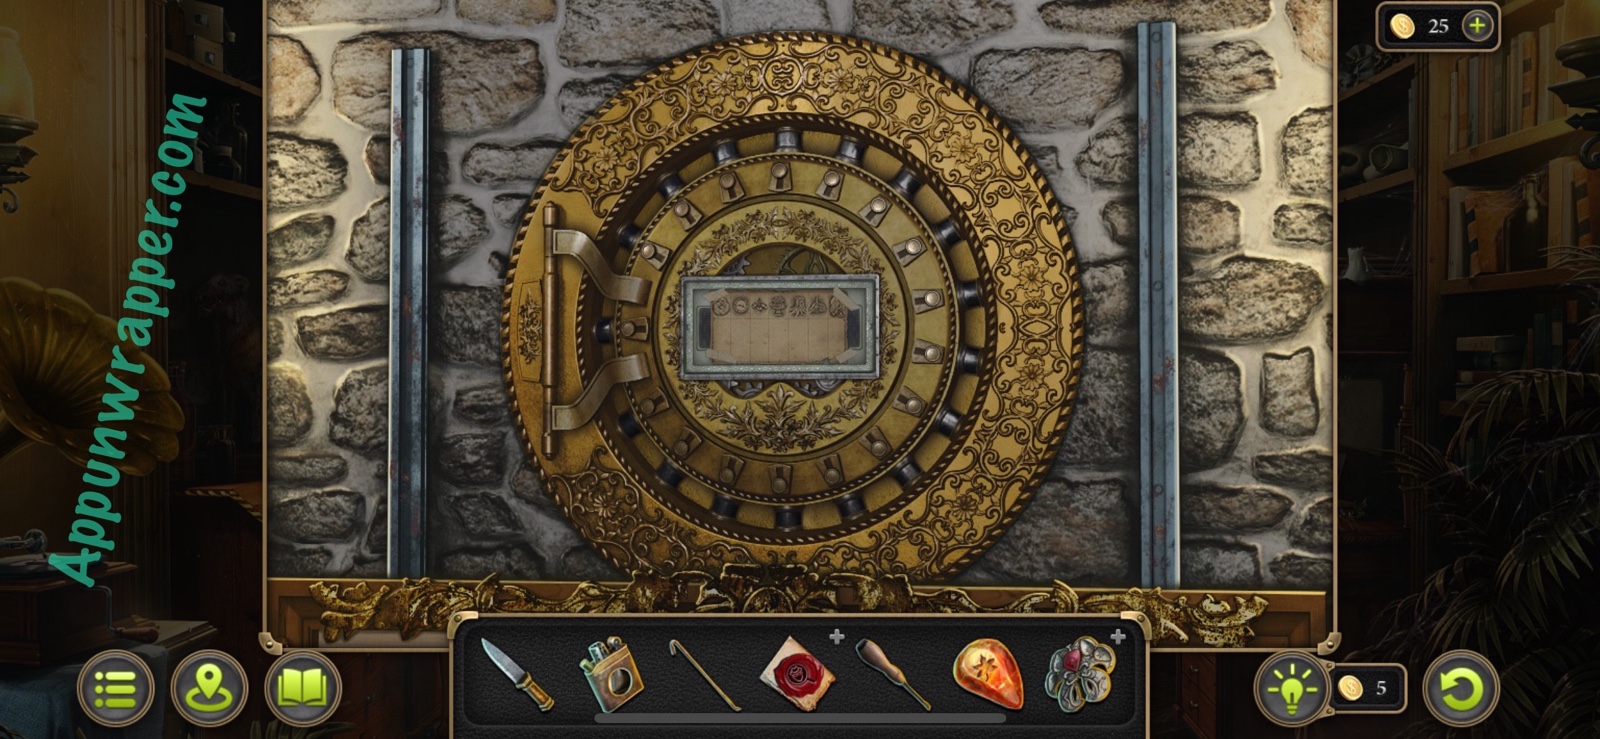
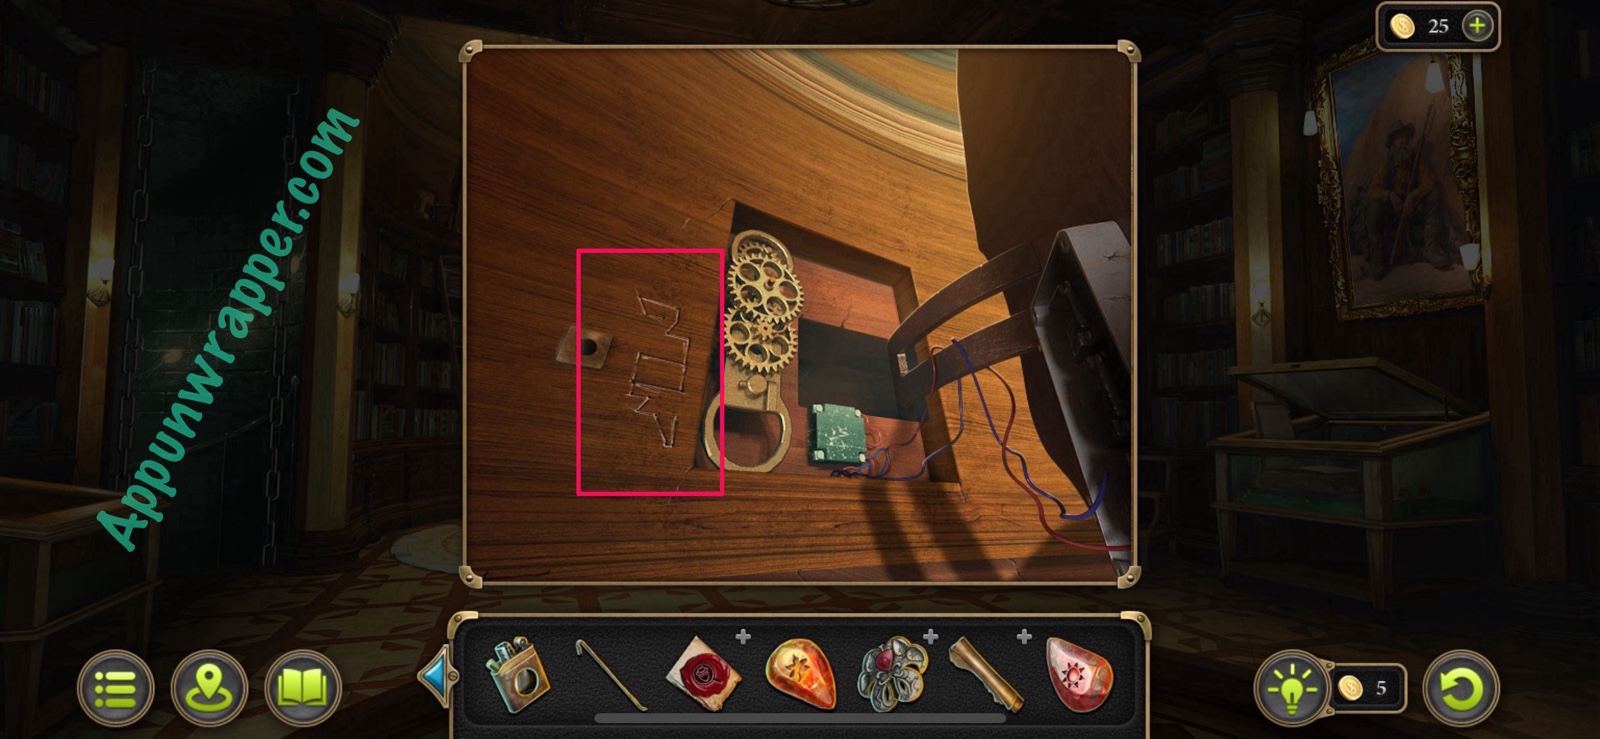
116. Go back to the count’s estate and to the secret room. Tap on the vault and place the scroll down so you can use it to solve the puzzle. You need to select three symbols for each column that will make up the symbol shown on the scroll. This seems to be a rare occasion where it’s the same each game, so I can actually show you which buttons to press for each one.
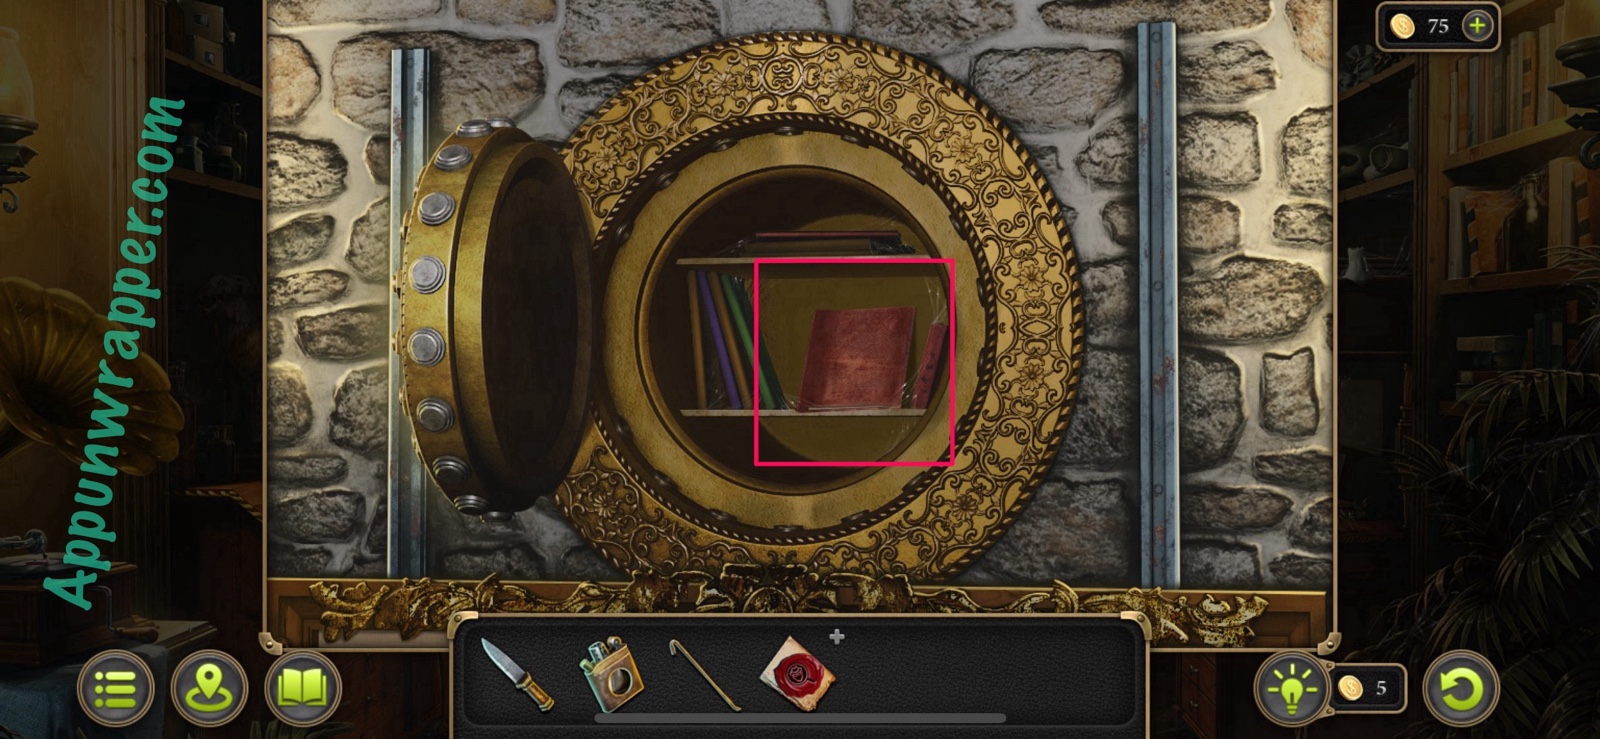
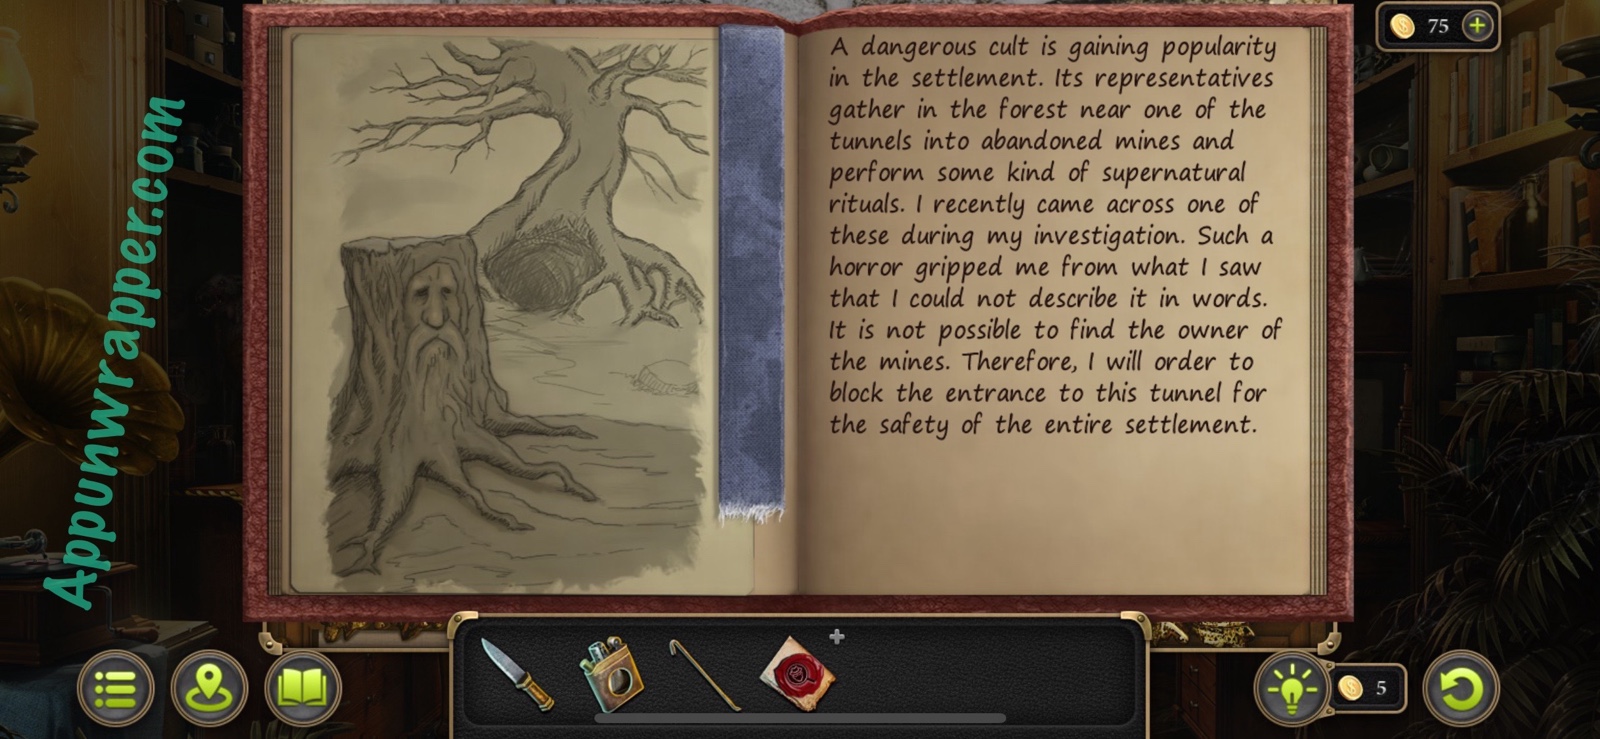
117. Look at the book inside the vault to learn about a tunnel into abandoned mines. The entrance is currently blocked.
New task: Explore the tunnel.
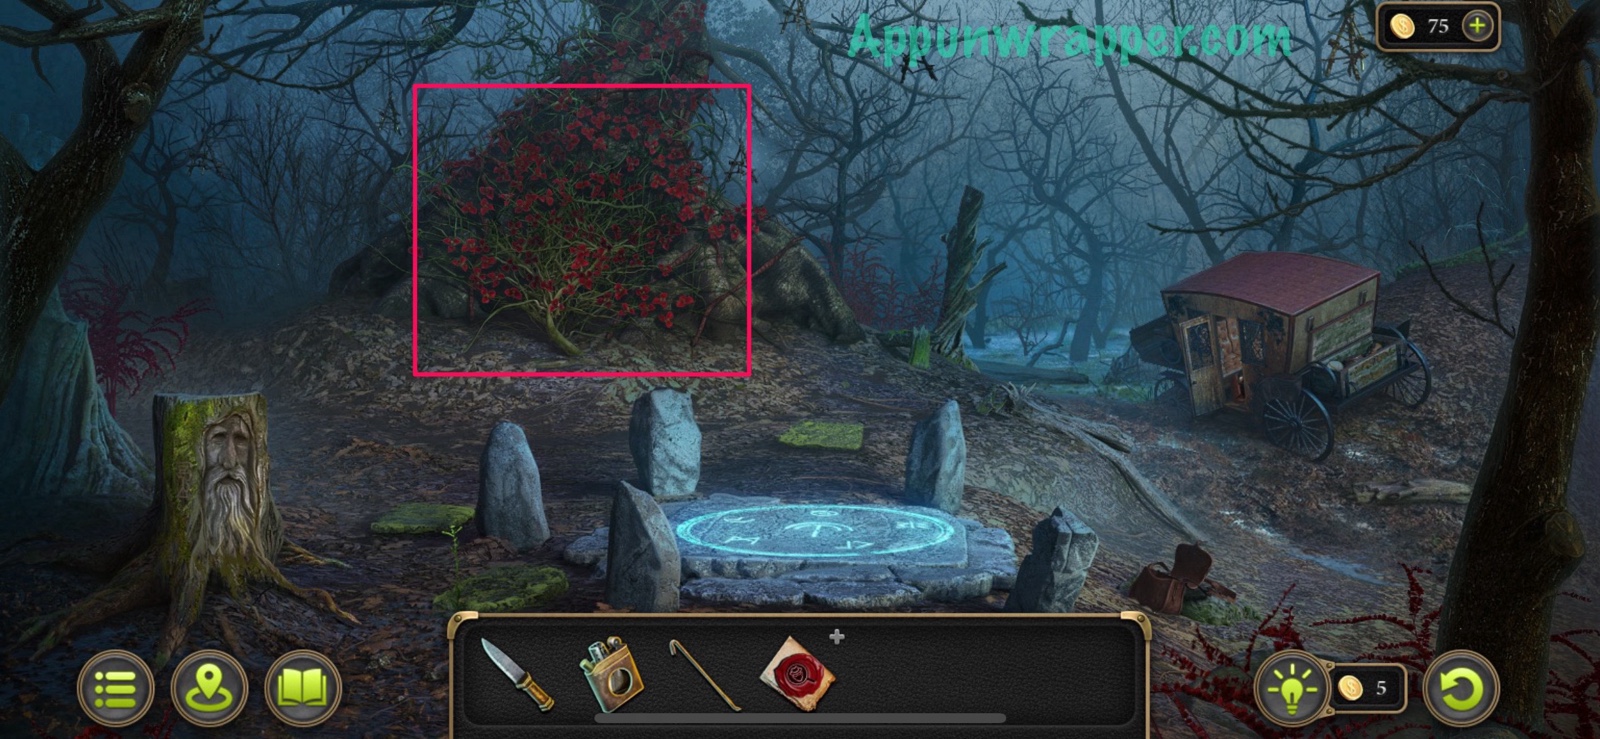
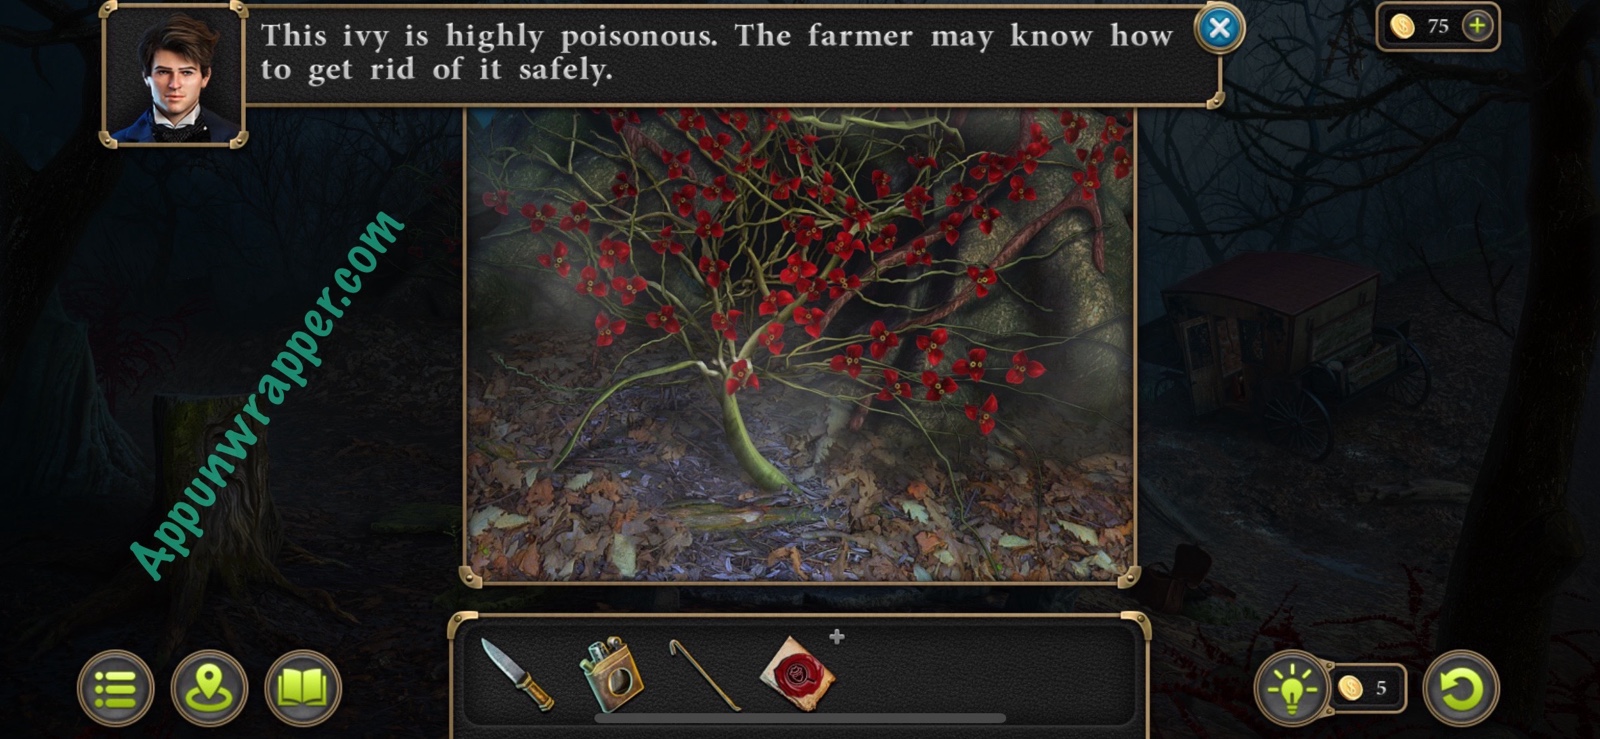
118. Go back to the mysterious forest with the circle of runes. Tap on the red vines. It’s poison ivy but the farmer might know how to get rid of it.
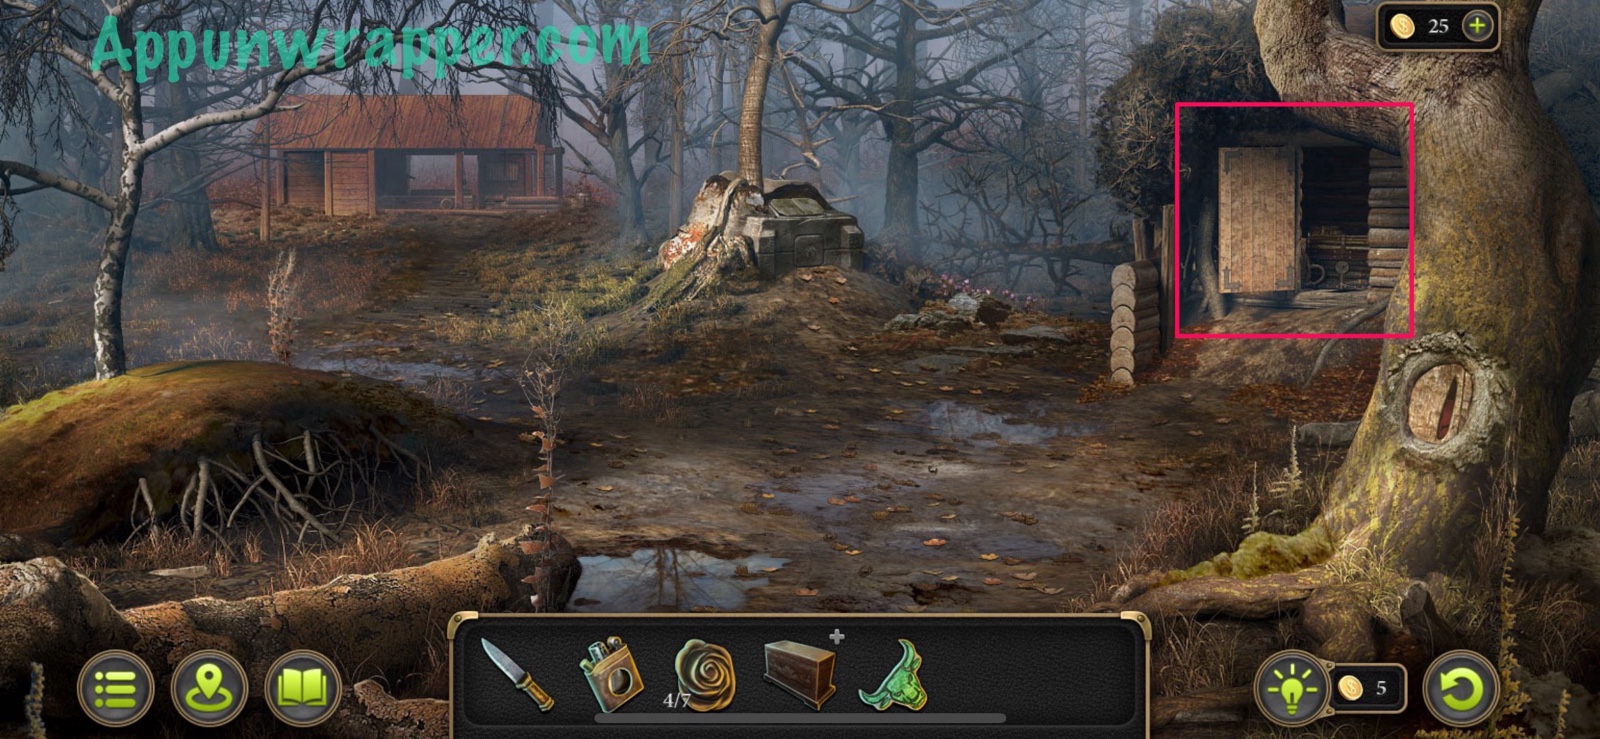
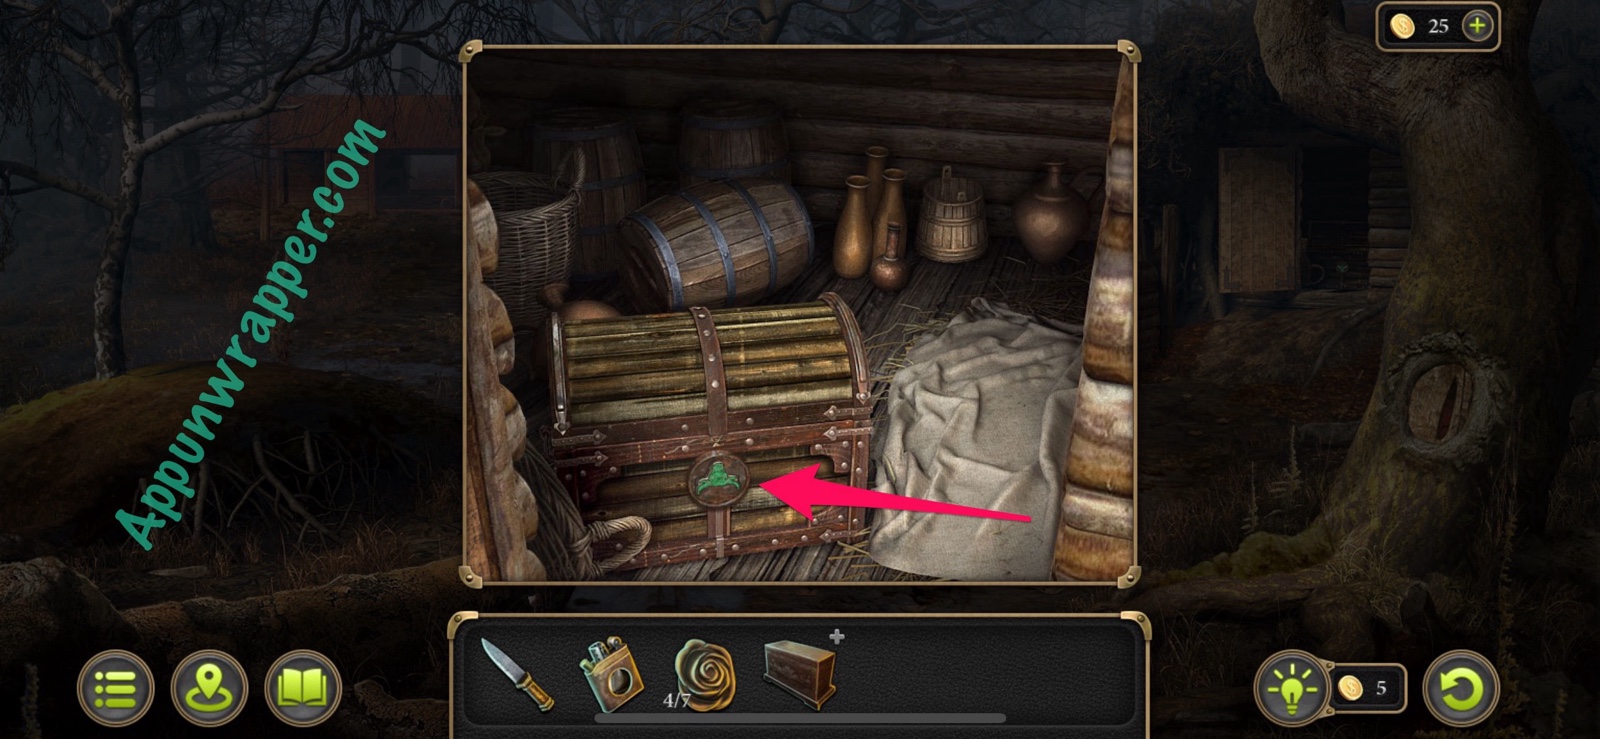
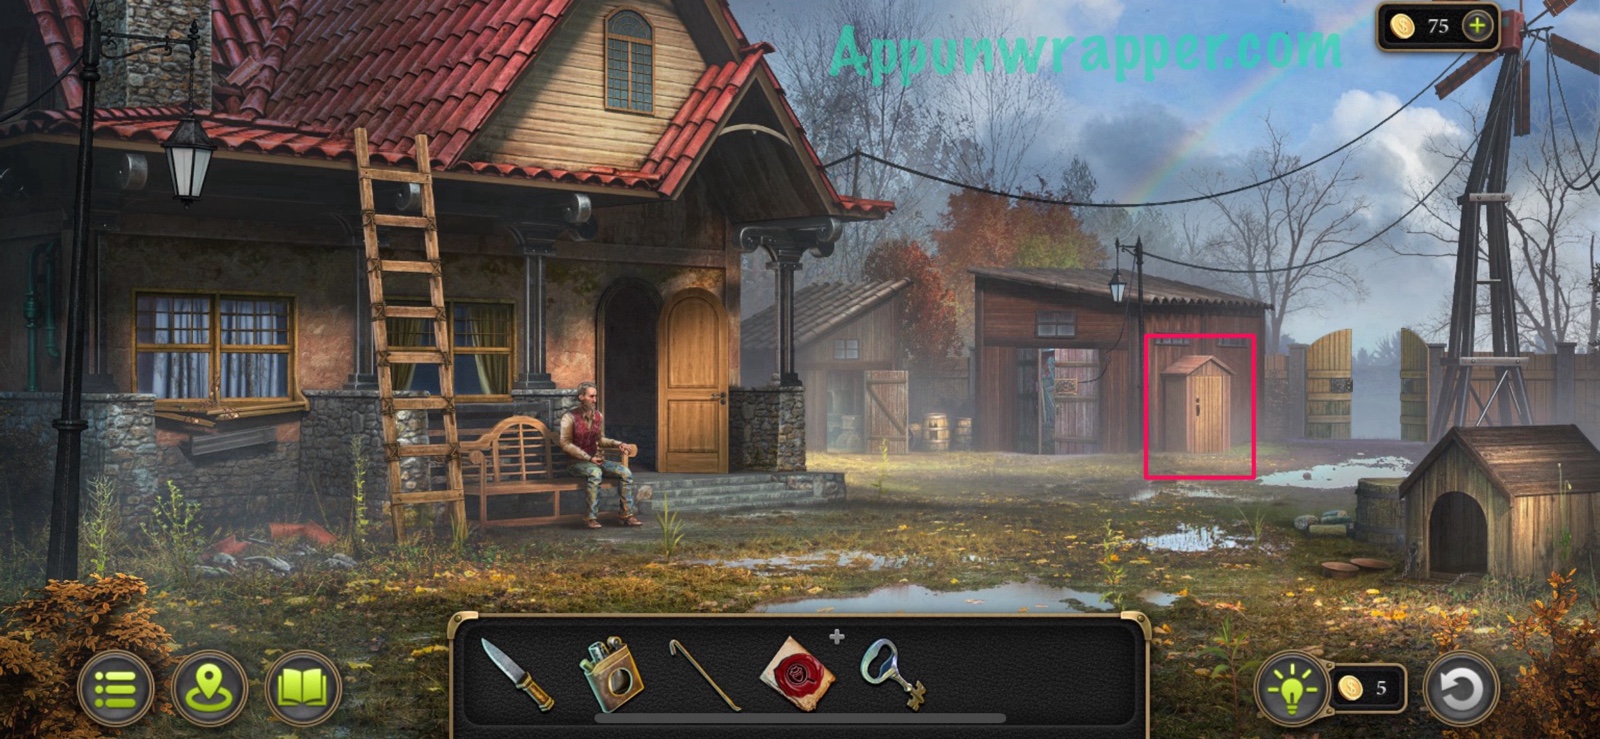
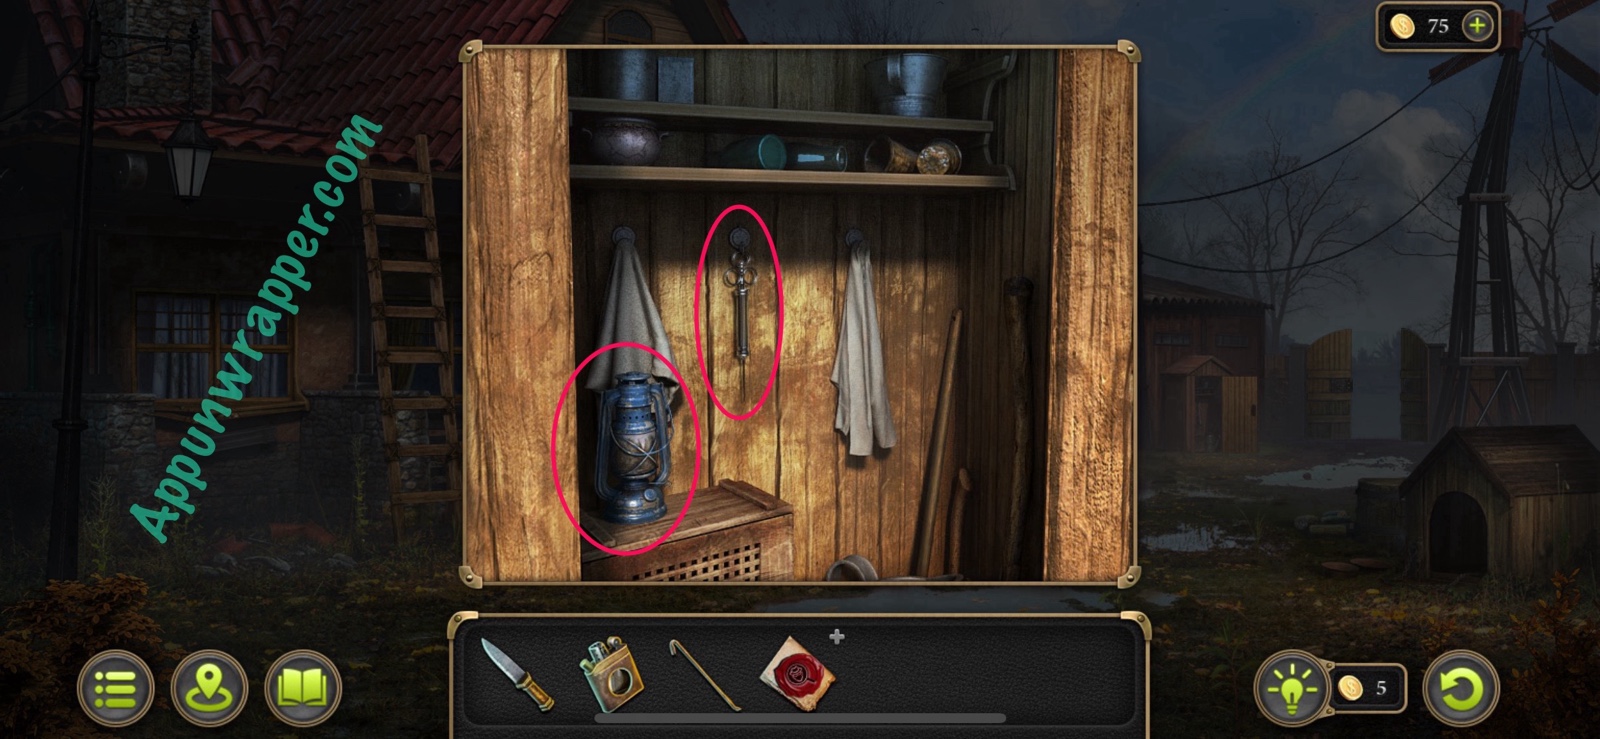
119. Go back to the farm and talk to Harry the farmer. He tells you to inject an herbicide into the poison ivy’s roots to kill it. He has a syringe in the barn and gives you the key. Go to the closet next to the barn and use the key to unlock it. Take the Syringe and Lantern from inside.

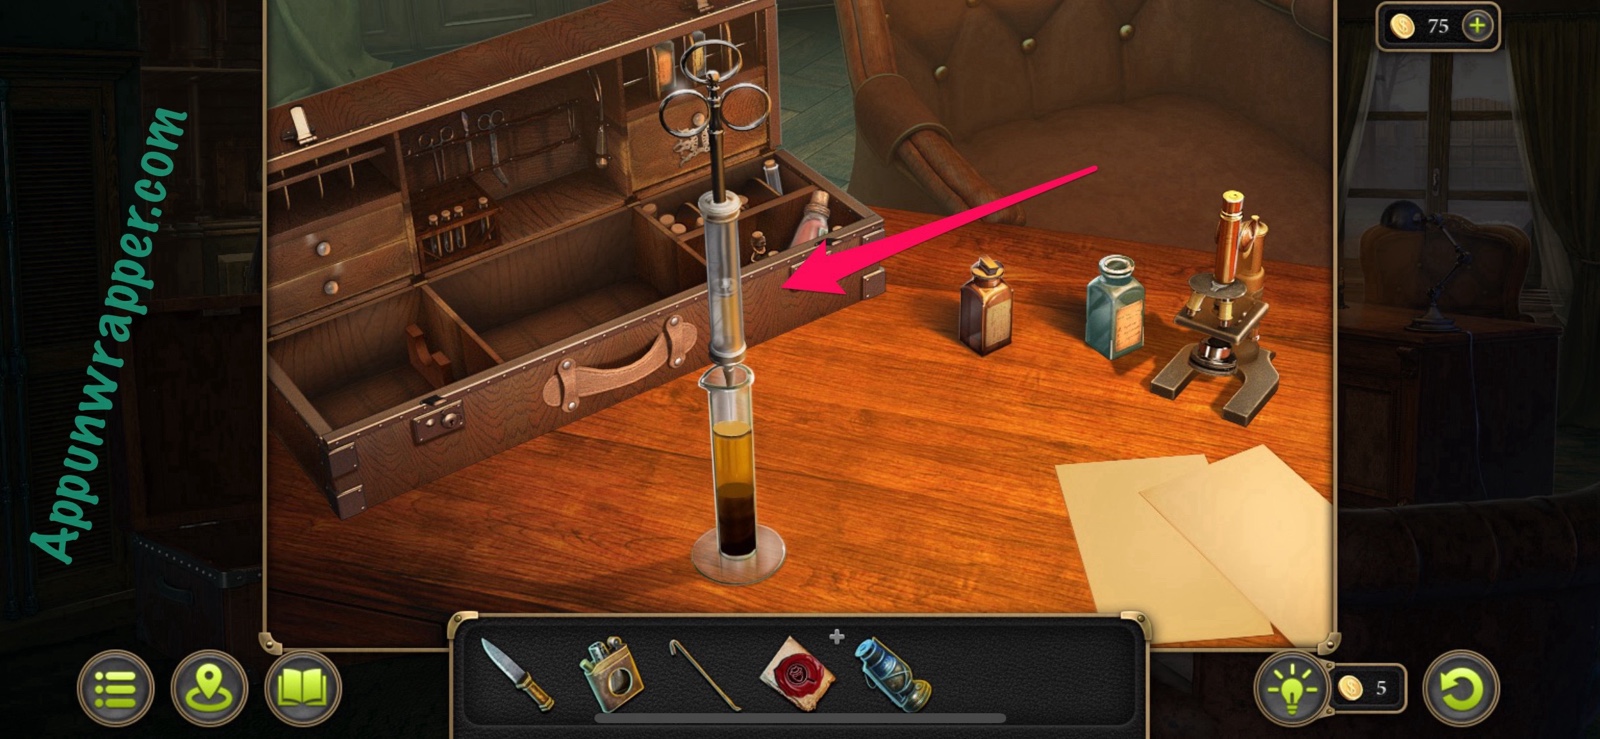
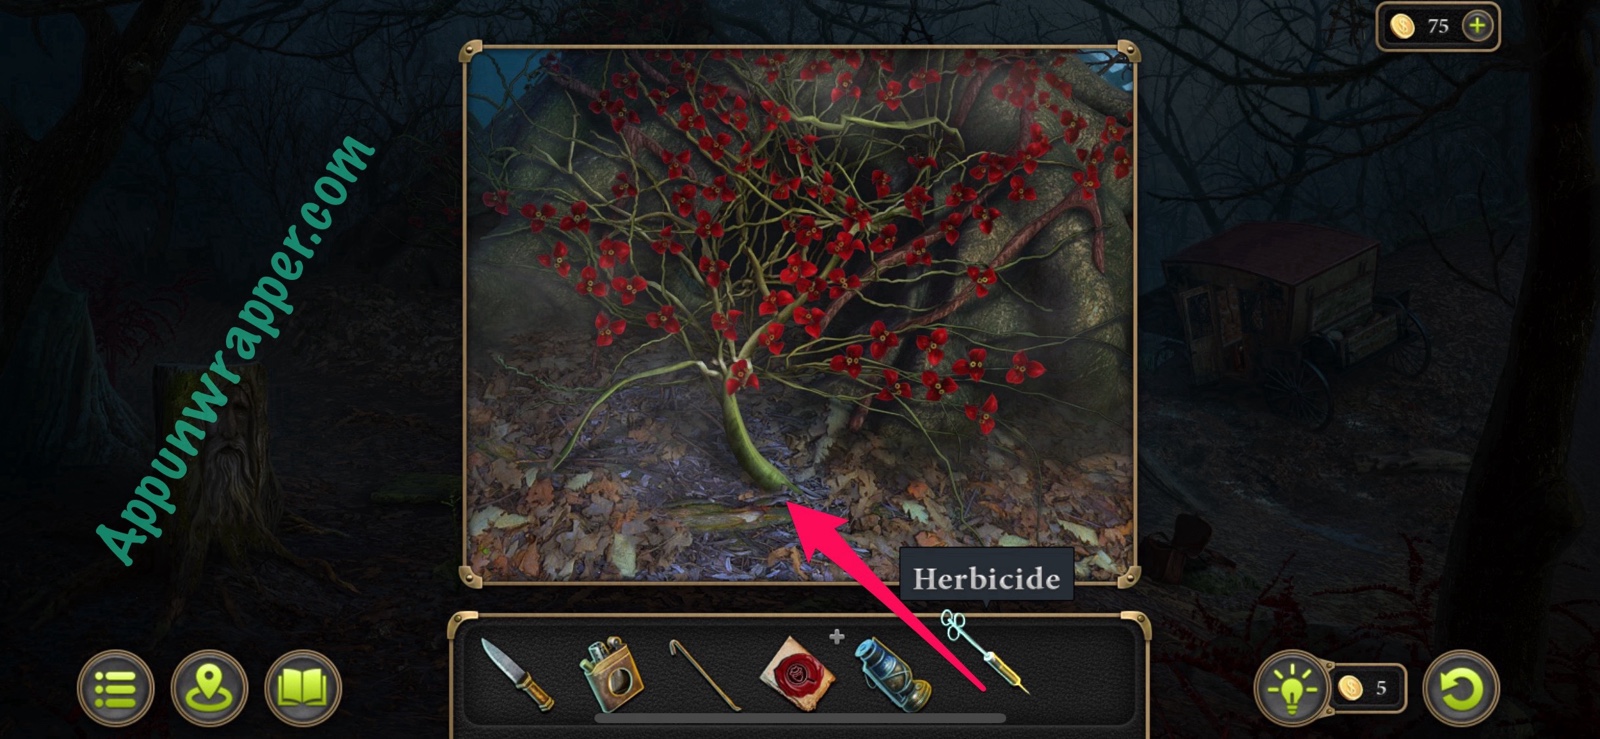
120. Go back inside the farm house and use the syringe on the Herbicide you left on your desk to collect some of it.
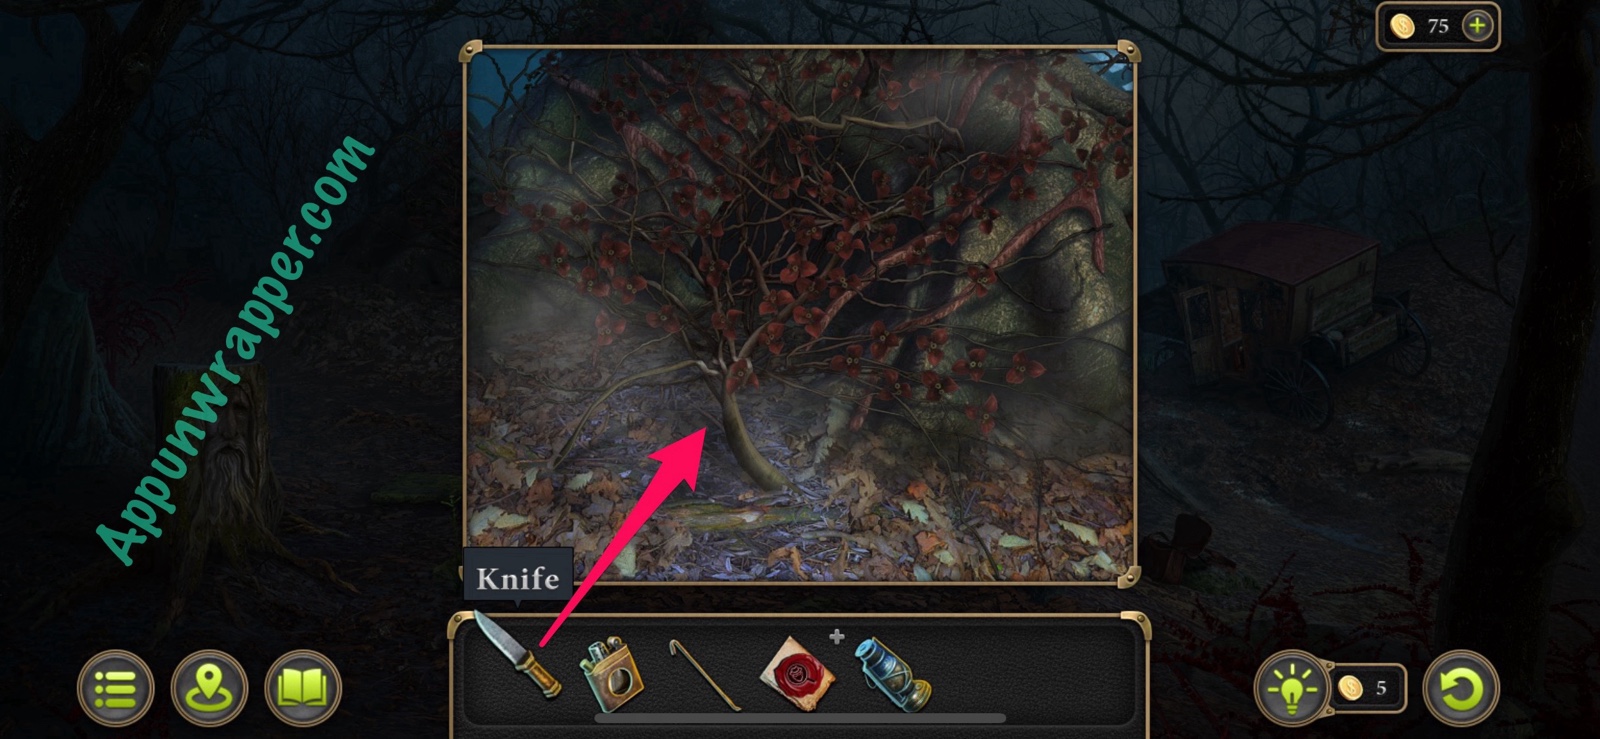
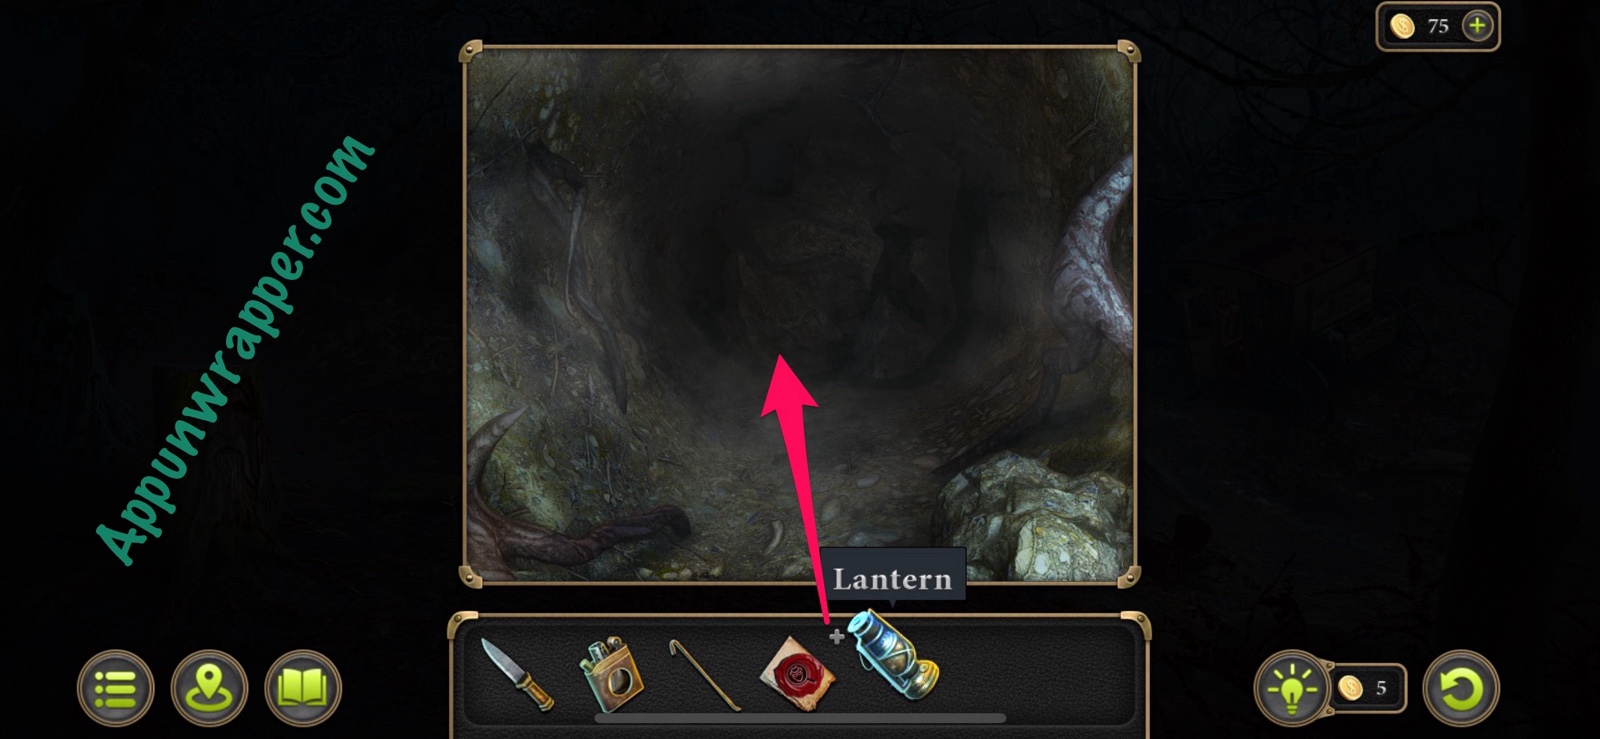
121. Go back to the forest and inject the herbicide into the poison ivy. Then use your knife to cut away at the dead vines. Then place the lantern inside the hole to see that there’s a large stone blocking the passage. We can blow it up!
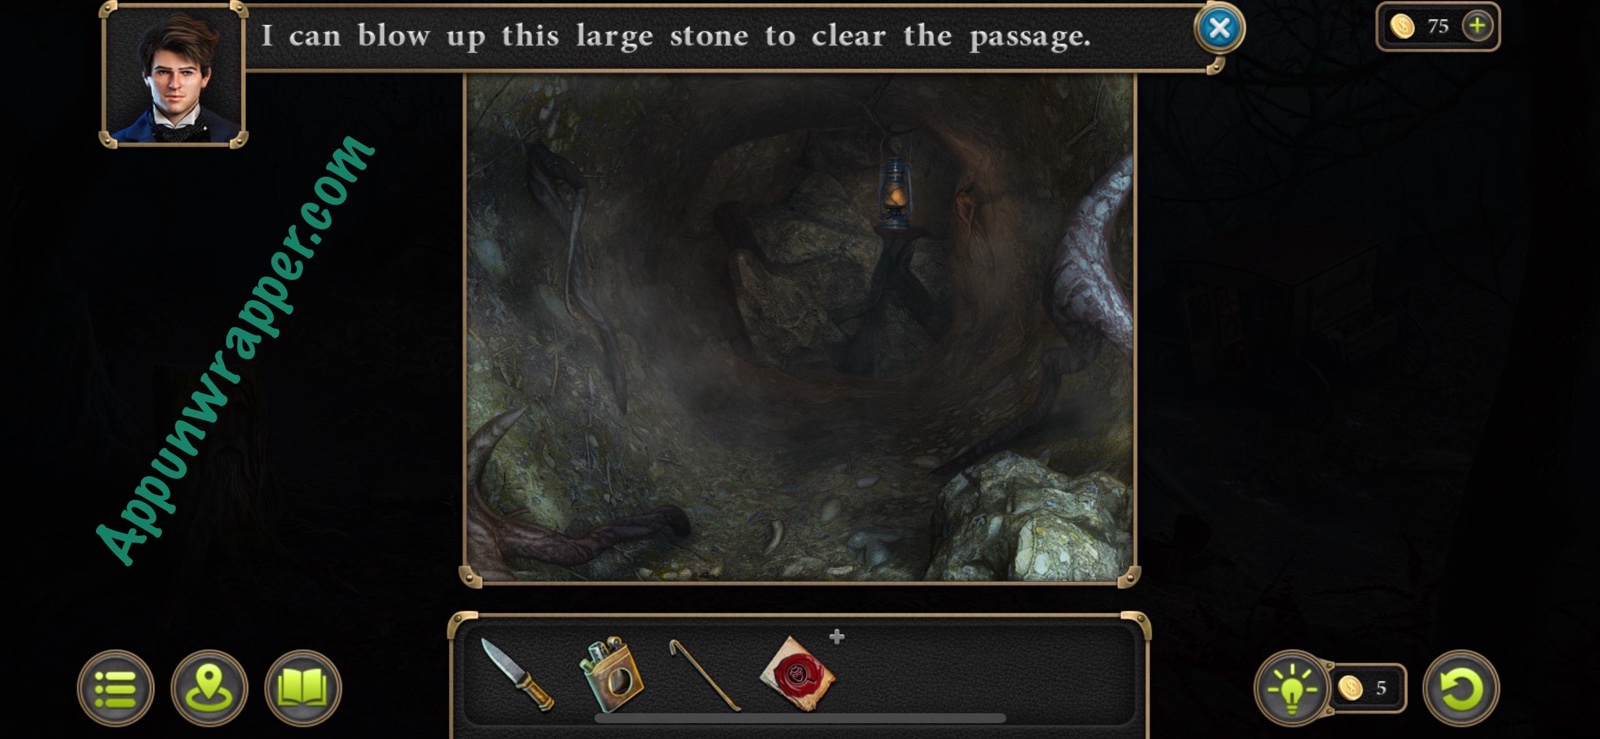
122. Go back to the burnt mine and use the crowbar to open a crate of dynamite. Take an Explosive.
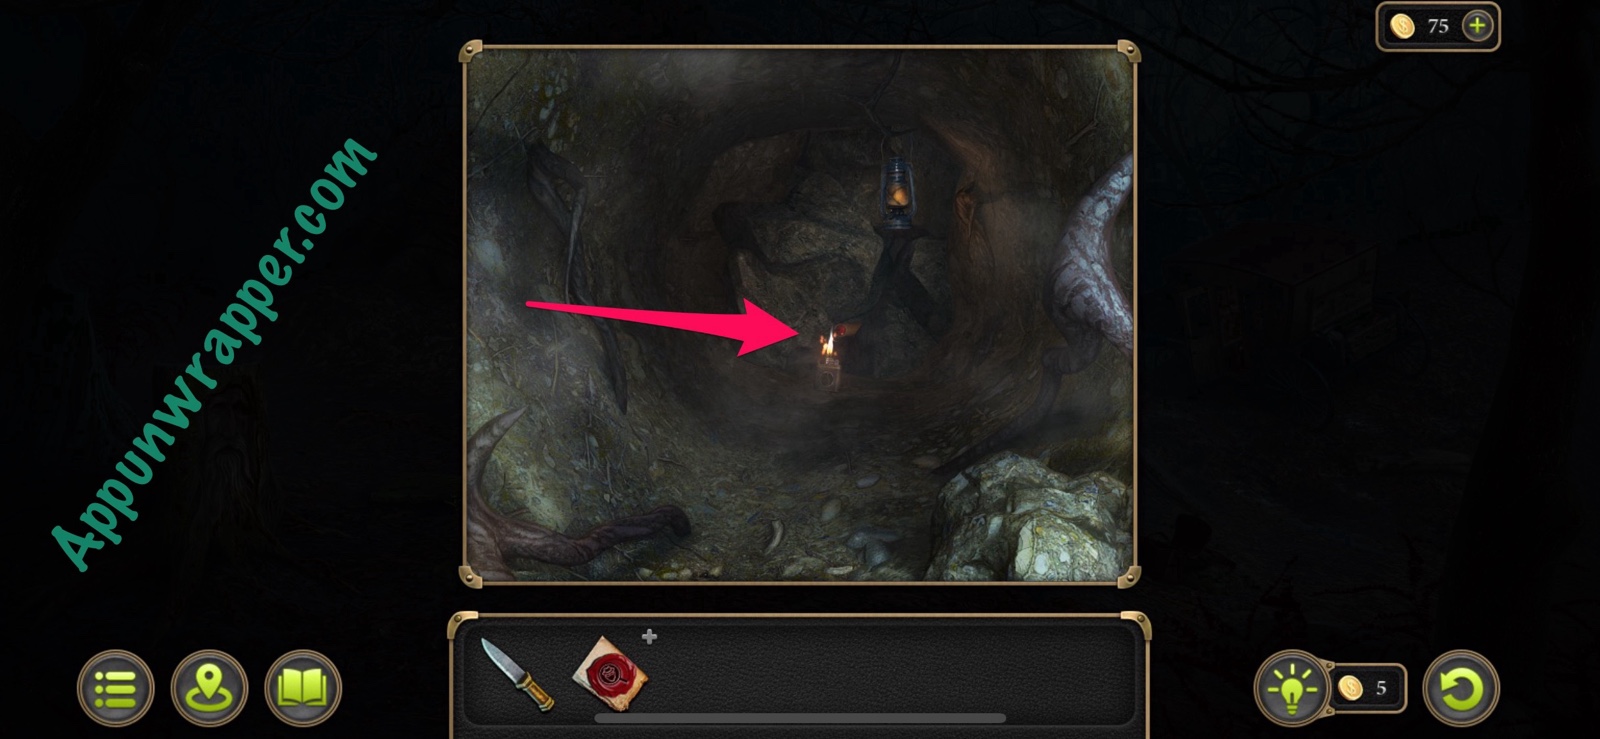
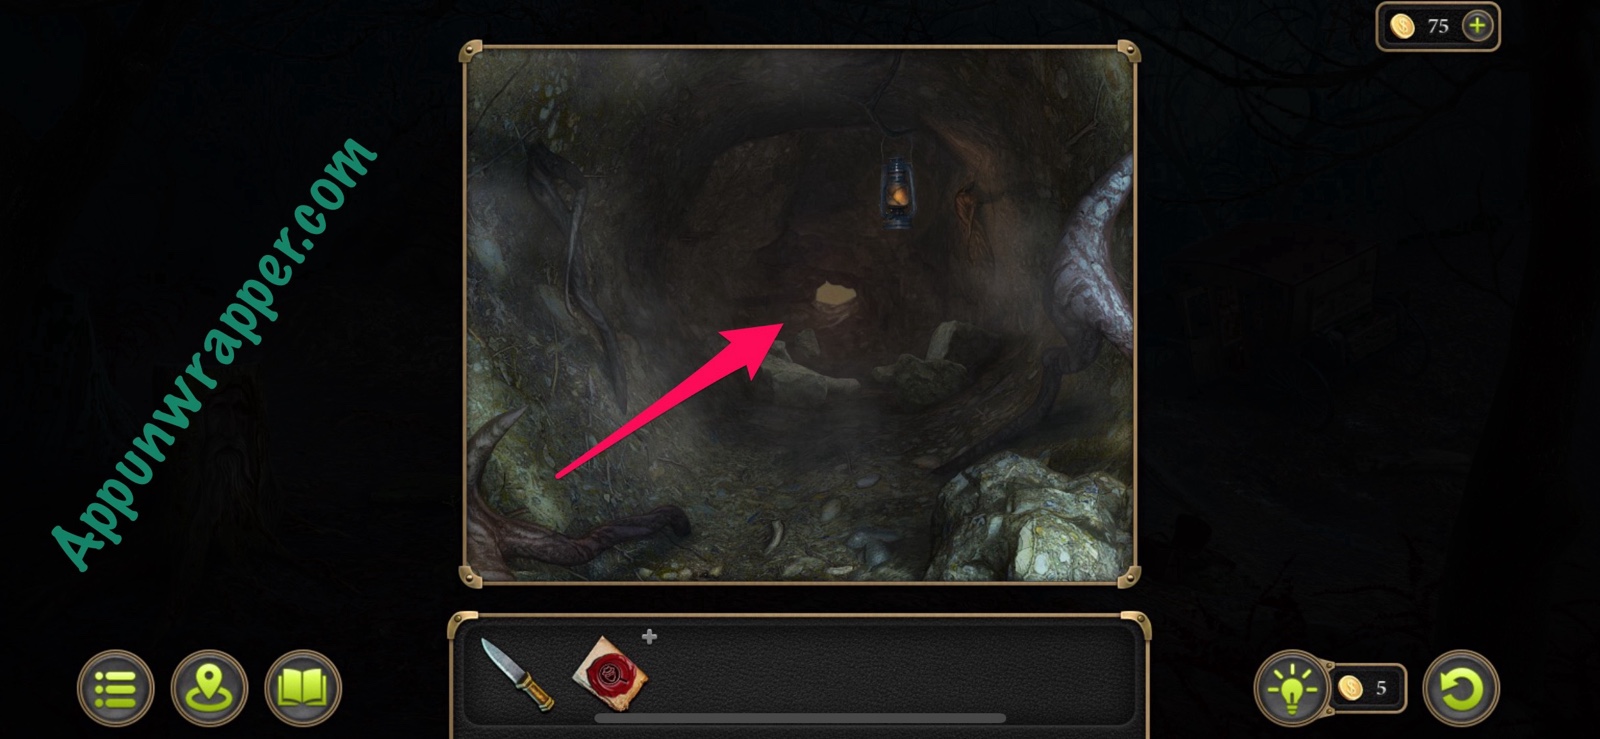
123. Go back to the tunnel and place the explosive down by the large stone. Use the lighter to light it and then stand back to watch the path clear. Go back inside and use the lantern to enter the tunnel.
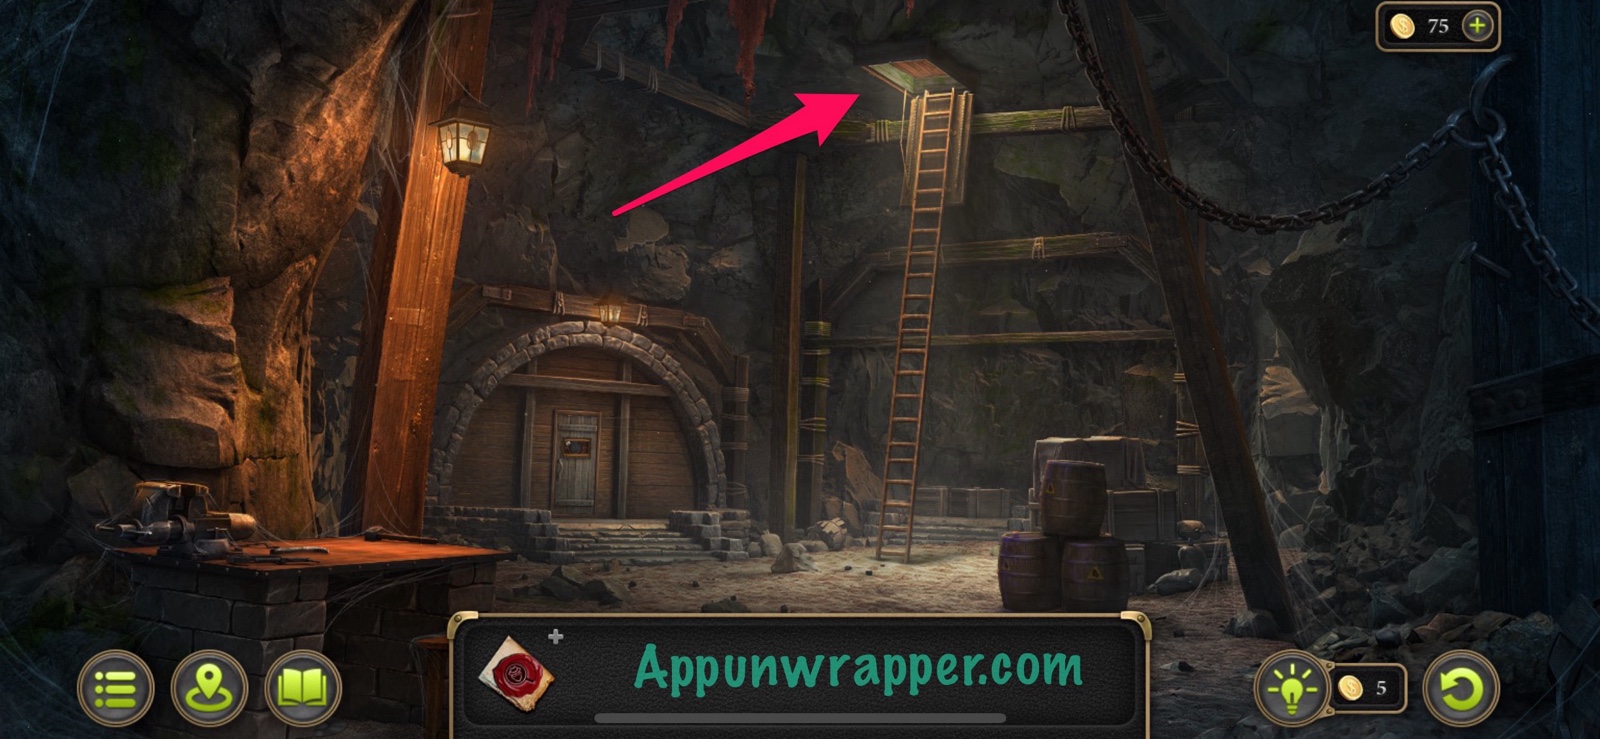
124. After the cutscene, grab the morphing object on the wall. Other points of interest here are the workbench, the covered barrels, the locked door and the trap door in the ceiling.
Collection: Morphing object. (16/49)
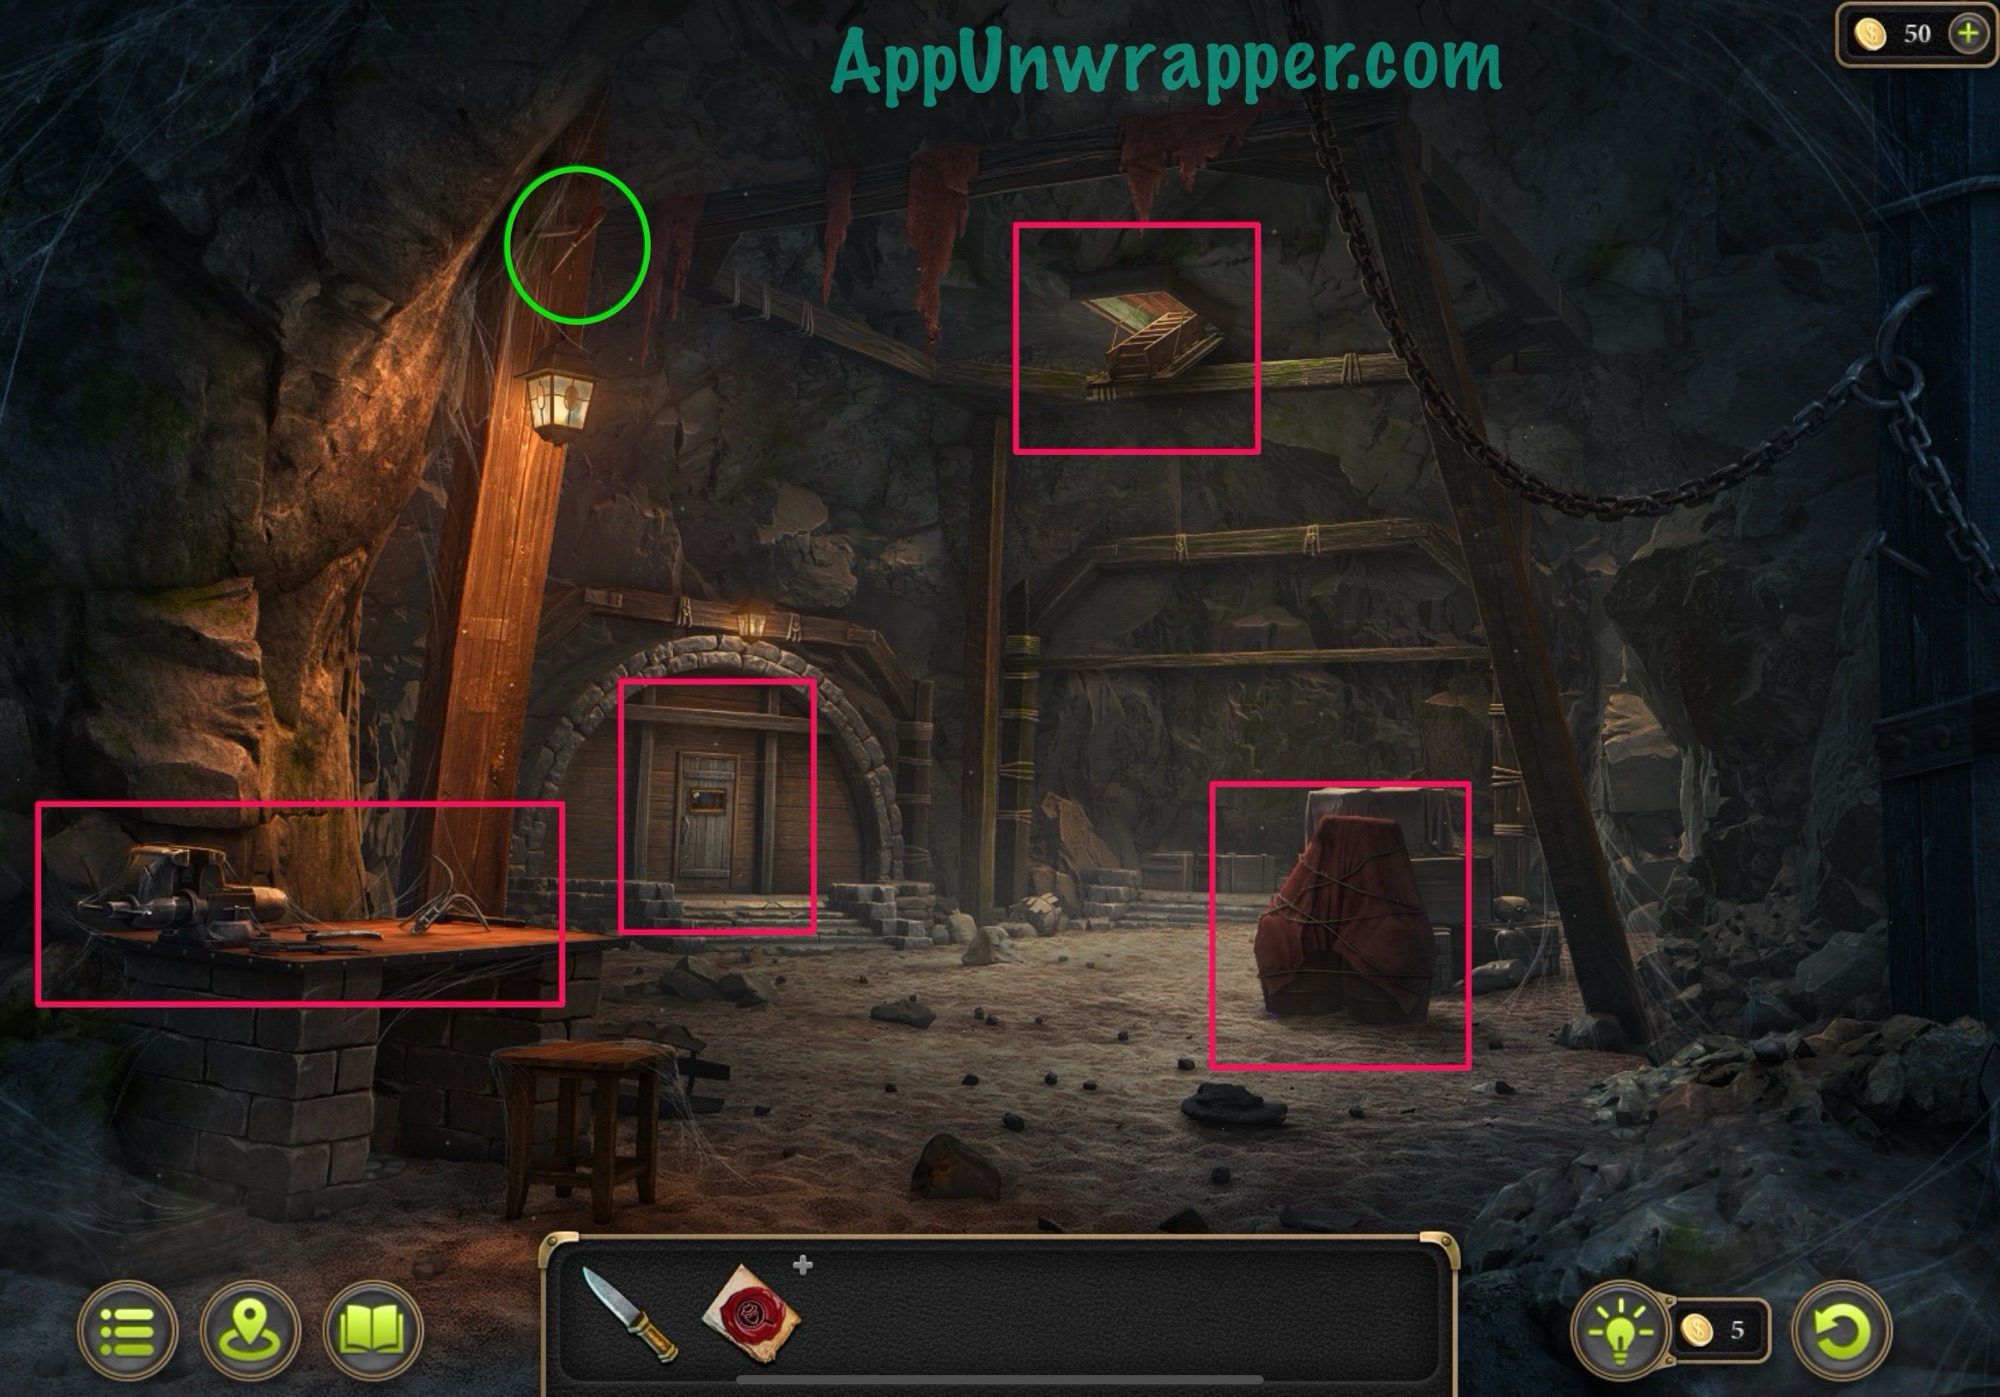
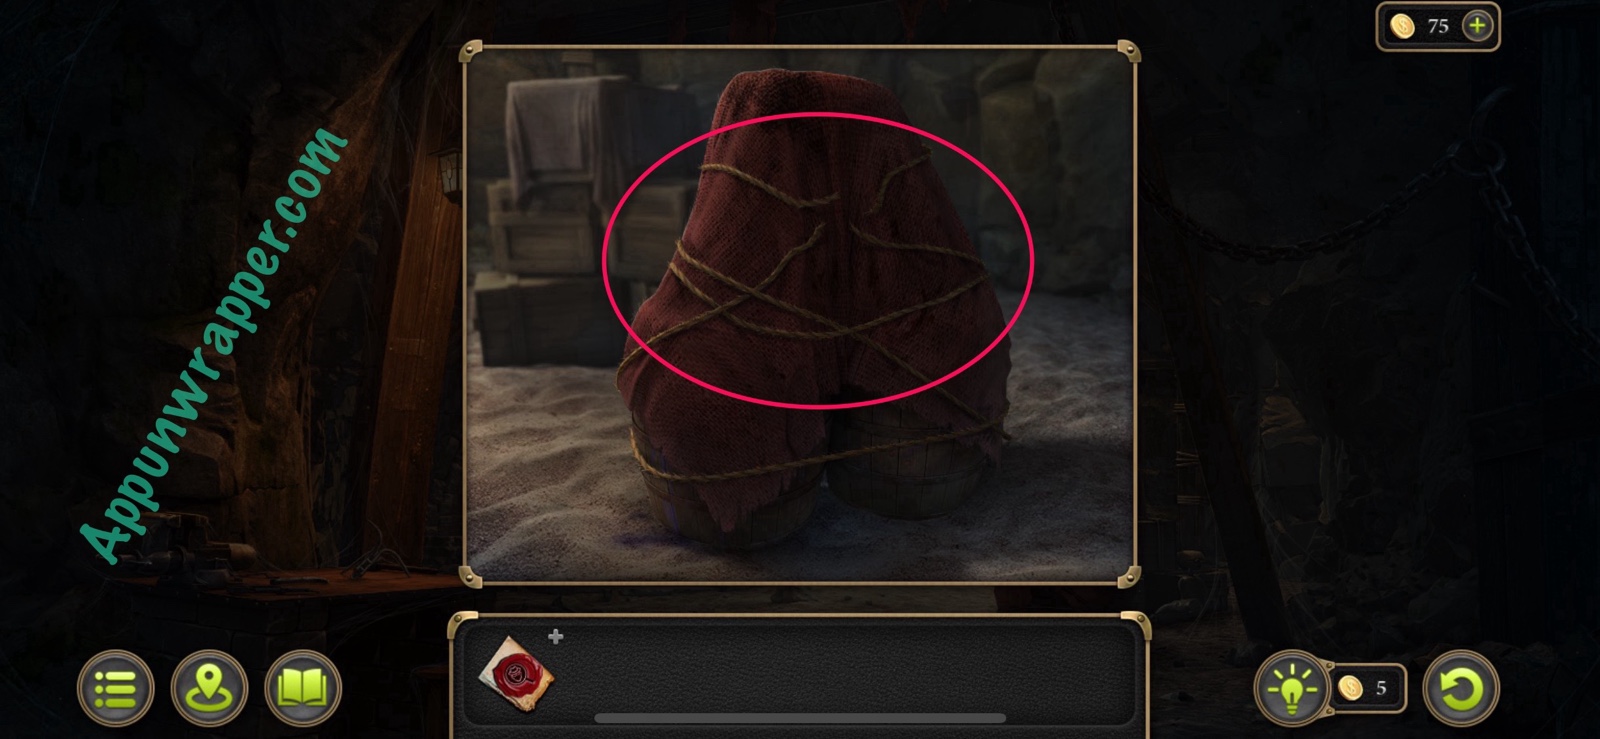
125. Start with the covered barrels. Use the knife to cut the rope. Then take the Rope. Lift the sheet to reveal the barrels and then tap on them to collect the herbicide as evidence.
Evidence: Herbicide batch. (Mystical Scam 2/12)


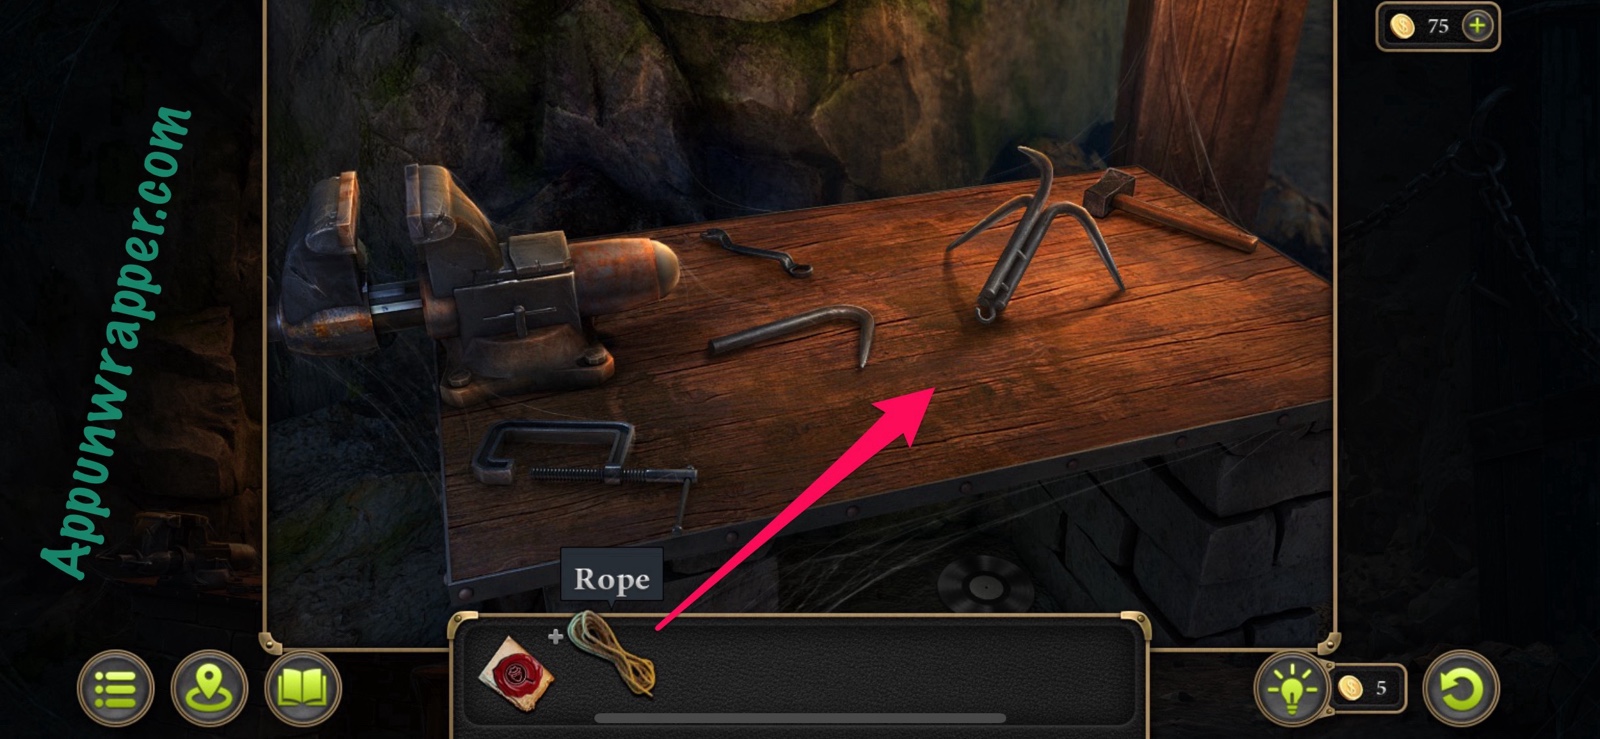
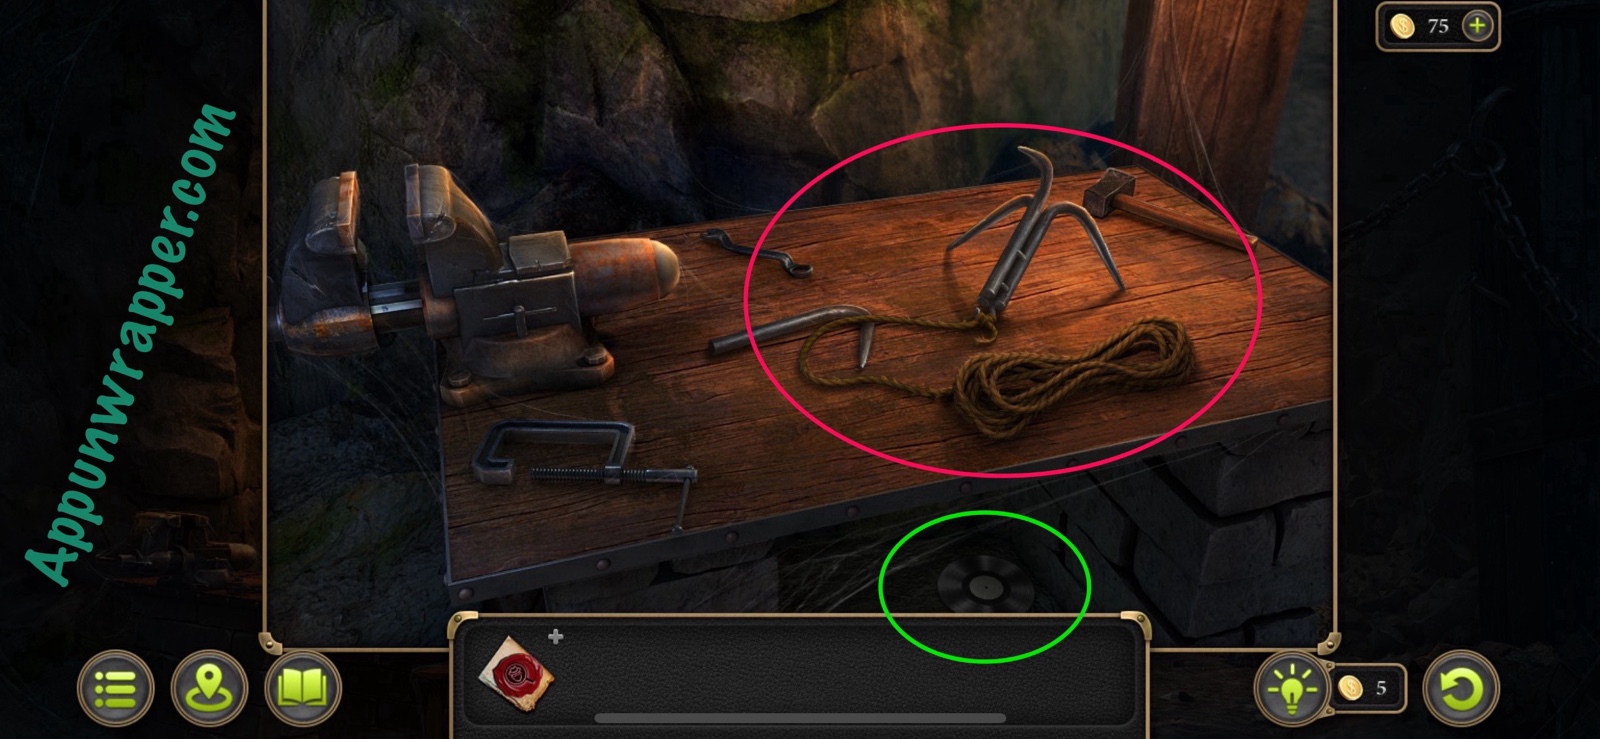
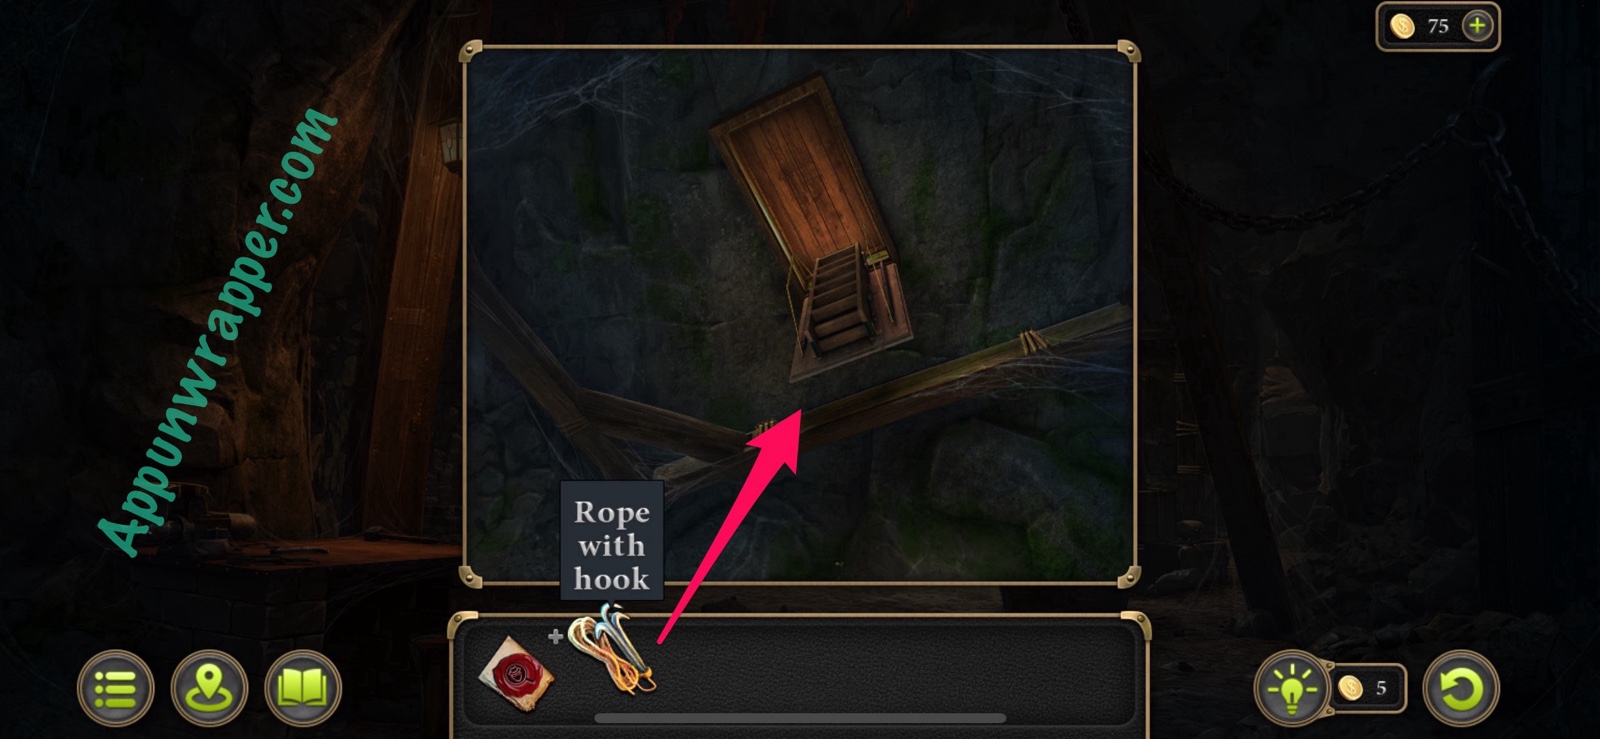
126. Now, go to the workbench and use the rope with the tools here to make a grappling hook, or Rope with hook. Also, grab the vinyl record collectible from under the work bench.
Collection: Vinyl record. (9/9)
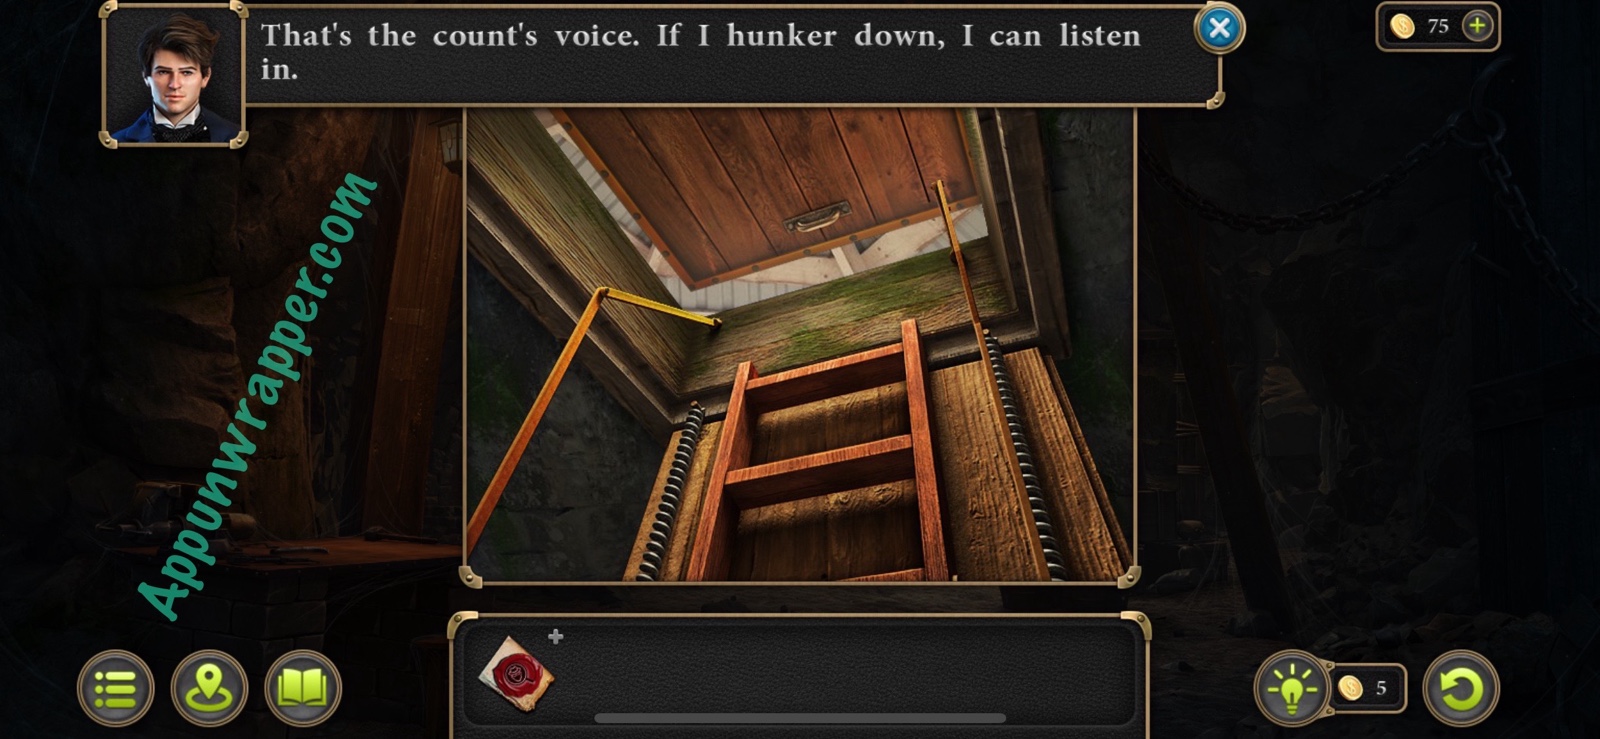
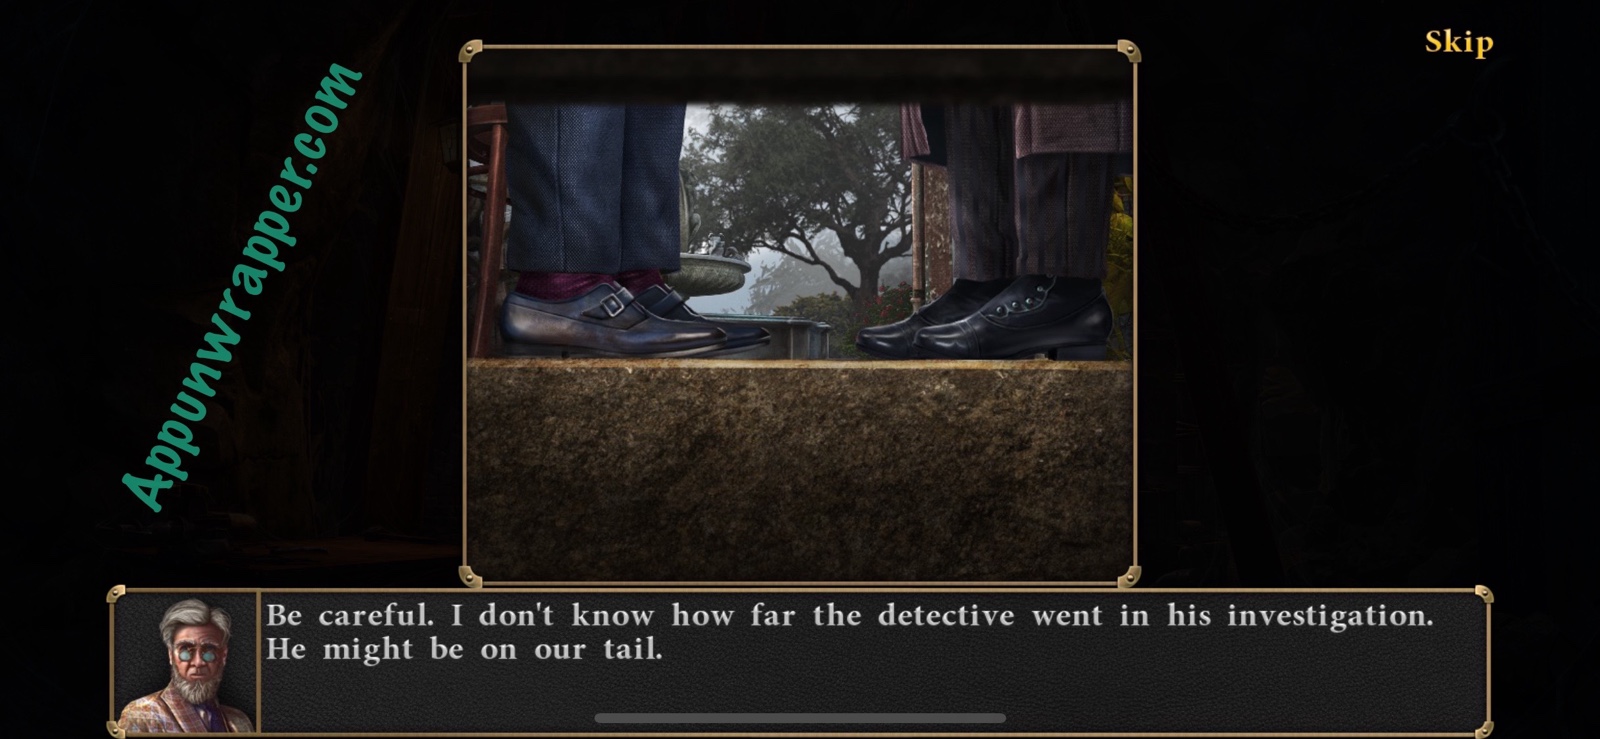
127. Use the grappling hook to pull down the ladder from the ceiling and then climb up to hear the count talking to his servant. Get closer to listen in.
New task: Collect evidence of the Count’s guilt.
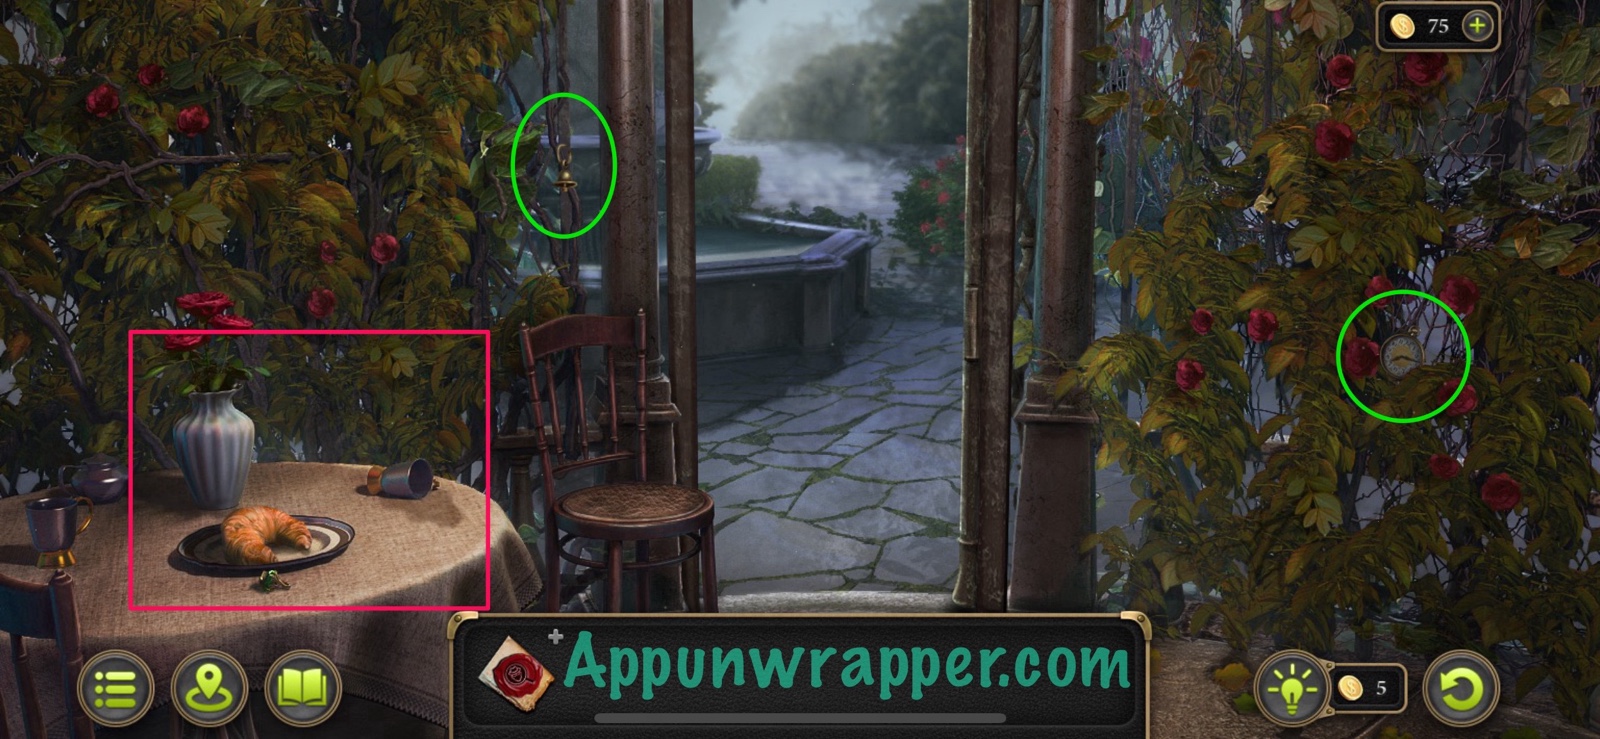
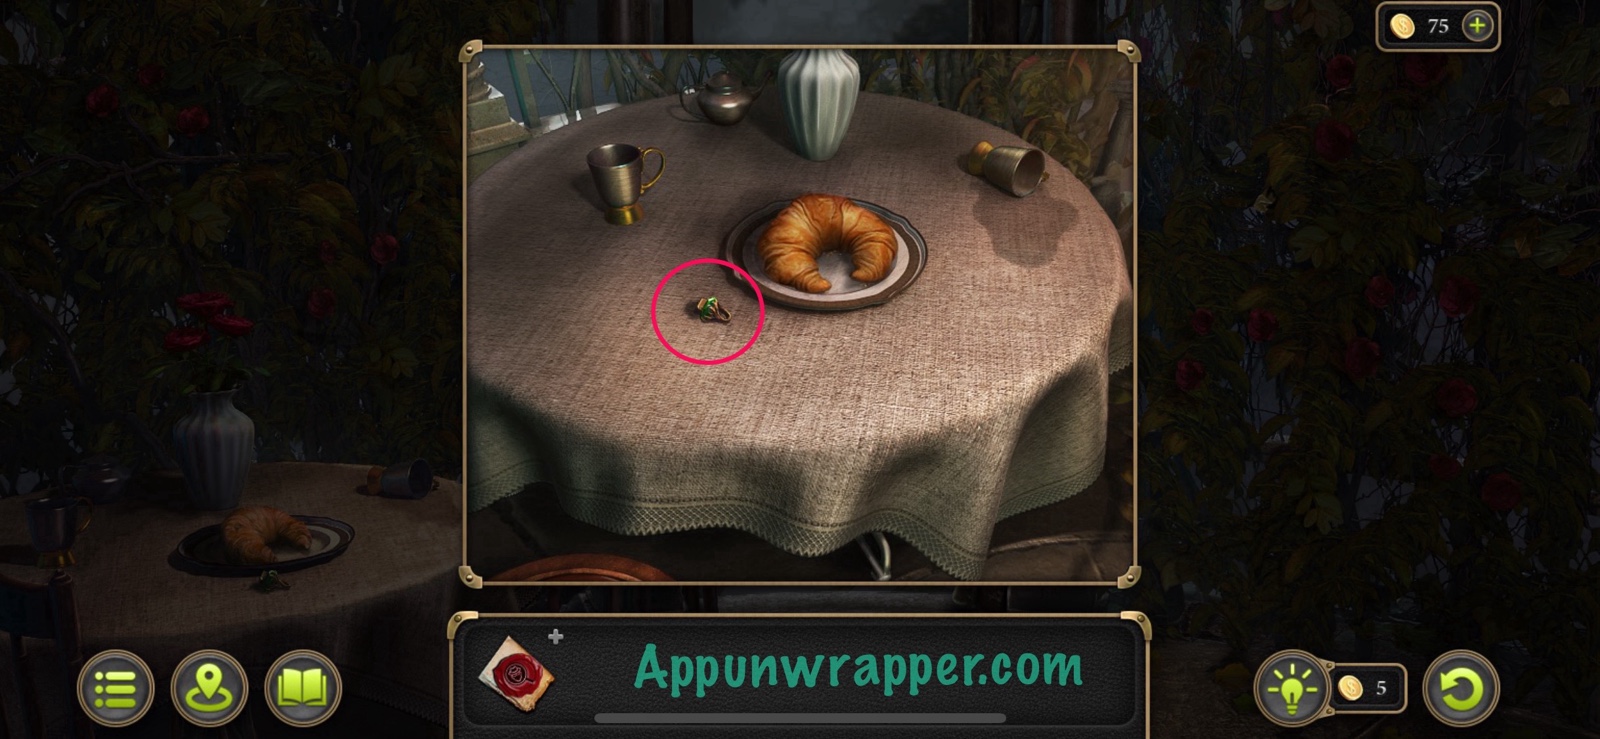
128. Climb up the ladder and into the gazebo. Grab the pocket watch collectible and morphing object collectible in the form of a bell. take the Ring From the table.
Collection: Pocket watch. (8/9)
Collection: Morphing object. (17/49)
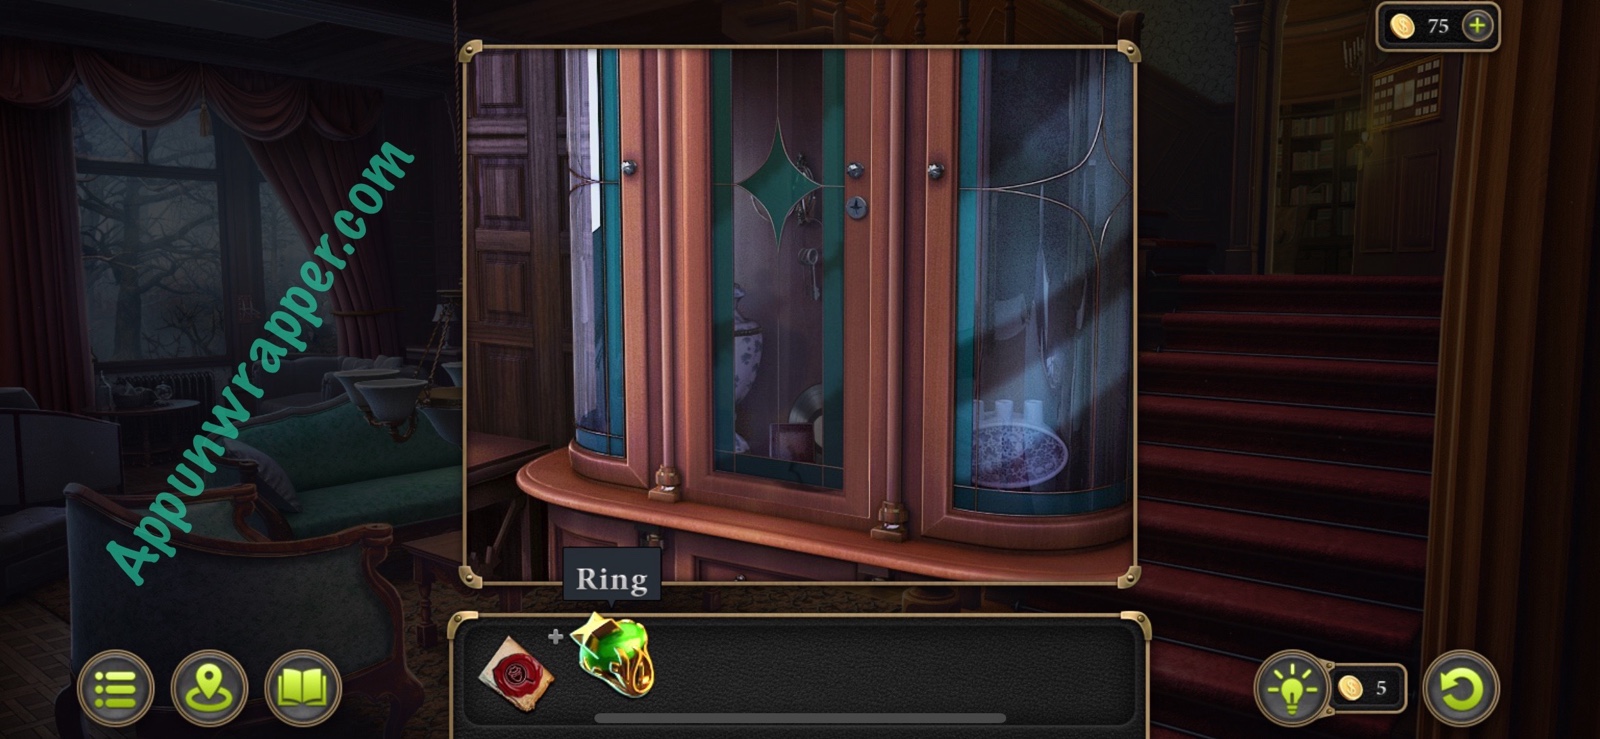
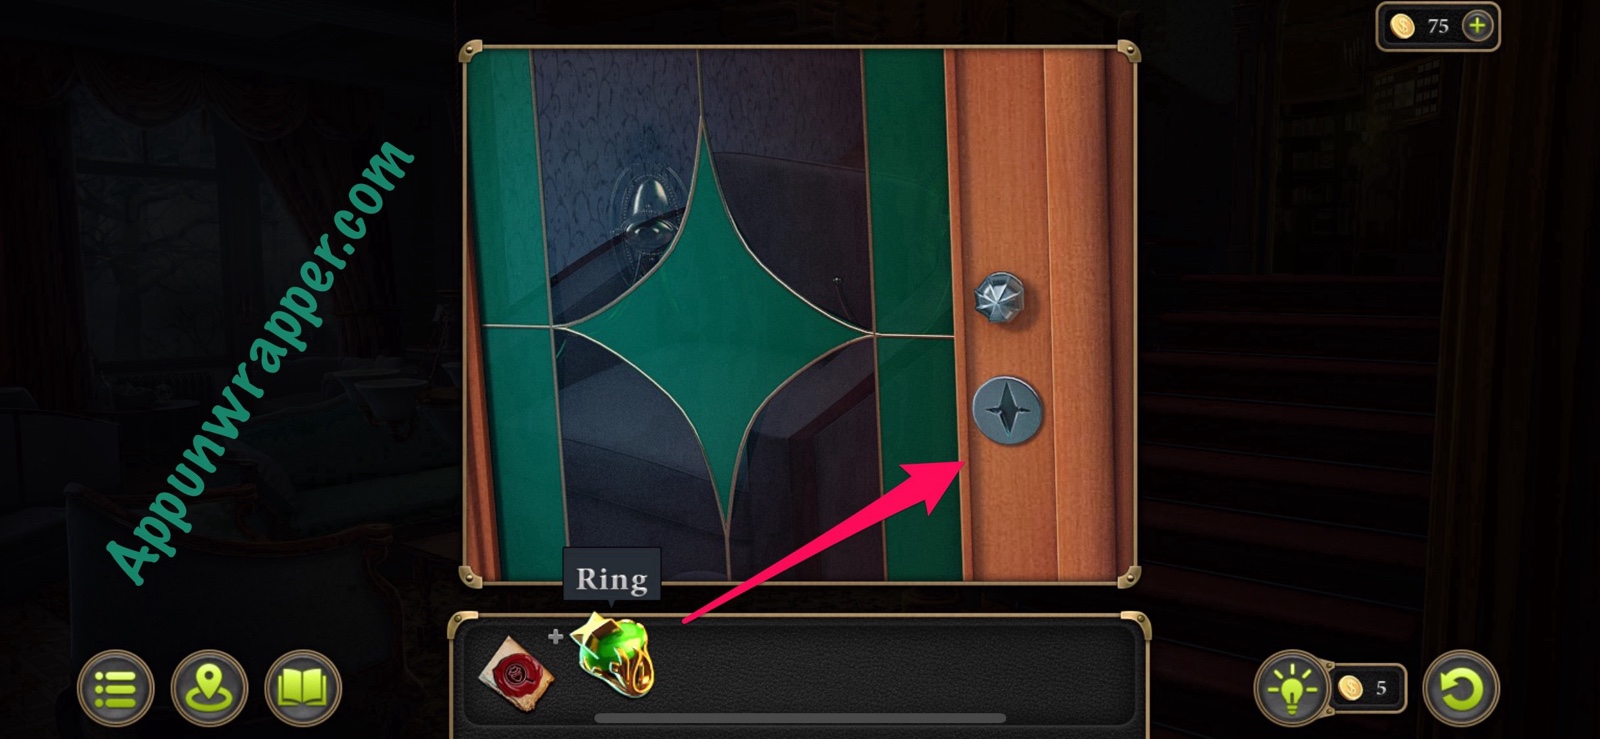
129. Go back to the living room of the estate and use the ring to unlock the glass cabinet. Grab the Bunch of keys and then the vinyl record collectible below it.
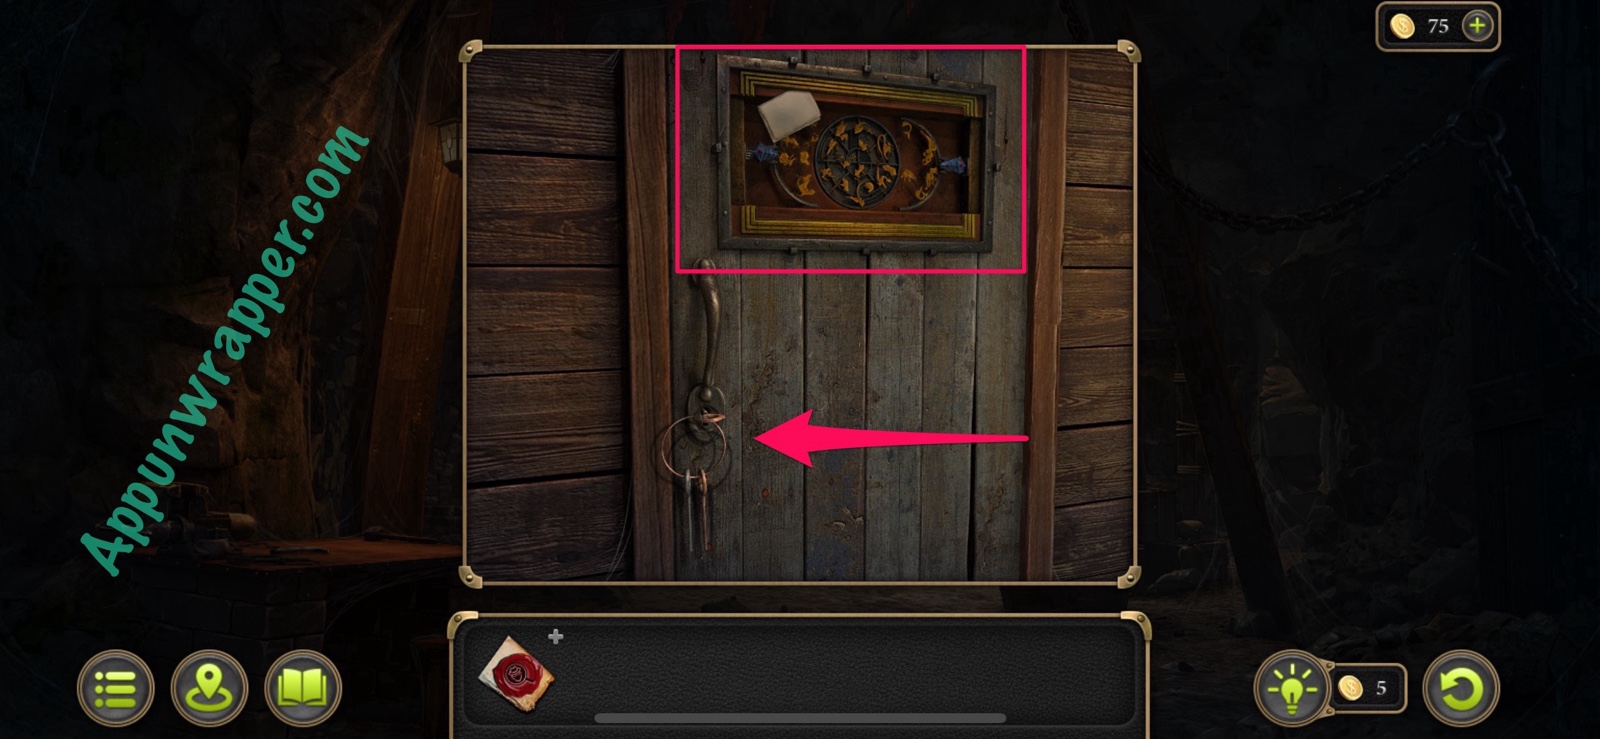
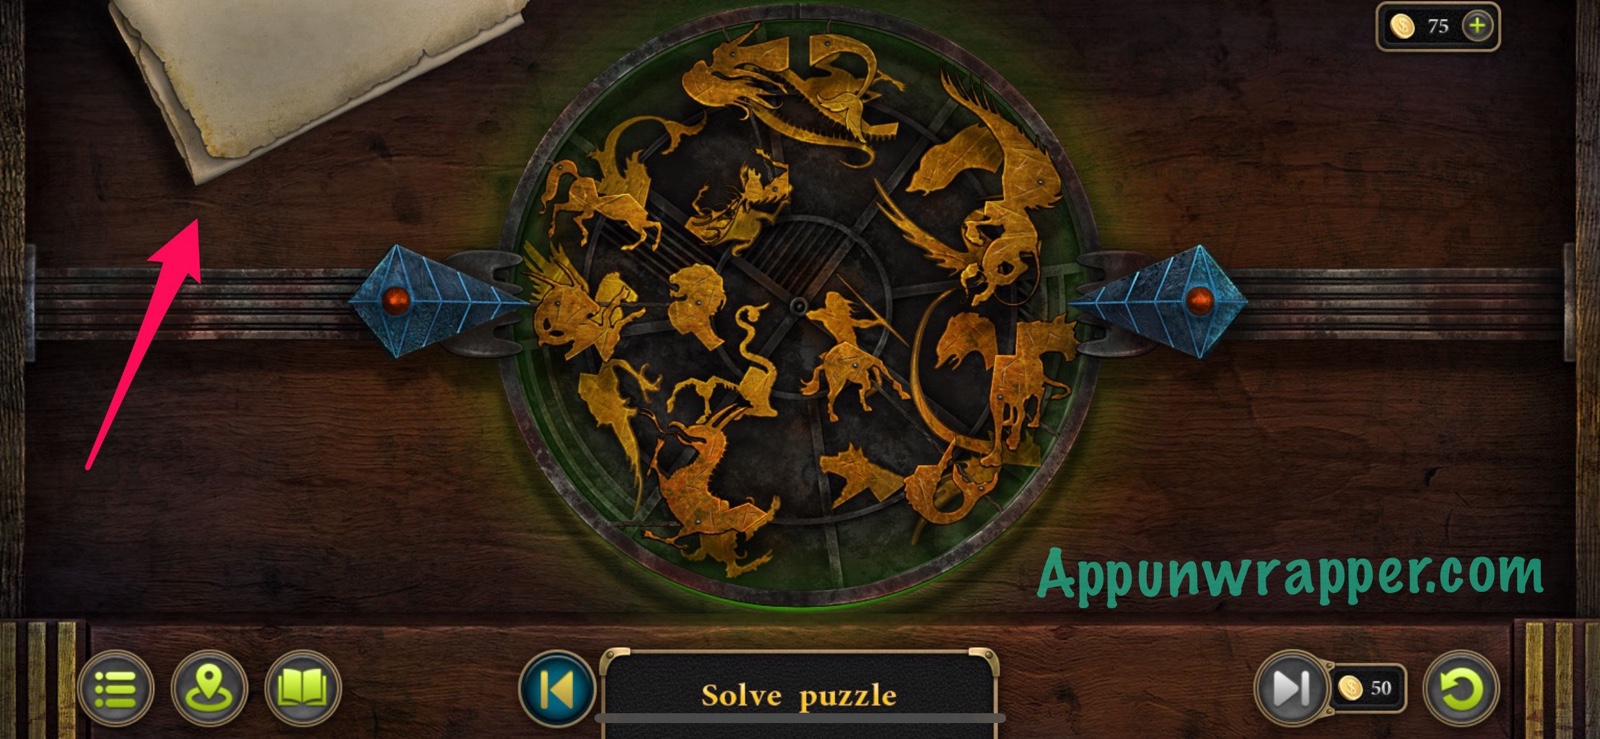
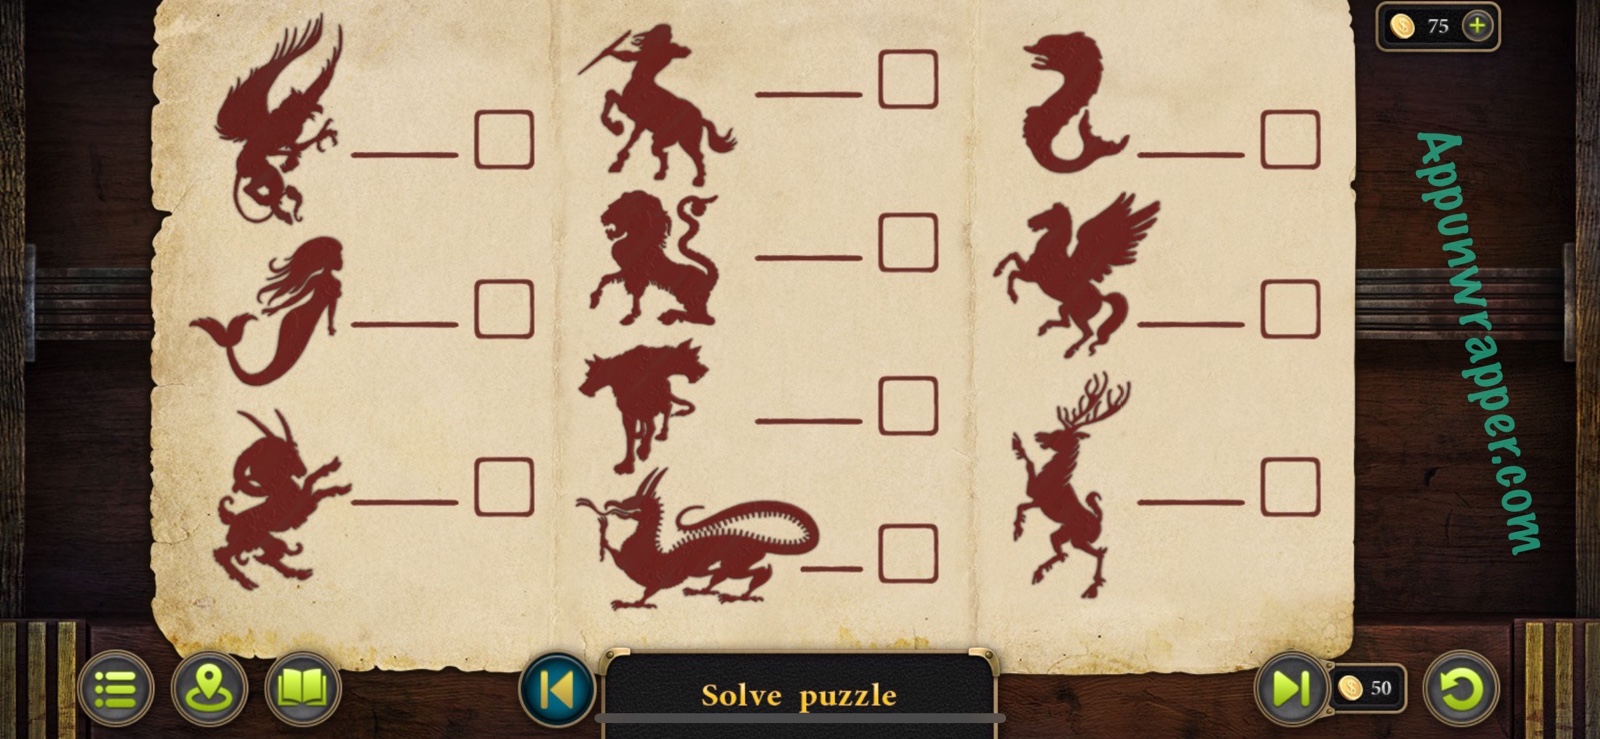
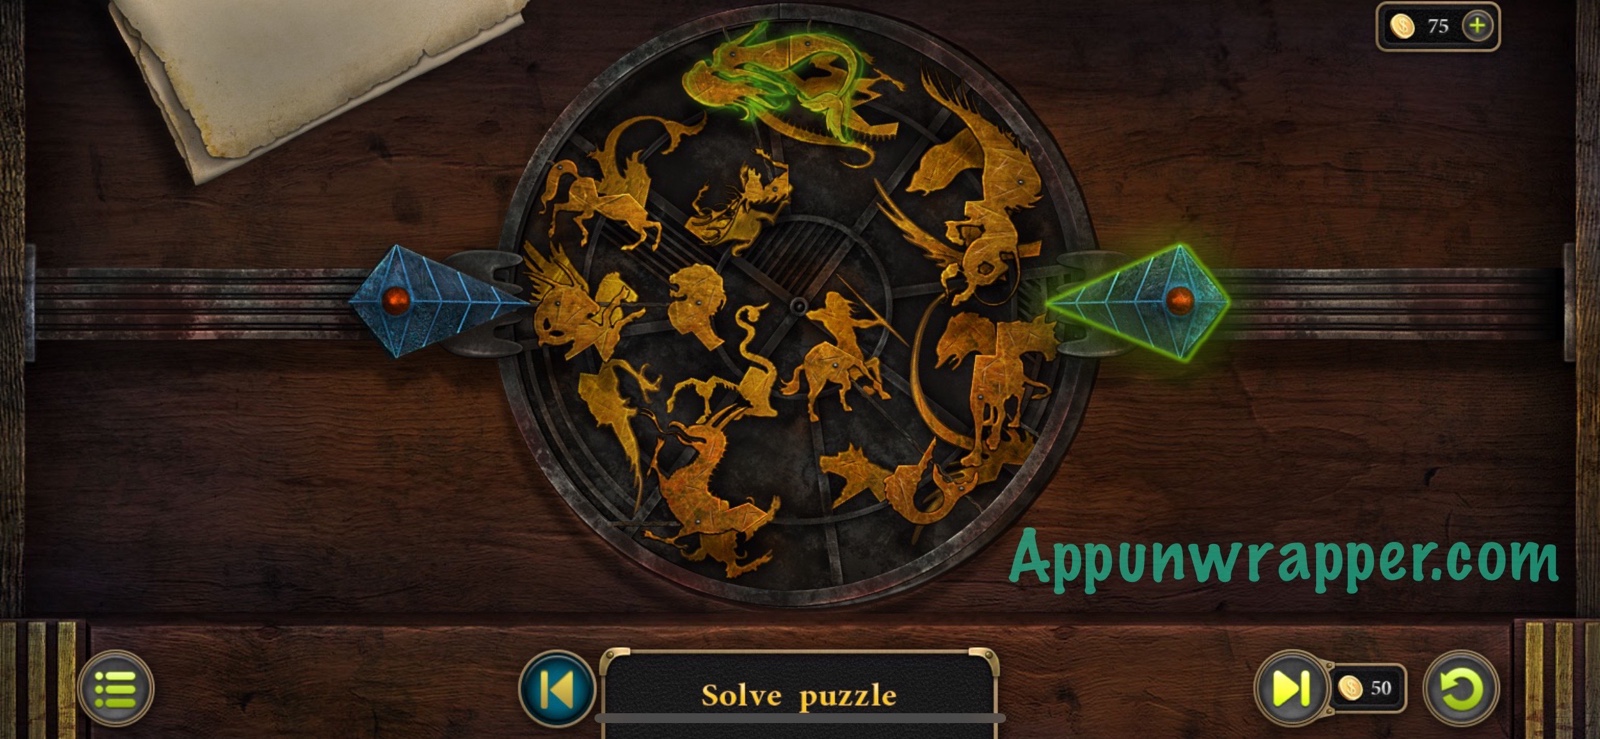
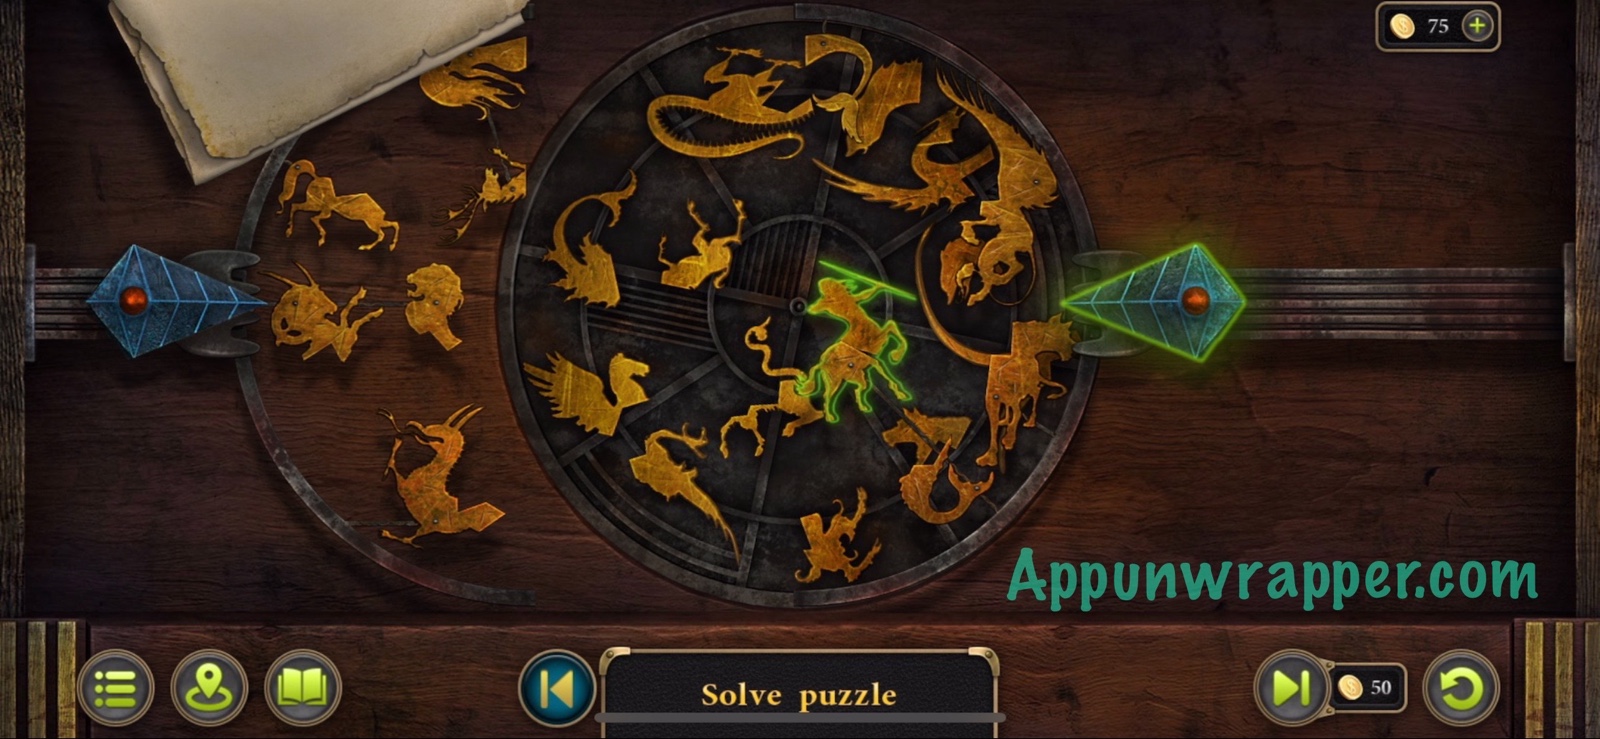
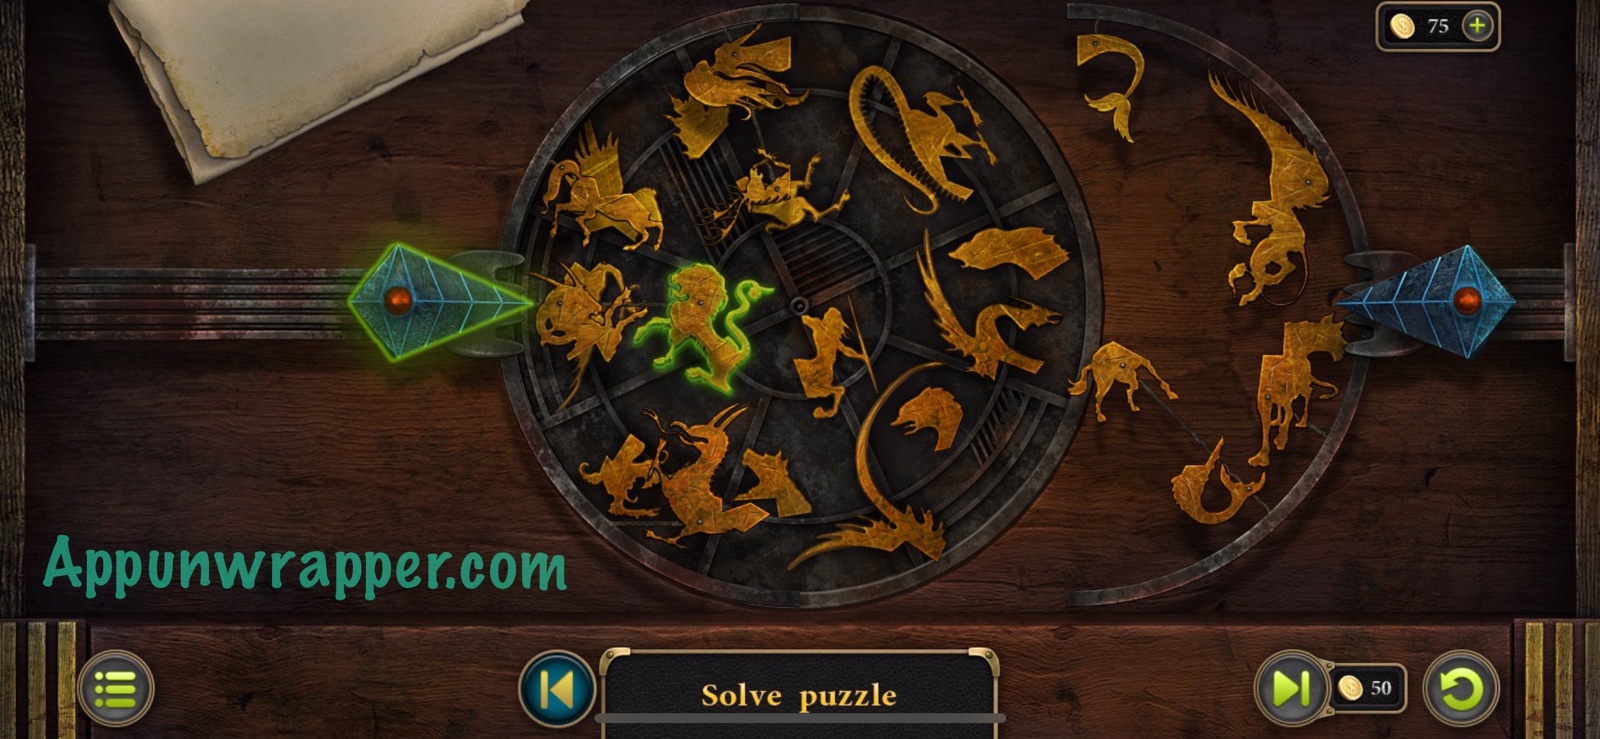
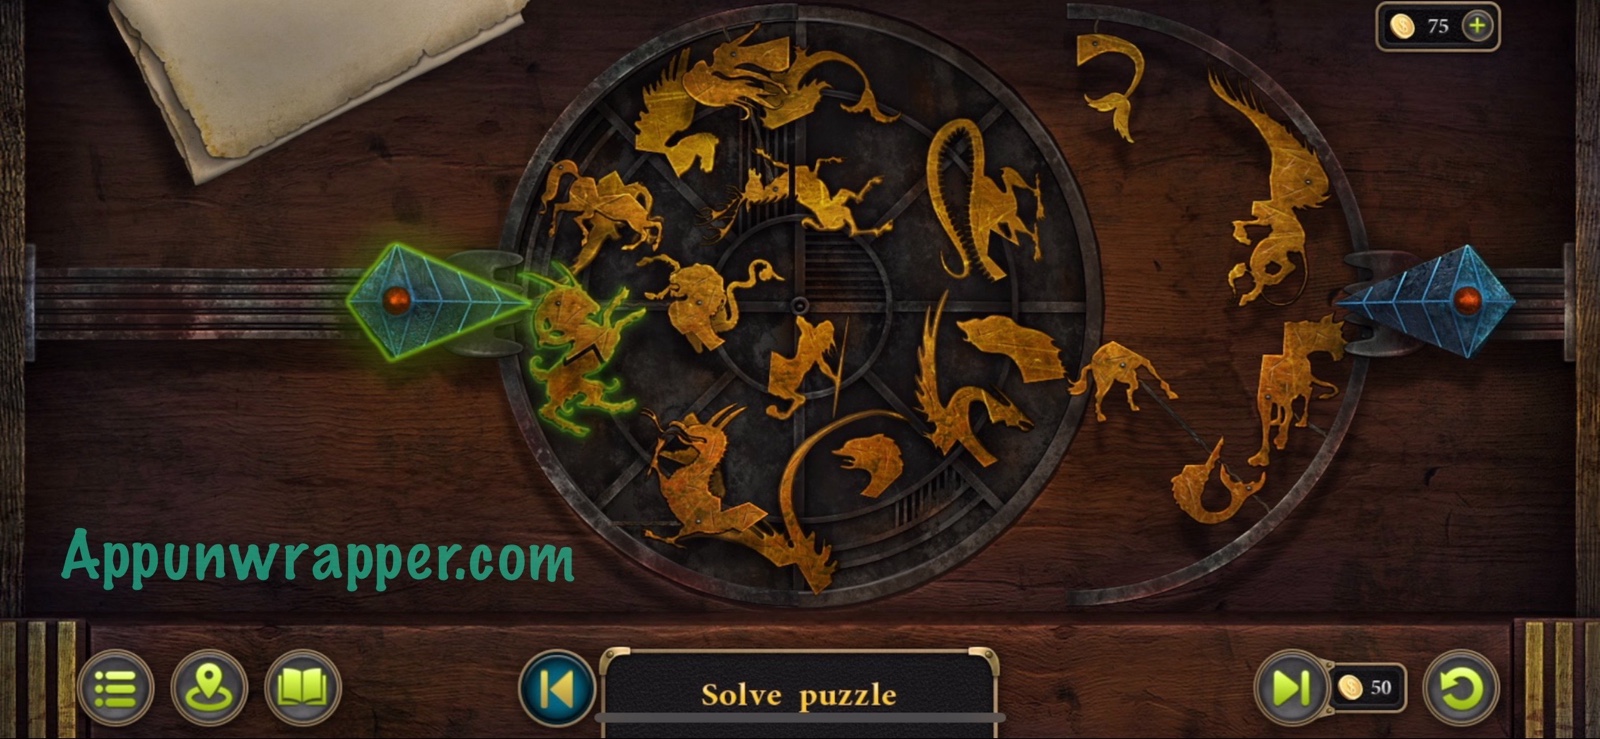
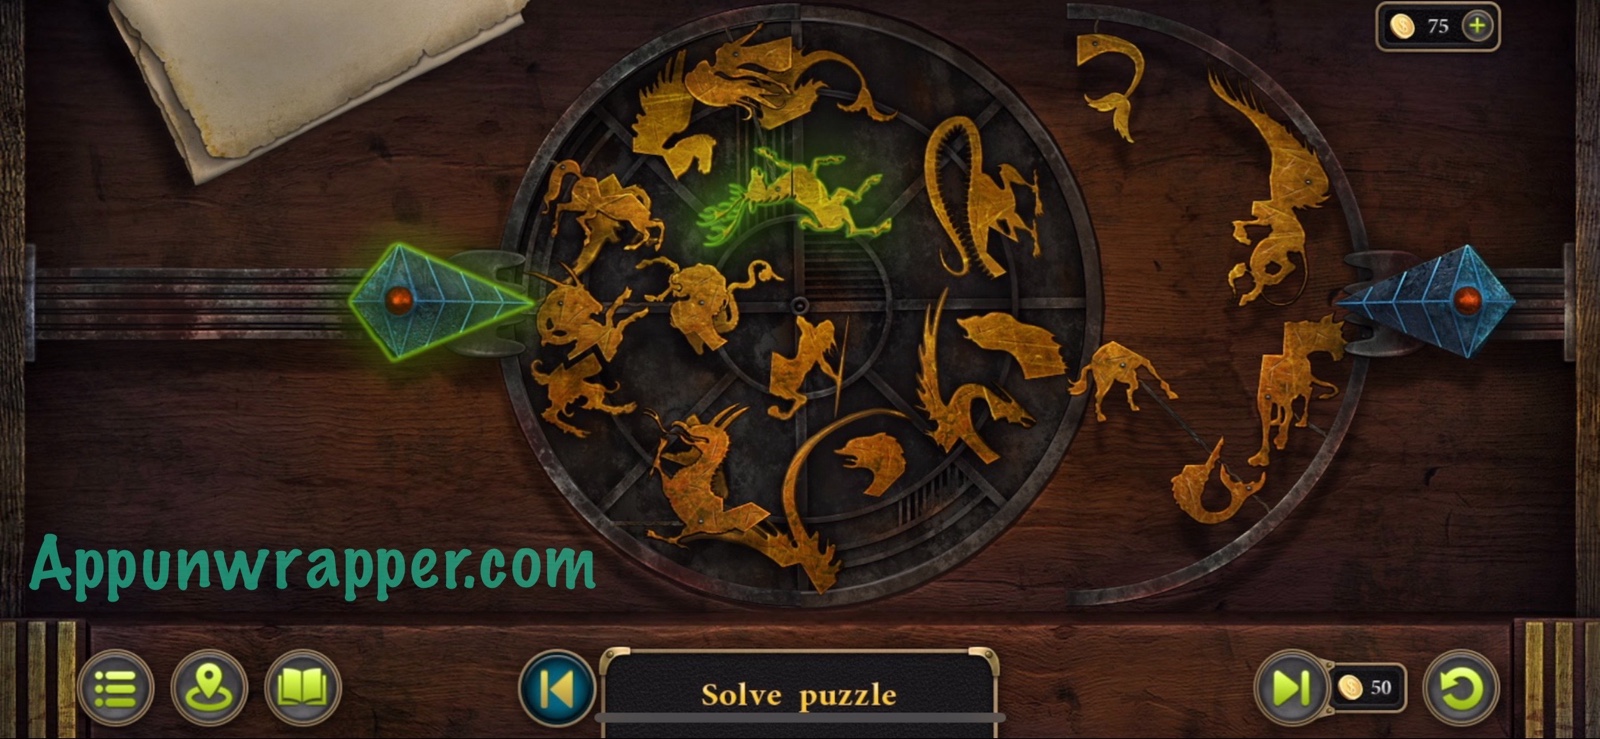
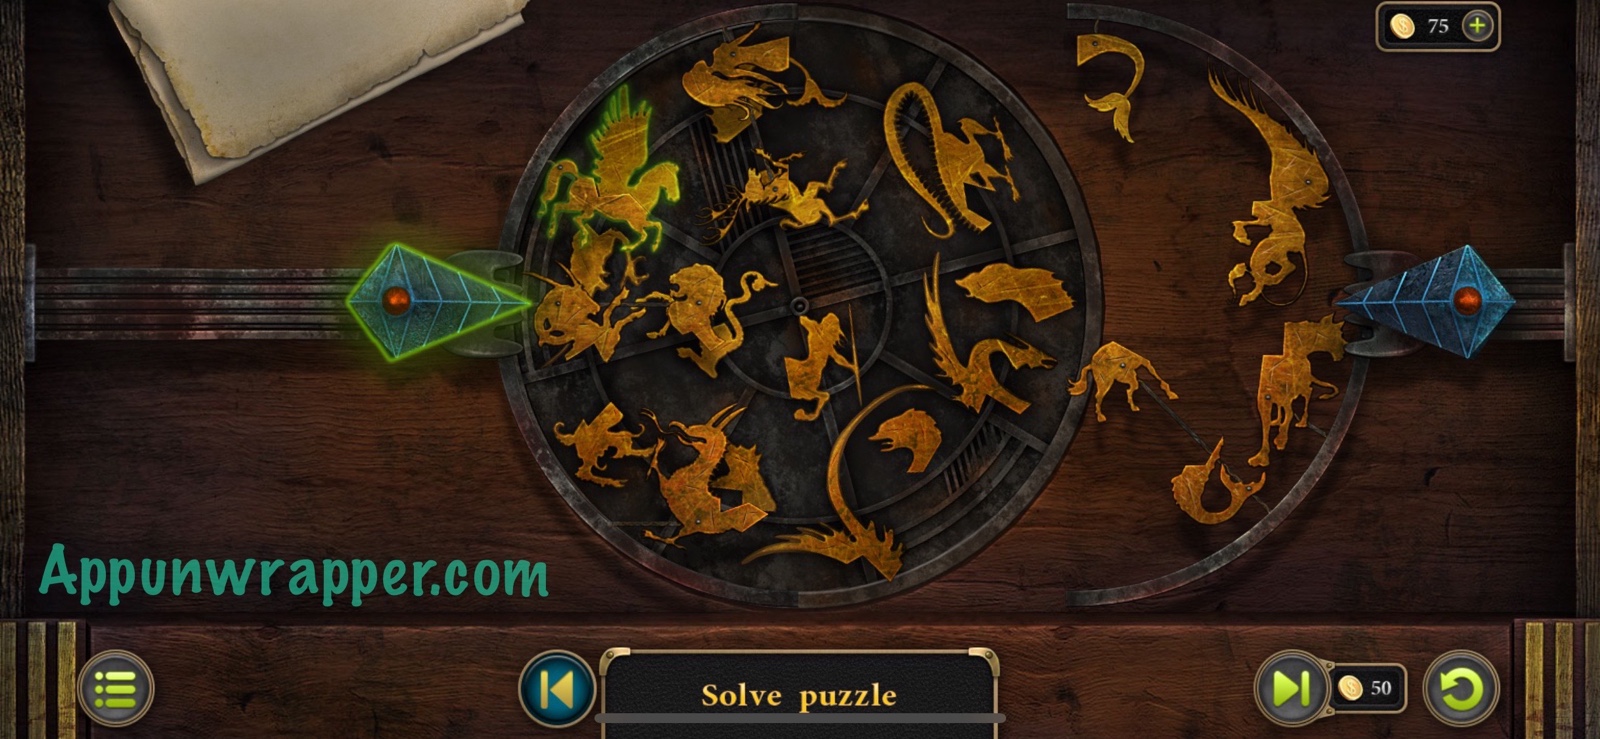
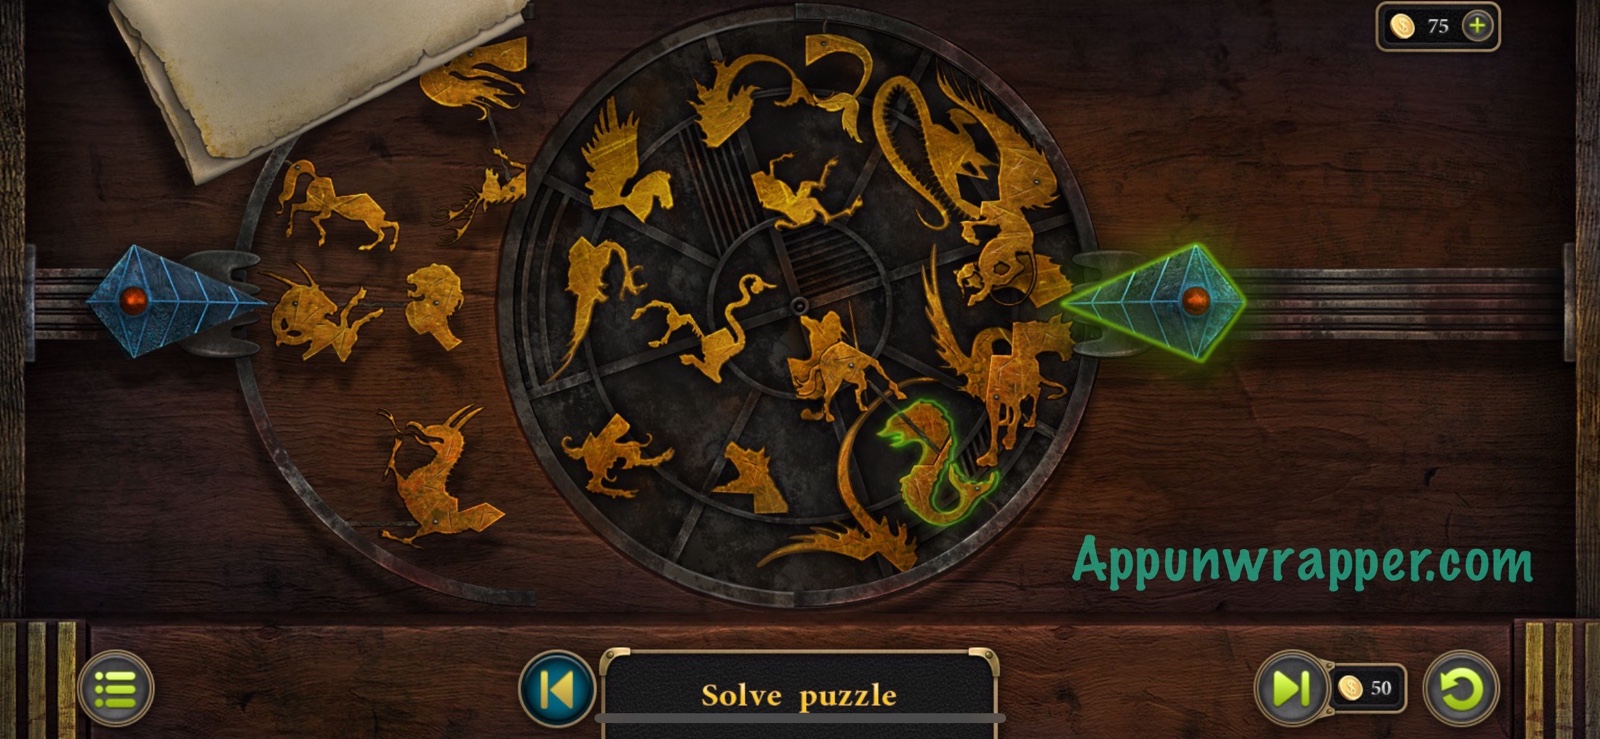
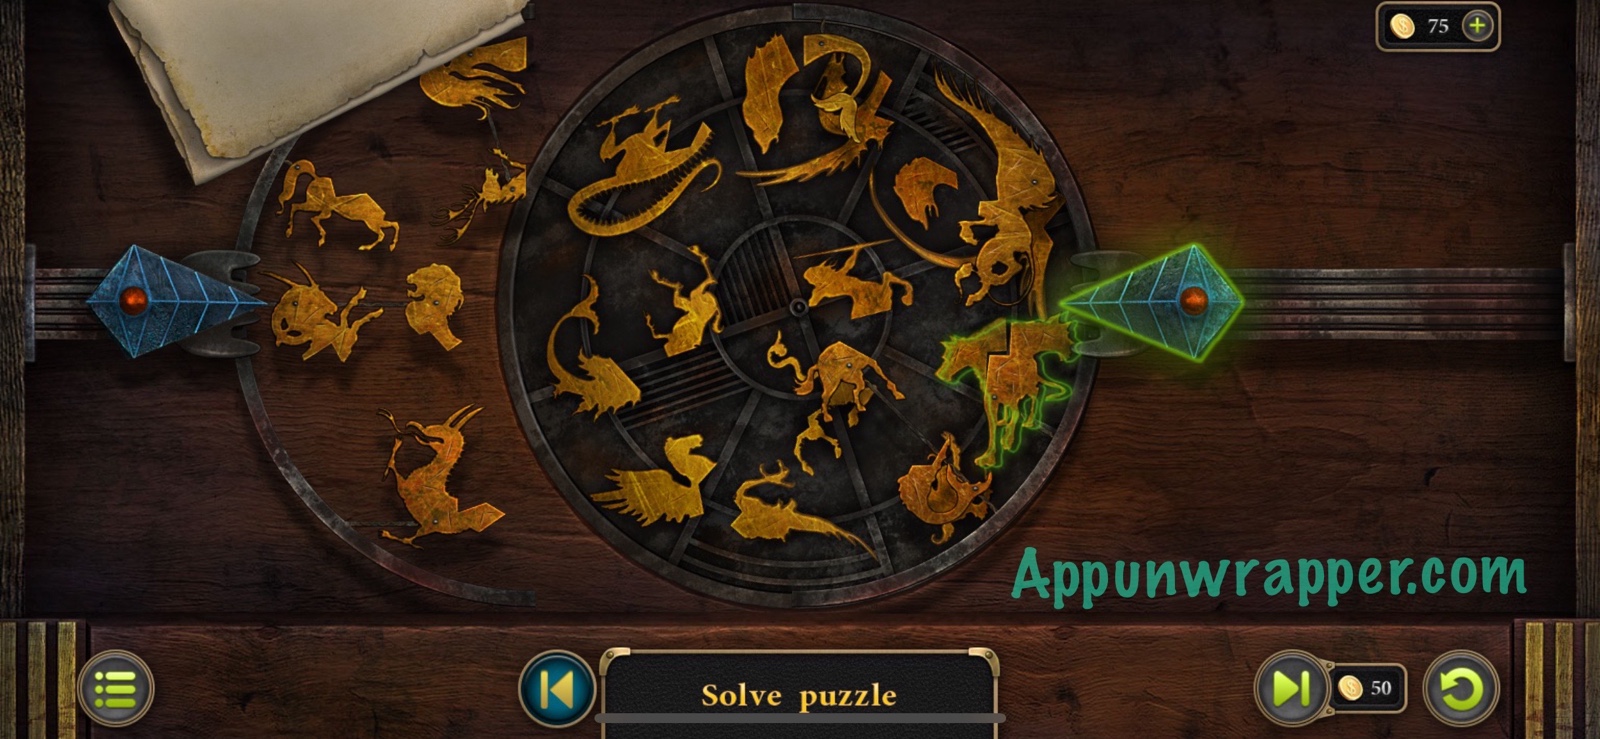
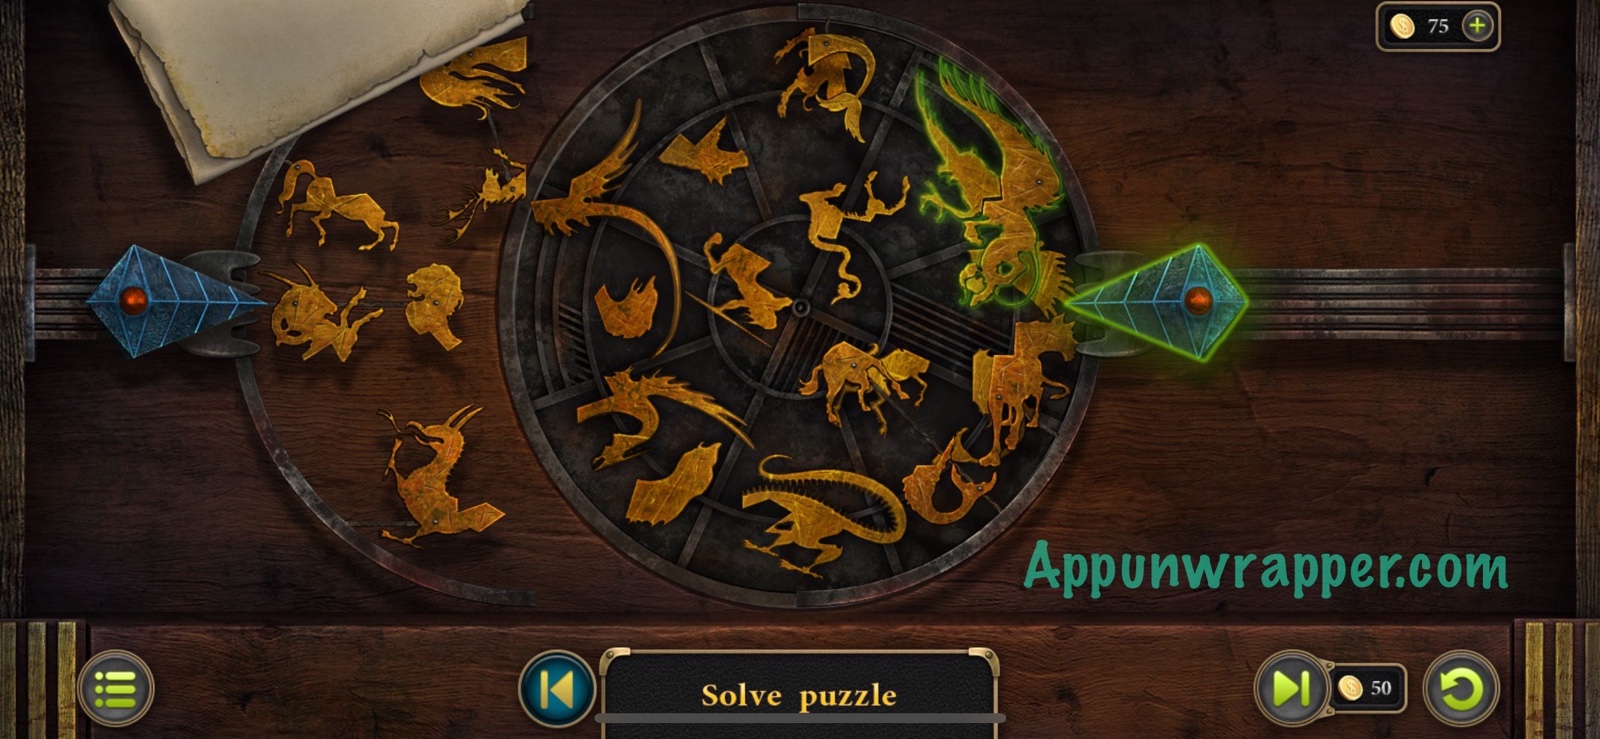
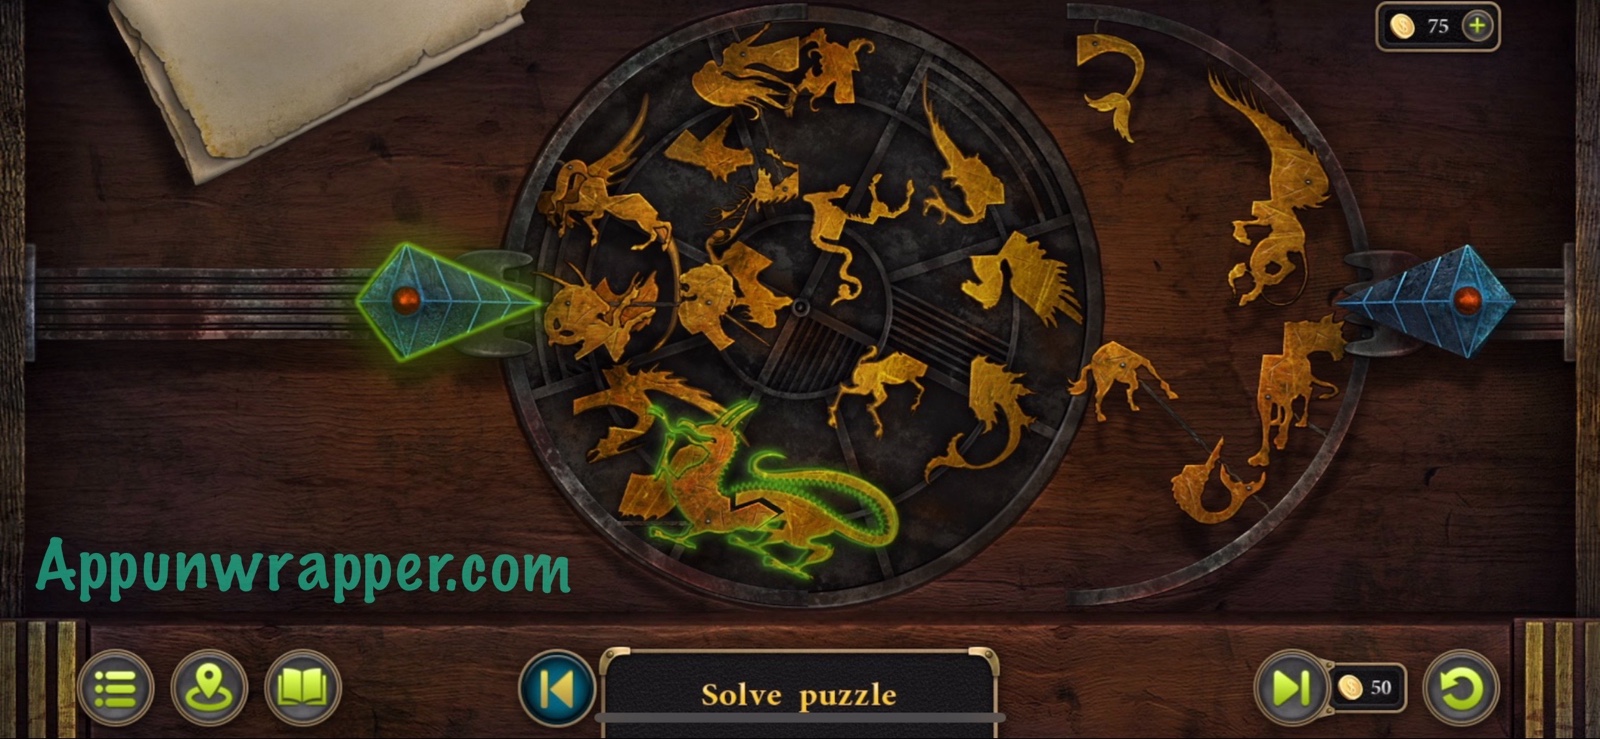
130. Go back to the tunnel and use the bunch of keys to unlock the door. We have to solve another puzzle before we can get through. Look at the note with silhouettes of different mythical beasts. What we need to do is use the mechanisms to create each of those beasts. But you only have to do one at a time to check it off the list. I posted screenshots for each of them as well as a video.
131. Head through the door. We’re in the attacker’s lair! Grab the horseshoe as a morphing object collectible. Pretty much everything in this room is important. I’ve highlighted them all for you.
Collection: Morphing object horseshoe. (18/49)
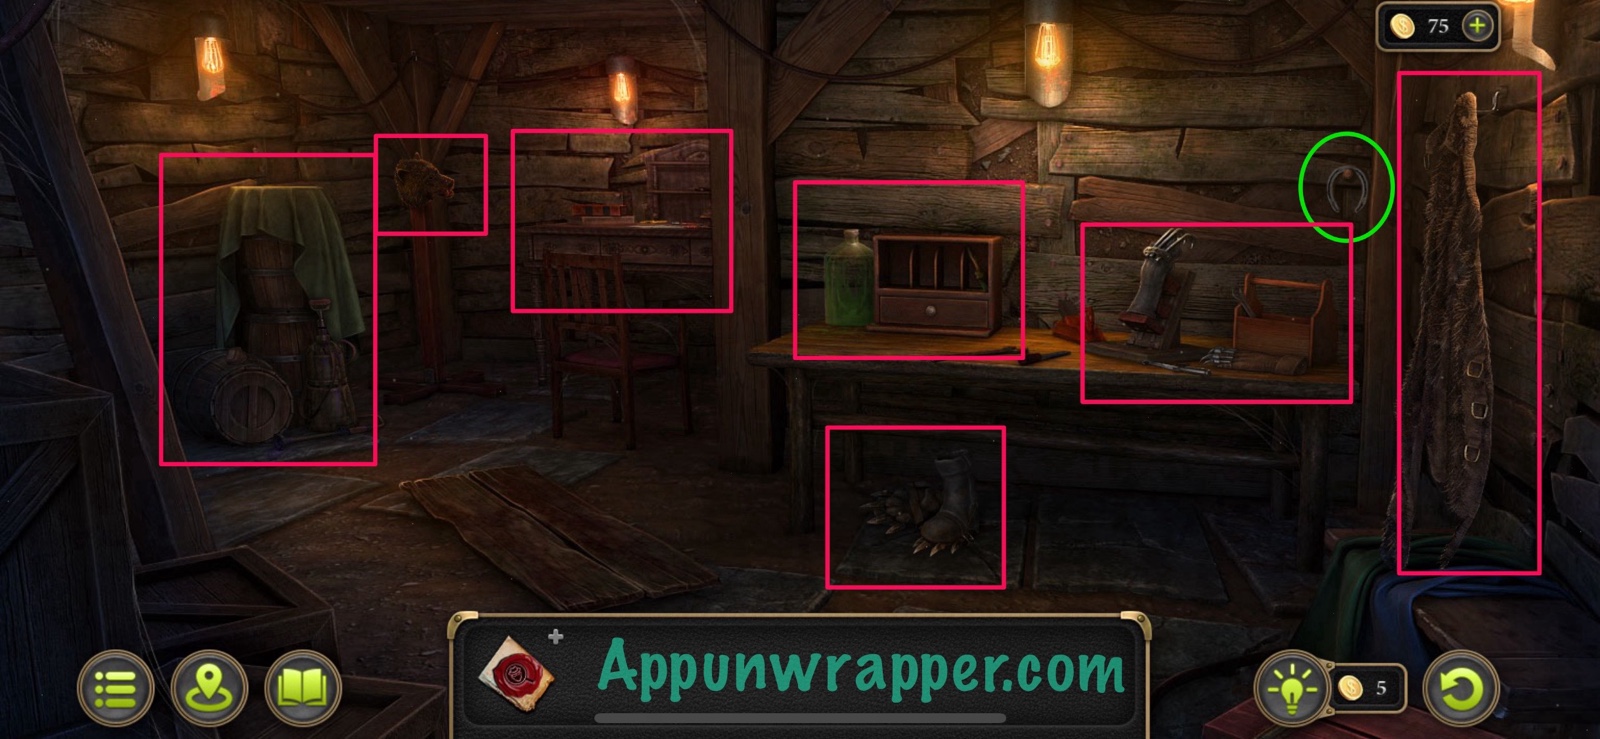
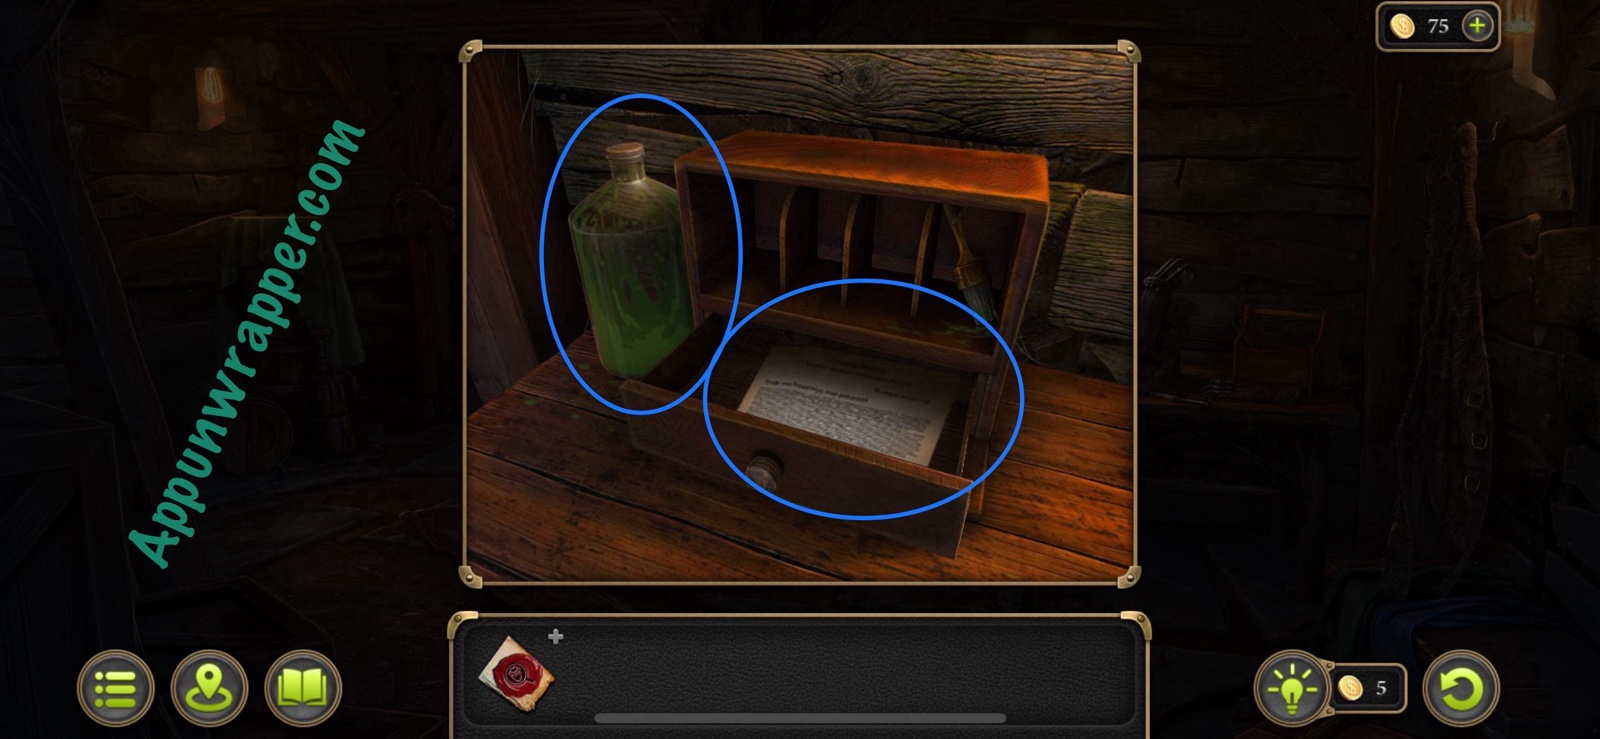
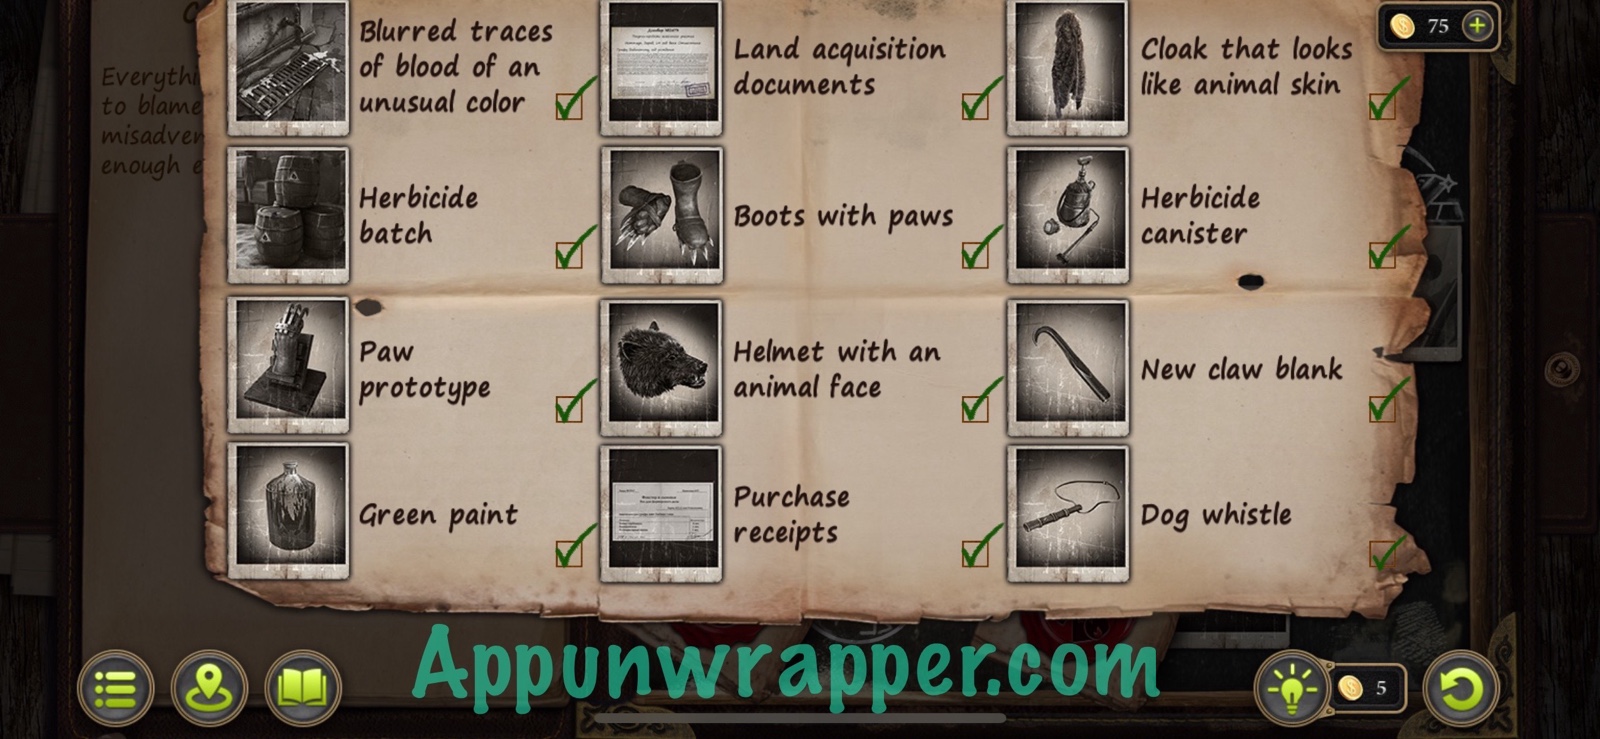
132. Let’s start with the bottle of liquid on the desk. Tap on the to collect it as evidence of green paint. Also, open the drawer and read the receipt to collect it as evidence.
Evidence: Green paint. (Mystical Scam 3/12)
Evidence: Purchase receipts. (Mystical Scam 4/12)
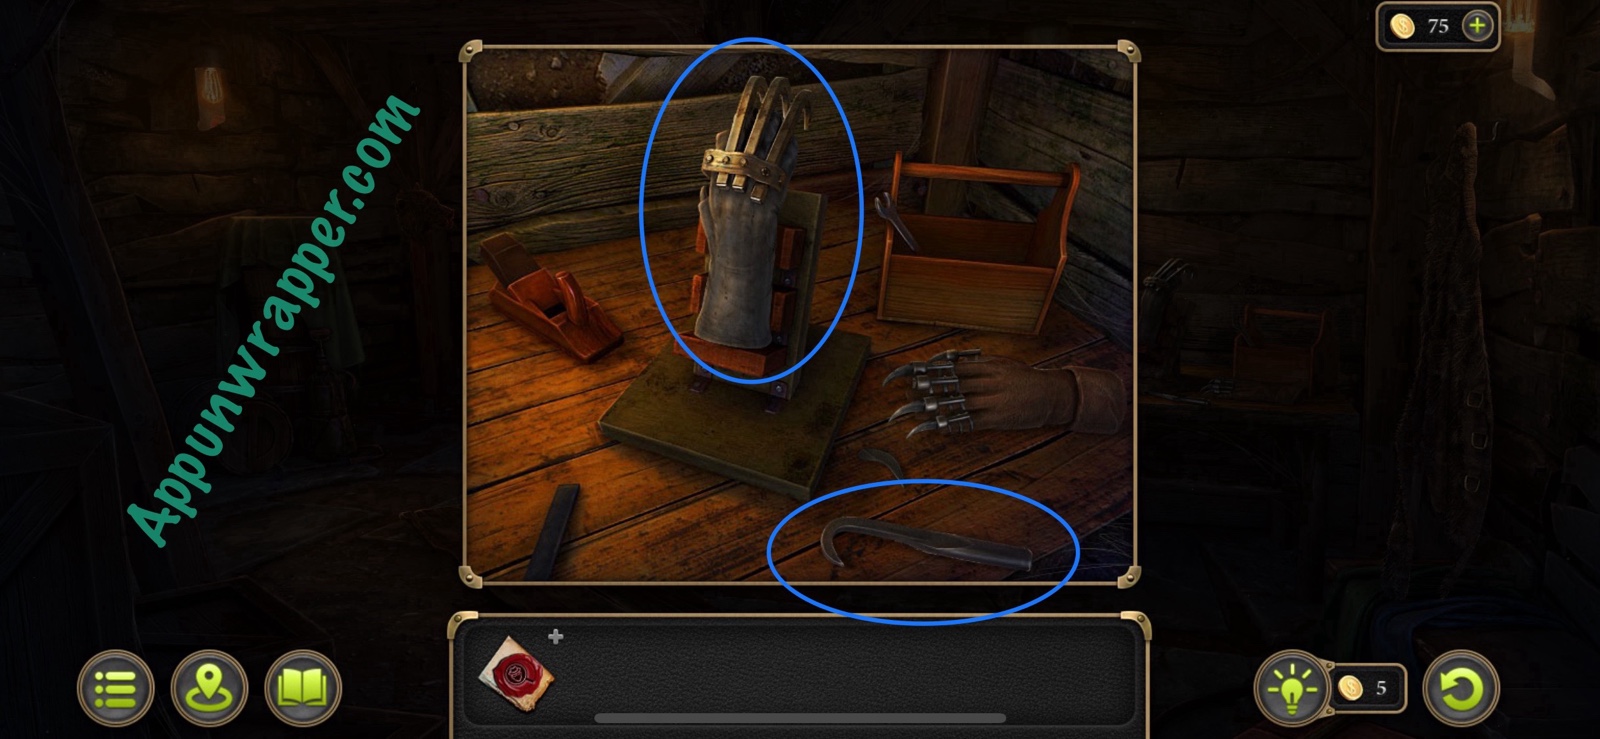
133. Examine the right side of the desk for two more pieces of evidence — a paw prototype and the missing claw.
Evidence: Paw prototype. (Mystical Scam 5/12)
Evidence: New claw blank. (Mystical Scam 6/12)
134. Next, look at the cloak on the wall and collect it as evidence.
Evidence: Cloak that looks like animal skin. (Mystical Scam 7/12)

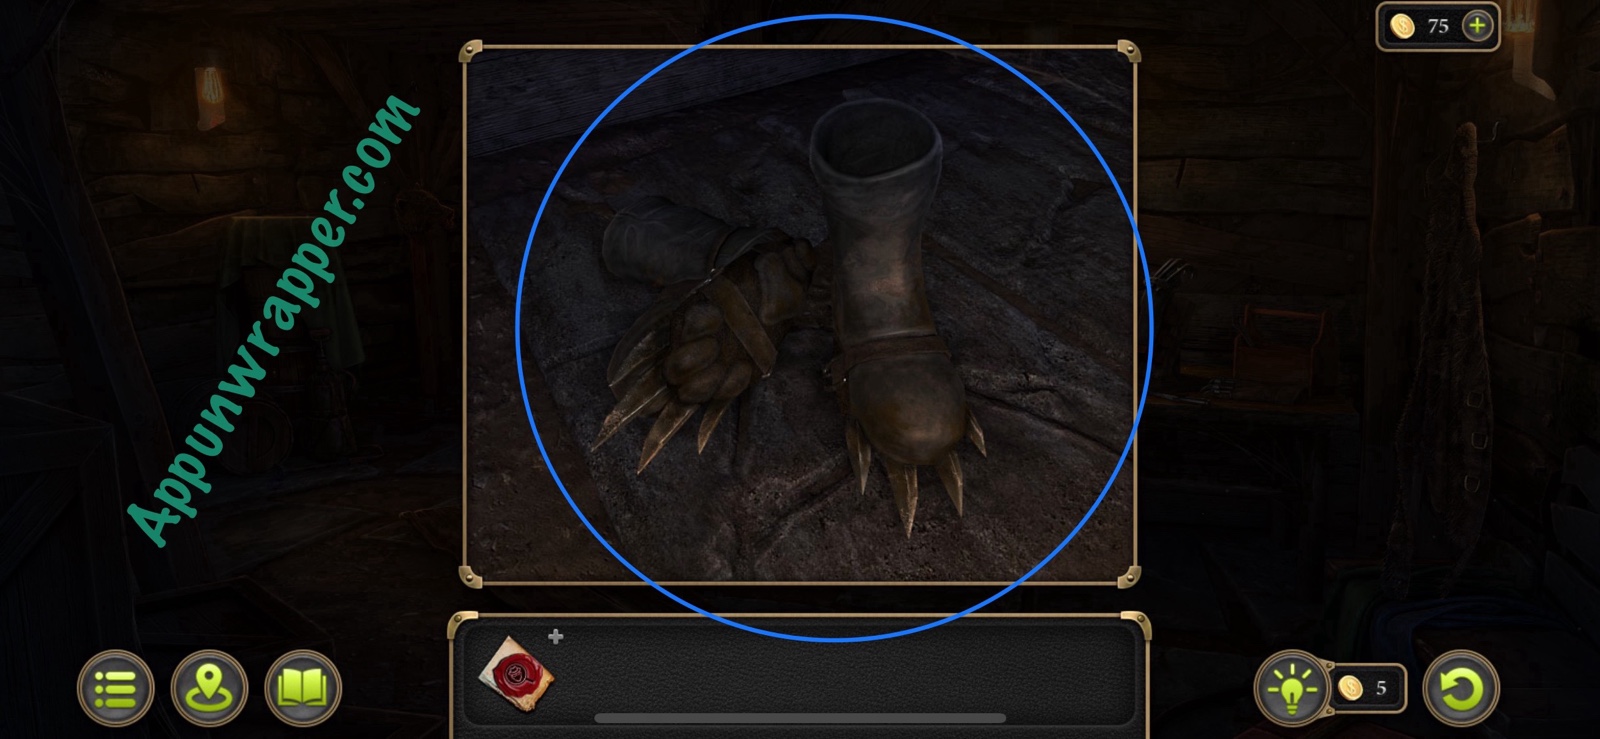
135. Next, examine the boots and collect them as evidence.
Evidence: Boots with paws. (Mystical Scam 8/12)
135. Next, examine the barrels. Grab the last pocket watch collectible. Also, collect the herbicide canister as evidence.
Collection: Pocket watch. (9/9)
Evidence: Herbicide canister. (Mystical Scam 9/12)
136. Tap on the wolf helmet/mask that’s hanging on the wall and collect it as evidence.
Evidence: Helmet with an animal face. (Mystical Scam 10/12)
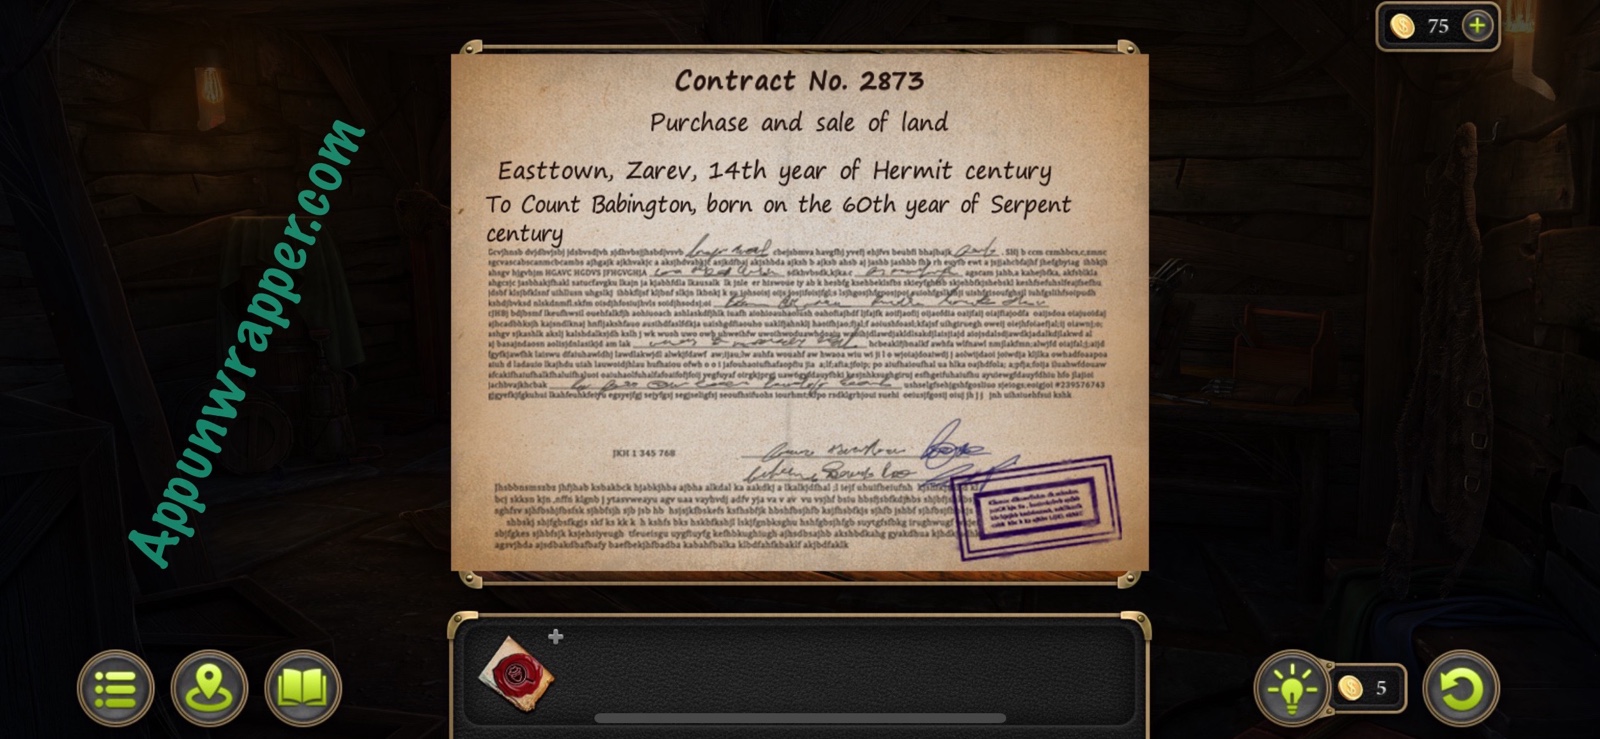
137. And last, examine the desk to the right of the helmet. Look at the cheque to move it aside. Then collect the documents and dog whistle as the last two pieces of evidence and then watch the ending.
Evidence: Land acquisition documents. (Mystical Scam 11/12)
Evidence: Dog whistle. (Mystical Scam 12/12)
Congratulations! You completed the first case!