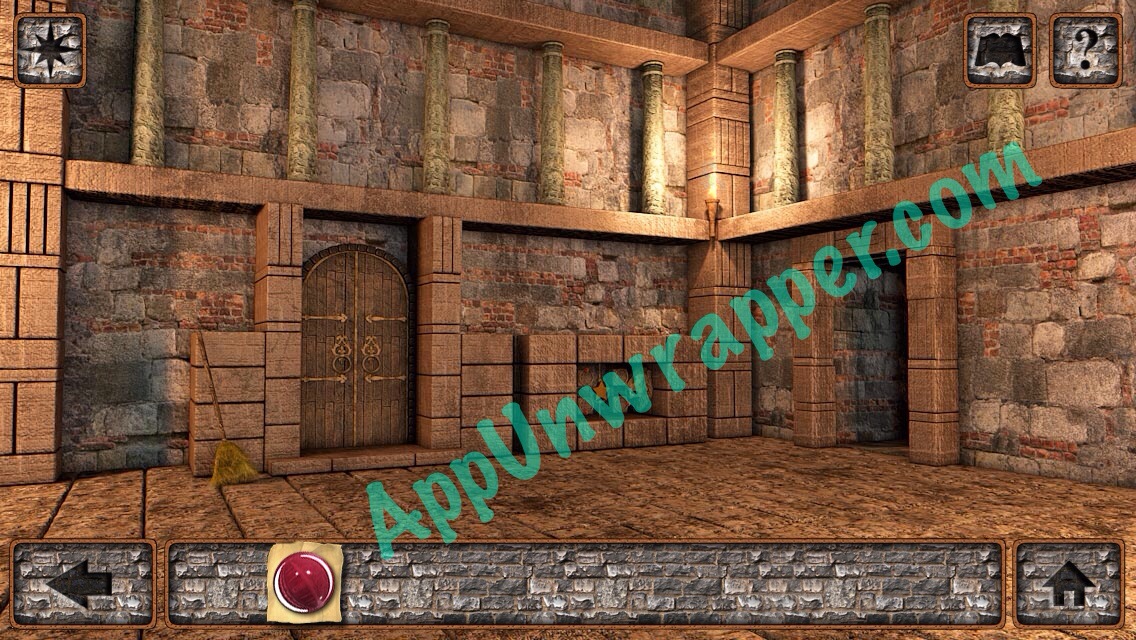
71. Go through the doorway. Pick up the broom.
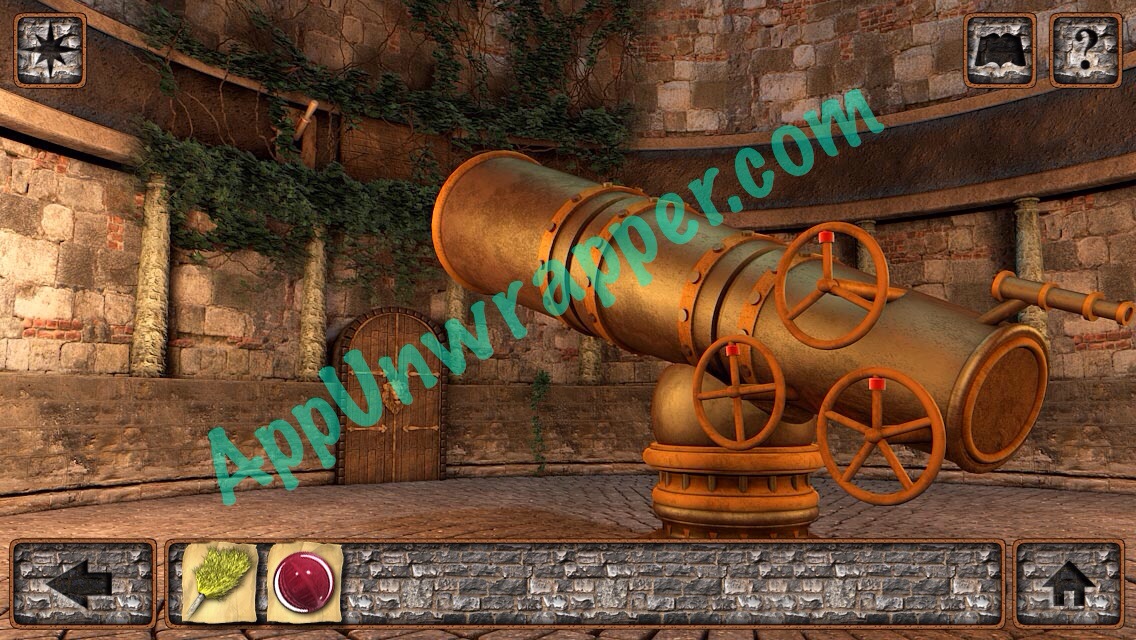
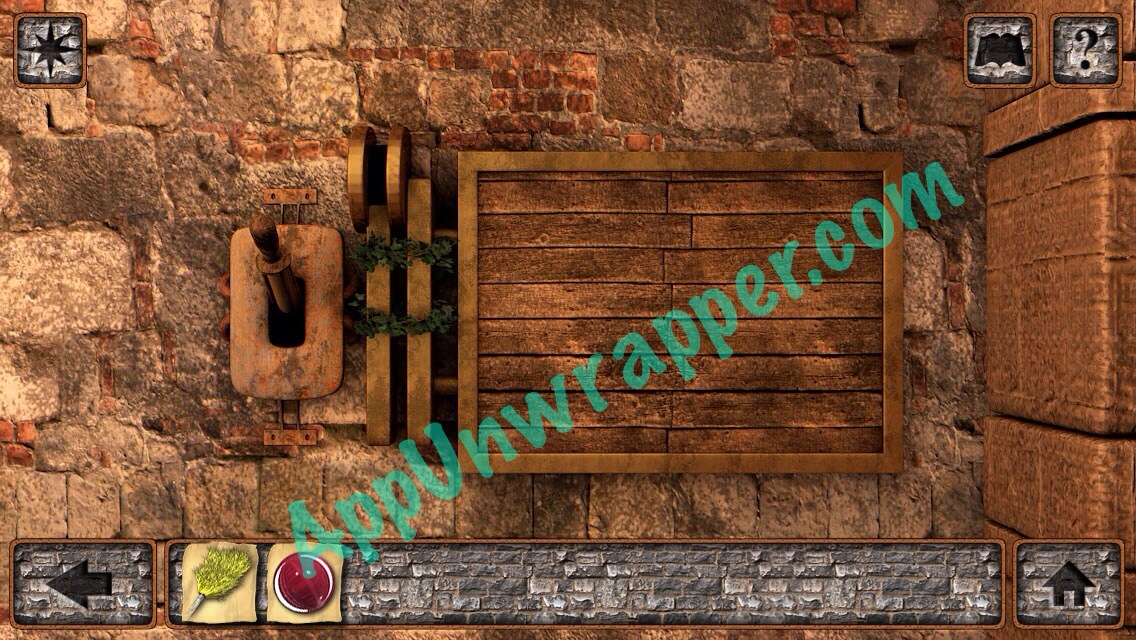
72. Open the door ahead of you and go through. Look at the clue from the wheels on the telescope. Take the vine from the wall.
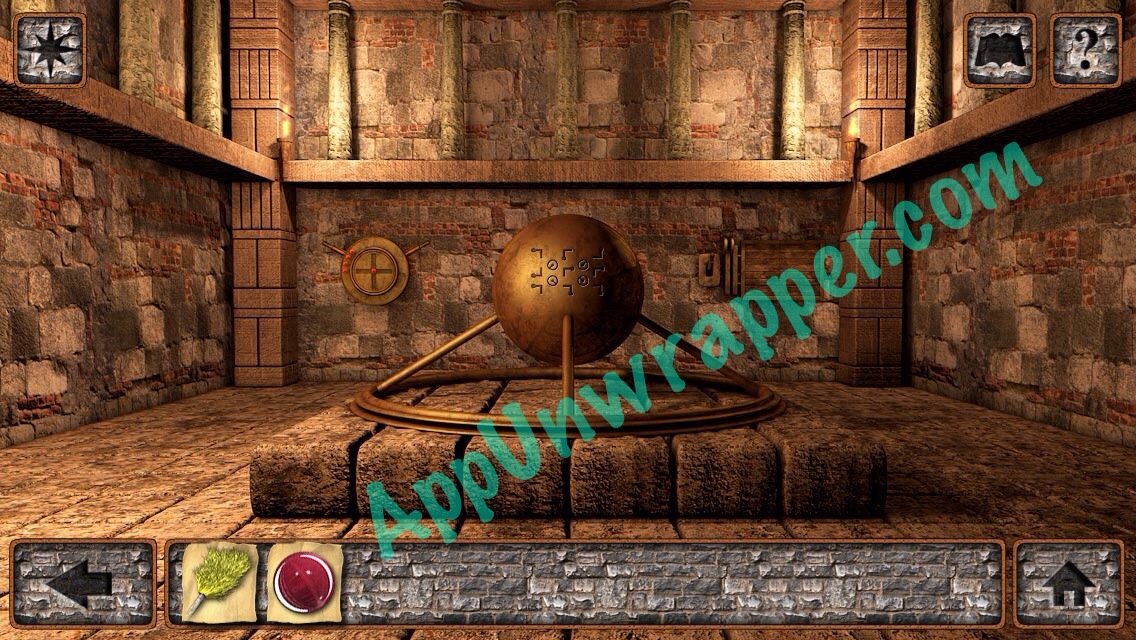
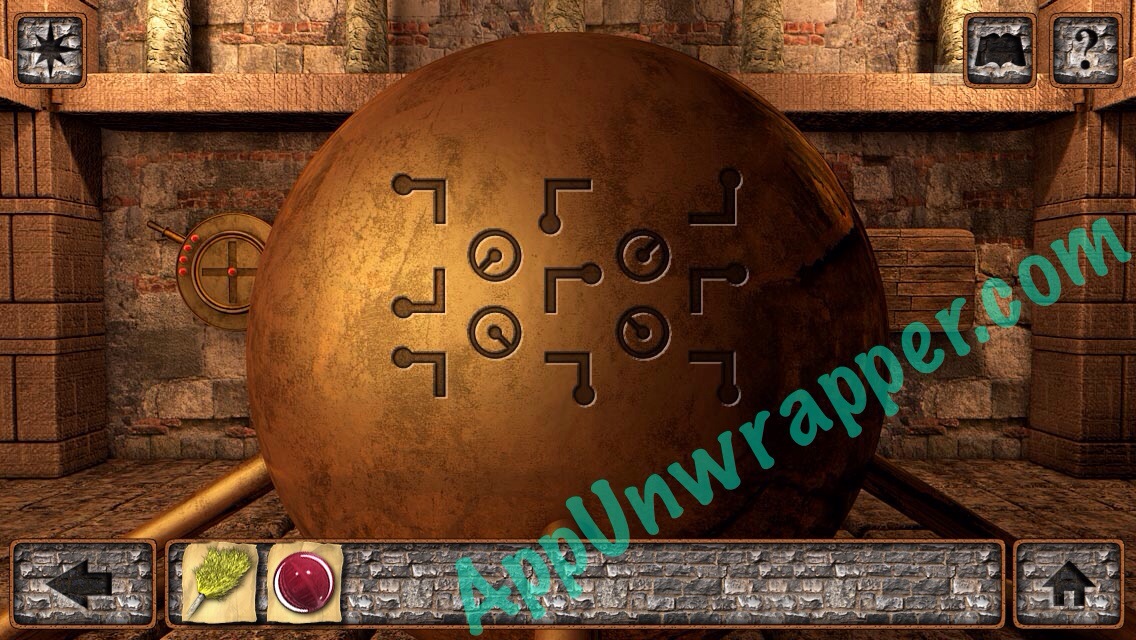
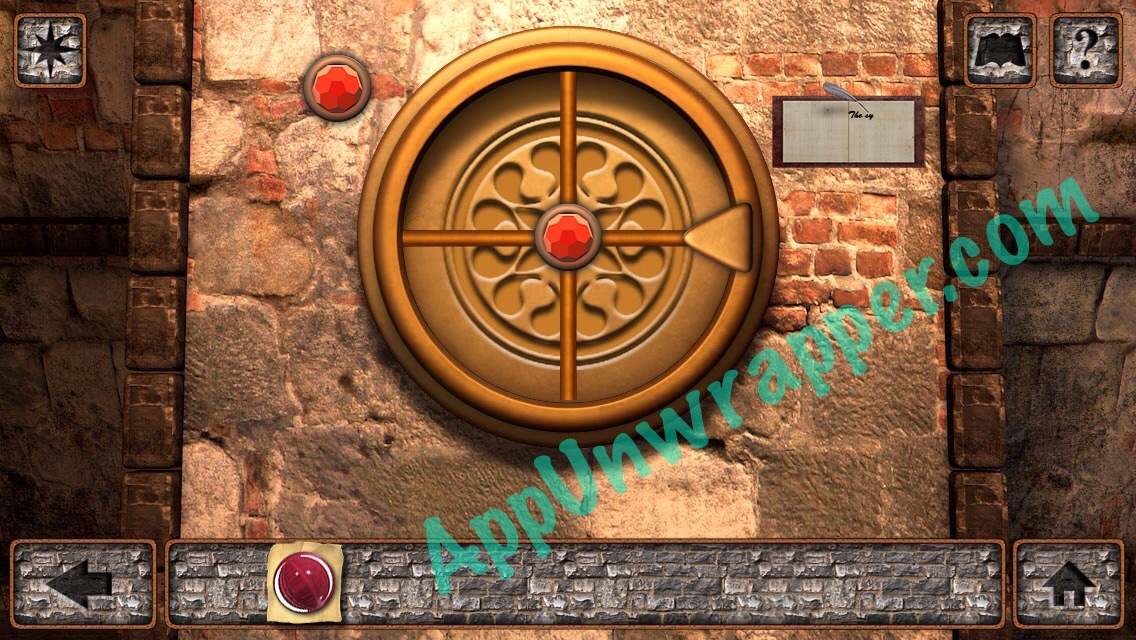
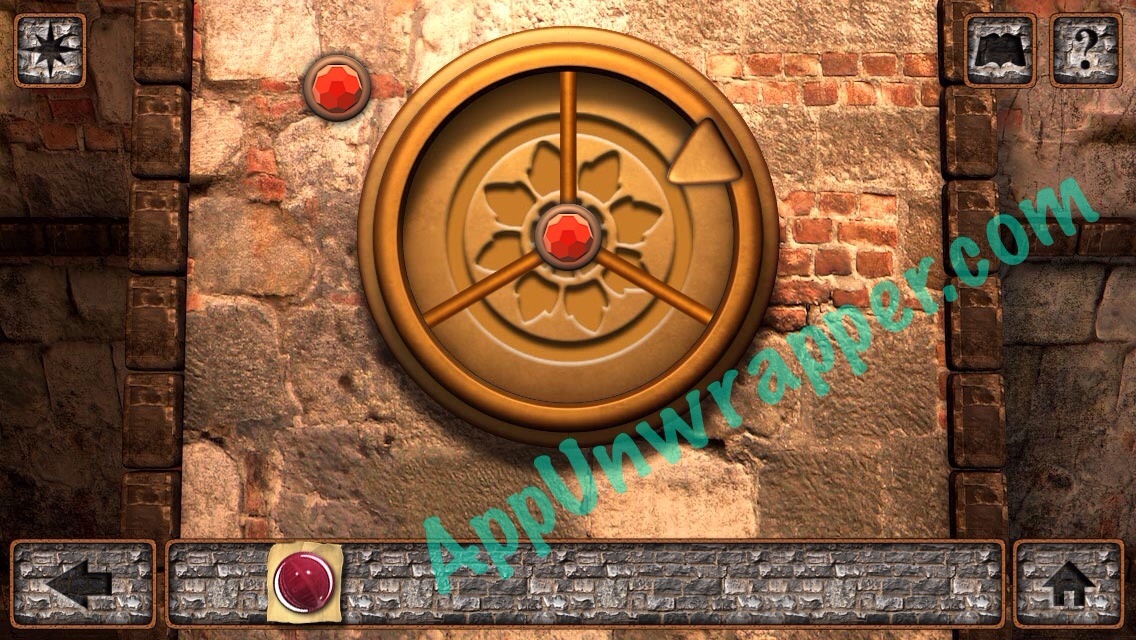
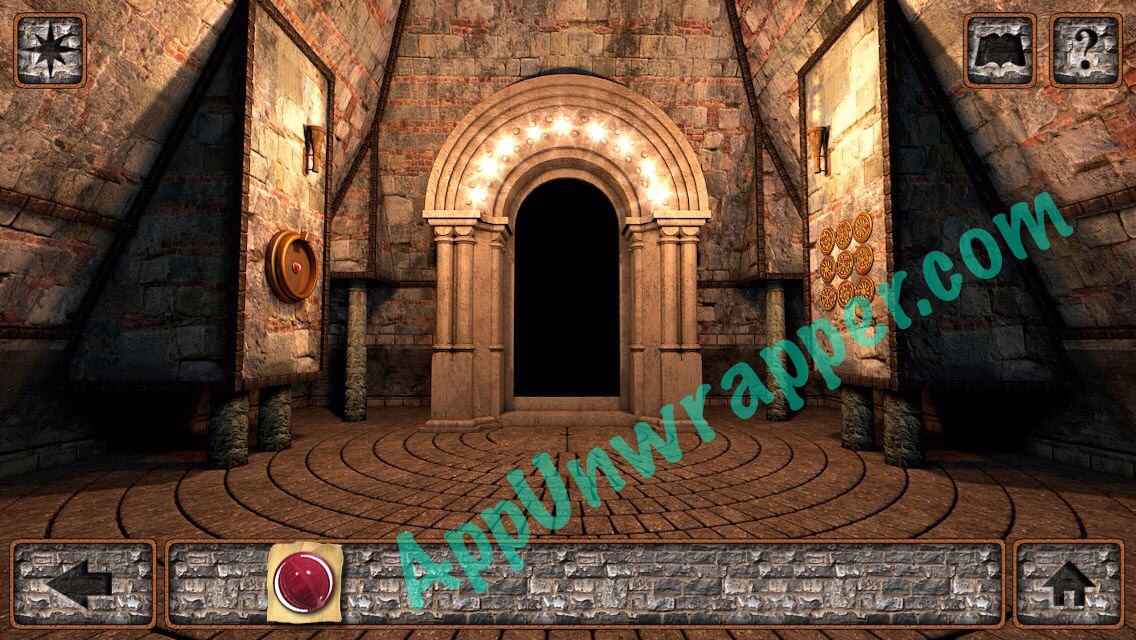
73. Go back a screen and go through the right door. Get a clue from the sphere in the center of the room.
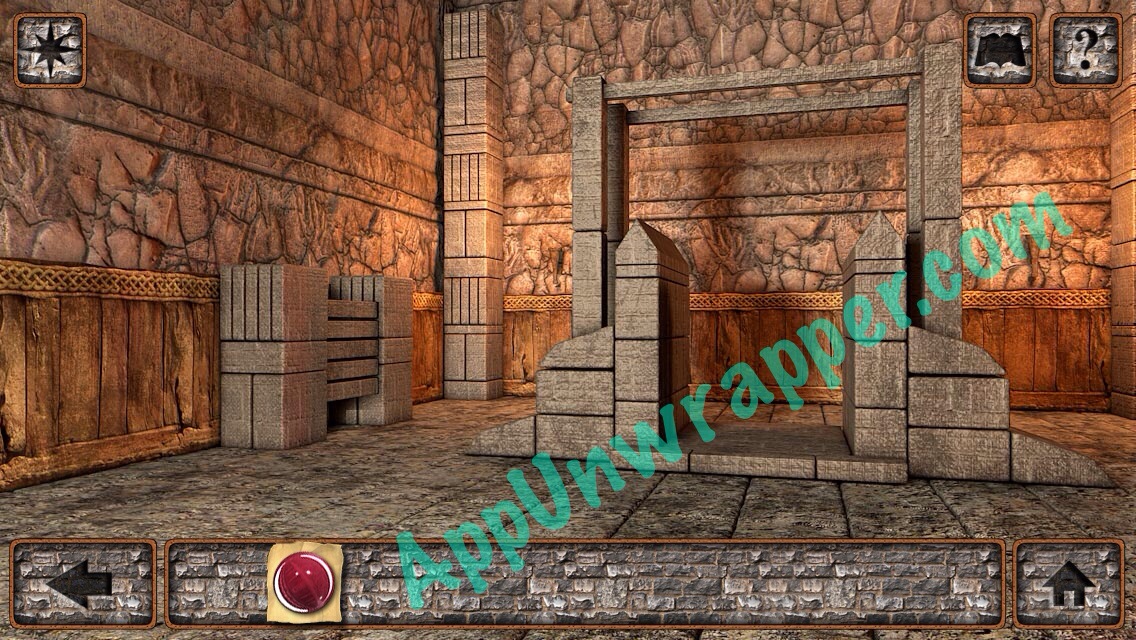
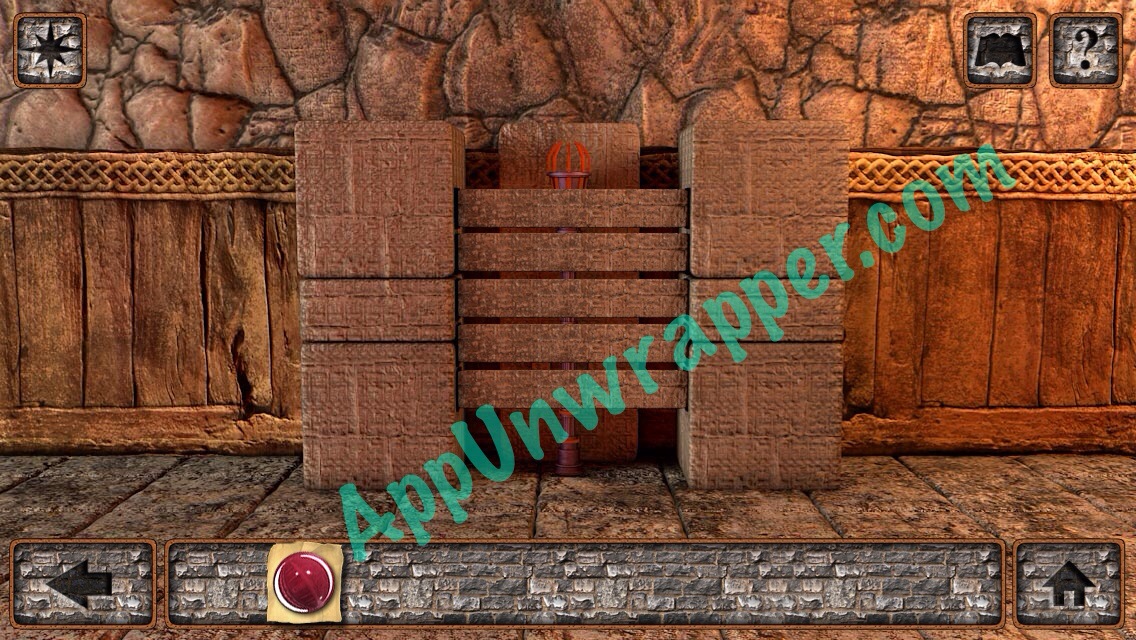
74. There’s a rectangular thing to the right on the back wall. Place the vine on it and then pull the lever to get the whip.
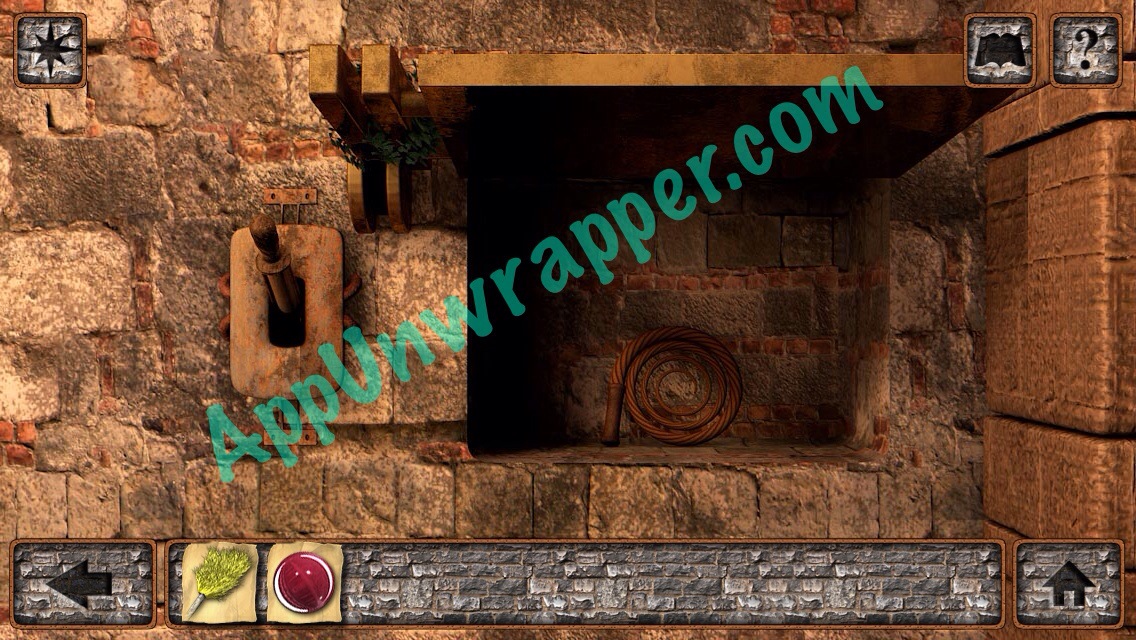
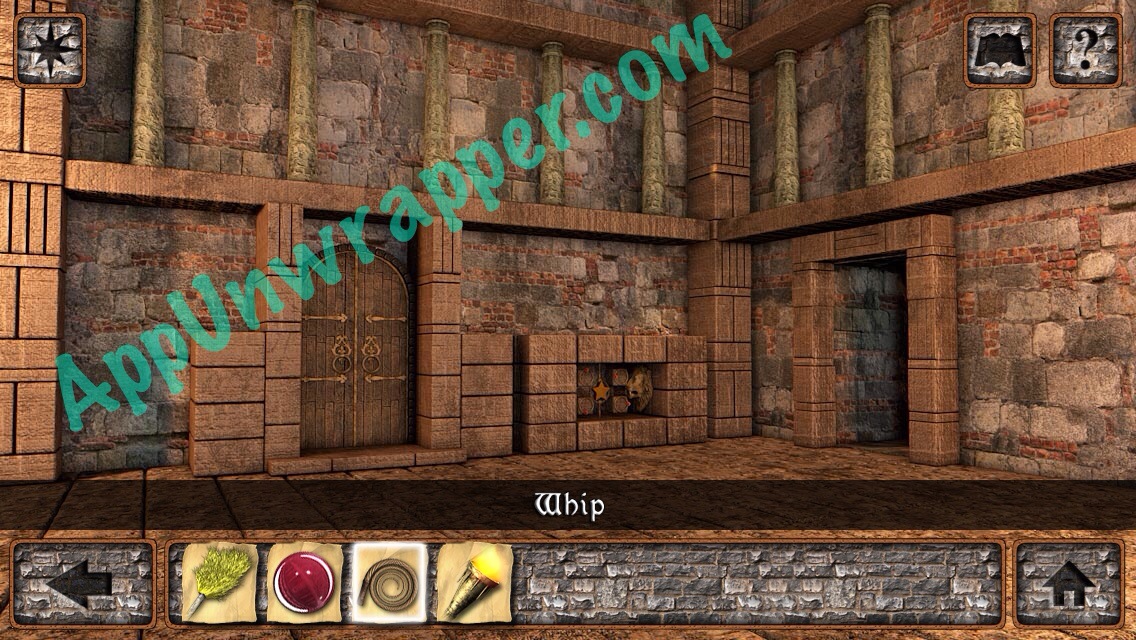
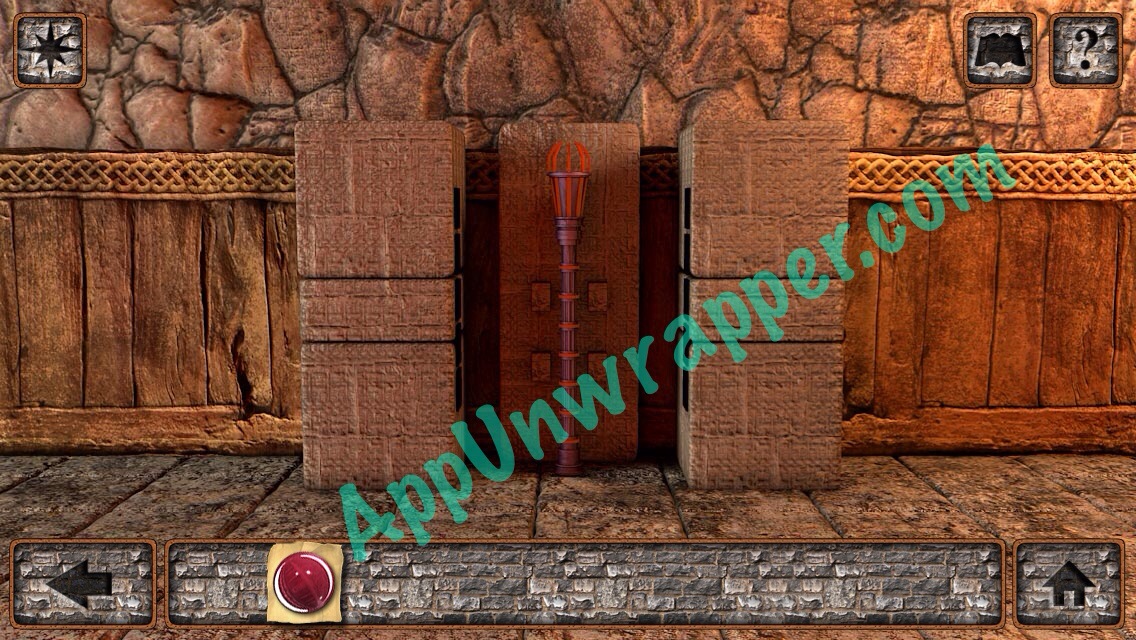
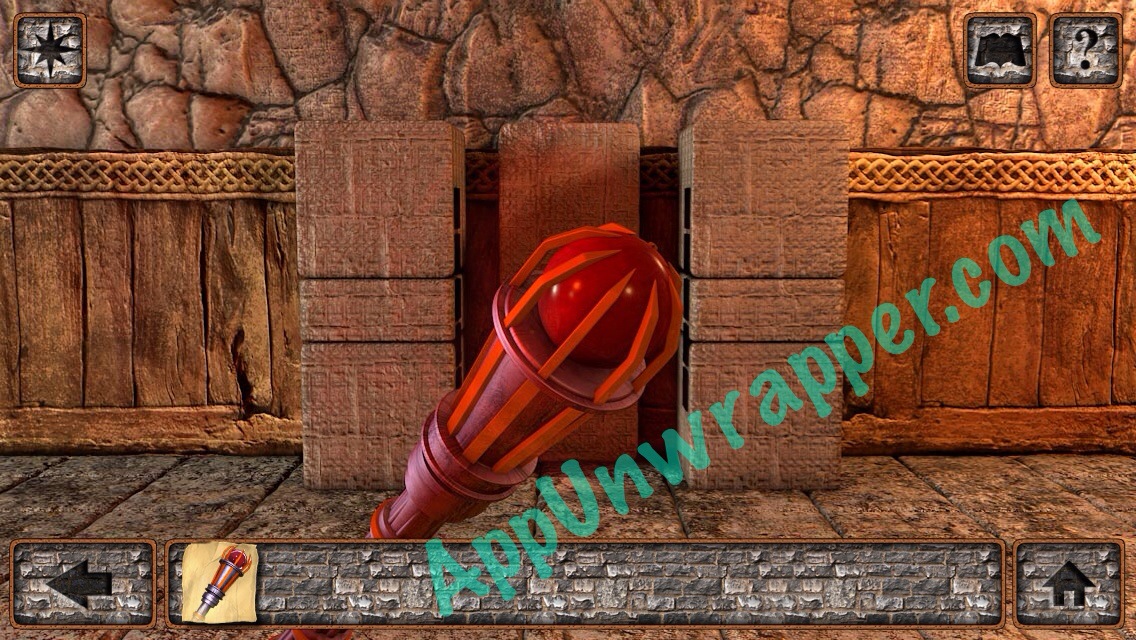
75. Go back a screen and use the whip to get the torch.
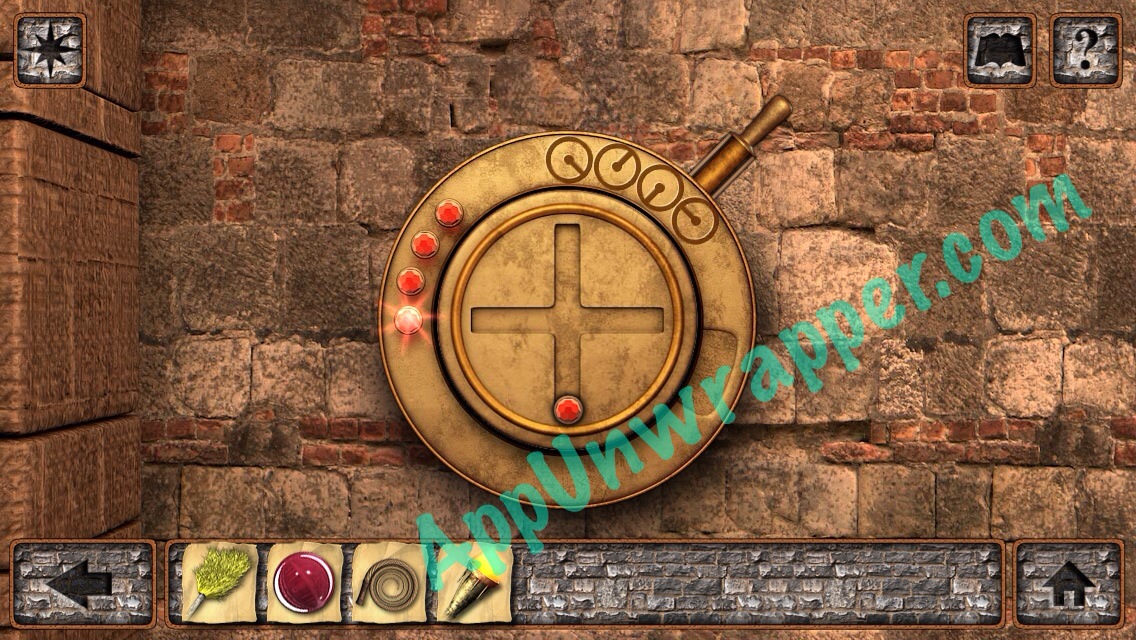
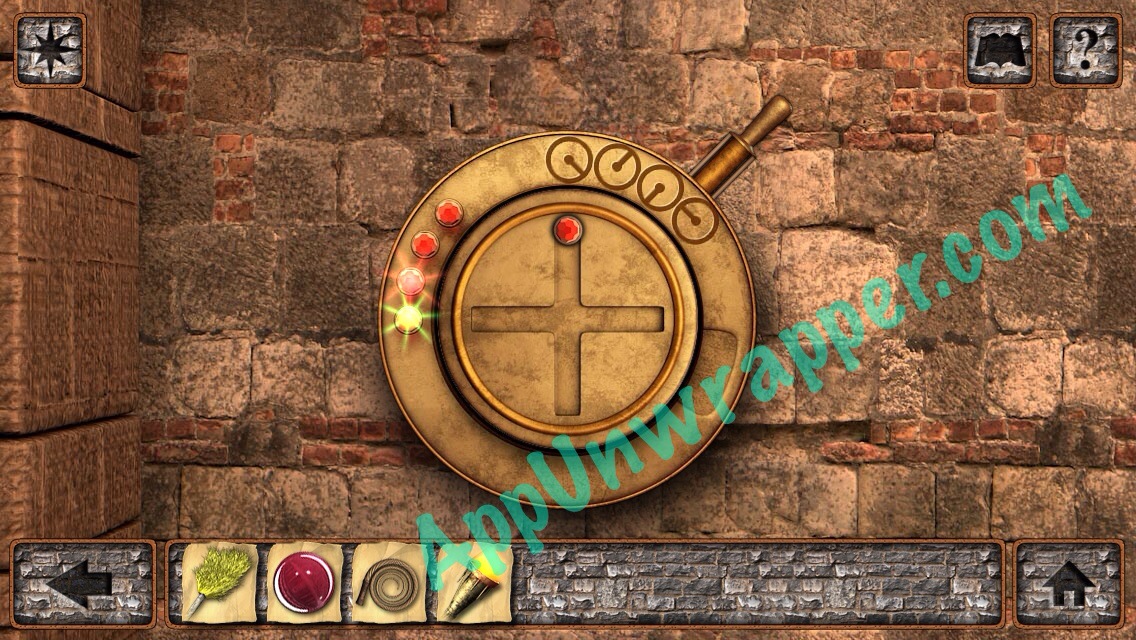
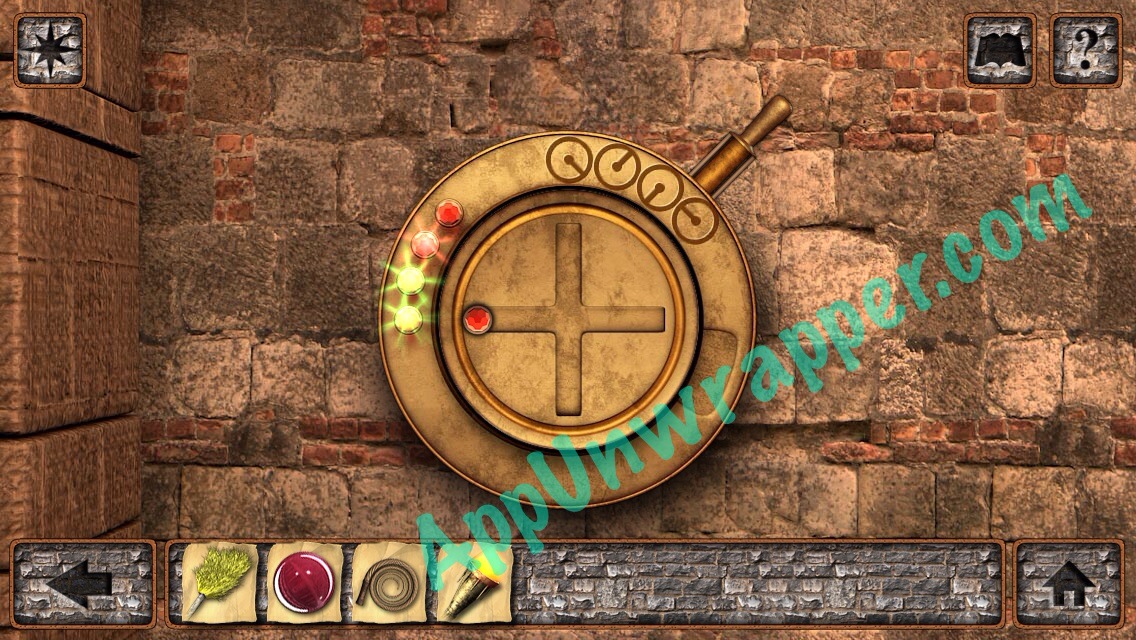
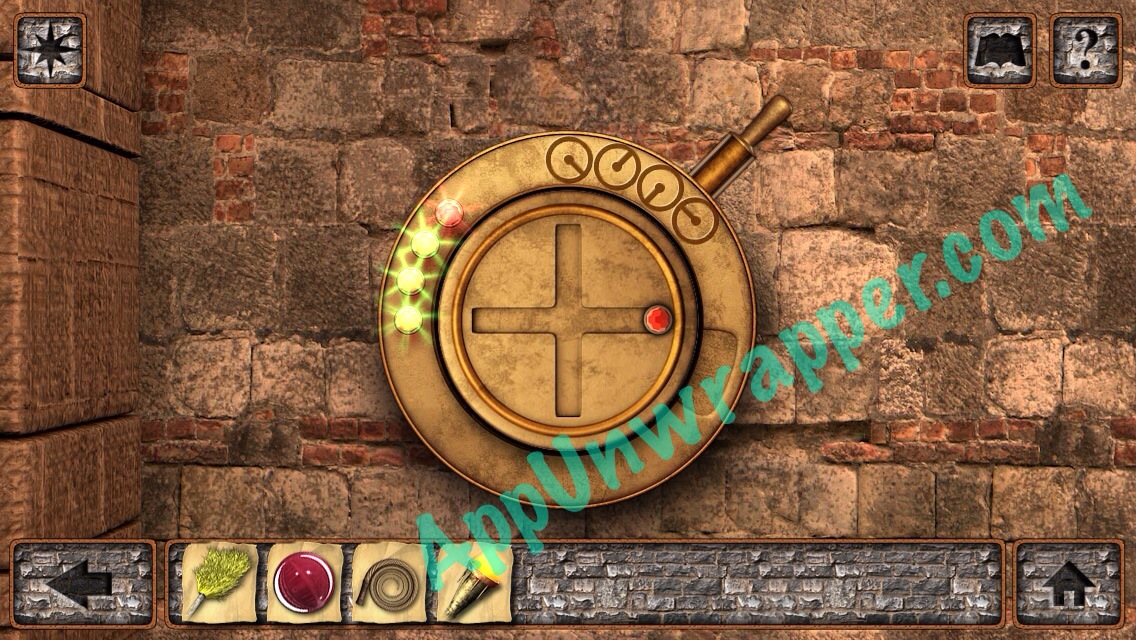
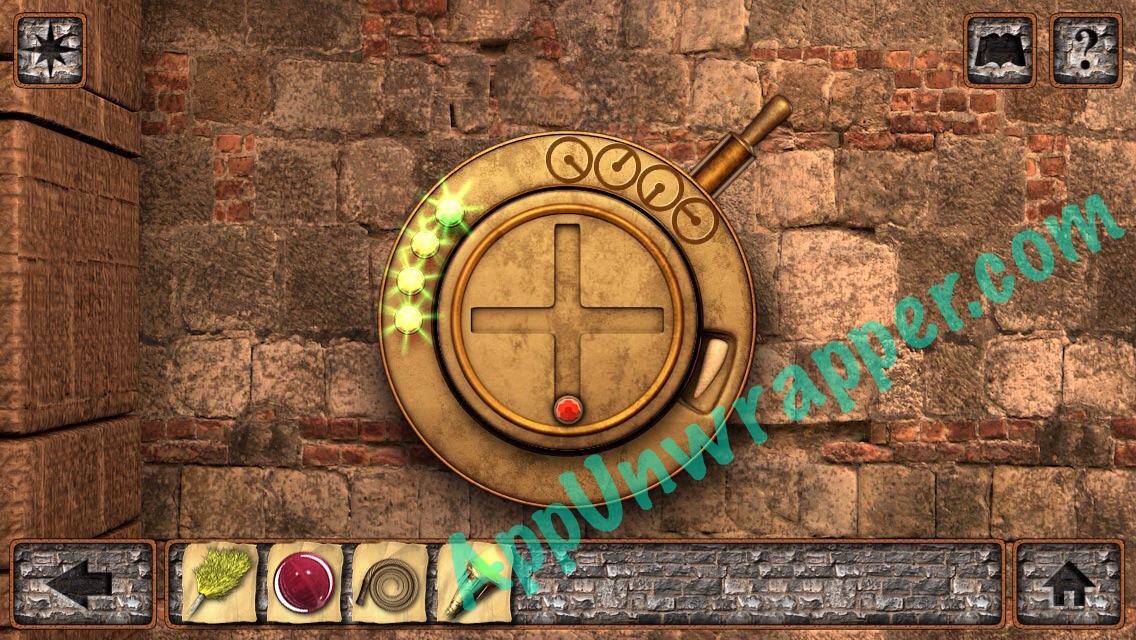
76. Go back to scene 15. The clue from the sphere tells you how to solve the puzzle to the left on the back wall. Each circle is pointing at a position for the red gem. Look on the puzzle and it tells you the order, while the sphere tells you where the red gem should be. Once you get the gem in the right position, pull the lever. The light will turn green if you get it right. Get all four lights to turn green and you’ll get the fang. It should go like this:
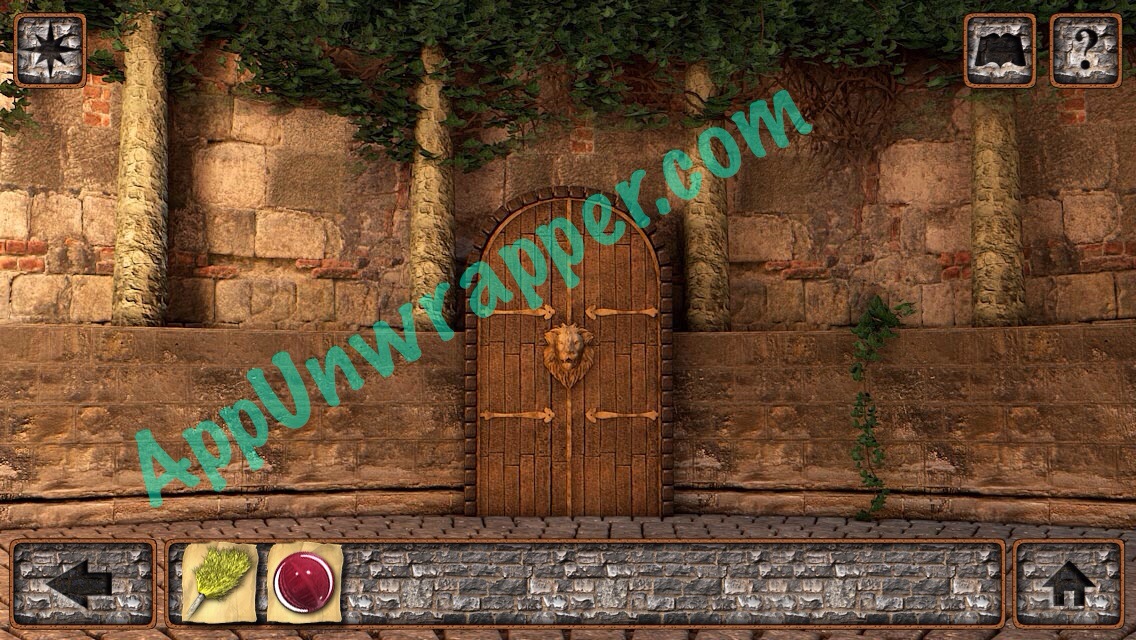
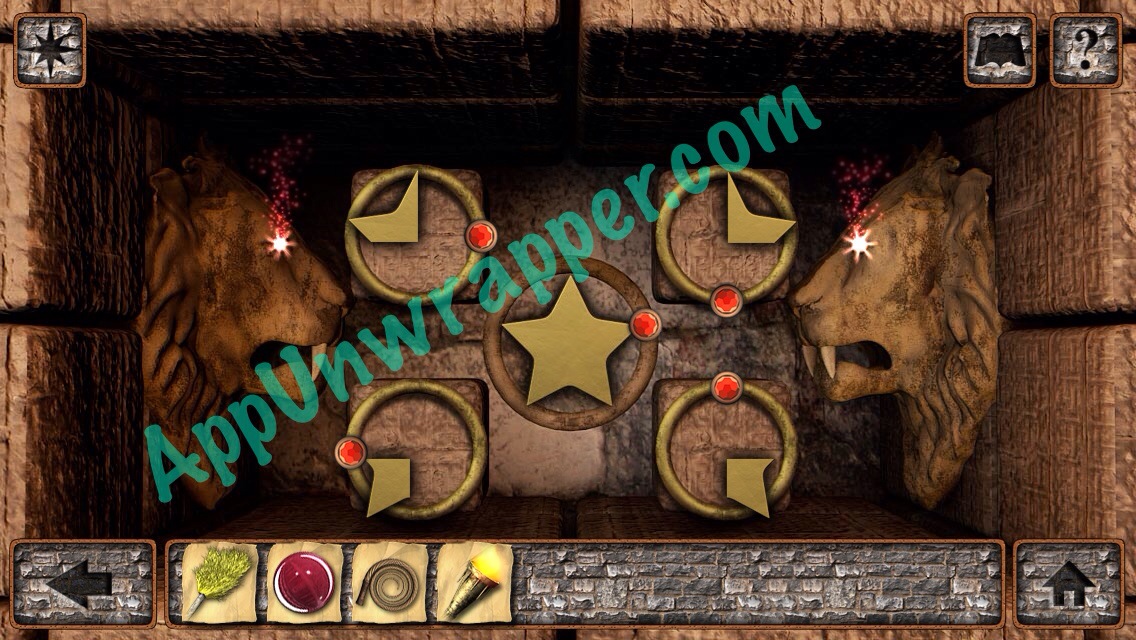
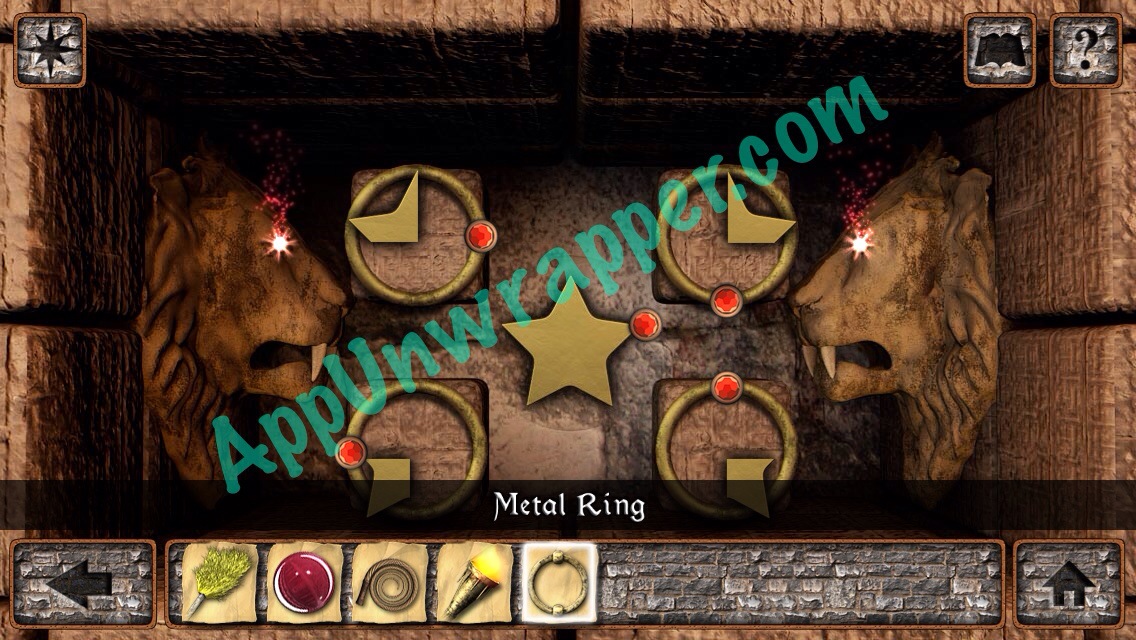
77. Now go back a room and place the fang in the left lion’s mouth. Solve the star puzzle and take the metal ring.
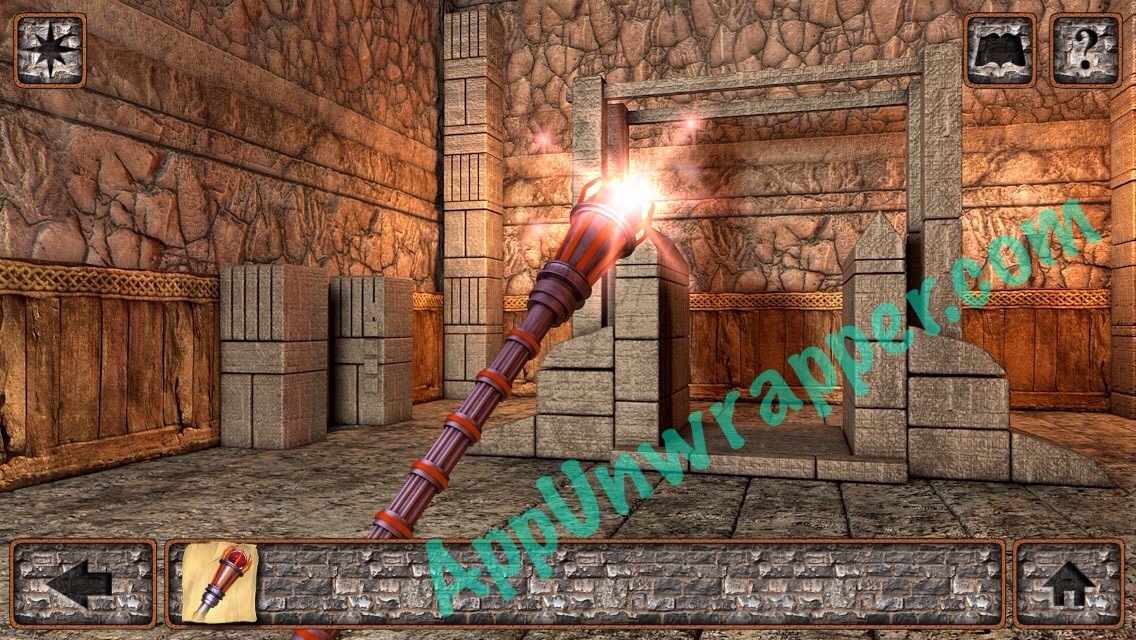
78. Go back to scene 16 and place the metal ring in the lion’s mouth on the door. Then put the broom near the vines and light them with the torch.

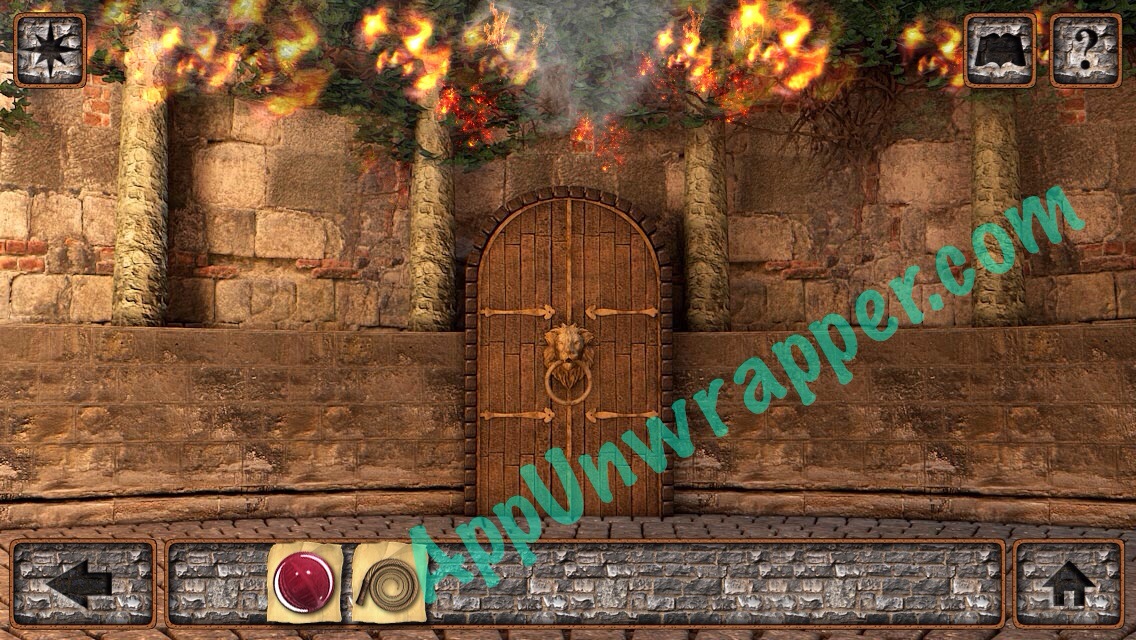
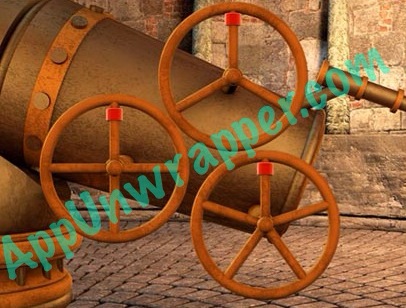
79. Pull the lever with the whip. Then go through the door to scene 17. Use the clue from the telescope wheels to match the spikes on the circle to the left. (Move the little triangle and then shoot spikes from it by pressing the center gem.) You’ll get three different flower designs from it.
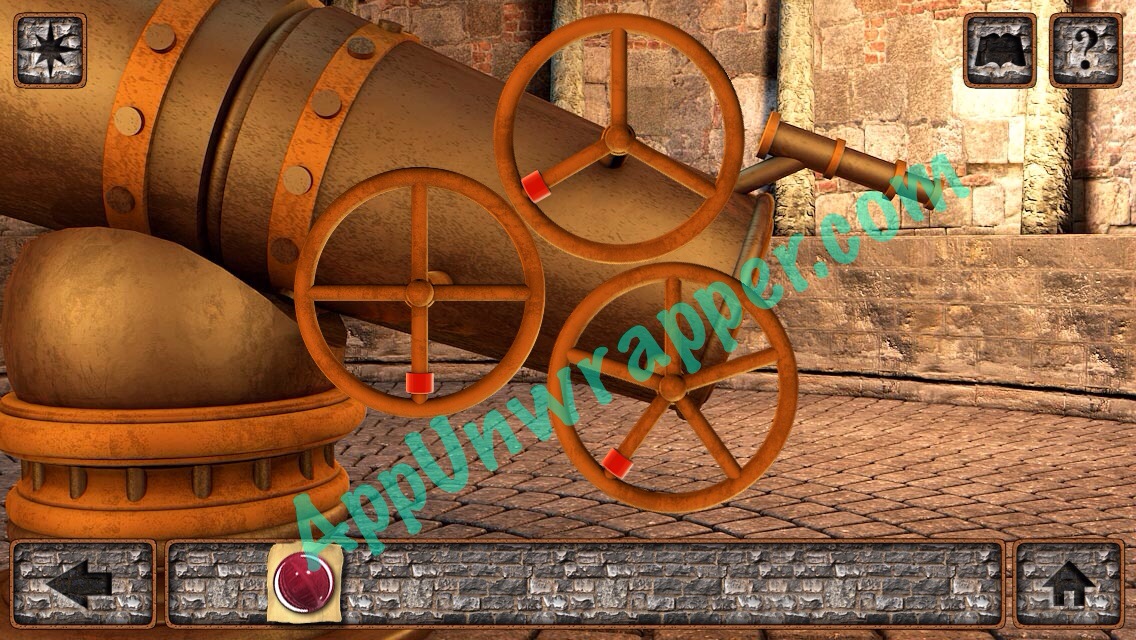
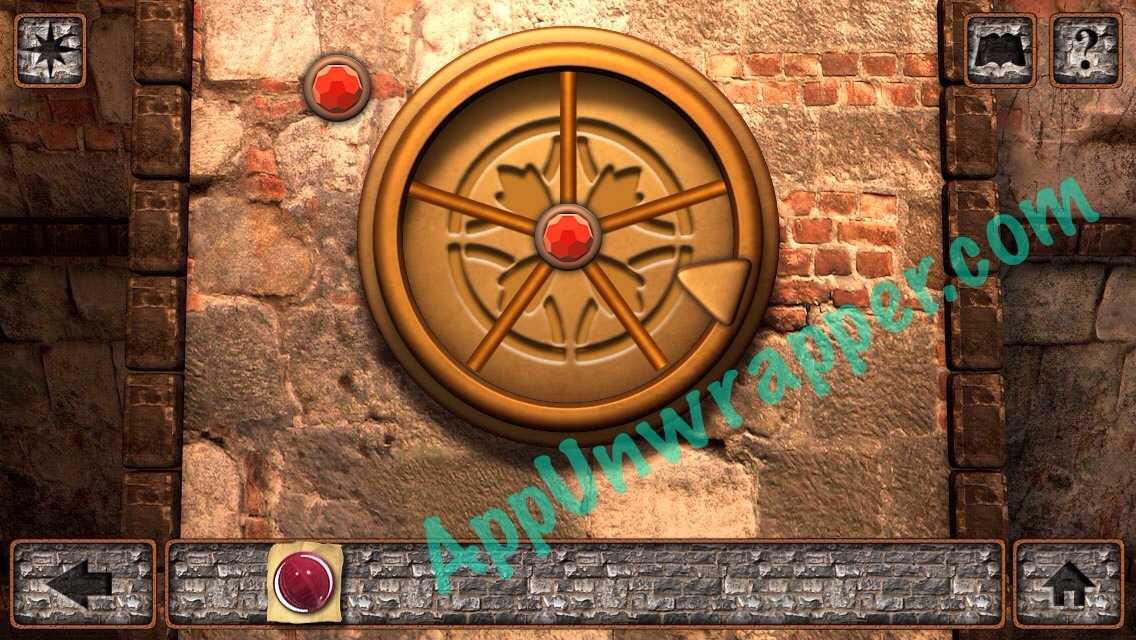
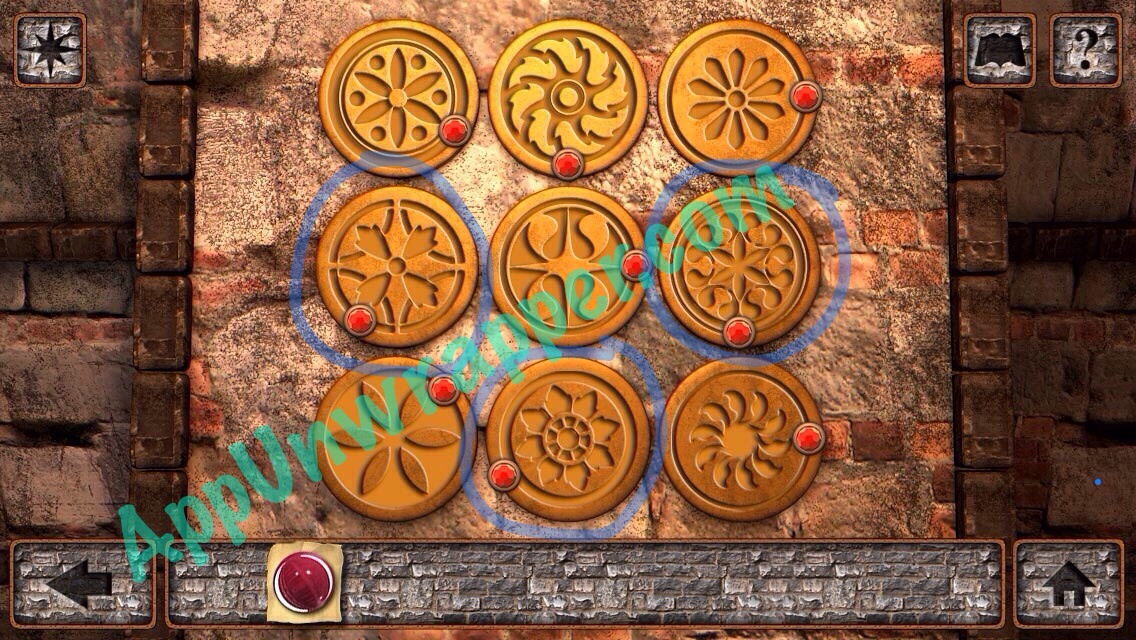
80. Now go to the right wall and find those three designs. Take note of the positions of the gems. Now arrange the three wheels on the telescope based on those three flowers and look through to see a constellation.

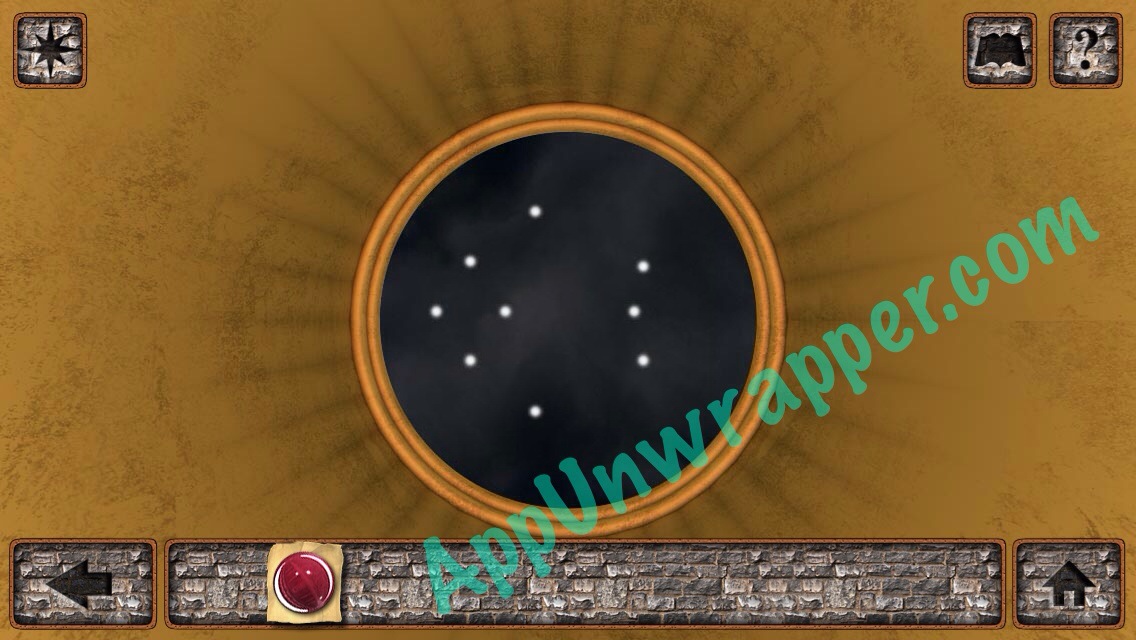
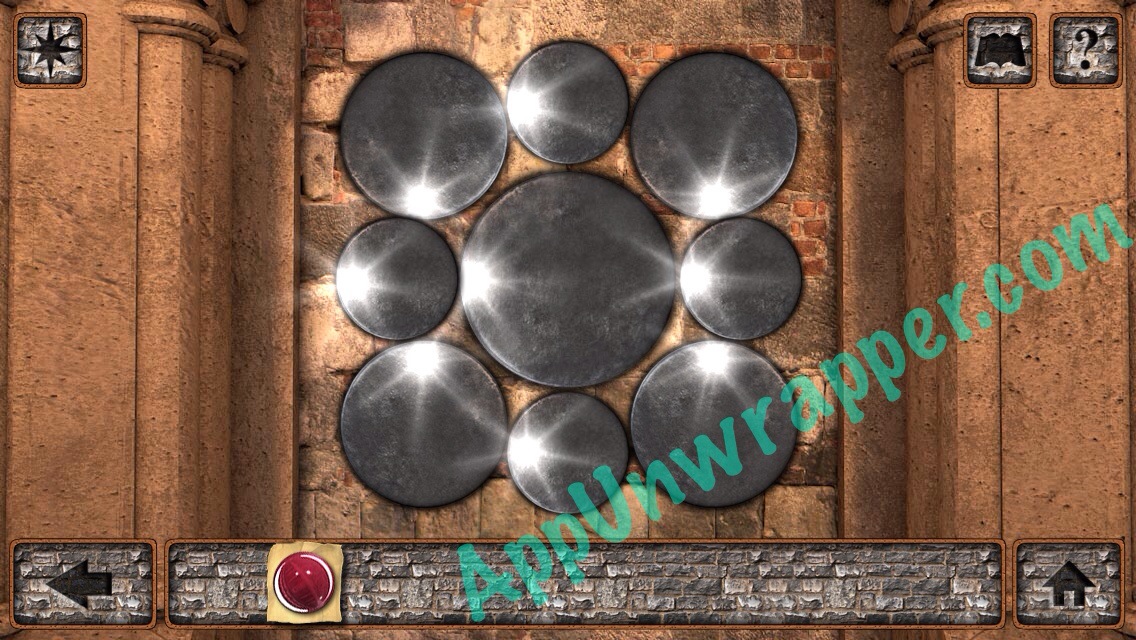
80. Go through the door to scene 17 and match the black disks to the constellation. Another door opens.
81. Go through to the next room.
82. Reveal the Staff of Malvadius and place the orb on it. Then create a portal, step through it and watch the ending.
Congratulations! You completed the game! If you liked it, try these other escape games, including Escape the Hellevator! and The Silent Age.

In scene 4 how do I get the “K” symbol in 2 positions at once to open the door!?
You don’t need to have them showing at the same time. When you find the symbol you need you just click it to make it light up and then click the lever until you find the next matching symbol. I believe on the other side the 2 symbols don’t match up either so just make sure the symbols are facing the right way before clicking them. Otherwise it won’t work
Still didn’t work even after restarting the game. Do the symbols have to be clicked in a certain order?
Oh God Amy, thanks a ton for clarifying that. I was stuck on that portion for days.
Janett – I clicked them upper left, lower left, upper right and lower right. Worked for Me.
I am stuck in the same place and NOTHING is working. What do you mean by the symbols “glowing”? The symbols kind of “pulse” randomly even if I don’t touch them. They don’t change color. Do the symbols have to pulse? If they are pulsing and I haven’t touched them do I need to turn them off?
Is there a walkthrough of how to make the symbols on the symbols at scene 5 move in the right order? I can’t figure out how to make the designs and these buttons are frustrating me…
This is the least intuitive puzzle game I’ve ever paid for, and even with a walkthrough some of these puzzles are getting skipped because they make no sense.
Have been doing all but the story never ends properly and puzzles get more crazy as they go on. first game had no prompts or journal, this last did not have a working journal which was very annoying