Mystery Detective Adventure (Mystery Detective 1)
By: FIVE-BN STUDIO

Mystery Detective Adventure is a point-and-click mystery game in which you play as John Woodbray, a new detective solving cases that no one else wanted to bother with. You need to find clues, solve puzzles and get to the bottom of what’s happening. It can be tricky at times, so this walkthrough guide should help if you get stuck. Feel free to ask for extra help in the comments section.
This walkthrough will take you through the second case, in which a young man is thought to have committed suicide, but his mother refuses to believe it and thinks he was murdered.
Walkthrough:
Case 1 | Case 2 | Case 3
Case 2, Improbable Suicide:
These are not great videos. I still have to make a new one. And I’m working on a step-by-step guide below.
Part 1:
Part 2, The End:
Note: Collection items will be highlighted here in green. Evidence will be highlighted in blue.
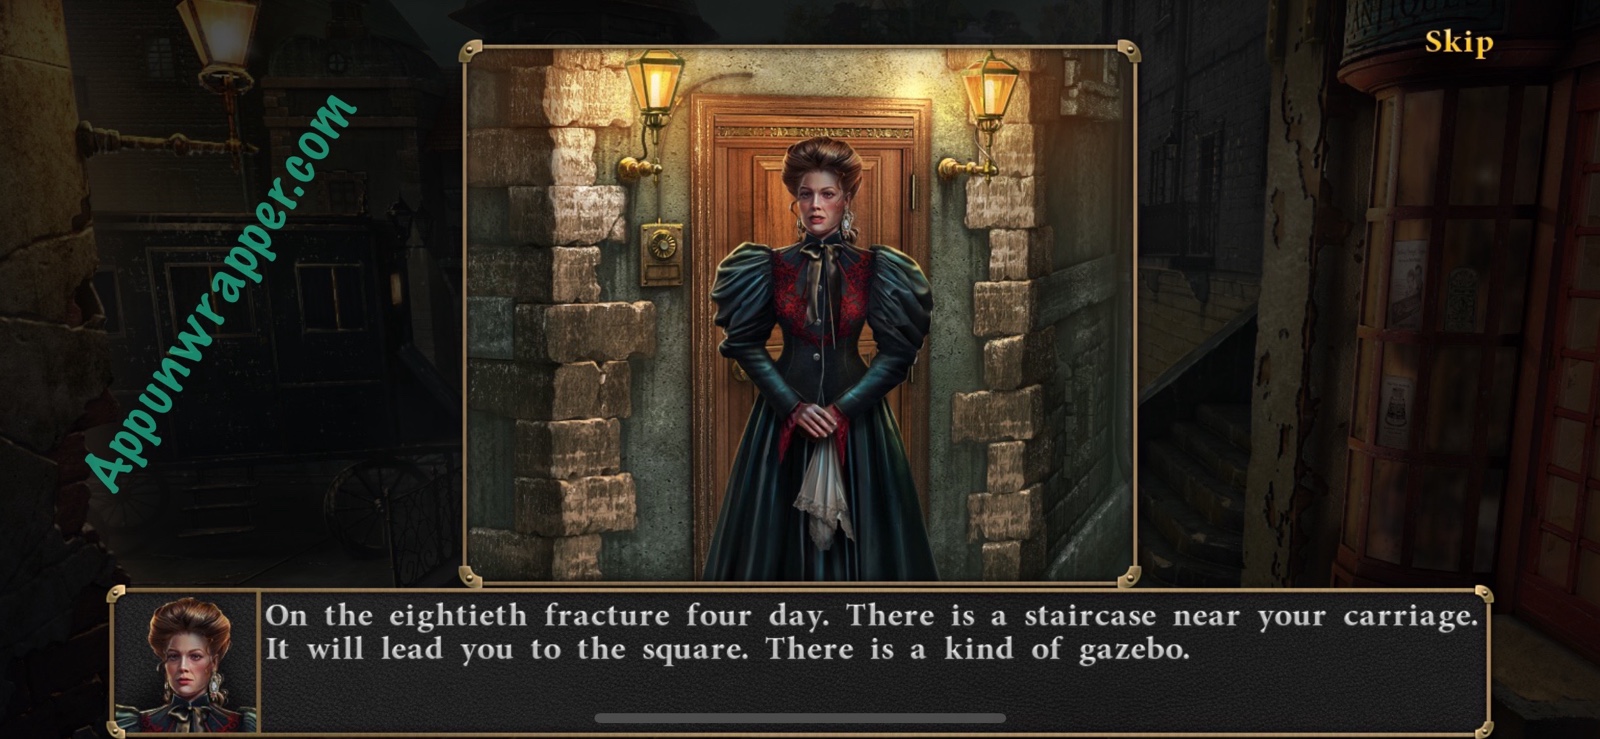
1. After the cutscene, you’ll automatically have a Key in your bag for your carriage. You’ll also get a new task. Talk to the woman standing there. Her name is Diana Evans and she’s the mother of Sam, the deceased. She runs a brothel and doesn’t believe her son could have died from drinking too much or that he could have had a heart attack. She tells you about a staircase that leads to the square and a kind of gazebo, which is the crime scene.
New task: Get information about the deceased.
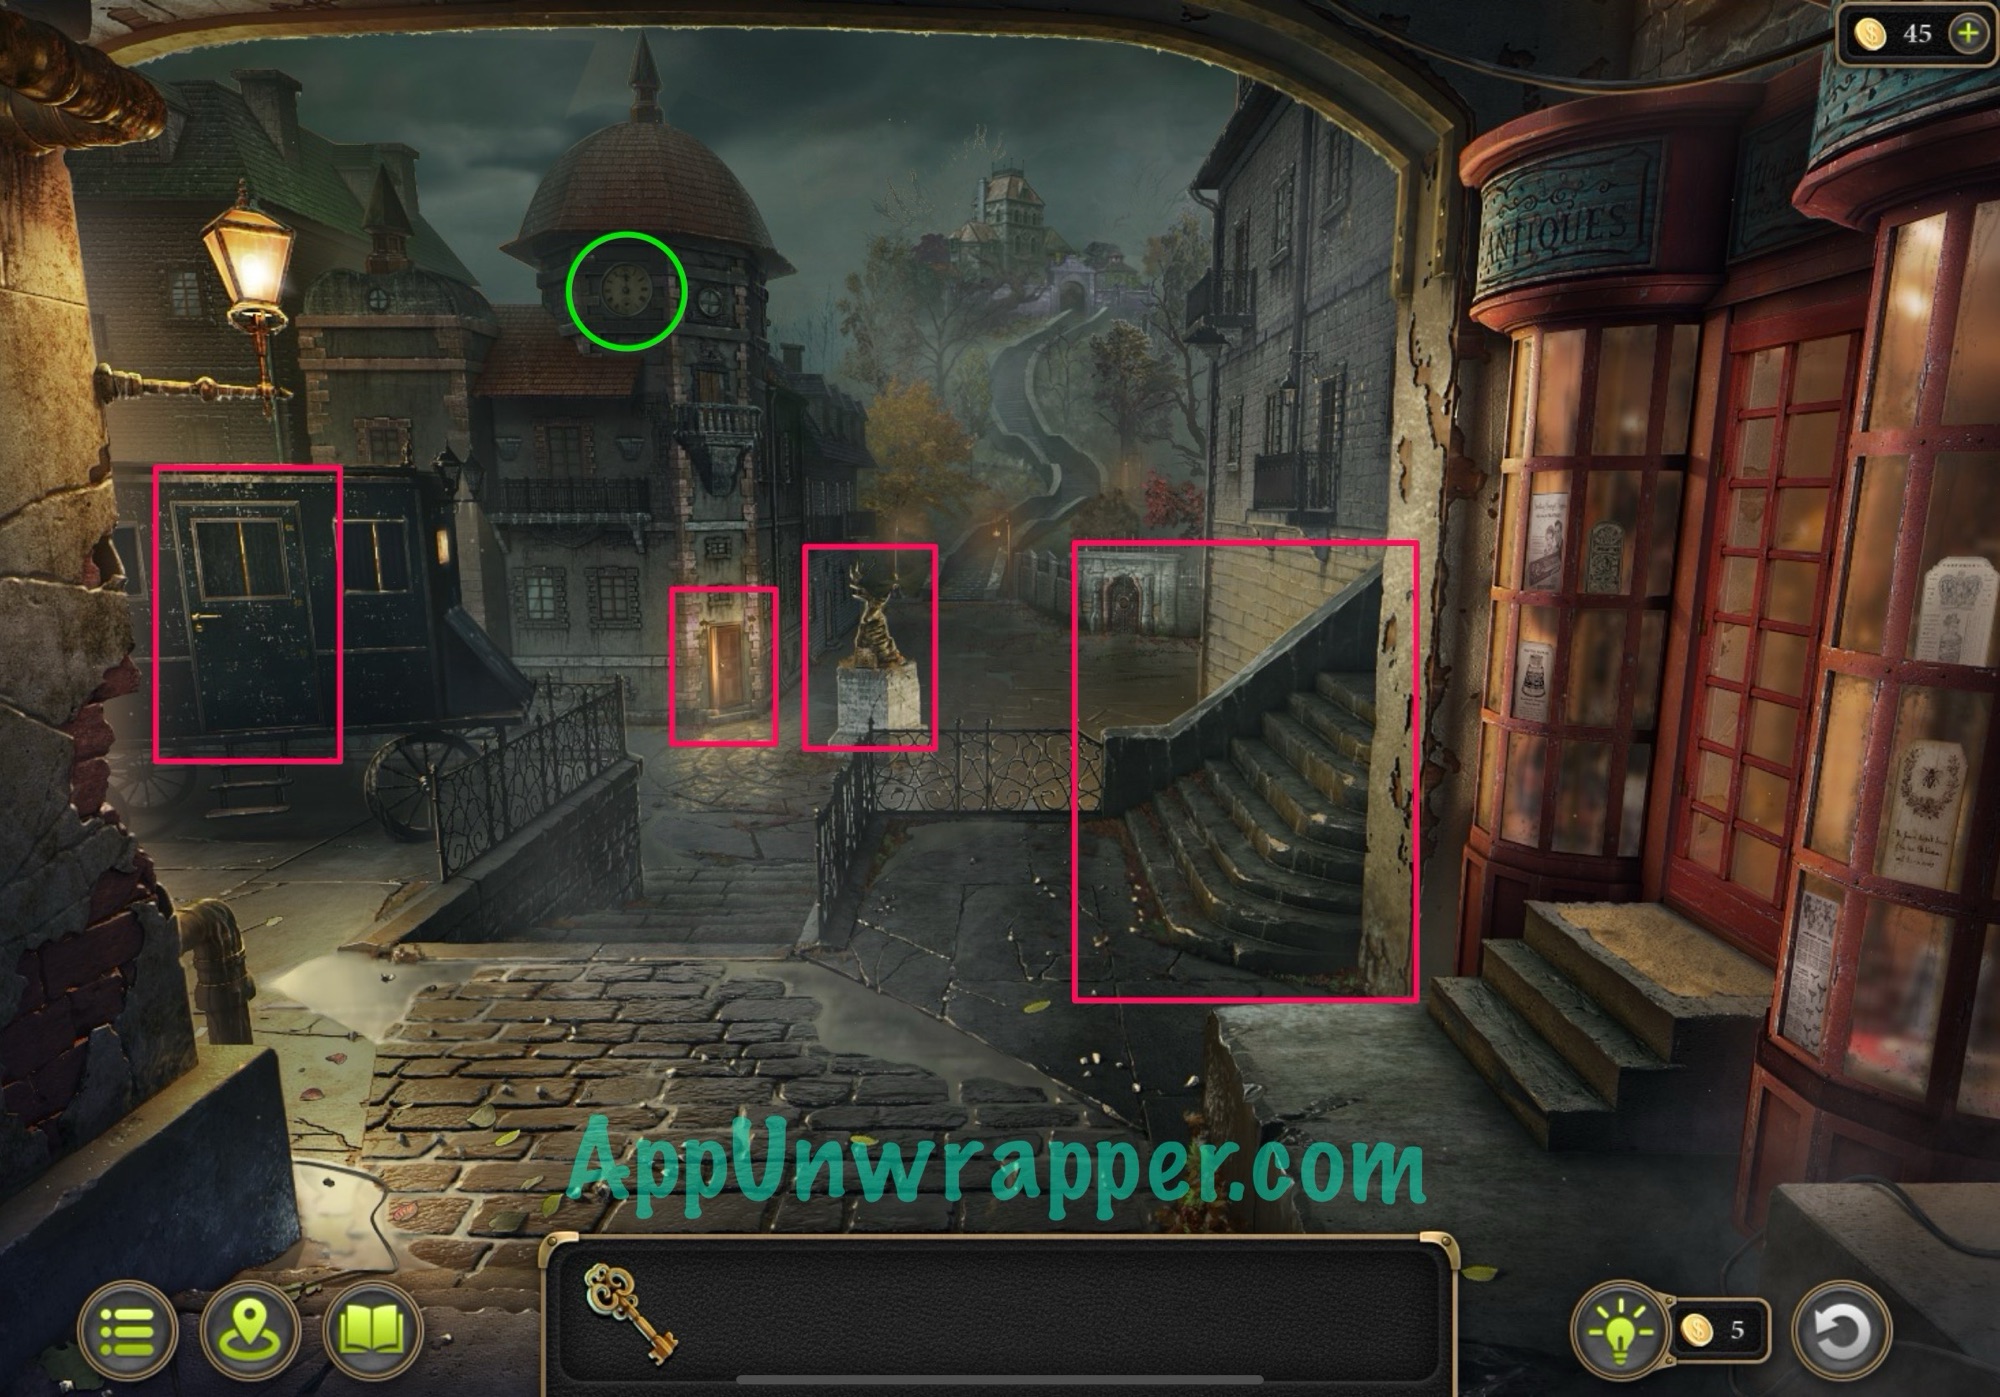
2. First, tap on the clock/cross to get the morphing object collectible. The other things to focus on right now are the carriage, the brothel, the deer head statue, and the stairs that lead to the town square.
Collection: Morphing object. (19/49)
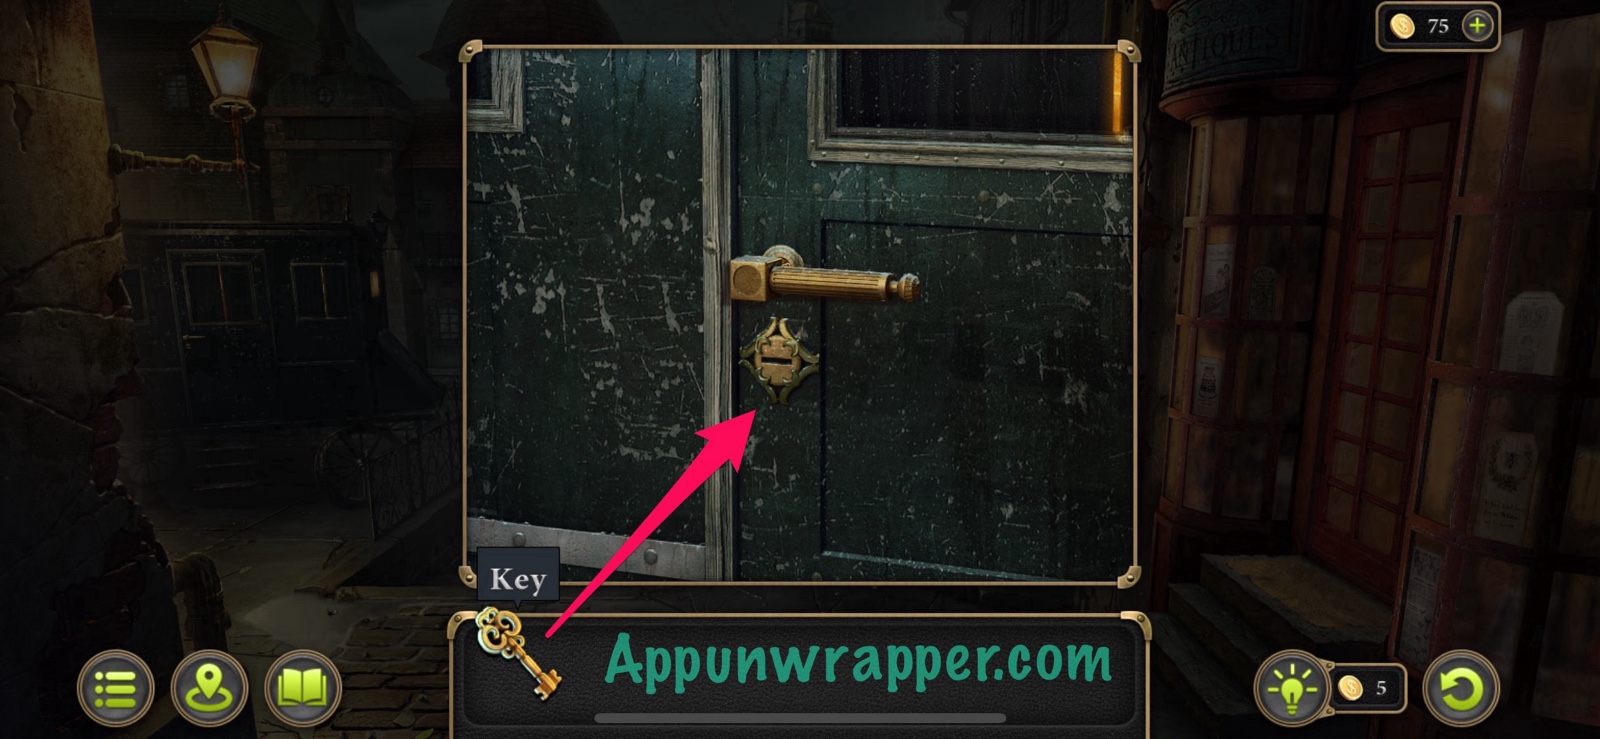
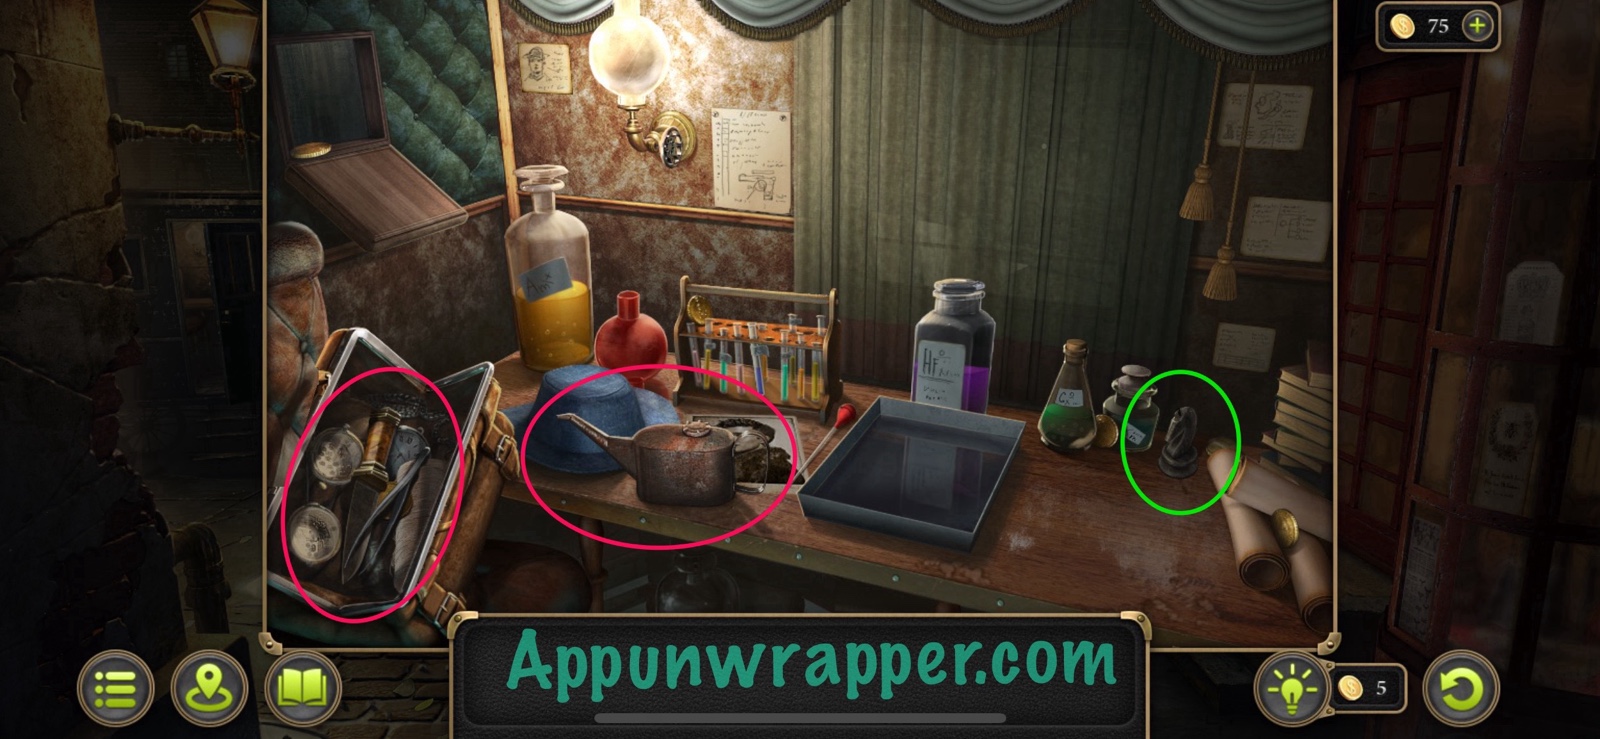
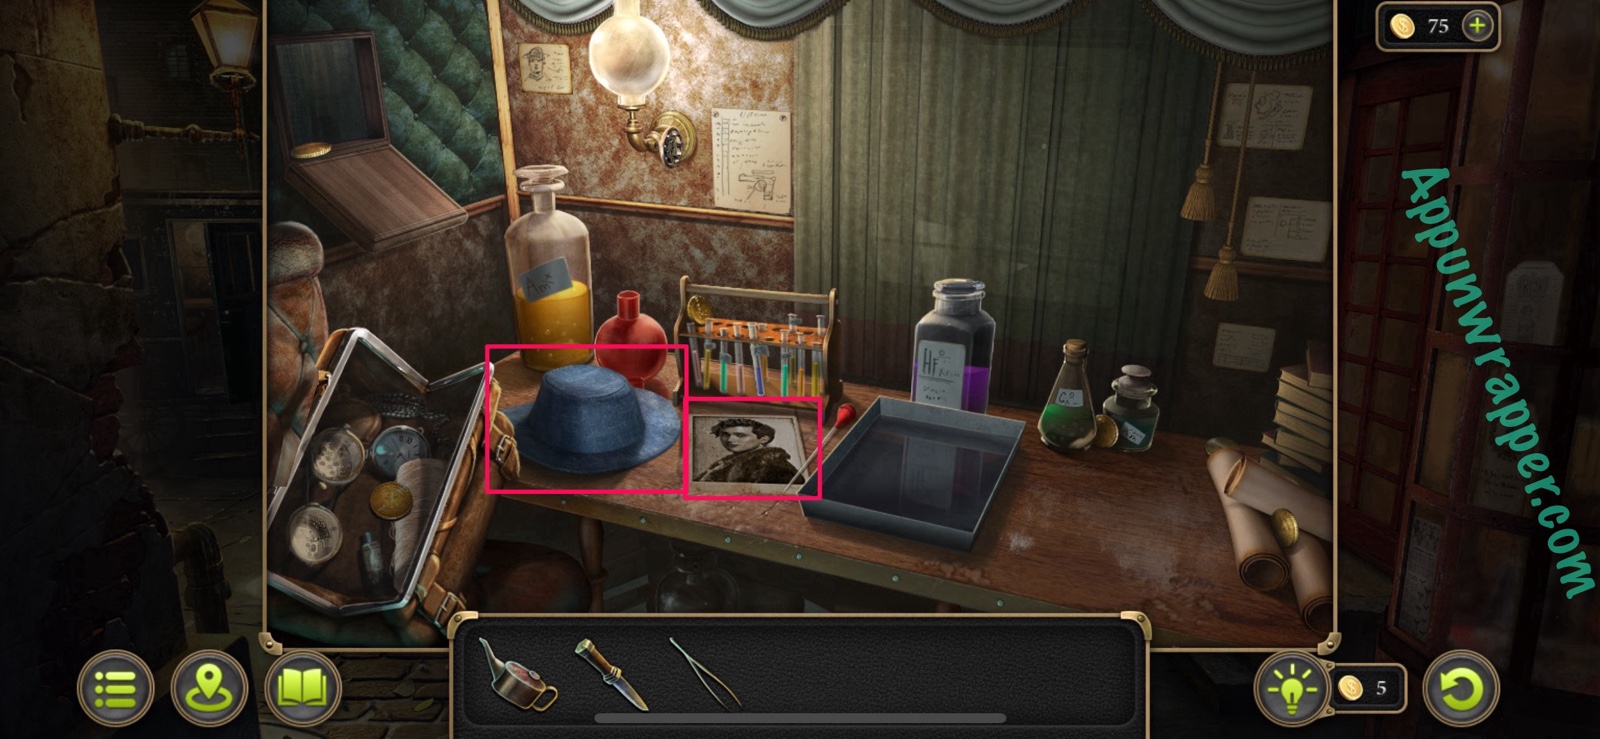
3. Start with the carriage. Use your key to unlock it and head inside. Grab the Oiler from the table. Open the bag and take the Knife and Tweezers. Also, grab the chess knight collectible. You can also look at the photo and move the hat aside to reveal a coin that we’ll need later.
Collection: Chess knight. (1/8)
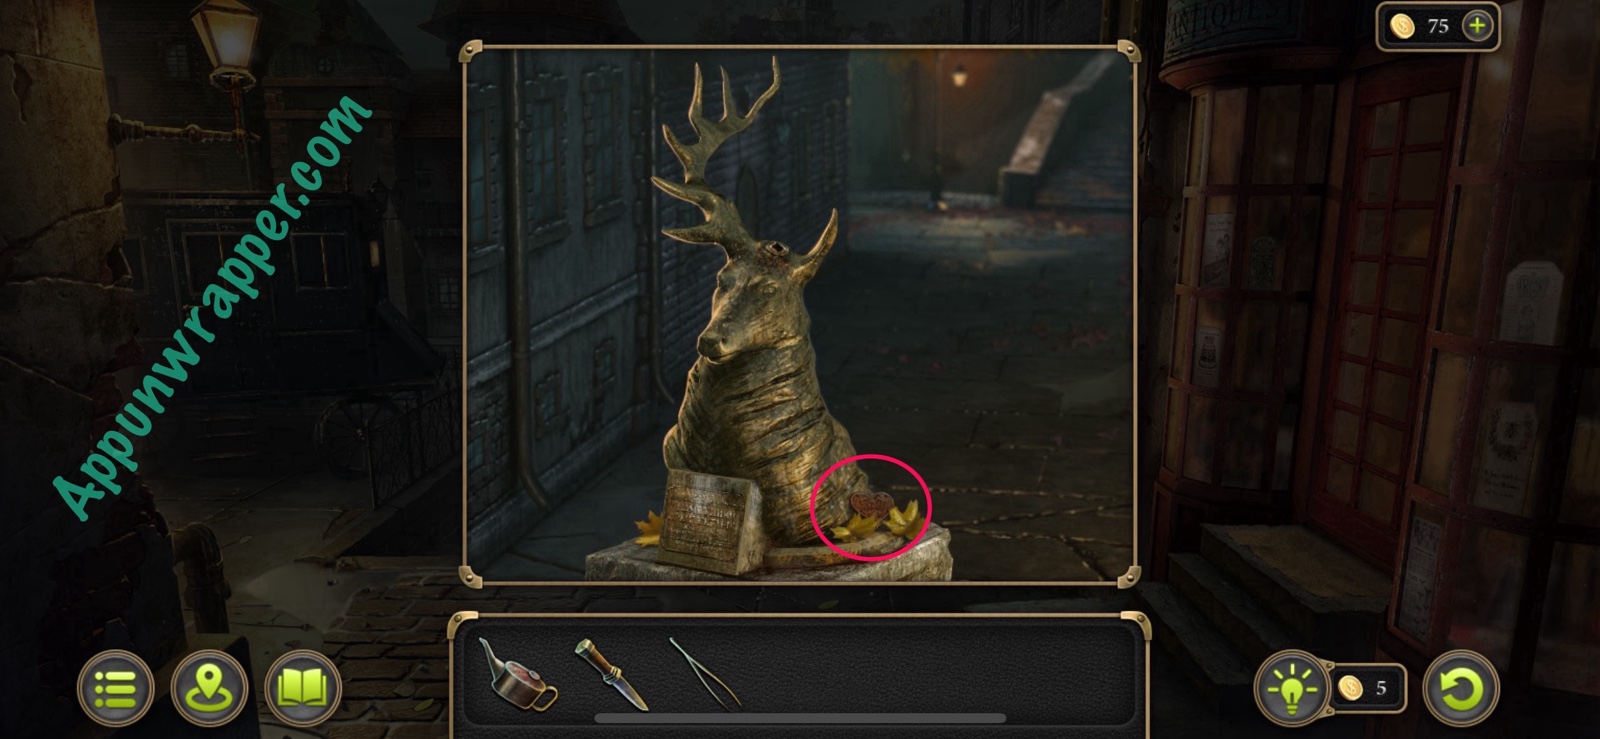
4. Leave the carriage and examine the deer head. Grab the part of the box. Notice someone broke off the antler. We’ll deal with that later.
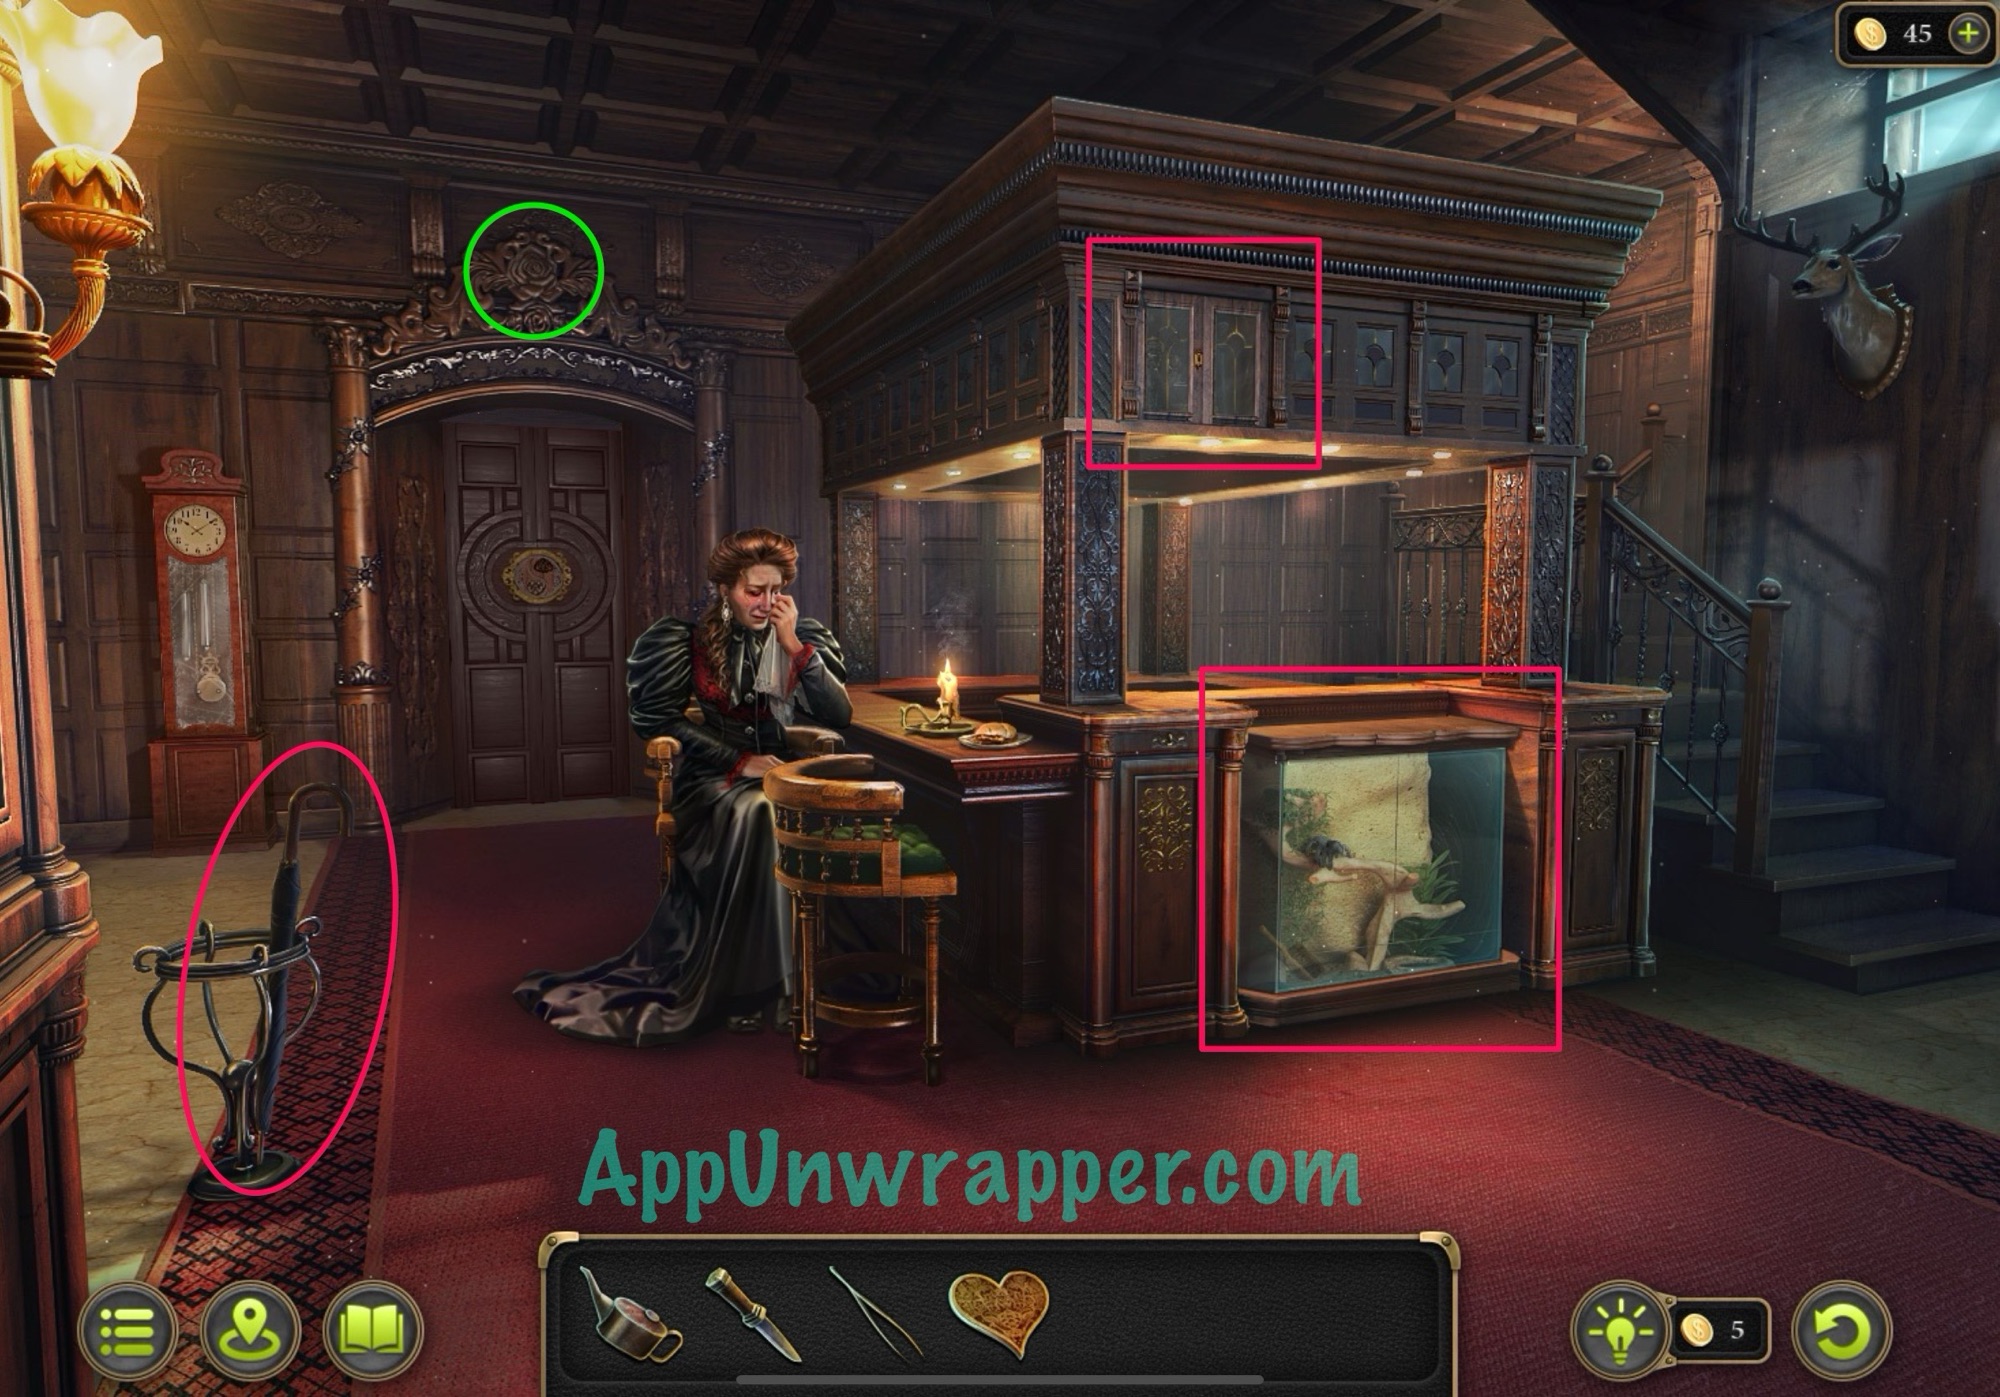
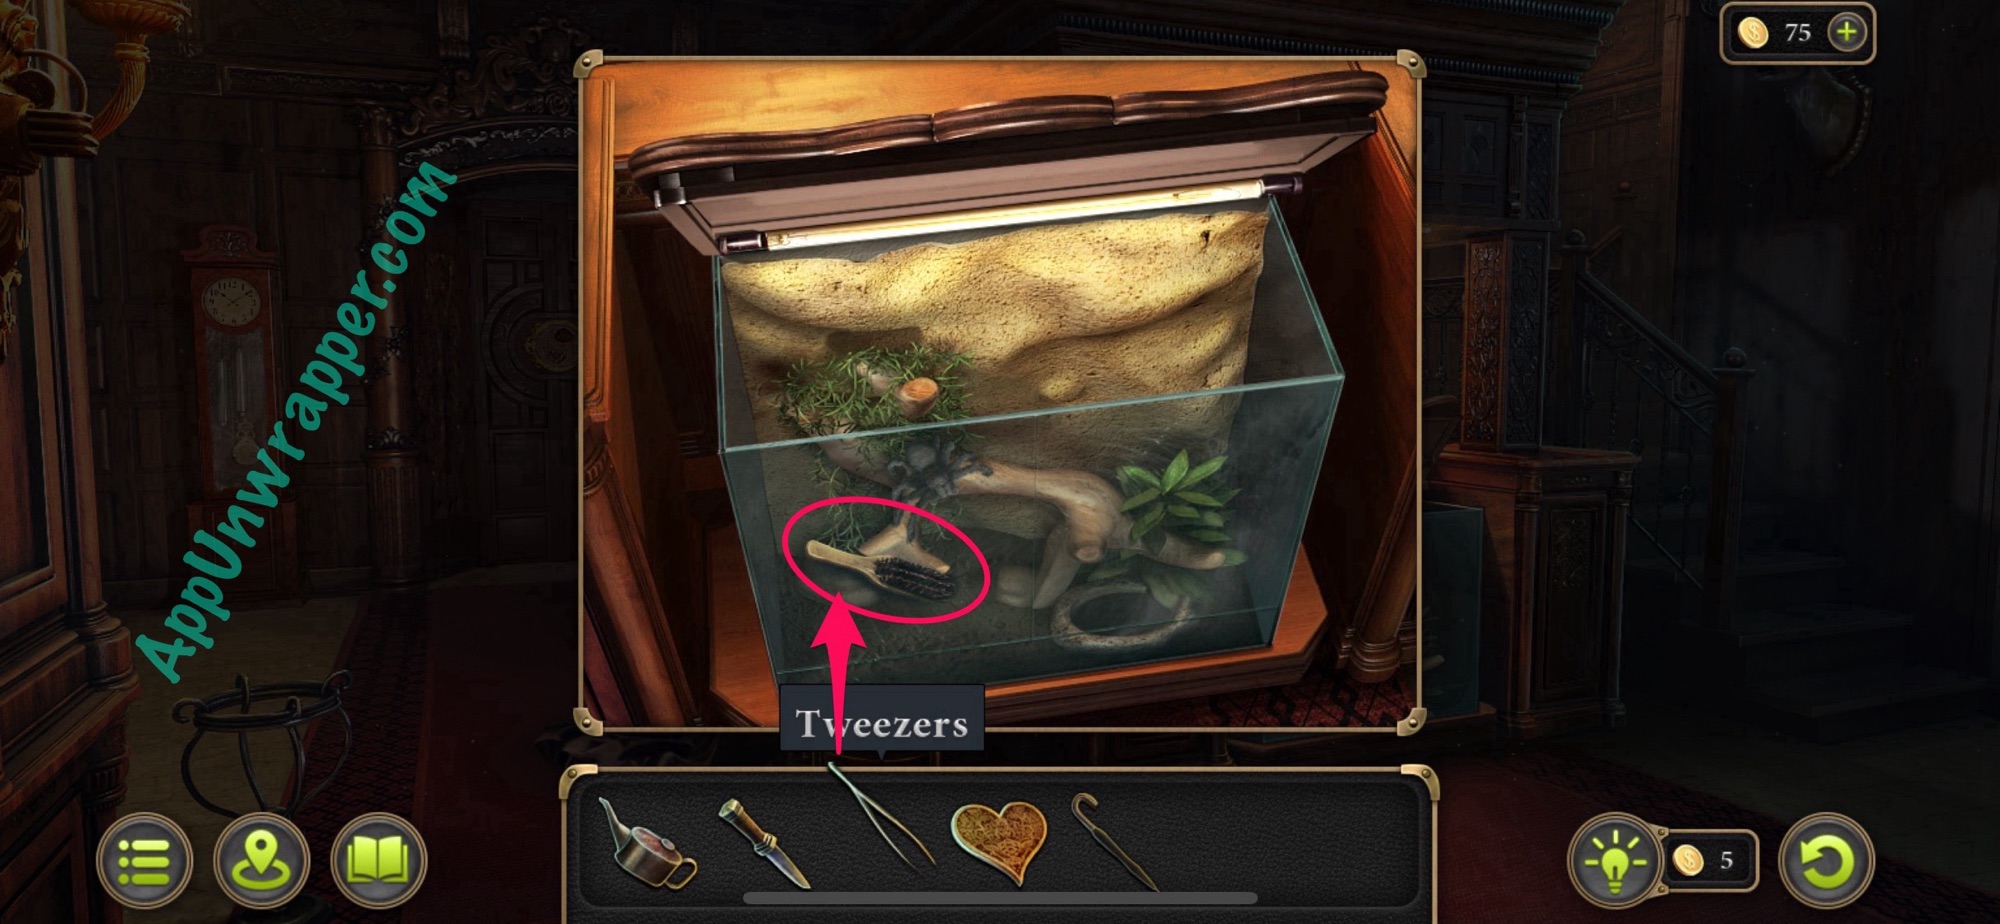
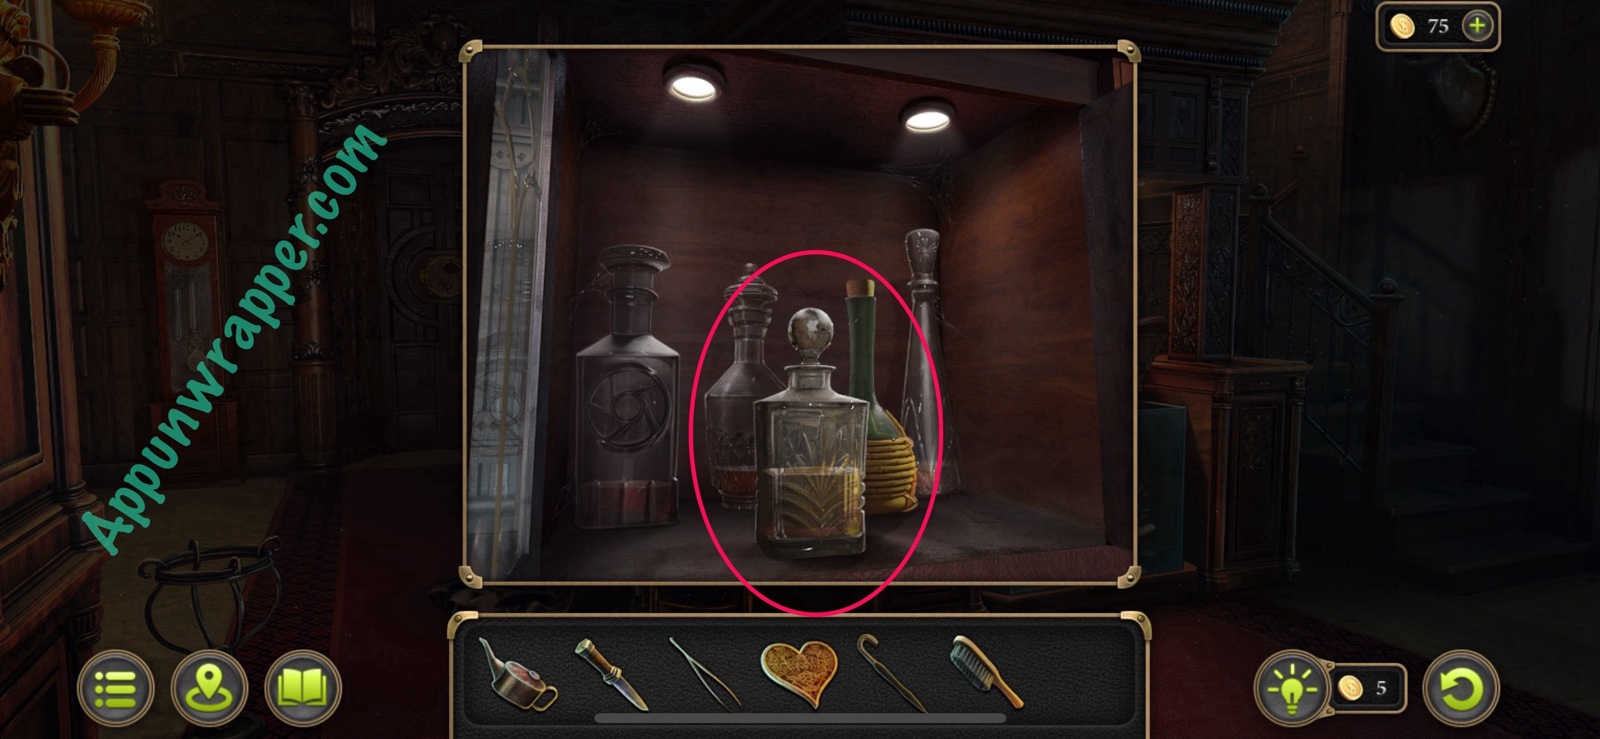
5. Now let’s enter the brothel. There’s a morphing object above the doors to collect. Also, grab the Umbrella. Look inside the tarantula tank to see a Brush. Use the tweezers to grab them. Then, zoom back out and open the cabinet to get the bottle of Alcohol.
Collection: Morphing object. (20/49)
6. Leave the brother and take the stairs to the central square. Grab the morphing object collectible on the cafe sign. There’s a a few points of interest here to focus on. Ignore the man for now. What’s important are the metal grate, the doghouse, and the path to the gazebo, which is the crime scene.
Collection: Morphing object. (21/49)
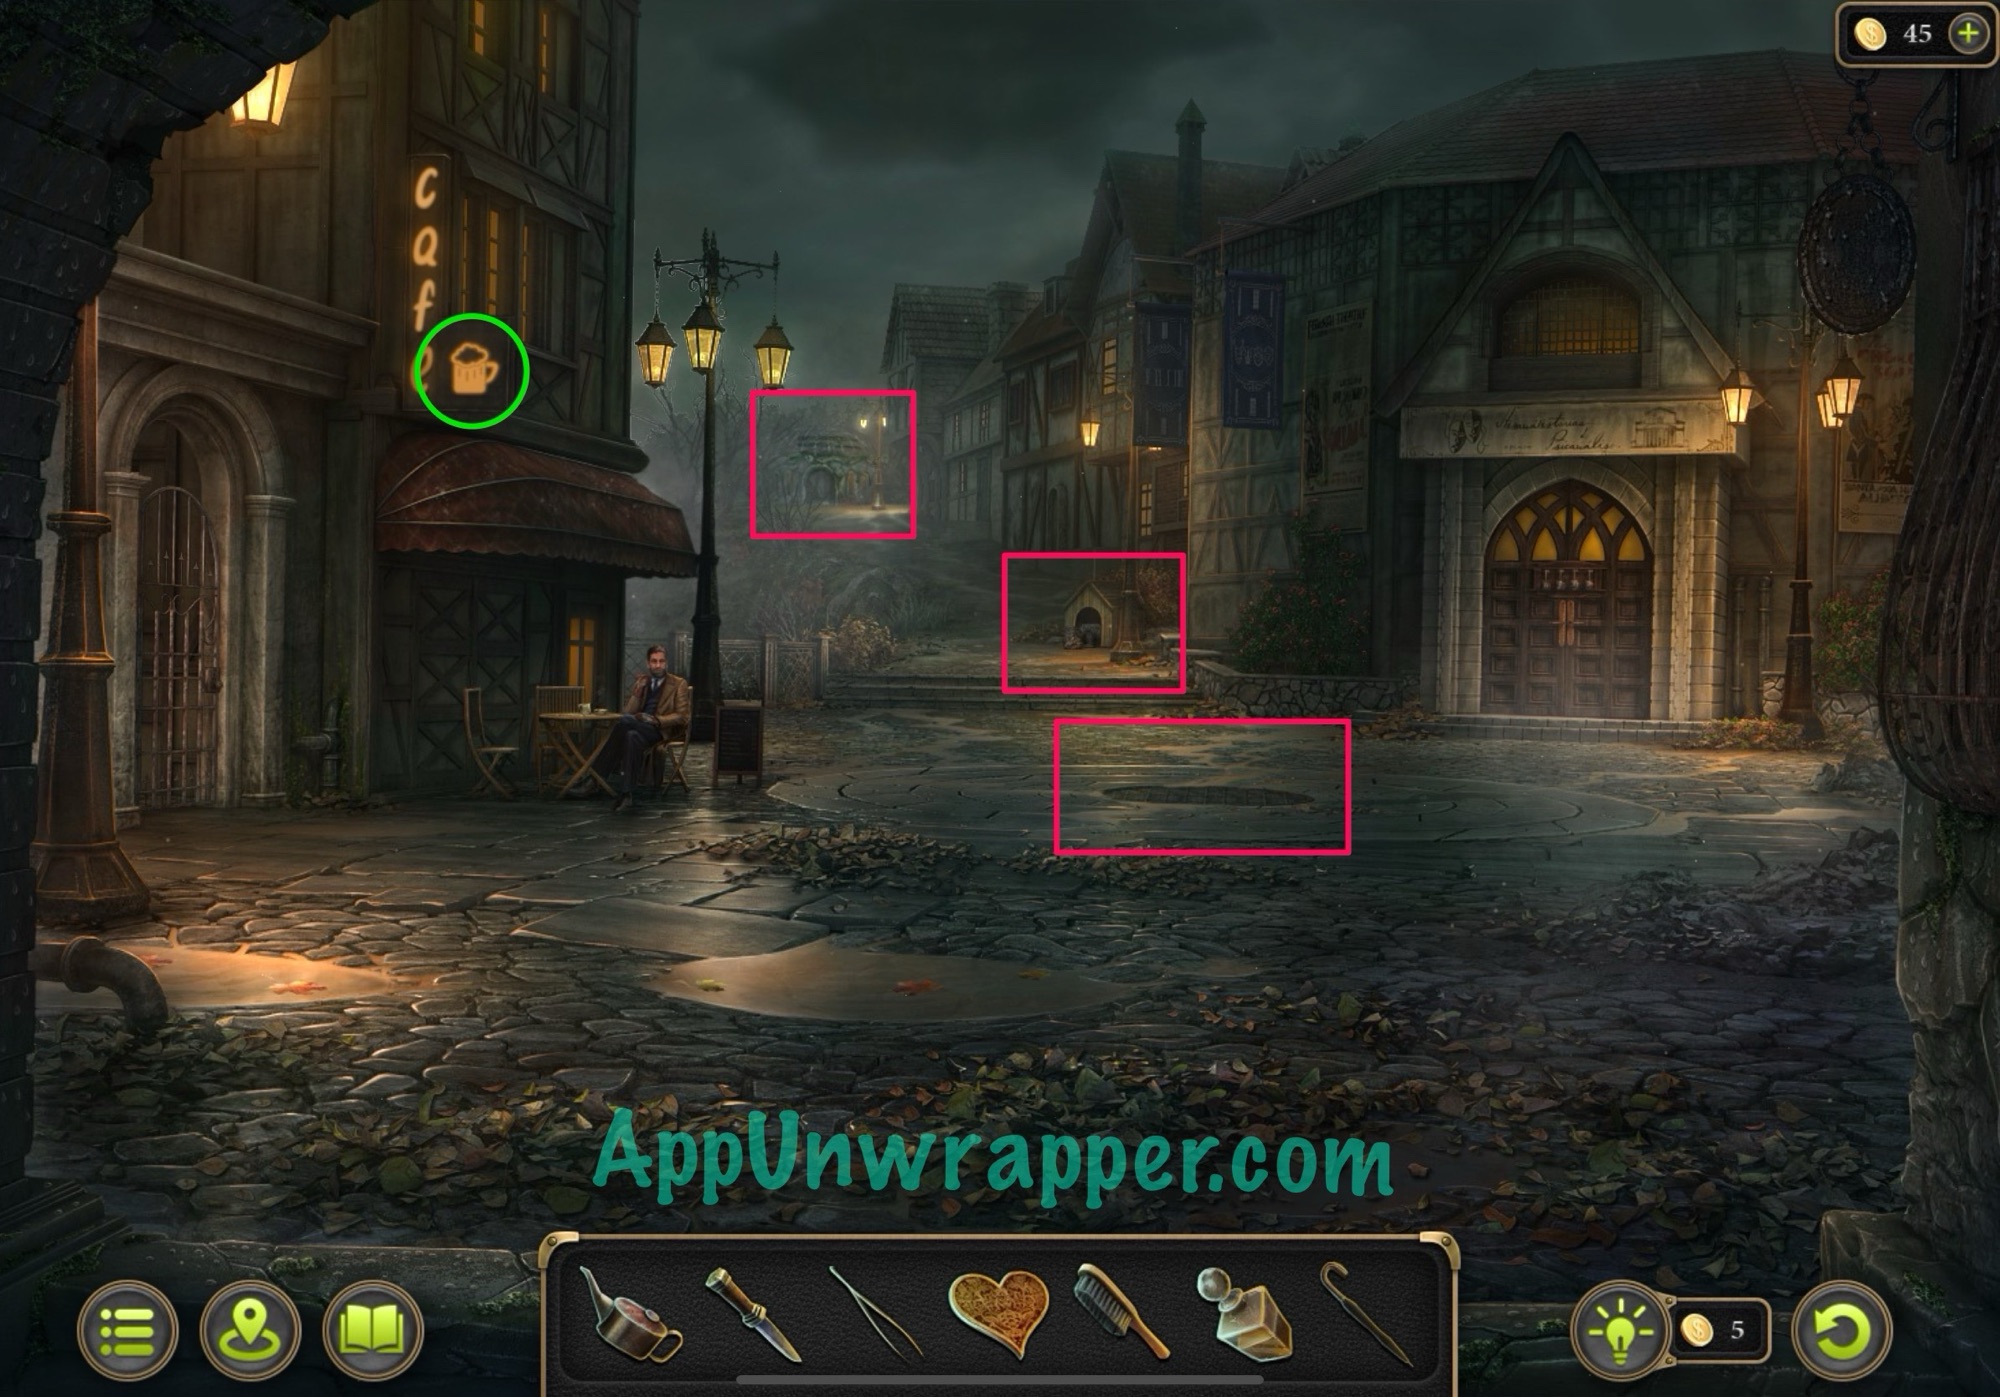
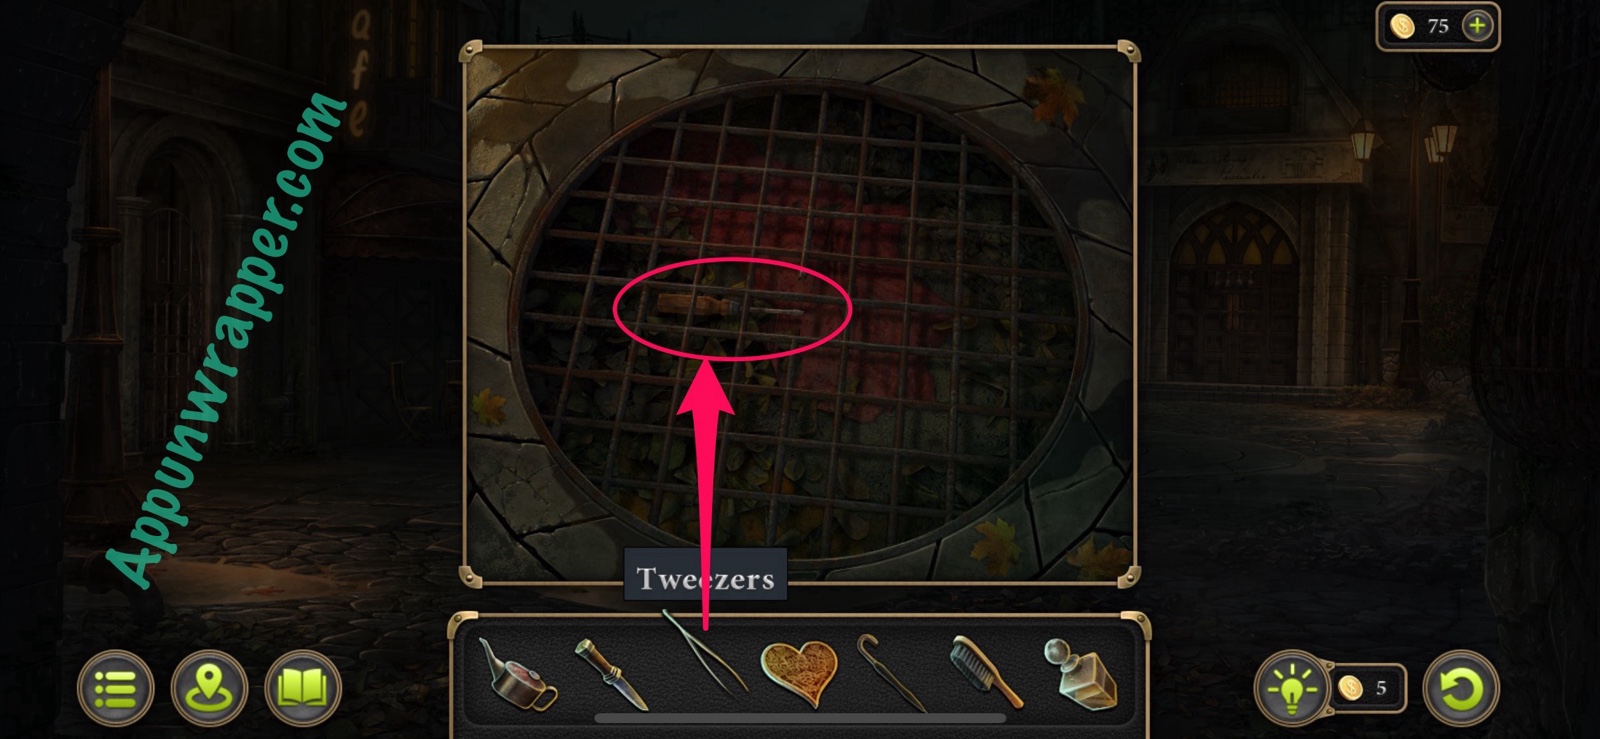
7. Examine the metal grate to see a Screwdriver stuck under it. Use the tweezers to grab it.
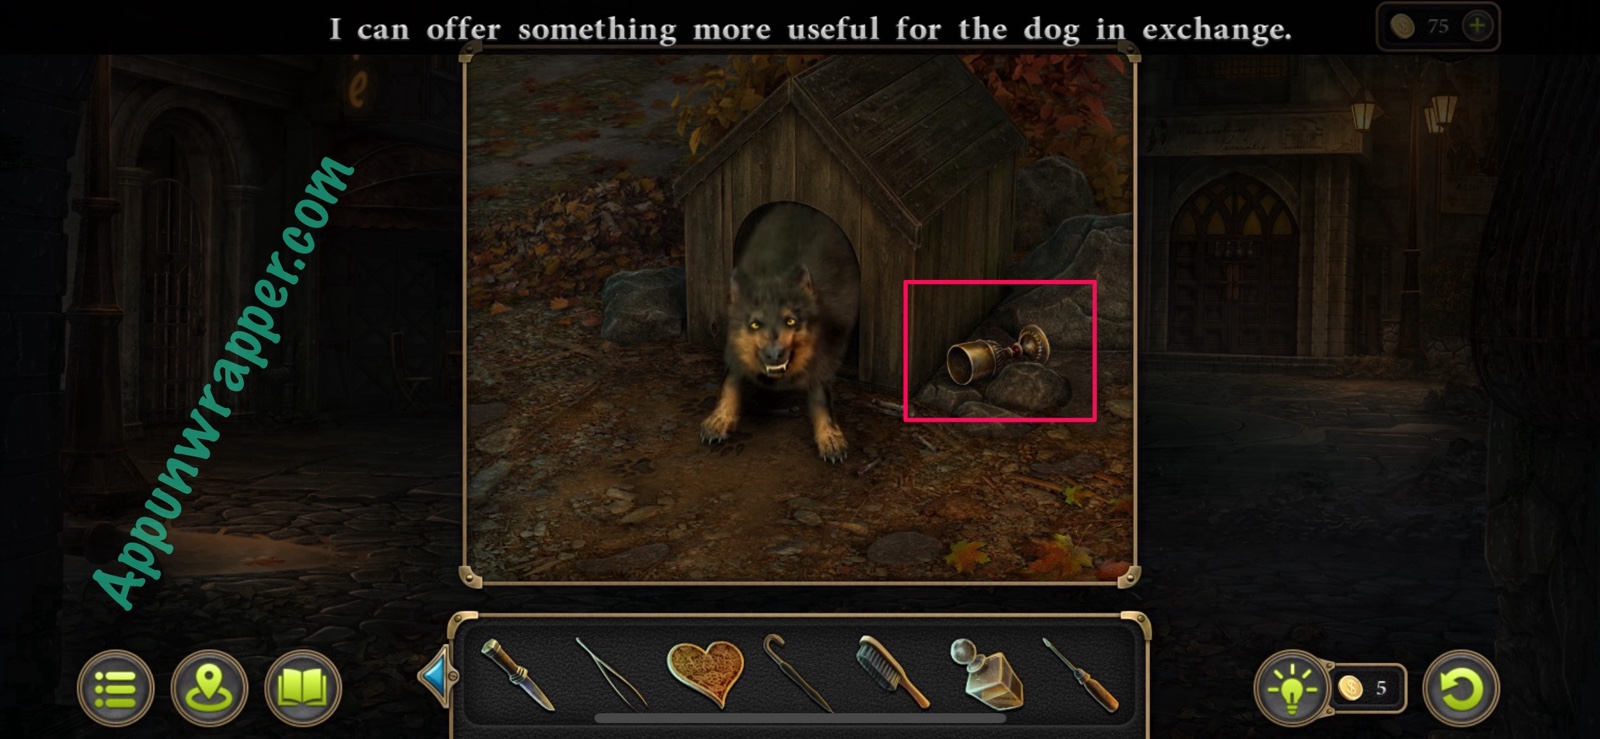
8. Approach the dog house and try to examine the goblet. The dog won’t let you, so leave and we’ll come back with a plan. Then head off to the gazebo.
9. This is the crime scene, so there’s a lot to do here. First, find the bat/snail morphing object collectible on the wall. I’ve highlighted all the other points of interest. You can also inspect one of the hanging lamps but it doesn’t seem to serve any purpose.
Collection: Morphing object. (22/49)
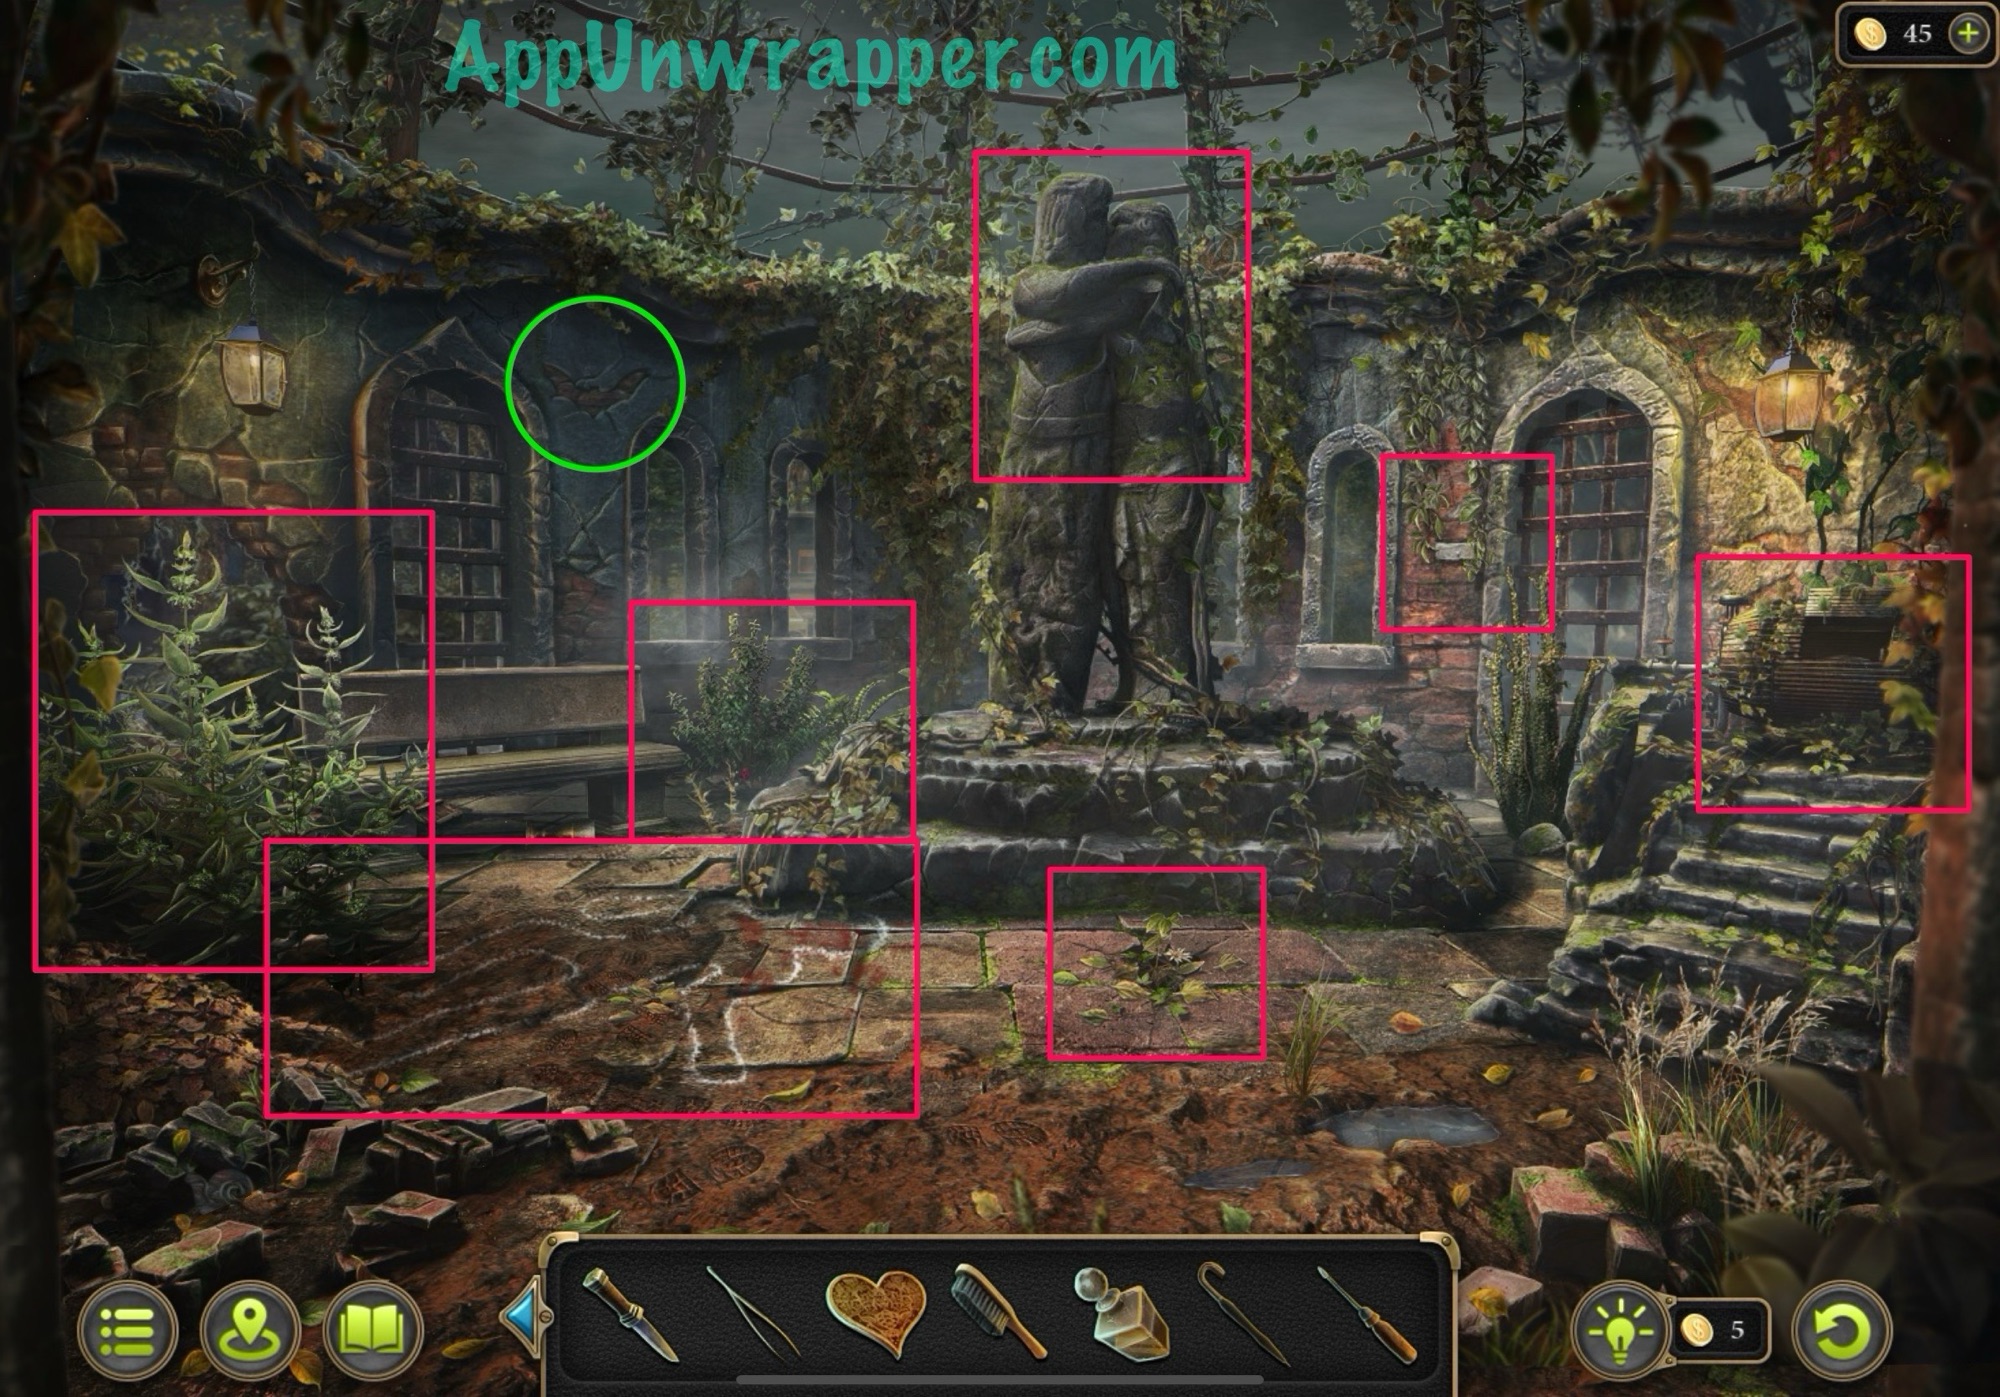
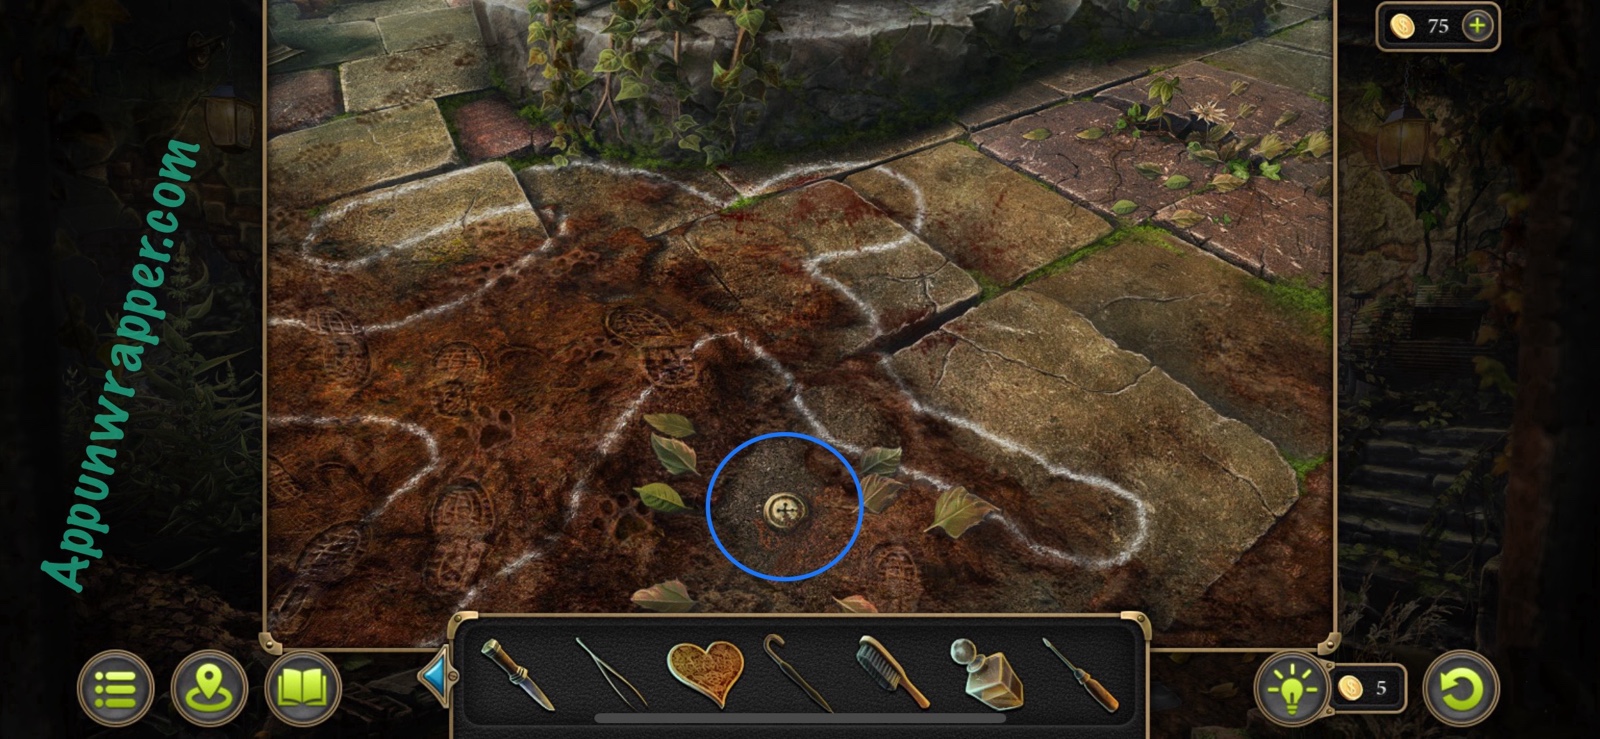
10. Start by inspecting the chalk outline where the body was found. Move aside the leaves and tap the button to collect it as evidence.
Evidence: Torn button. (File: Death Scene 1/5)
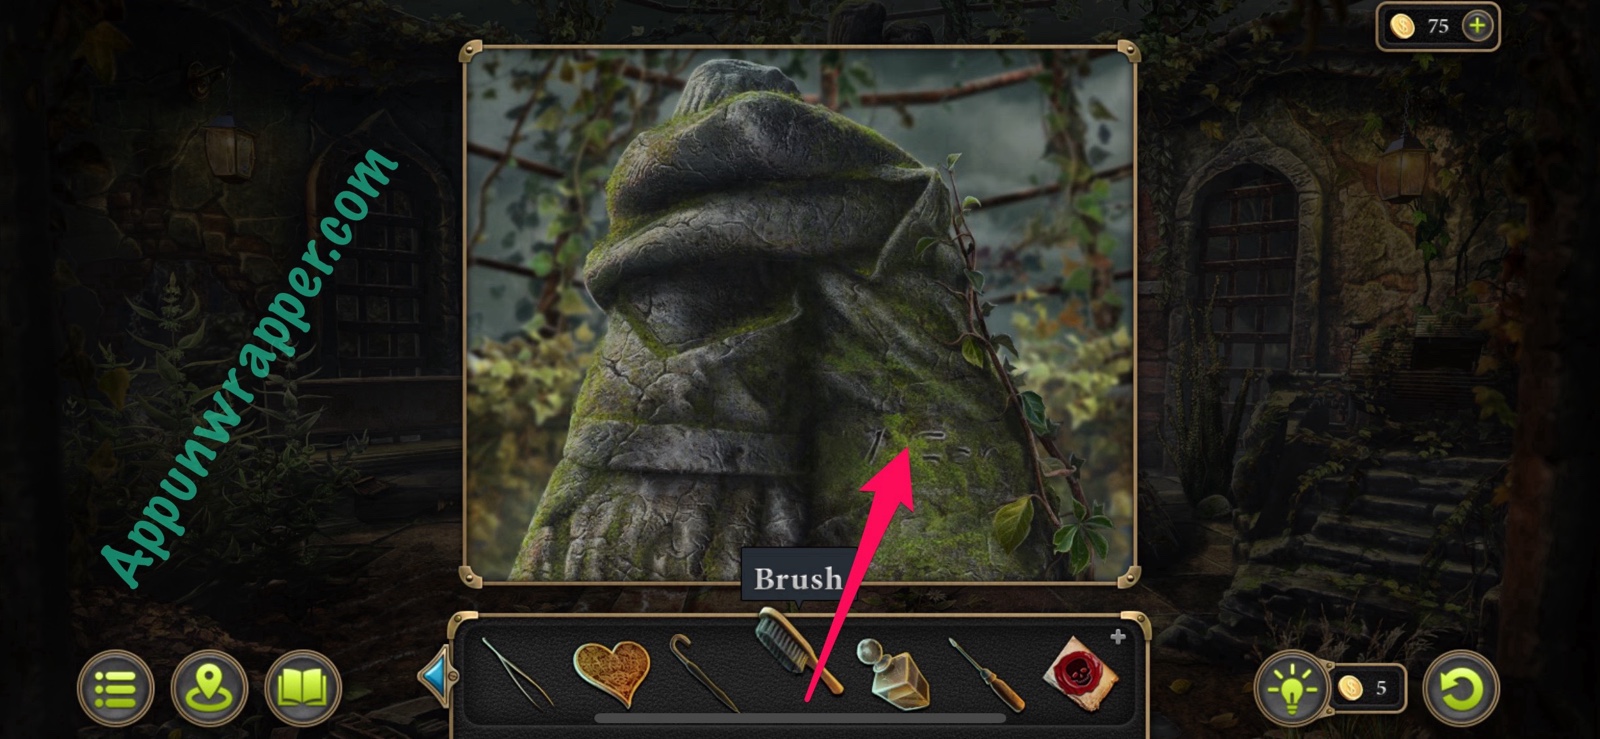
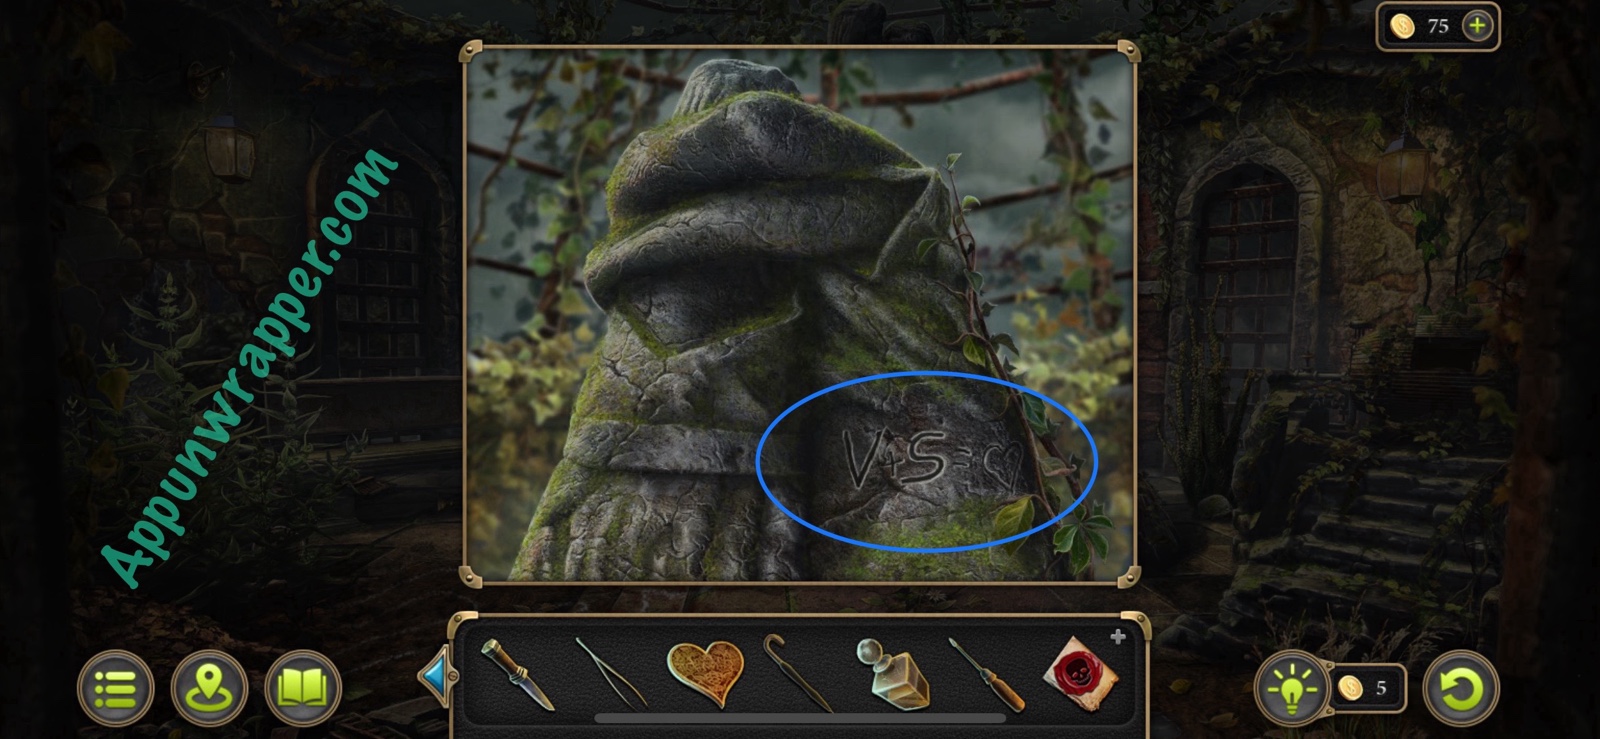
11. Next, examine the statue. There’s some moss on it covering something, so use your brush to remove it. Tap the inscription to collect it as evidence.
Evidence: Scratched initials. (File: Death Scene 2/5)
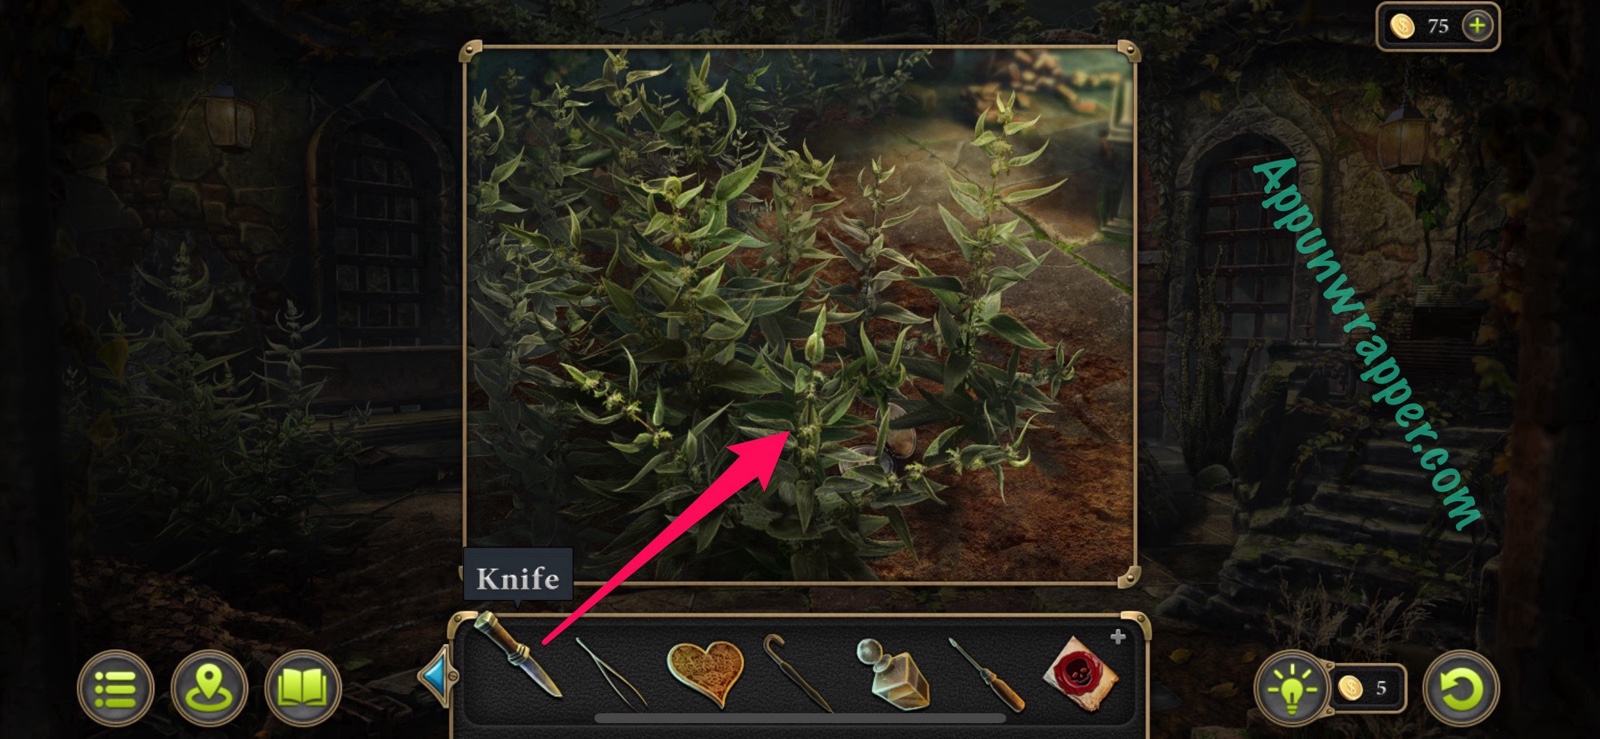
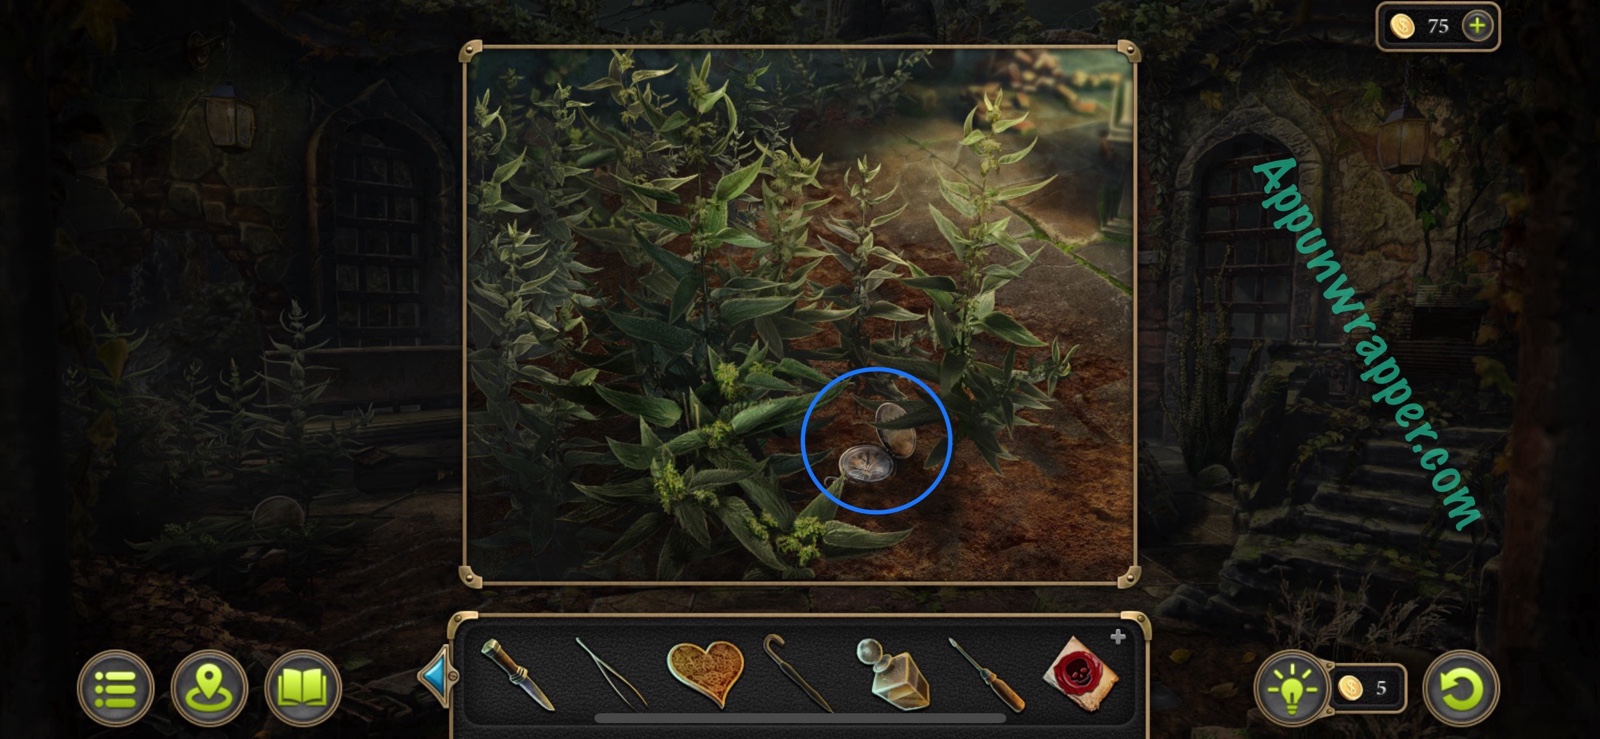
12. Next, look in the brushes and use your knife to trim them. Collect the pocket watch as evidence.
Evidence: The deceased’s watch. (File: Death Scene 3/5)
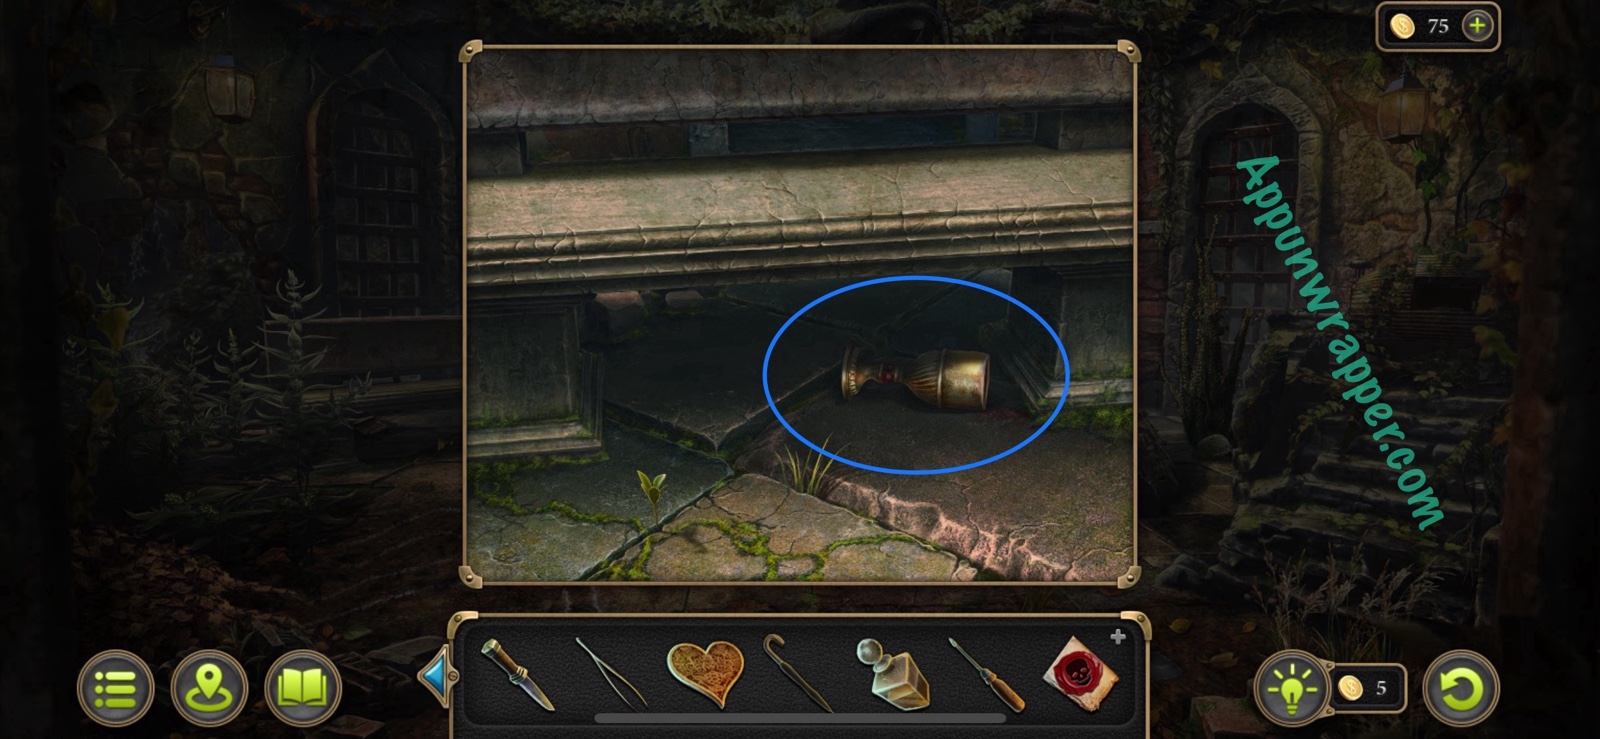
13. Look under the bench and tap on the goblet. It is evidence but it won’t count yet until we match it with the other one.
14. Next, look in the weeds to the left of the statue and notice the trampled roses. There was some drama going on, but this doesn’t count as evidence. While here, grab the chess knight collectible.
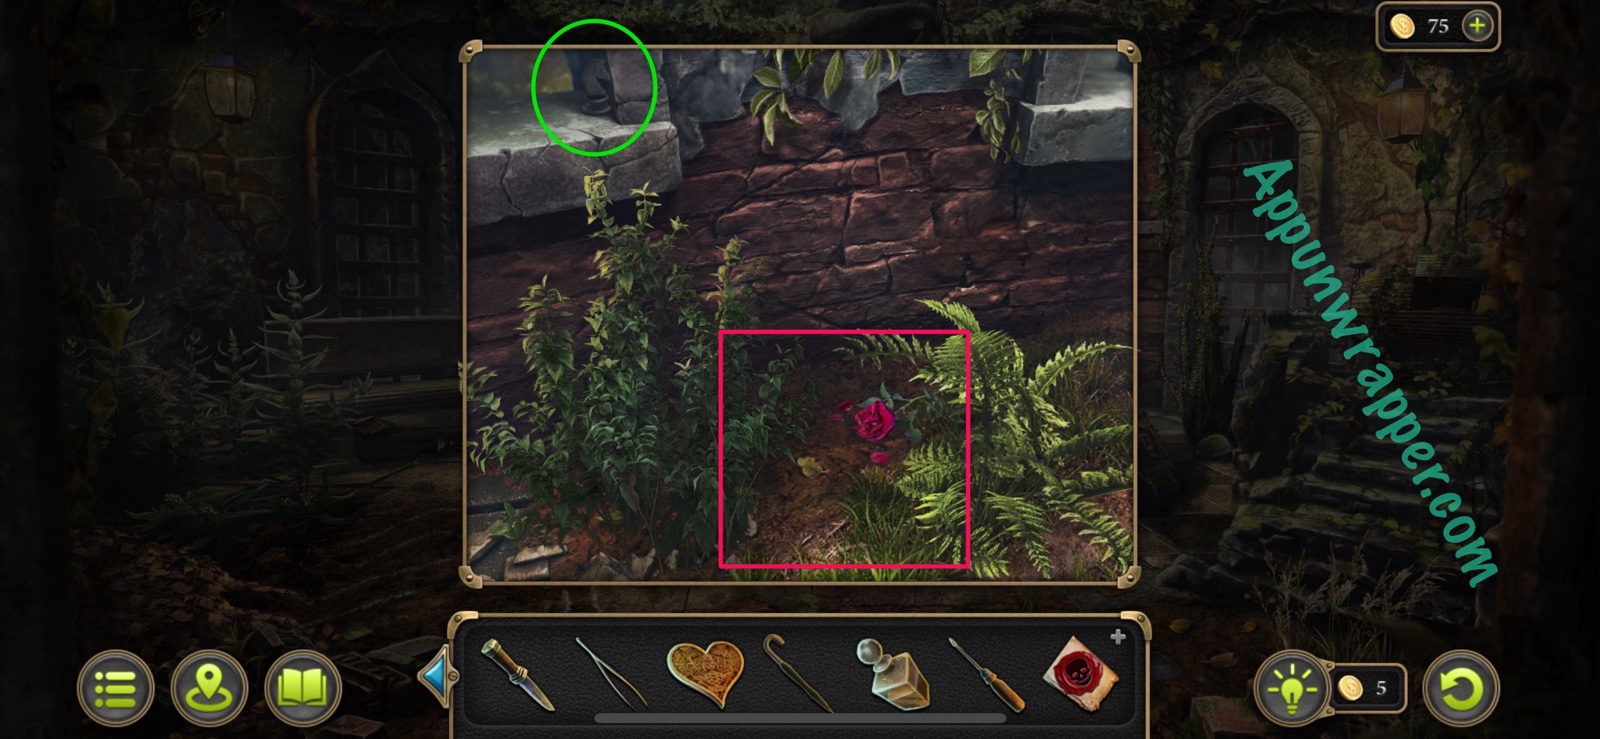
Collection: Chess knight. (2/8)
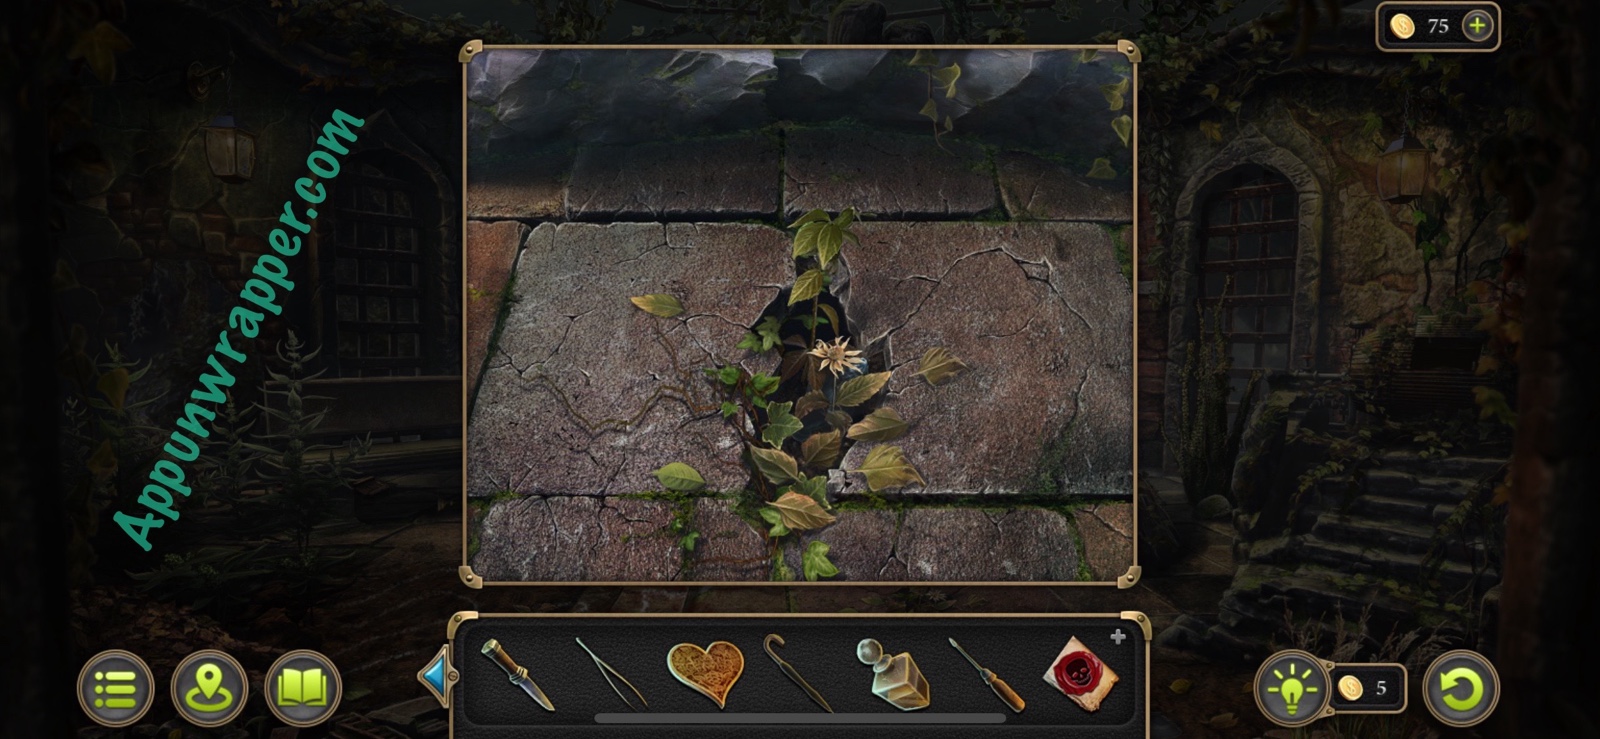
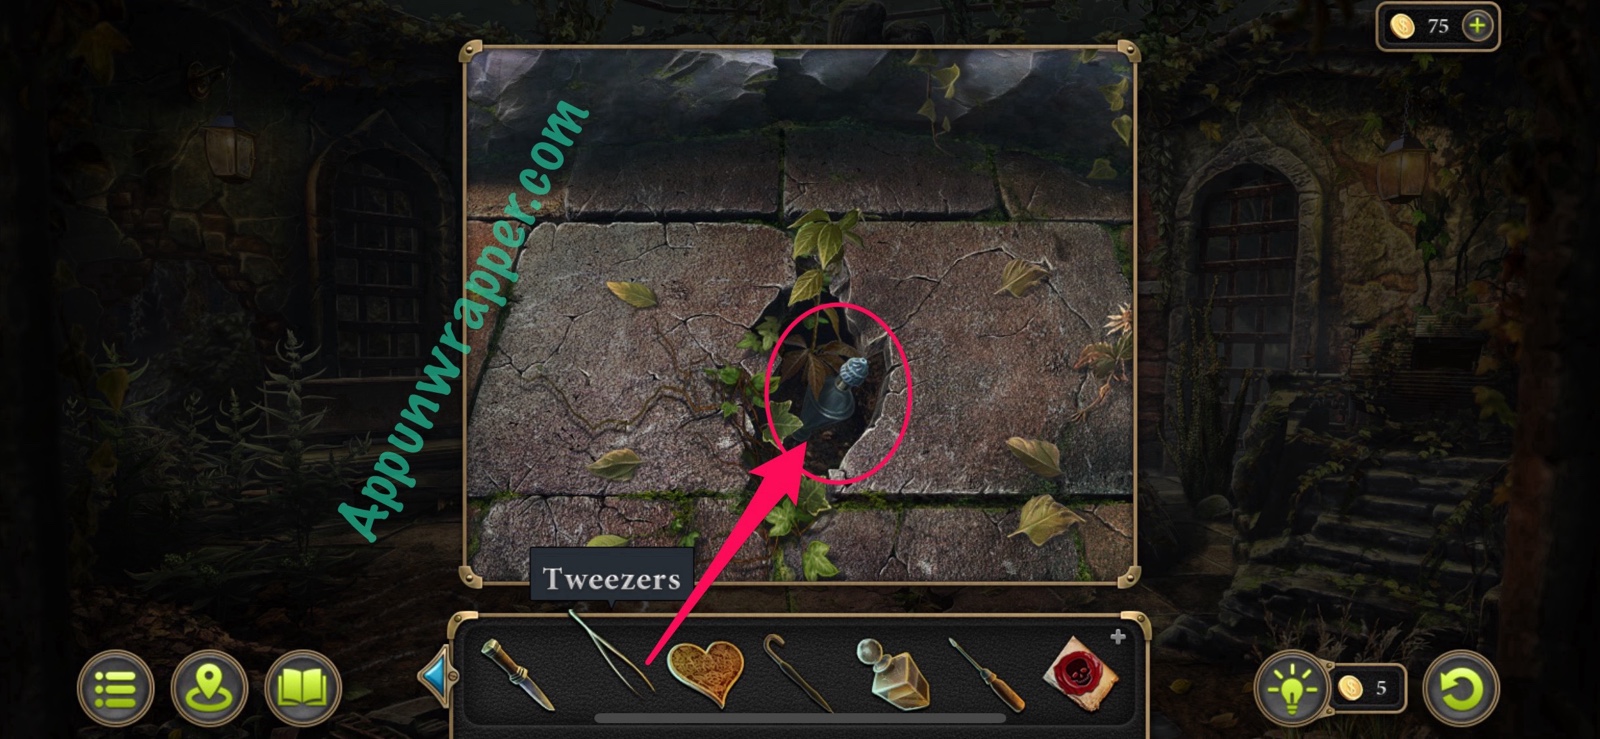
15. Next, examine the weed growing through a crack. Remove it to reveal a small Bottle. Use the tweezers to grab it and get a new task.
New task: Test the bottle.
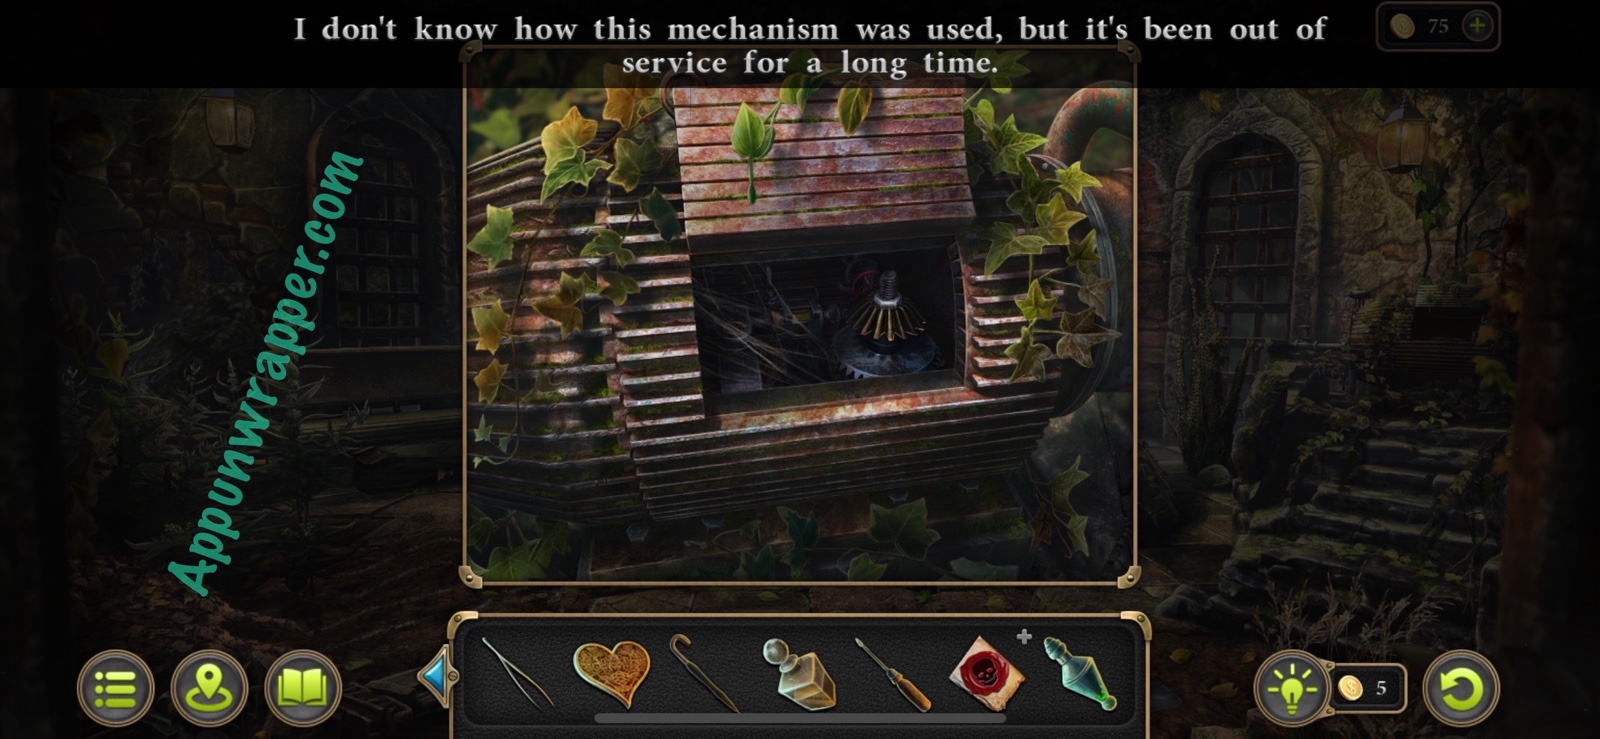
16. Examine the mechanism that’s out of service. We’ll need to come back to that later.
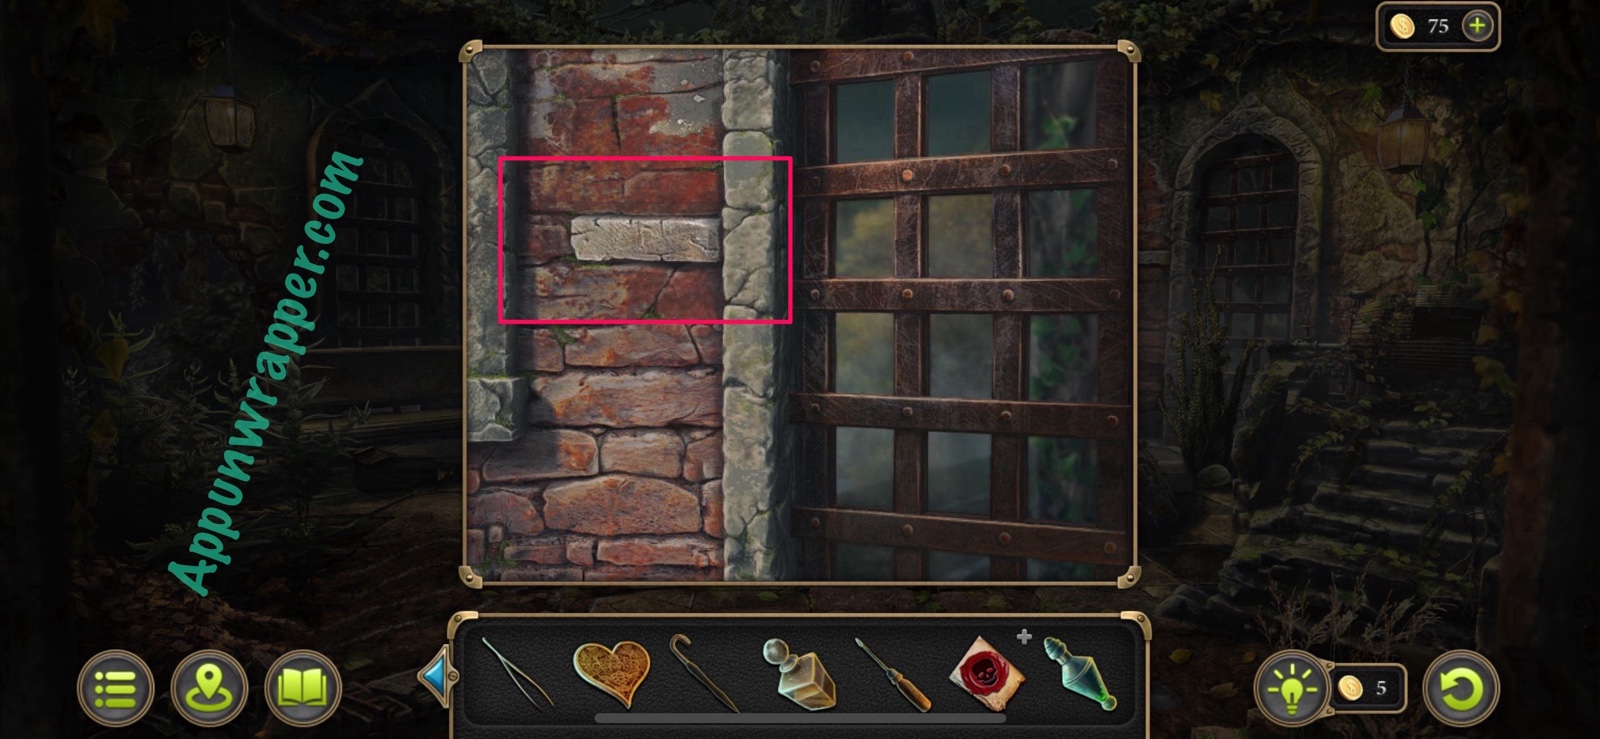
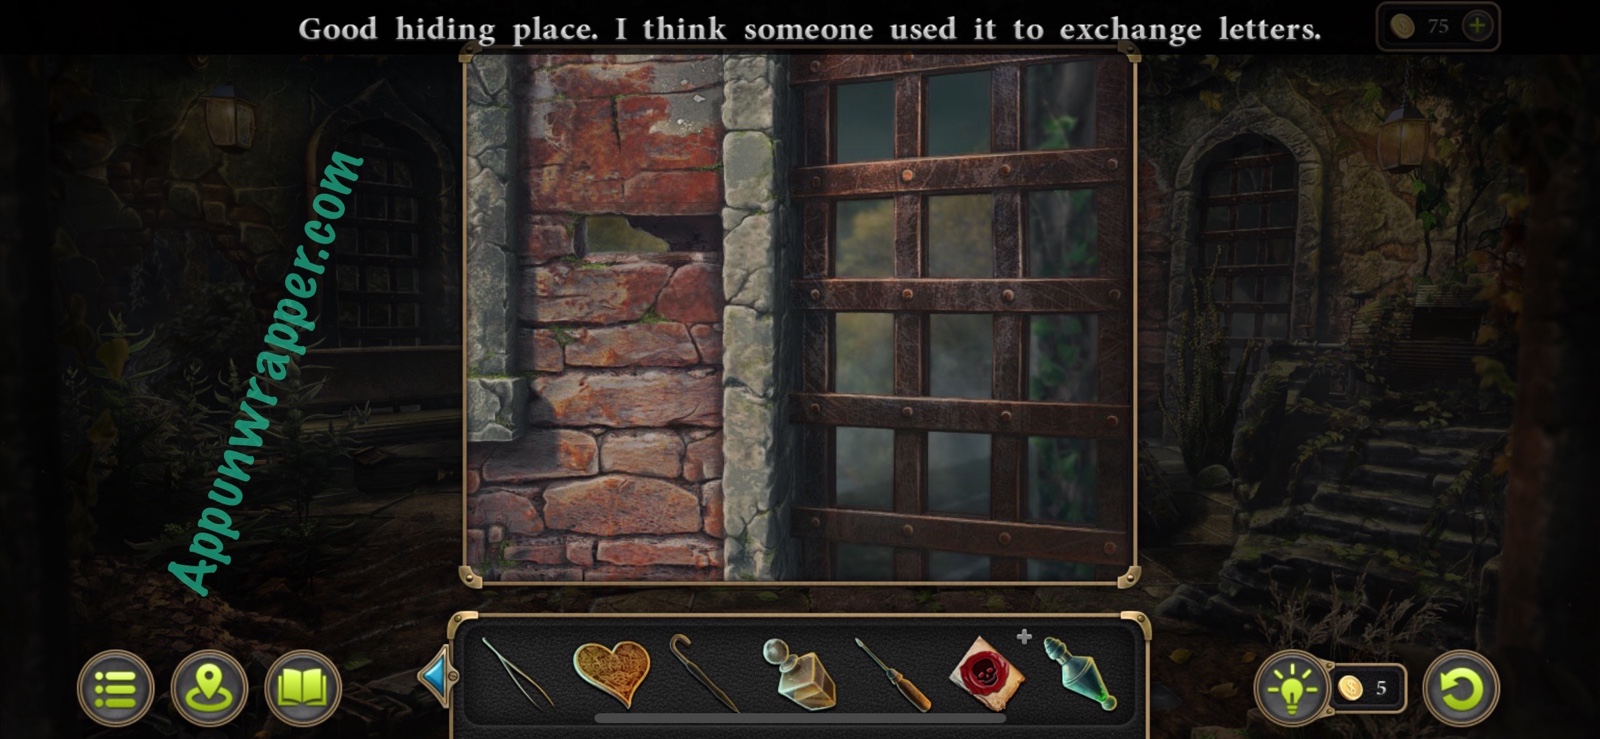
17. There’s also a loose brick next to one of the gates. Remove it to see it was probably used to exchange letters.
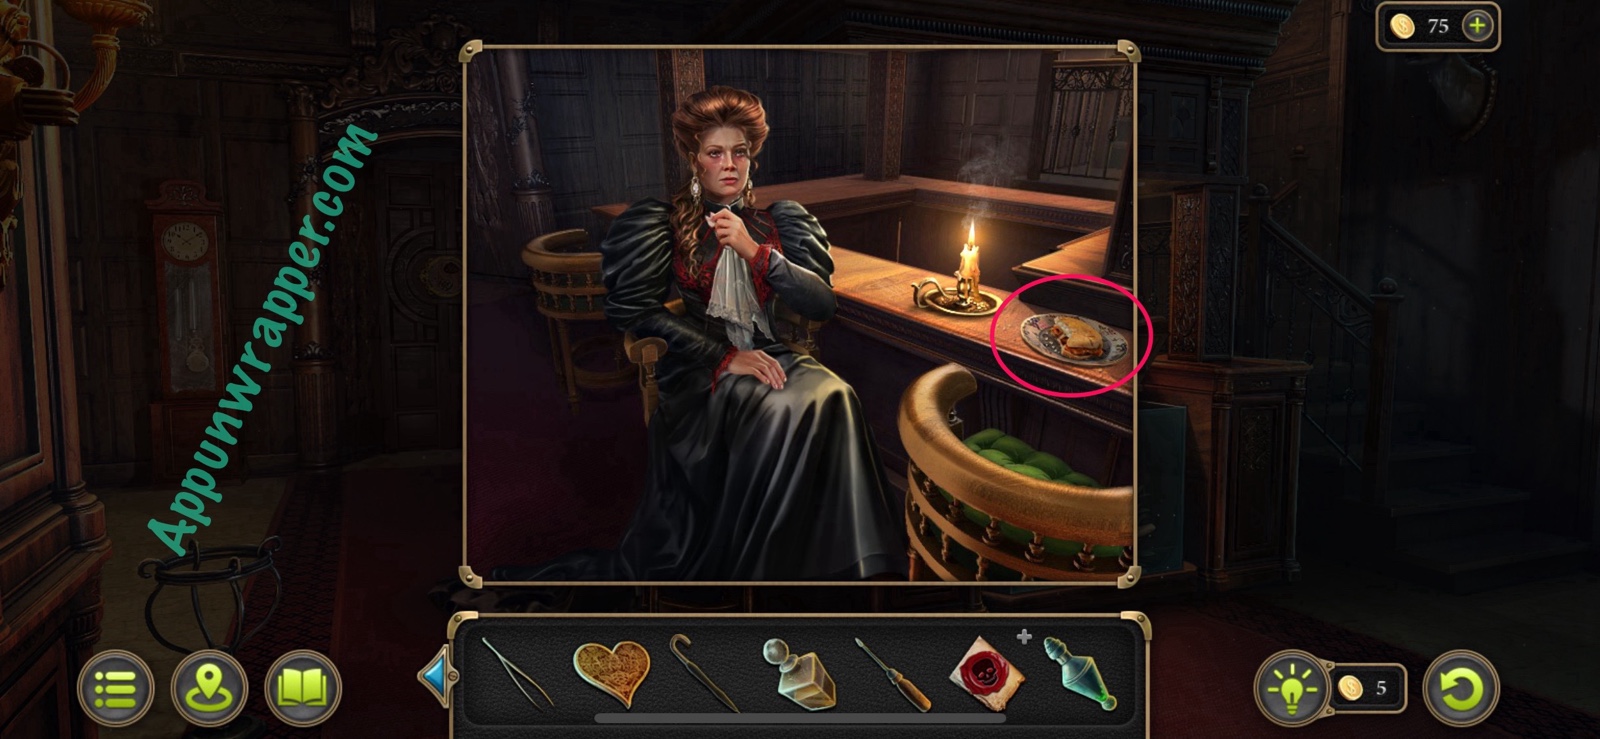
18. Go back to the brothel and tap on Diana Evans. Now that you’ve met the dog, you can take her Sandwich.
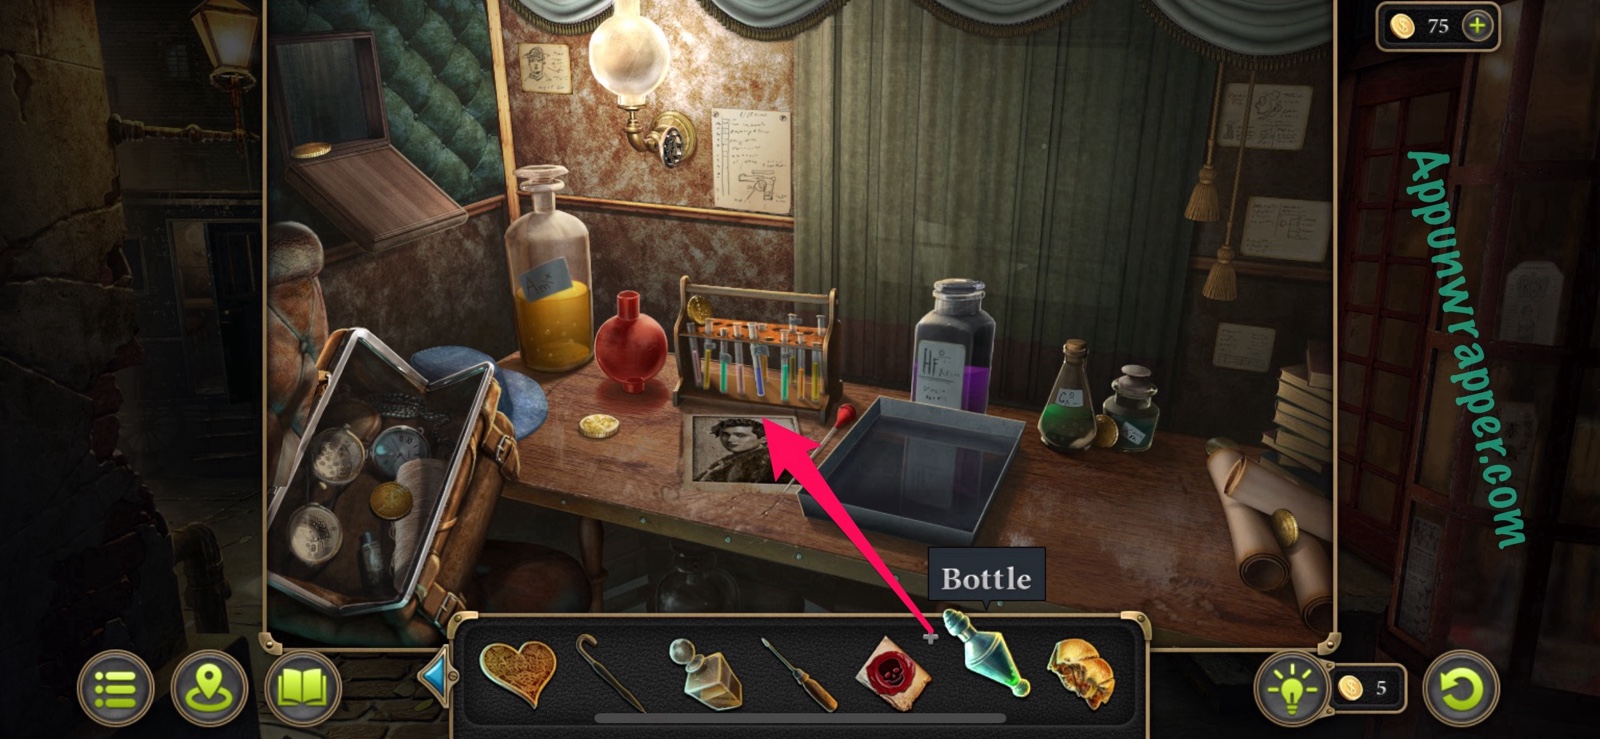
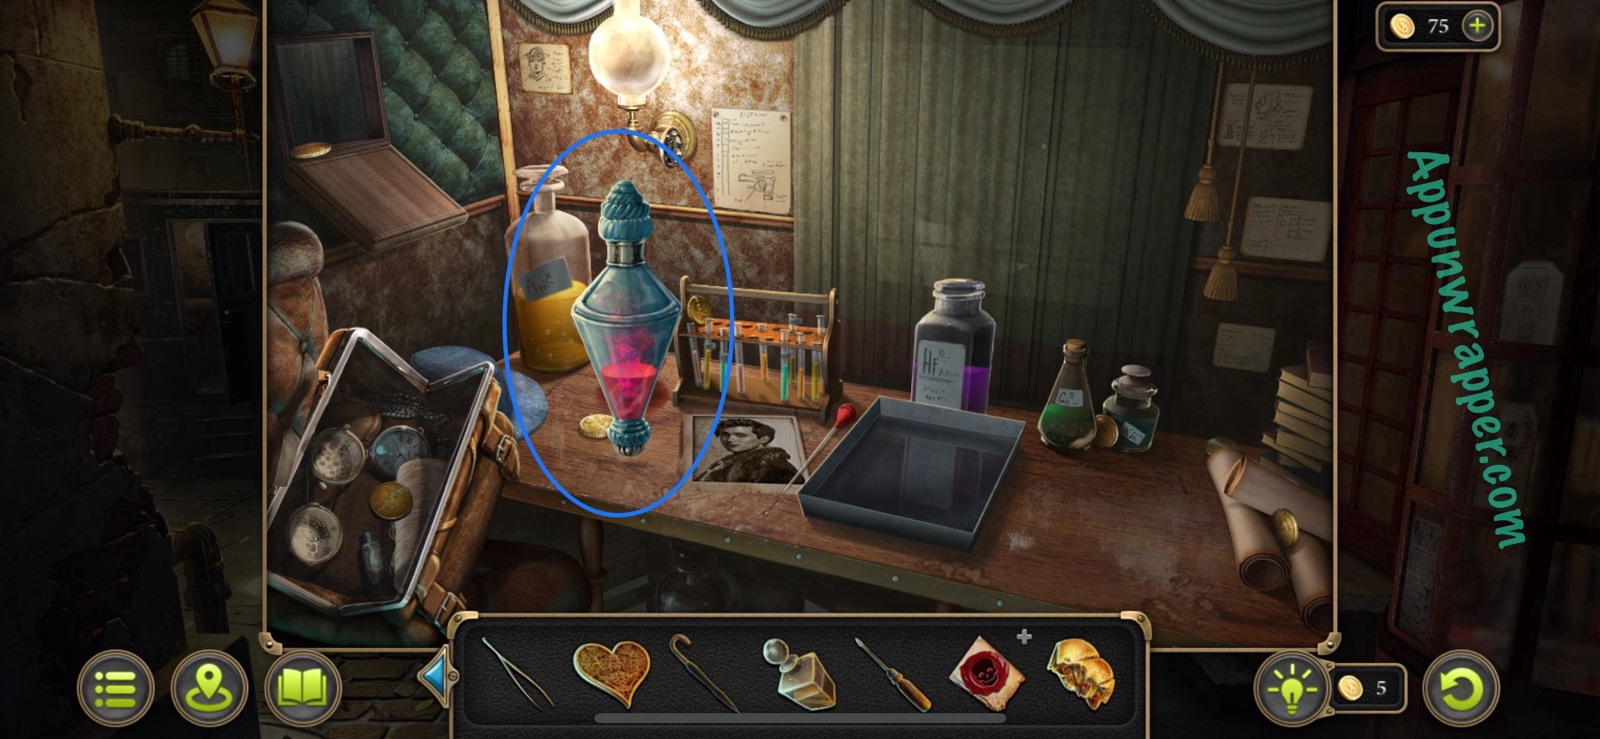
19. Go back to the carriage and use the bottle with your chemistry set to figure out what’s in it. You’ll get new evidence that it’s poison and complete the task of testing the bottle.
Evidence: Poison. (File: Death Scene 4/5)
Task complete: Test the bottle.
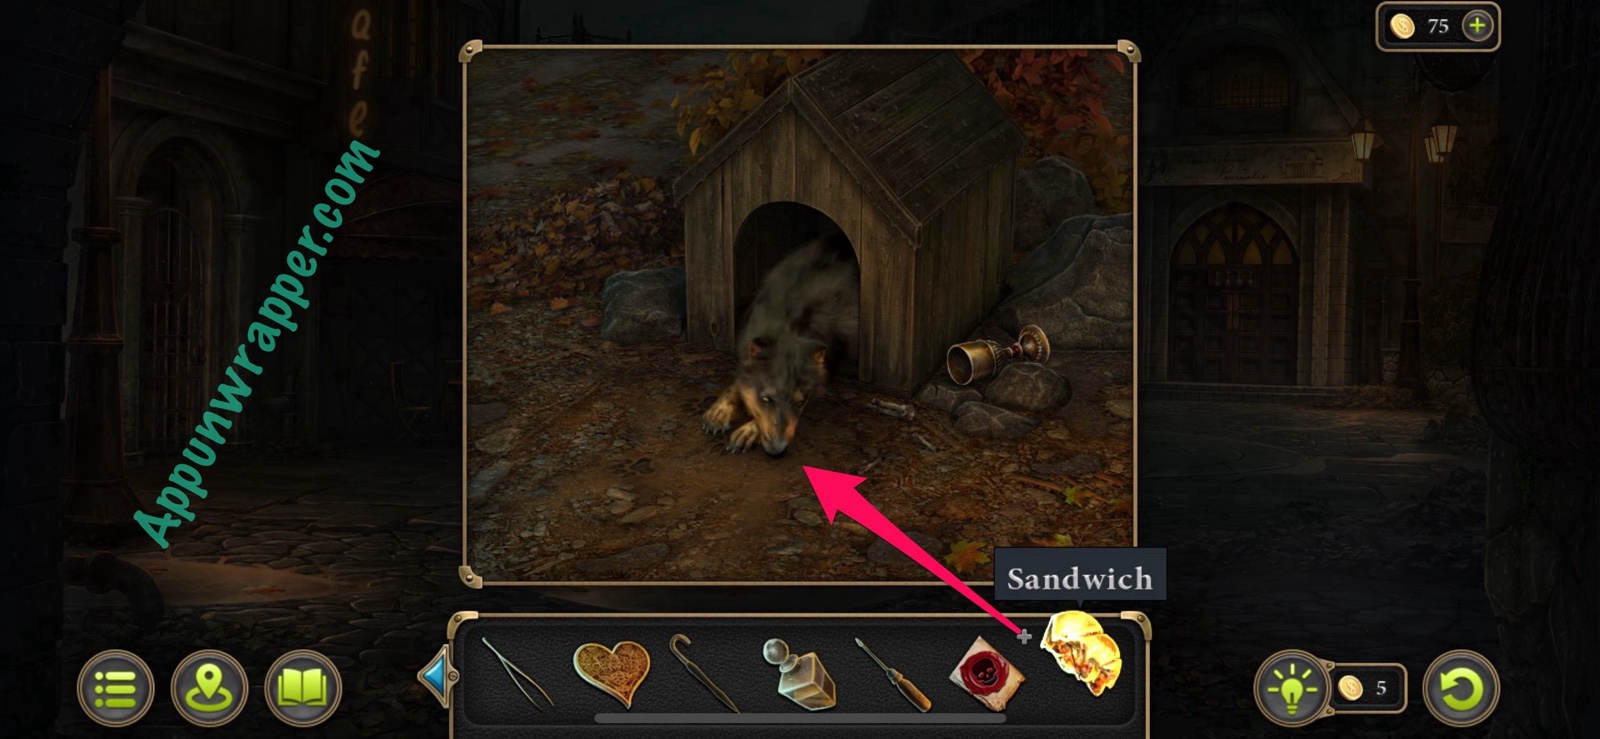
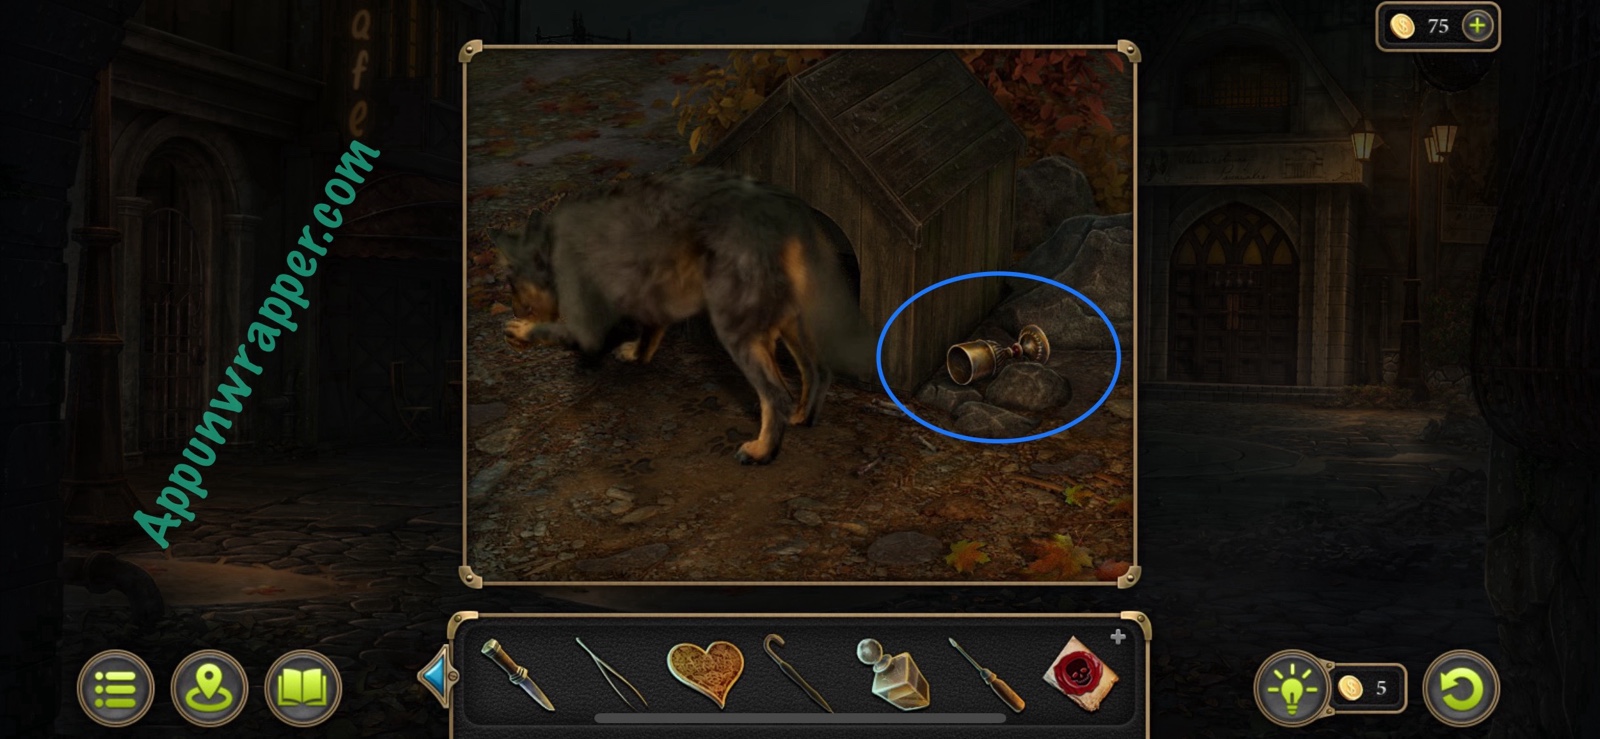
20. Go back to the dog and give it the sandwich. Examine the goblet to get another piece of evidence.
Evidence: Goblet. (File: Death Scene 5/5)
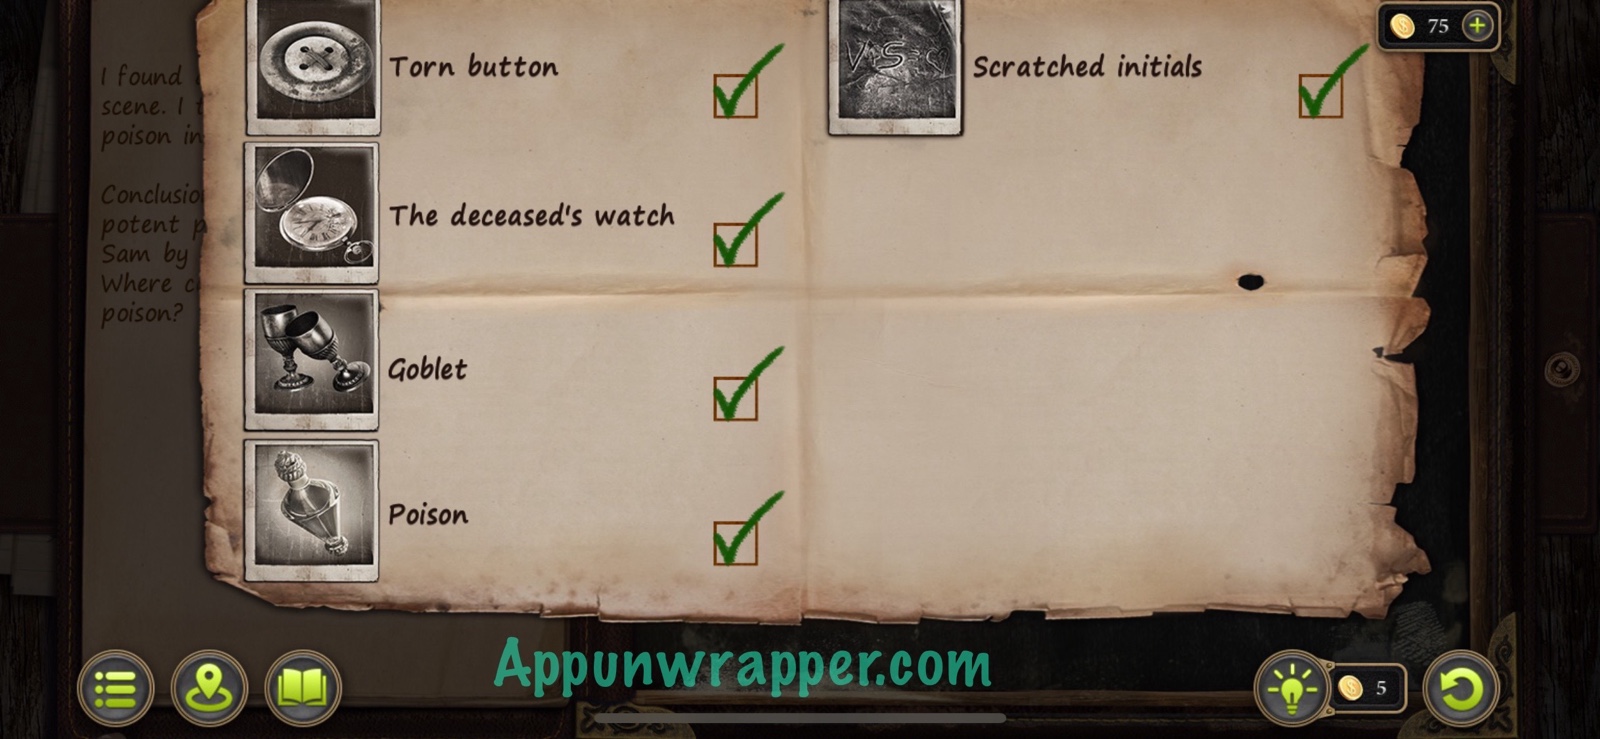
21. We’ve found all the evidence from the death scene and have concluded that it’s likely murder. Go back to the brothel and tell the deceased’s mother,
22.
More coming soon!