Adventure Escape Mysteries – Puzzle Lovers
By: Haiku Games


Haiku Games is back with a new Adventure Escape game, this time a romance-adventure in which you get to choose your character and then date men, women or both! You’ll solve the world’s greatest puzzles in the most beautiful locales. This walkthrough guide should help you if you get stuck on any of the puzzles in Chapter 5 of Puzzle Lovers. Feel free to ask for extra help in the comments section.
See all my other Adventure Escape guides here.
Walkthrough:
Chapter 1 | Chapter 2 | Chapter 3 | Chapter 4 | Chapter 5 | Chapter 6
Chapter 5:
You can watch my video for Chapter 5 or continue below for my step-by-step guide:
1. Now that our stepmom’s vineyard is safe, we can get back to the show. This time, we’re in the East African nation of Kambawi. Choose your partner. I went with Jon this time.

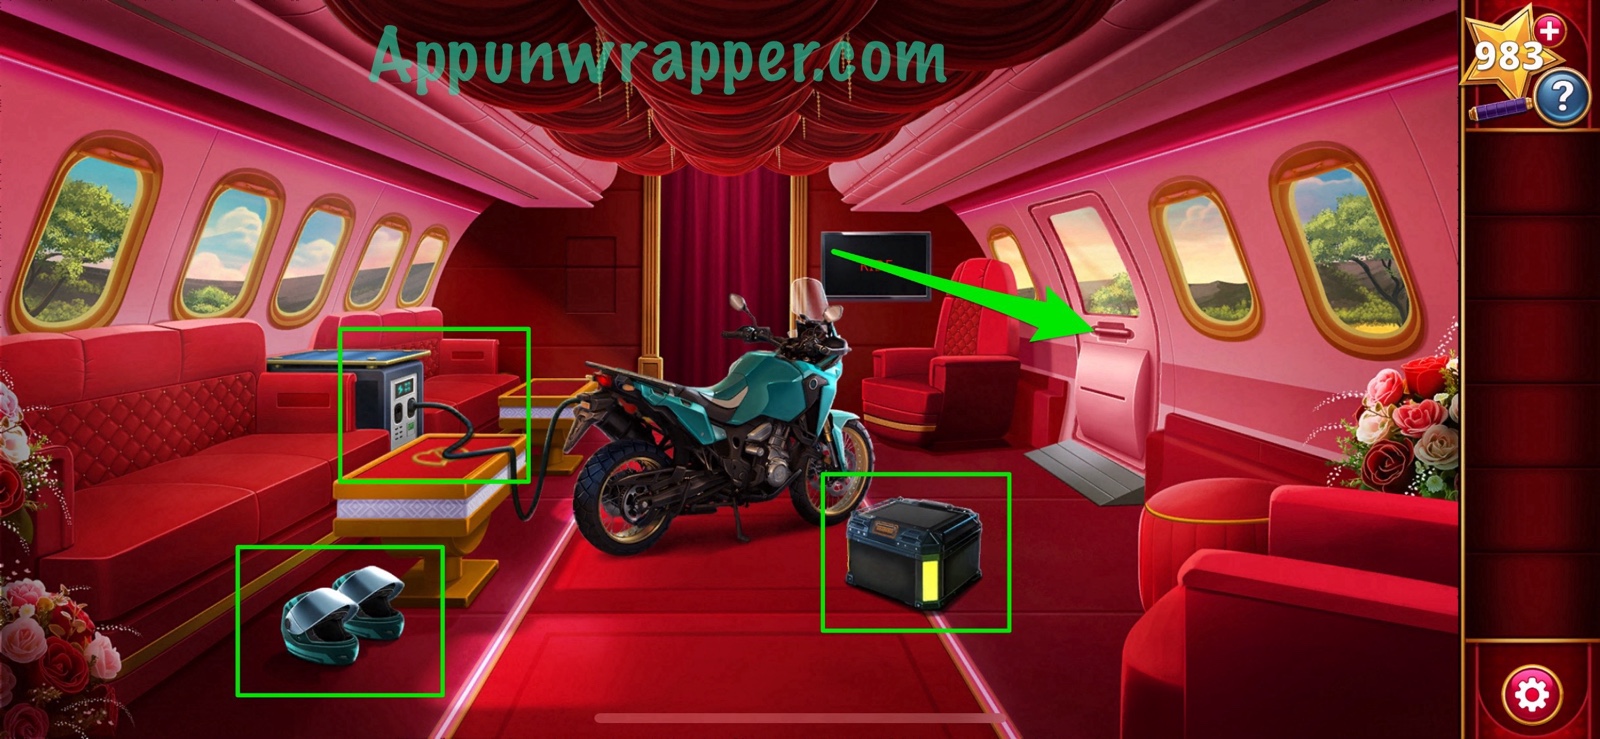
2. We need to check our equipment before we head out. Pick up the cargo, a helmet, and then unplug the bike. Then open the door and head out.
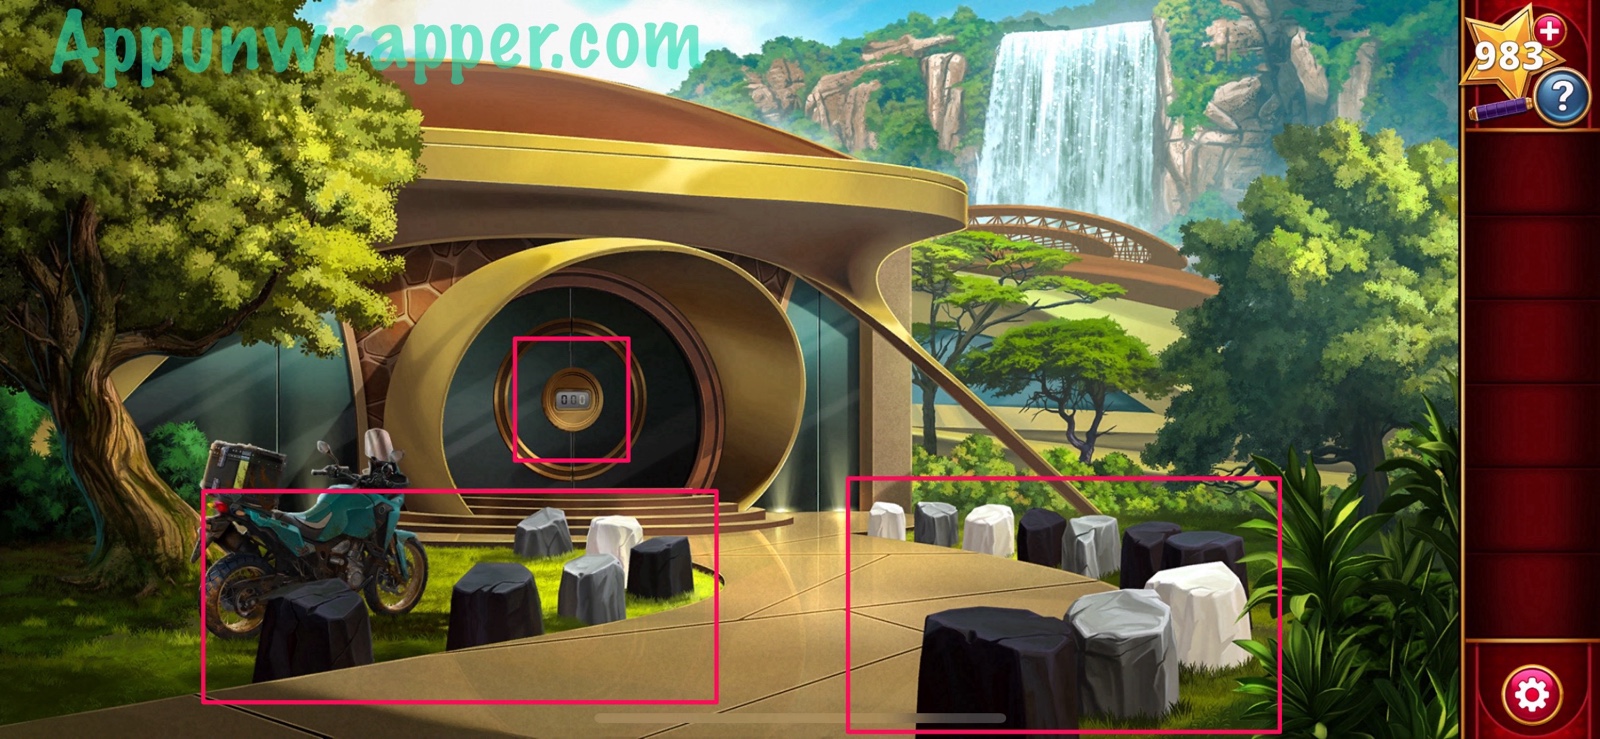
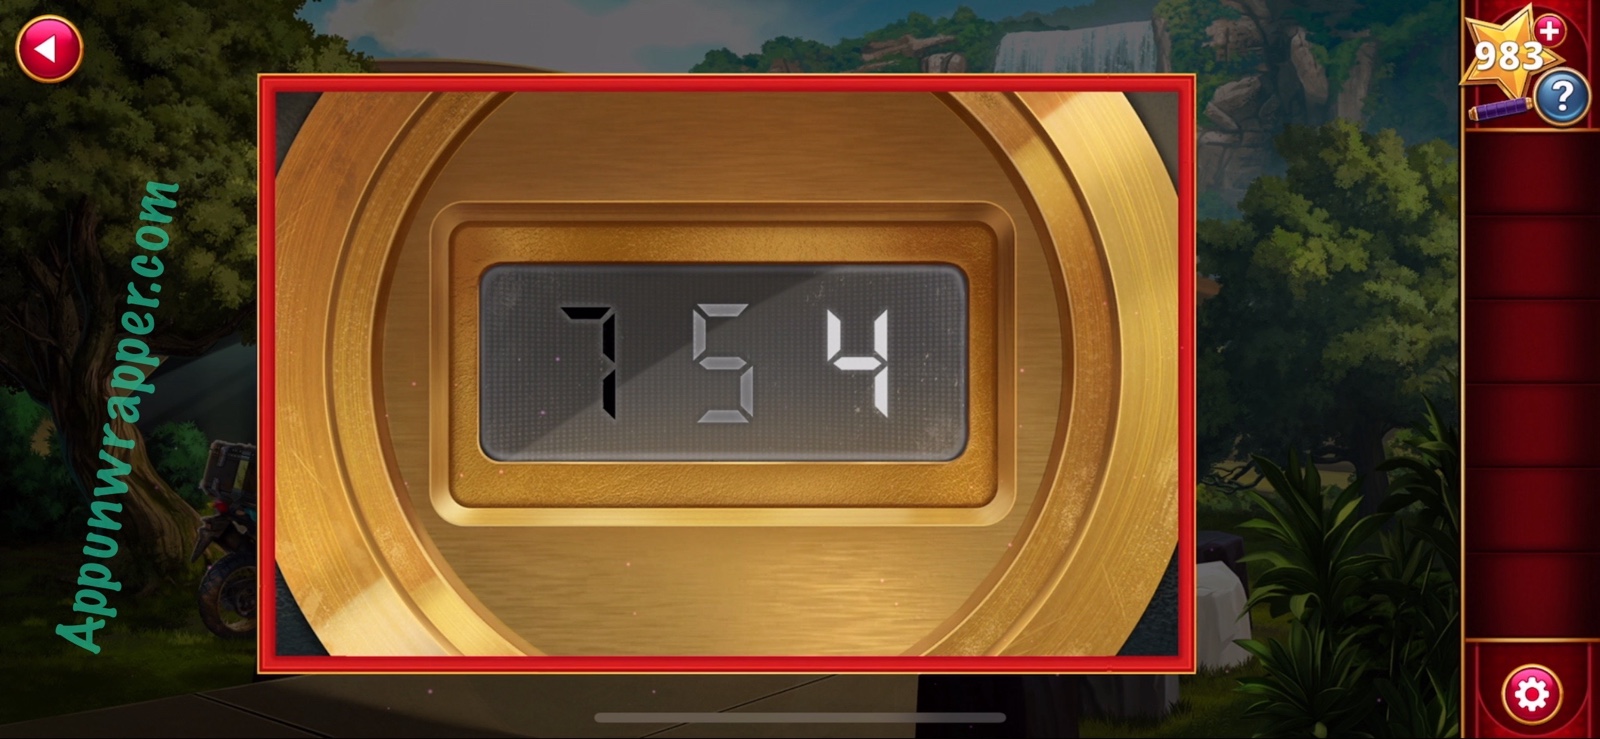
3. Here we have to get into the building but there’s a lock in our way. To open it, count the black, gray and white rocks. You end up with 7 black, 5 gray, and 4 white. So enter 754 into the lock to open it. Then go through.
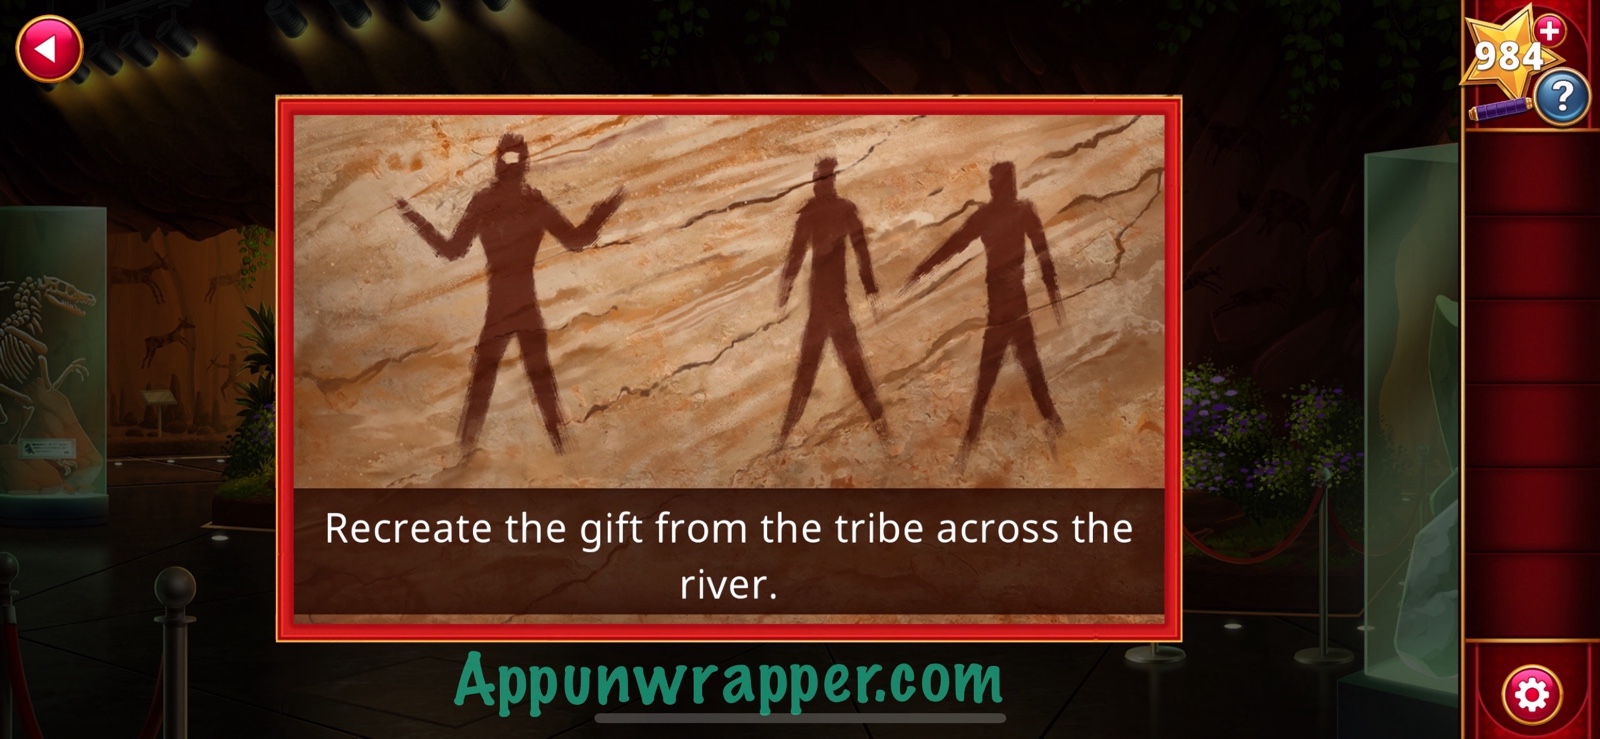
4. We’re inside a museum and Khadija introduces herself as the curator. Kambawi has the oldest cave paintings in the world. Now we’re about to have an immersive experience with co-op play. Your partner is sent elsewhere and you have to make do on your own. Once you have control again, look at the monitor. It says, “Recreate the gift from the tribe across the river.” Then examine the exhibit that’s lit up.
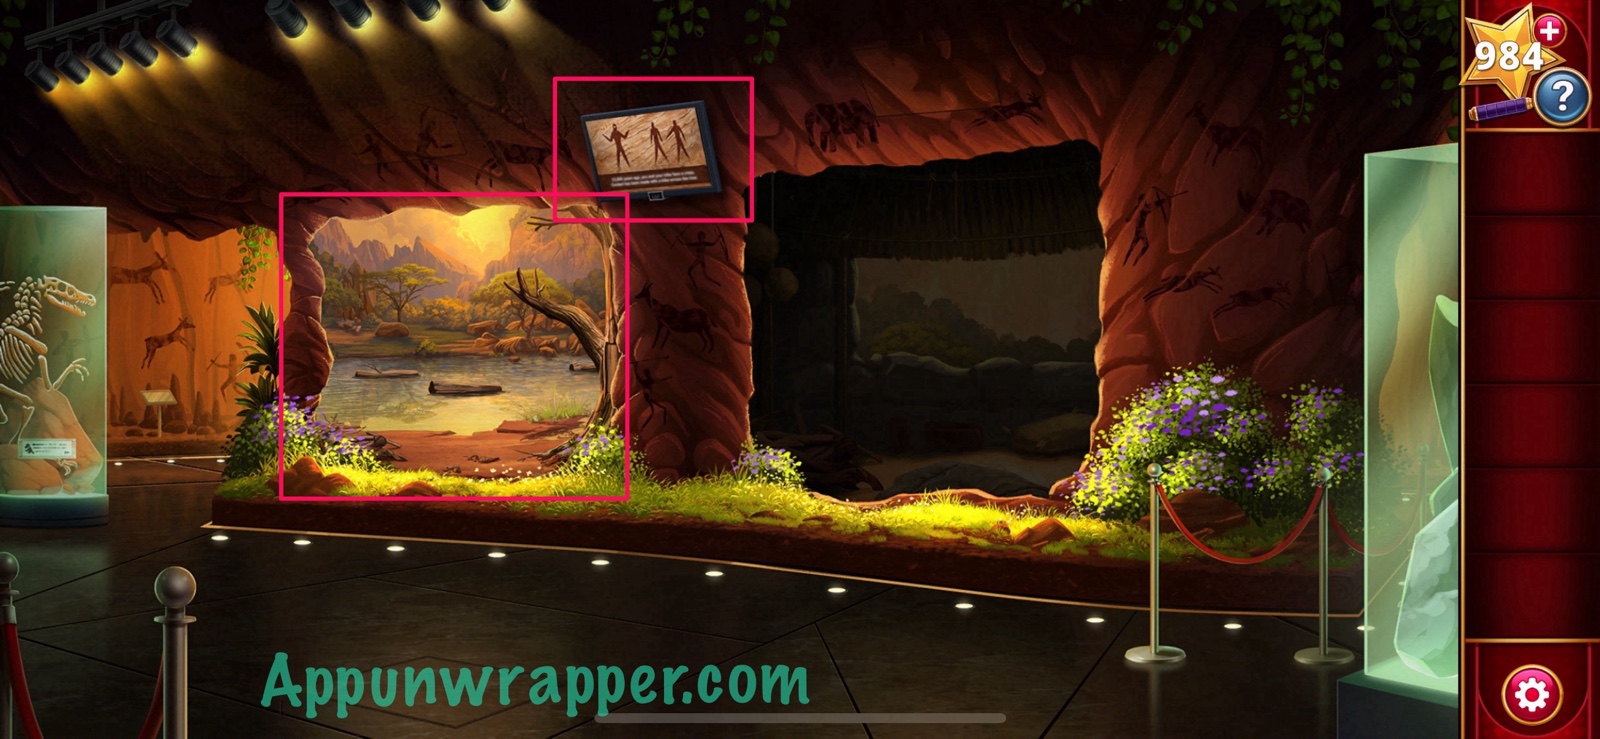
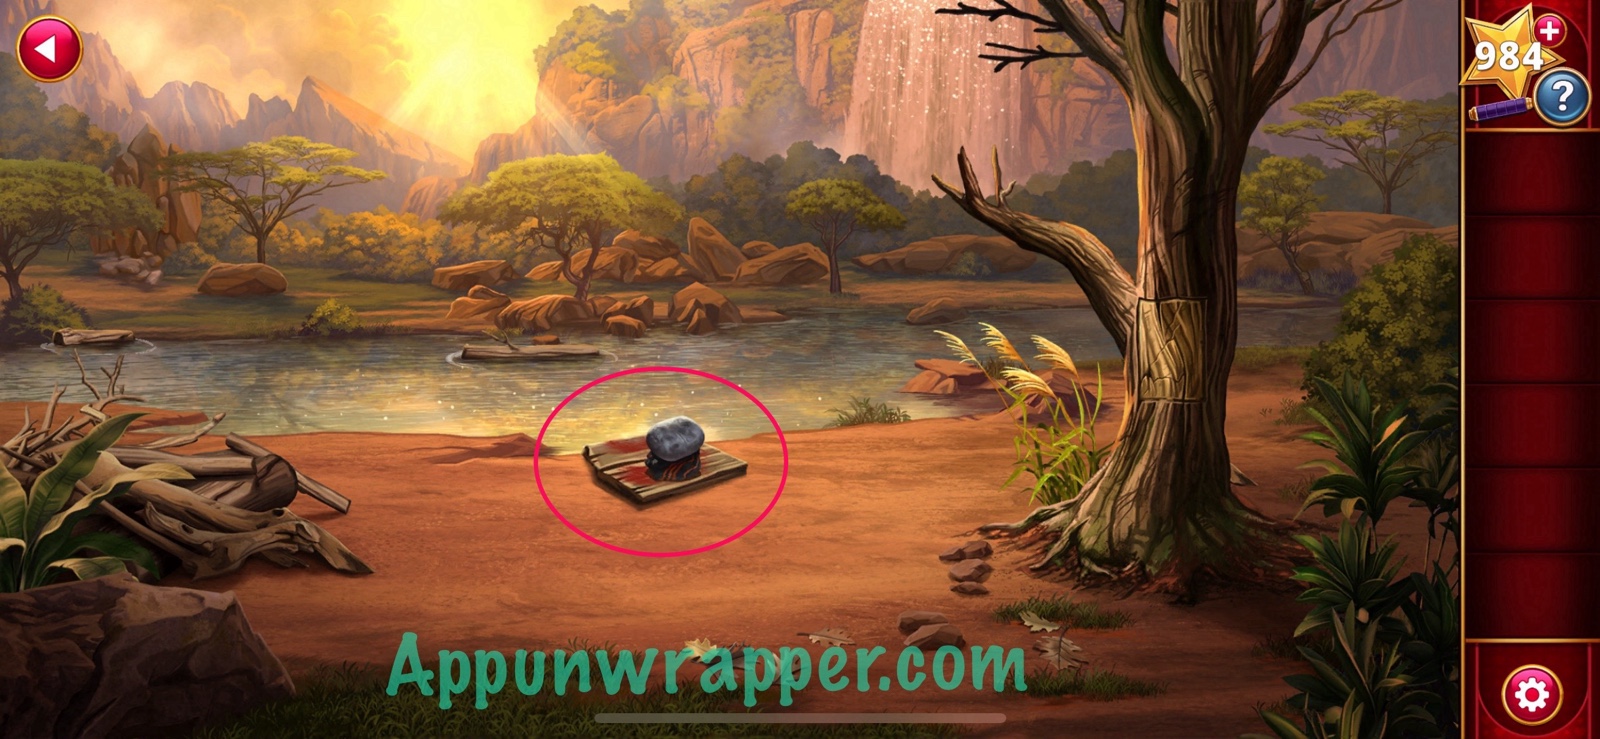
5. Move the big piece of driftwood aside and grab the pigment chunk and stone and the hand painting. You can also tap on the stream to get some more information from the narrator.
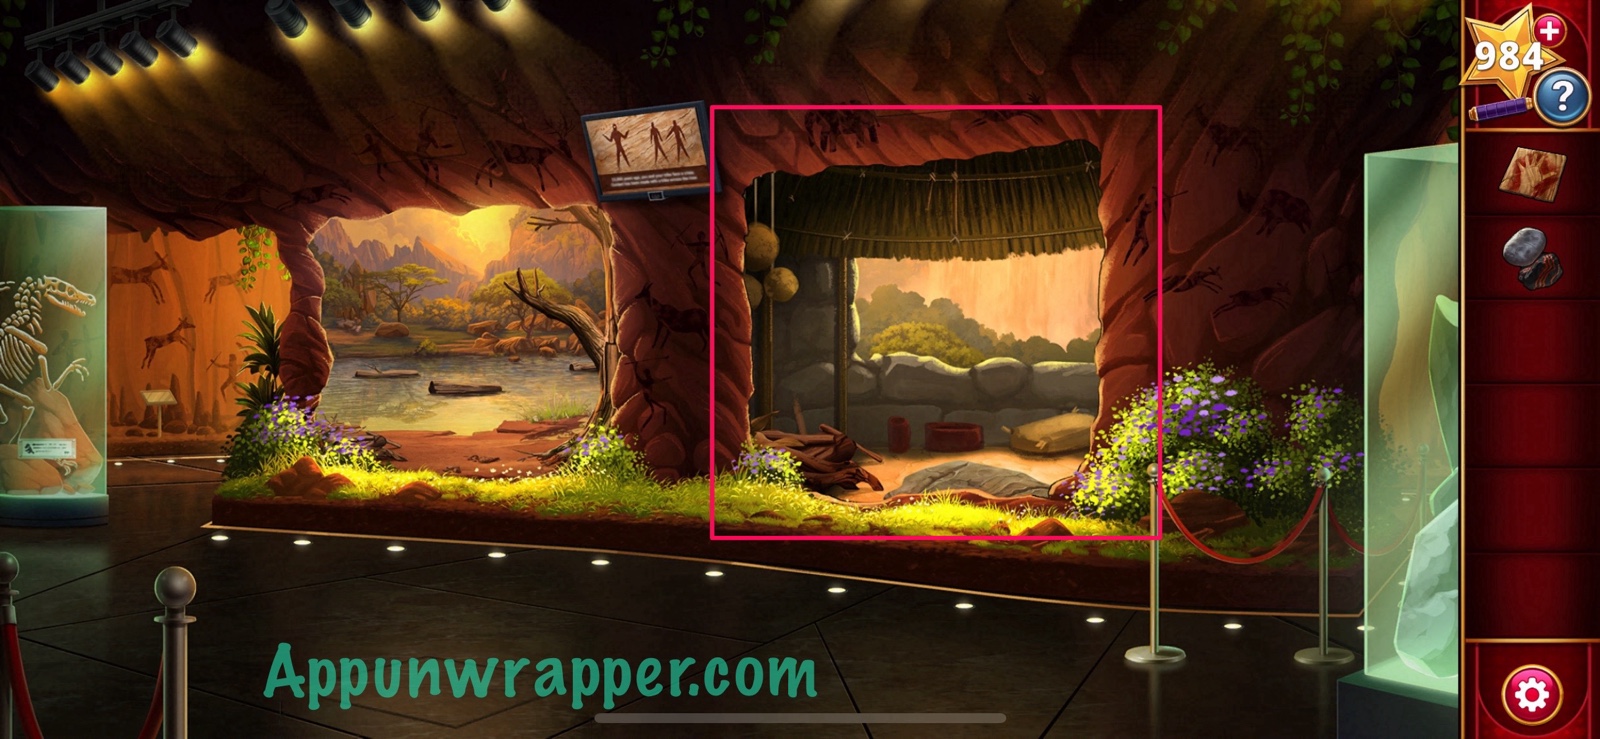
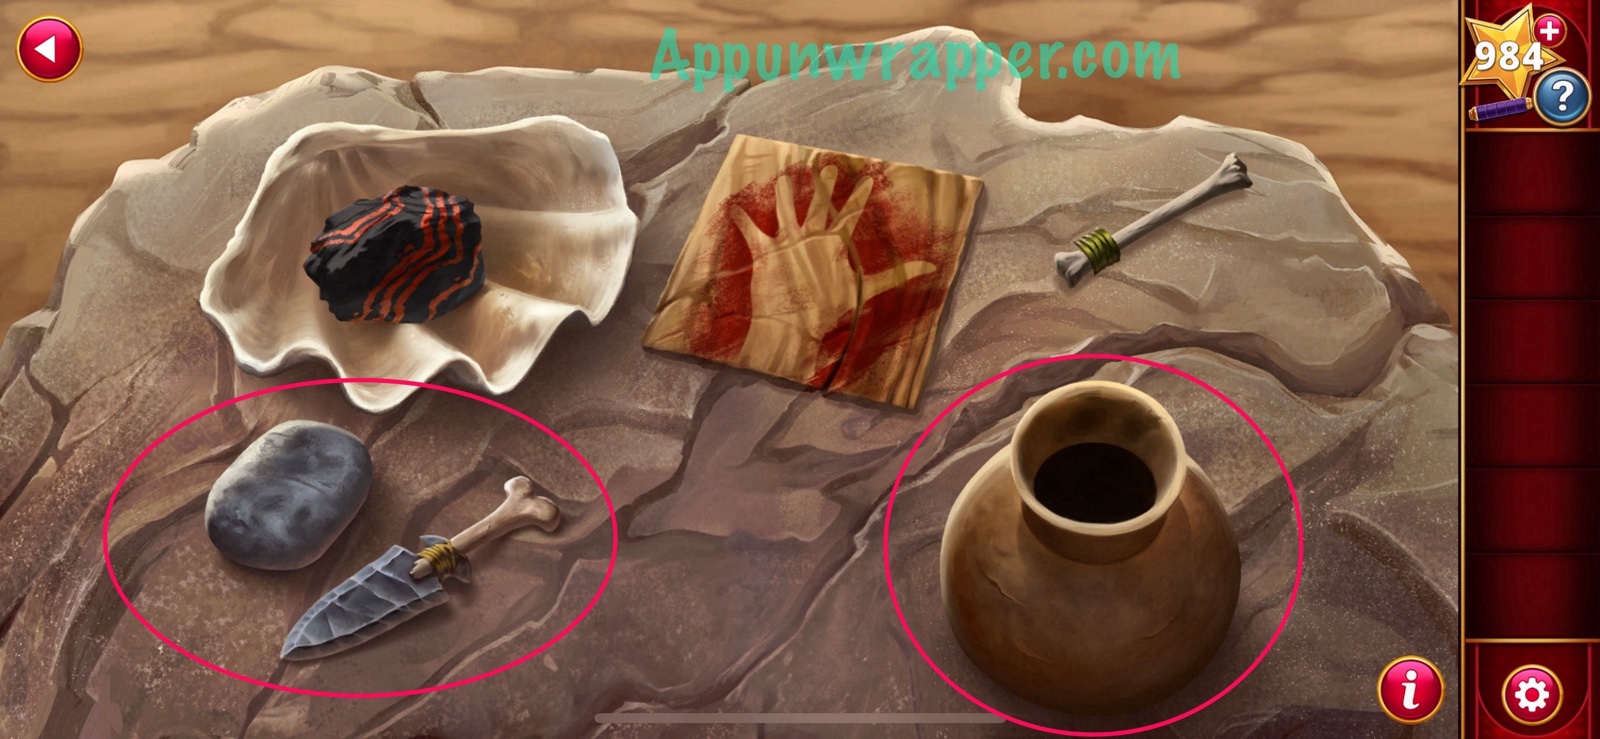
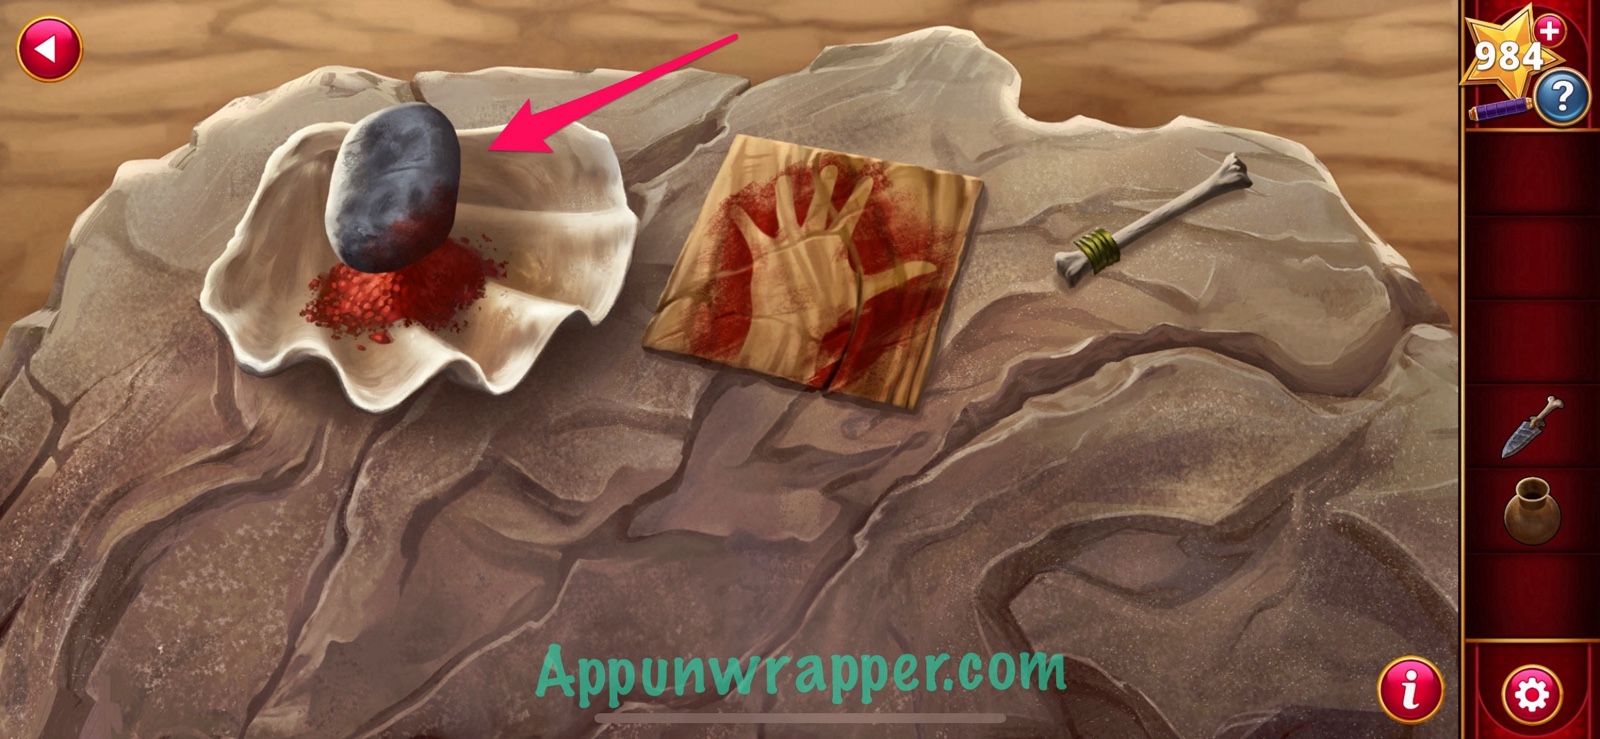
6. Go back and now you should be able to turn on the light in the exhibit that’s dark. It’s actually your work station. Place all the items you found onto the table. Then grab the grinding stone, knife and gourd. Use the grinding stone to crush the pigment stone into powder.
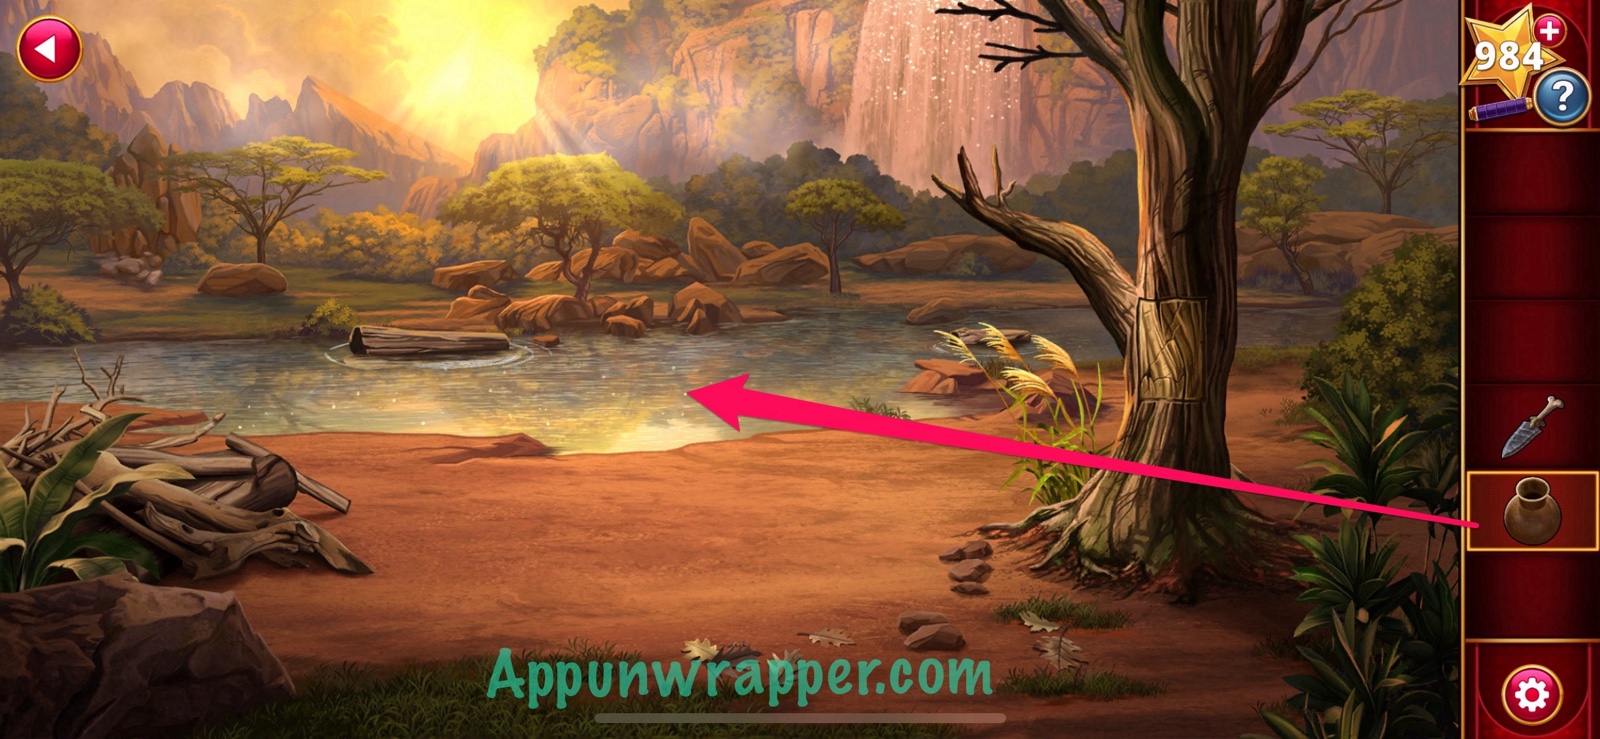
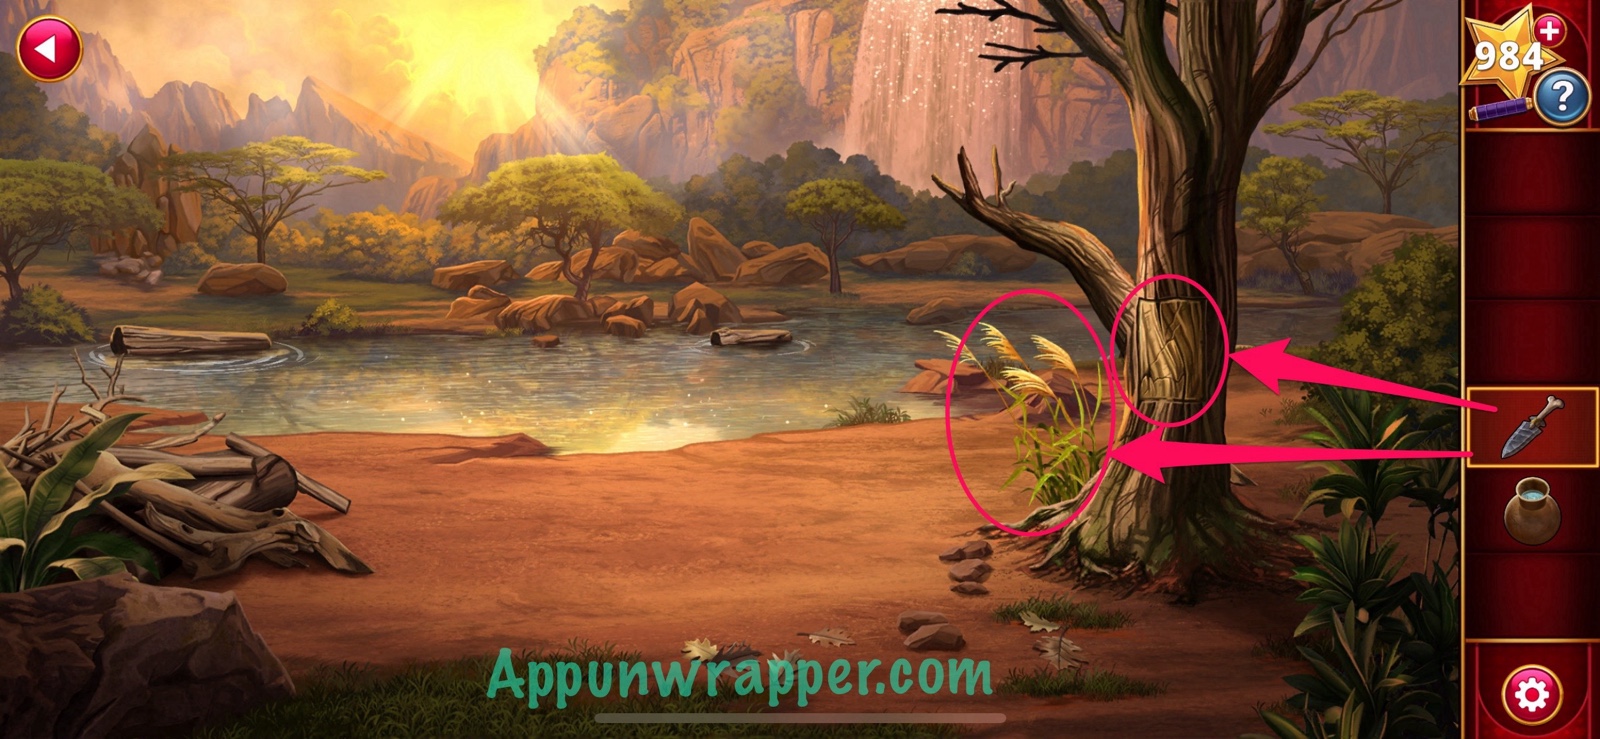
7. Go back to the first exhibit. Use the gourd to collect some water and use the knife to collect some brushy reeds and also some bark from the tree.
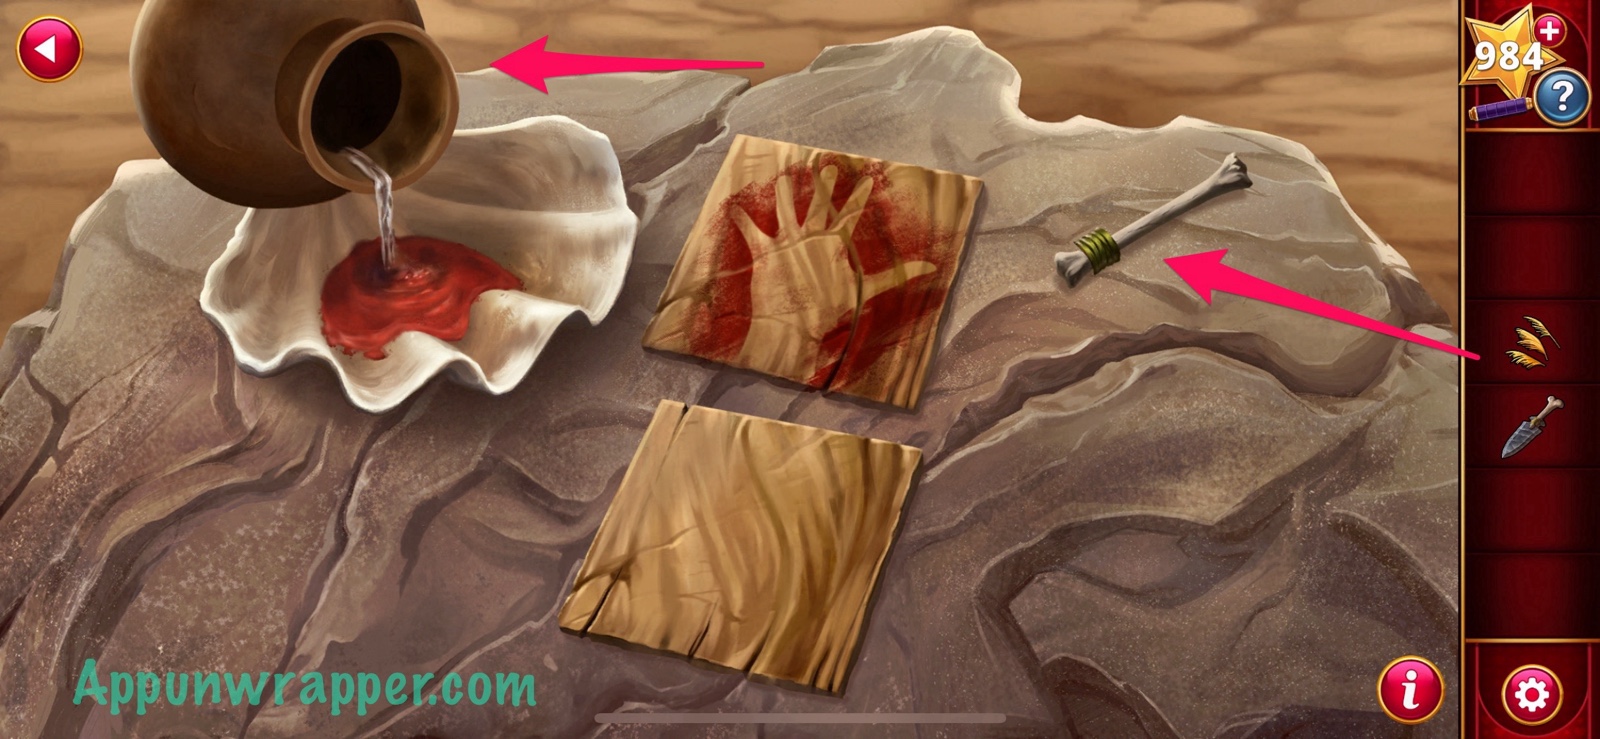
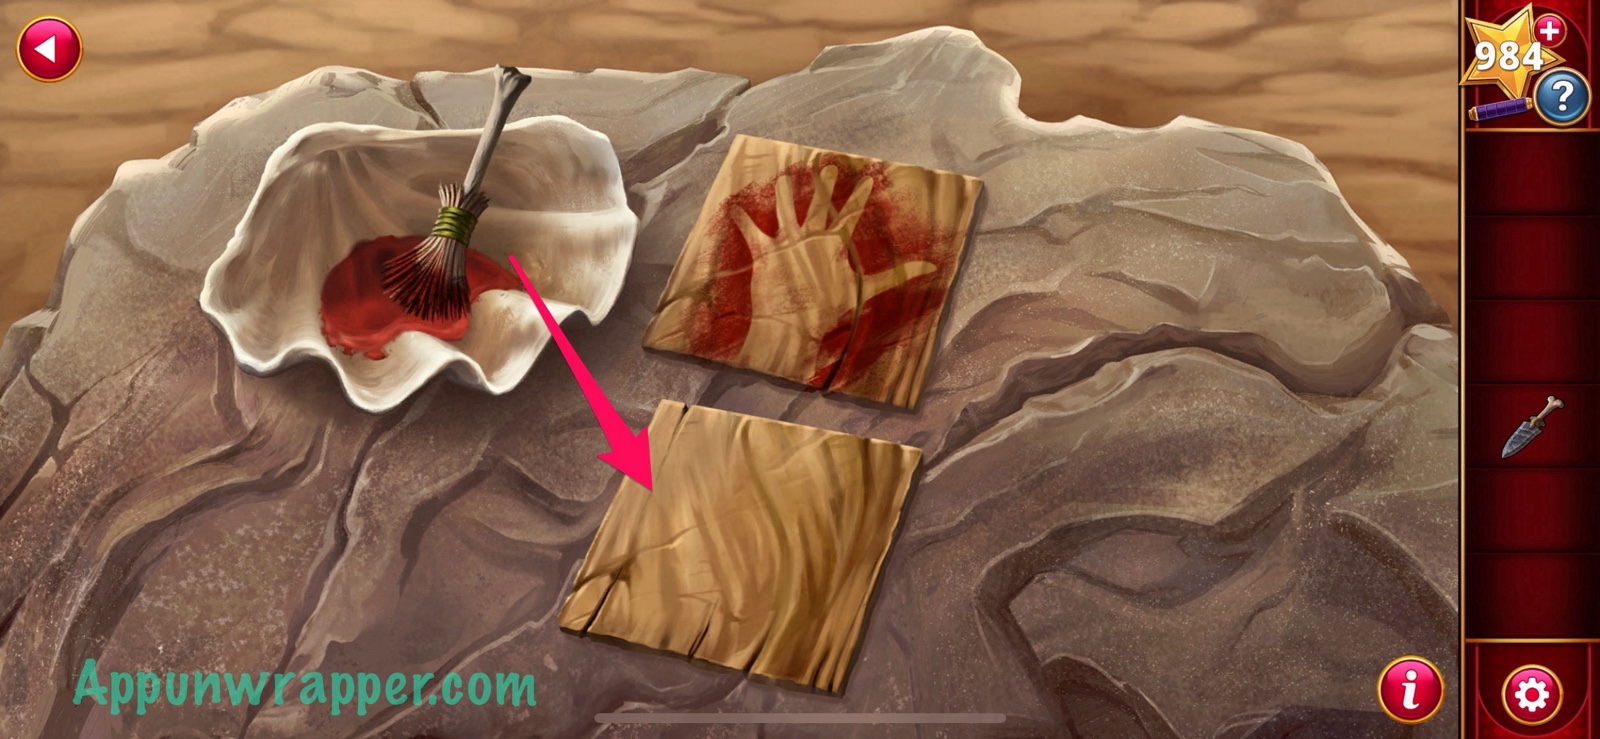
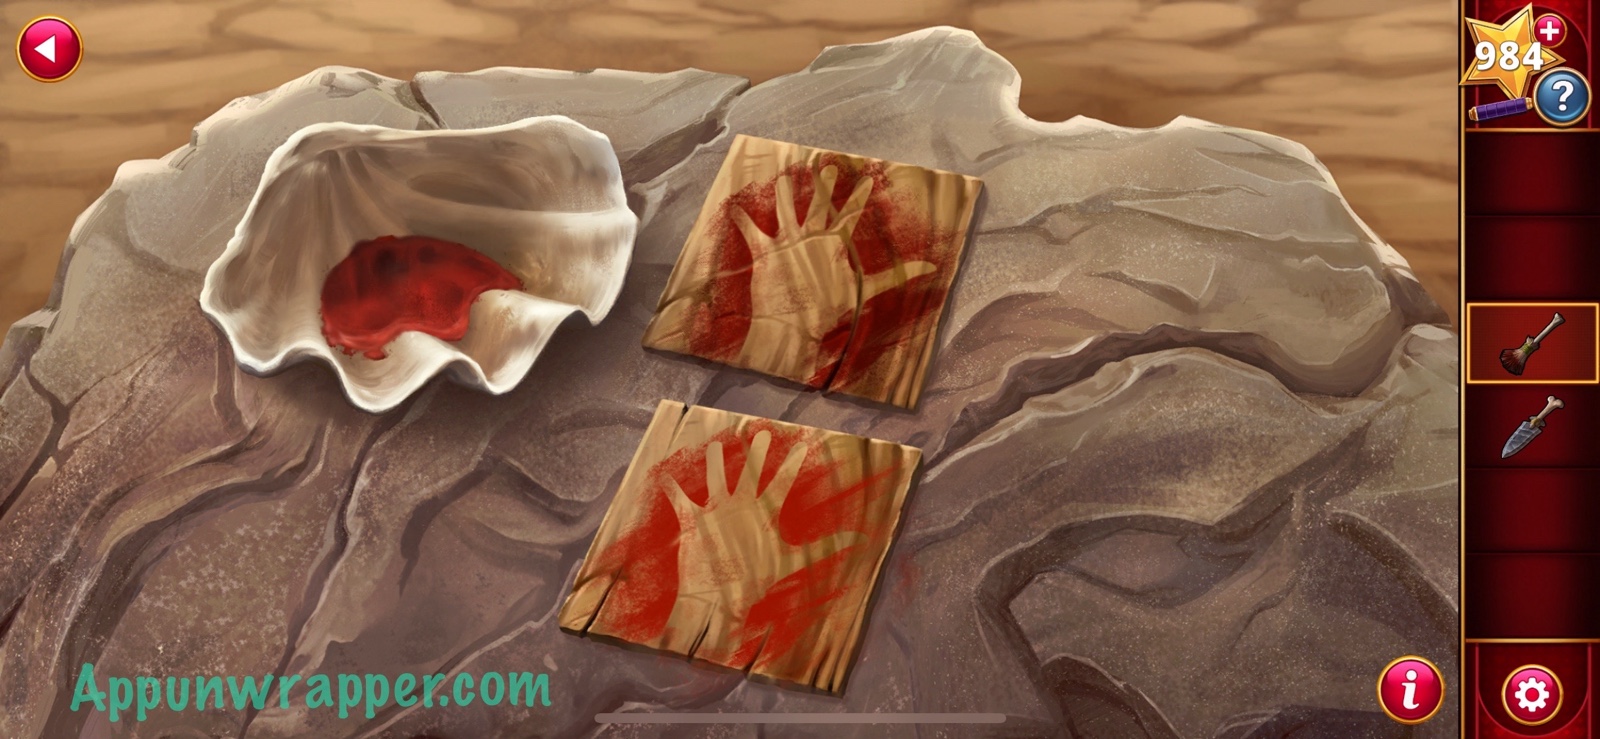
8. Go back to your work station and place the bark down. Pour the water onto the powder to make a paint. Add the reeds to the bone to make a brush. Then use the brush with the paint to get a brush with paint. Use the brush with paint to paint your hand onto the bark.
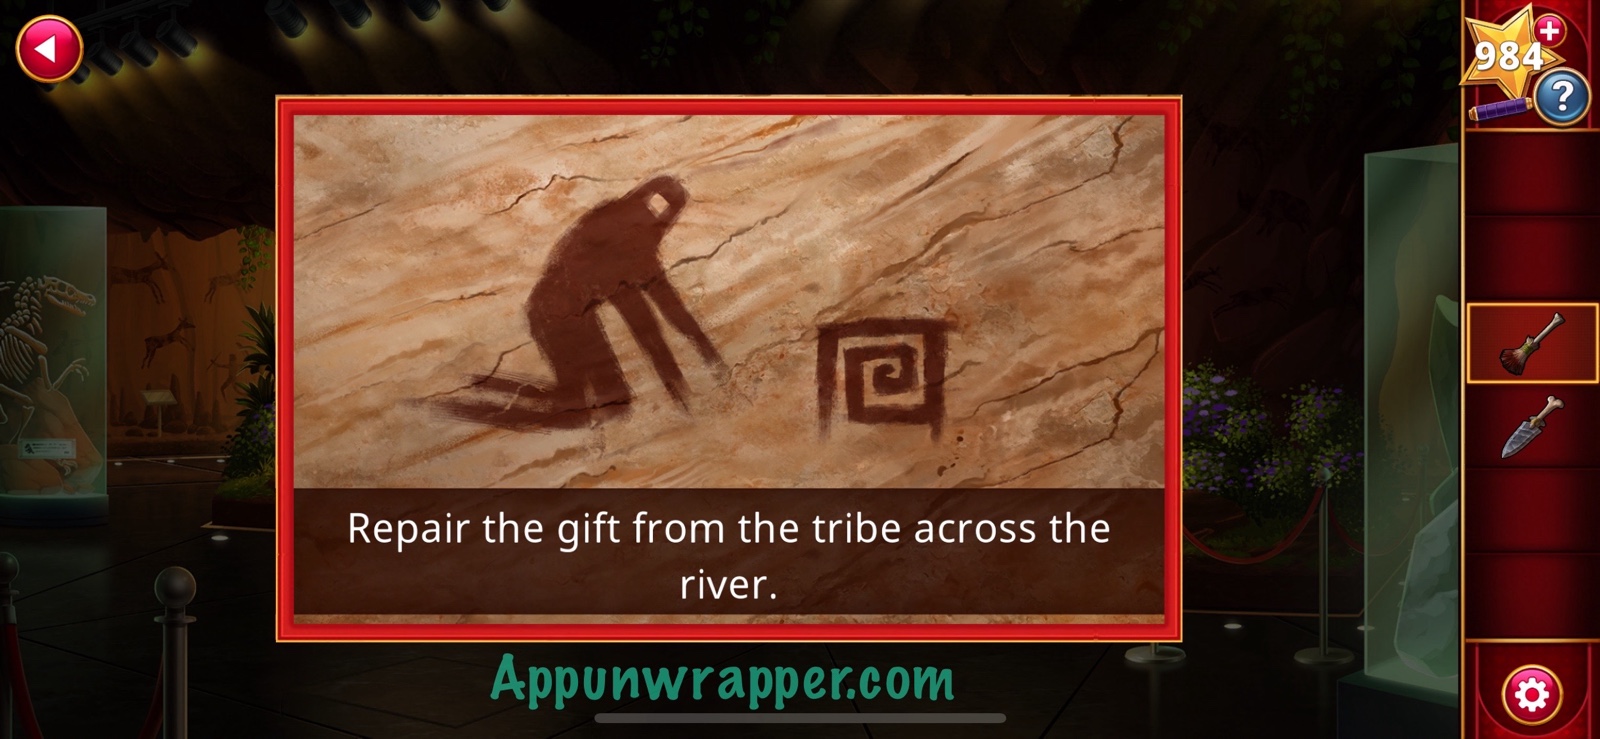
9. The screen has changed. Look at it and see that it says, “Repair the gift from the tribe across the river.”
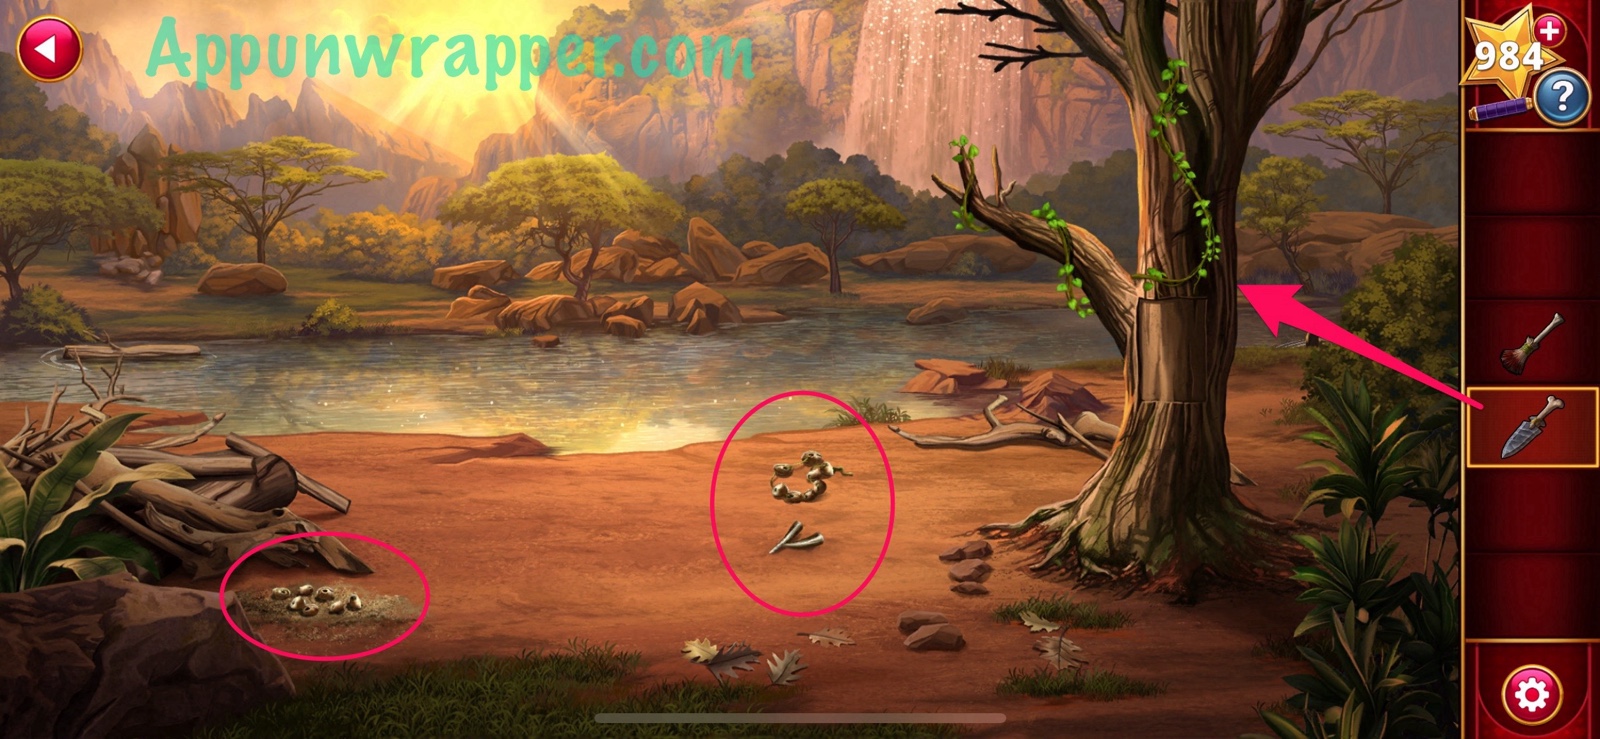
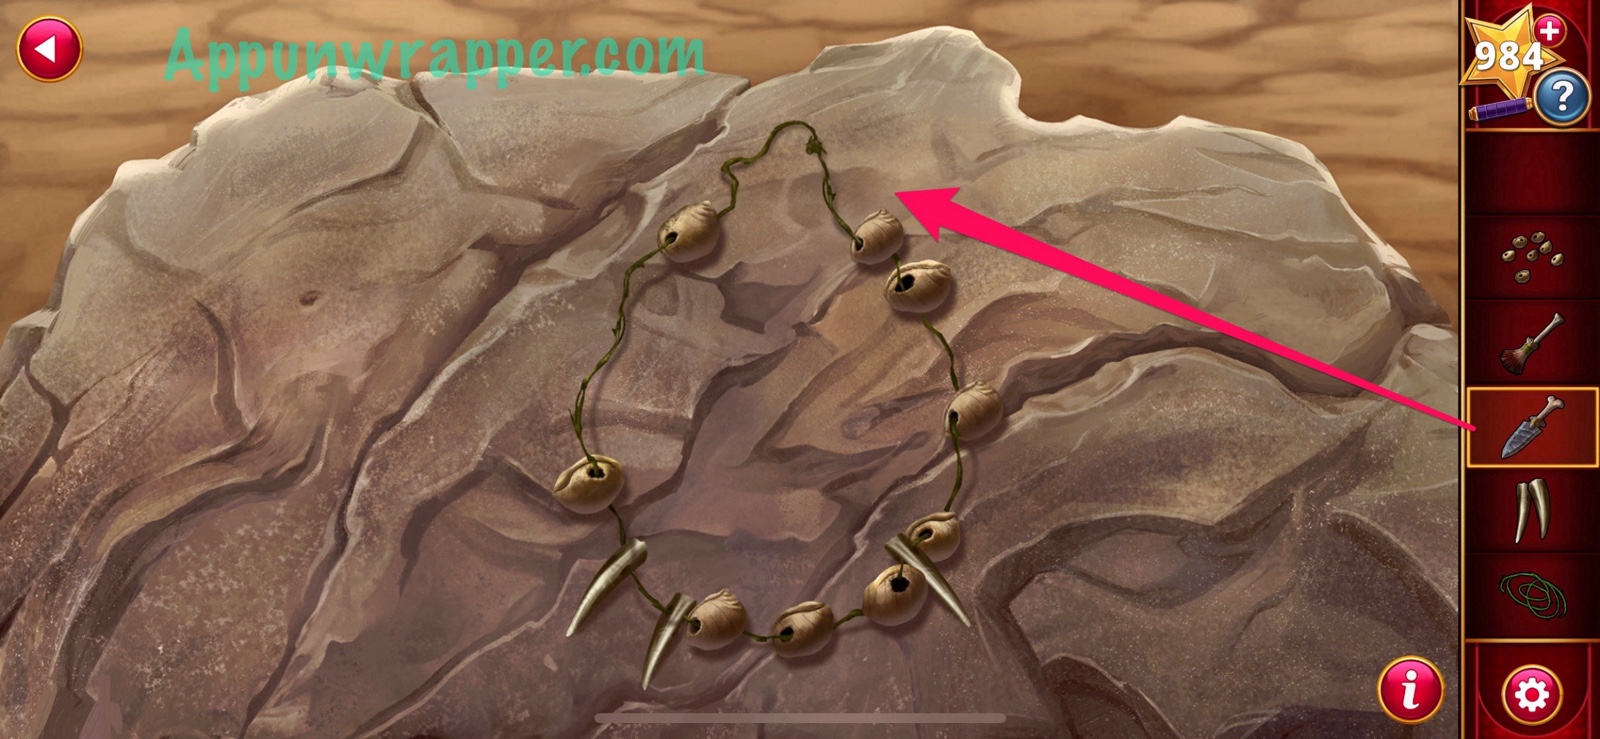
10. Go back to the first exhibit and clear out all the twigs and leaves to find an incomplete necklace, some animal teeth and some little shells. Also, use the knife to cut and collect the thin vine.
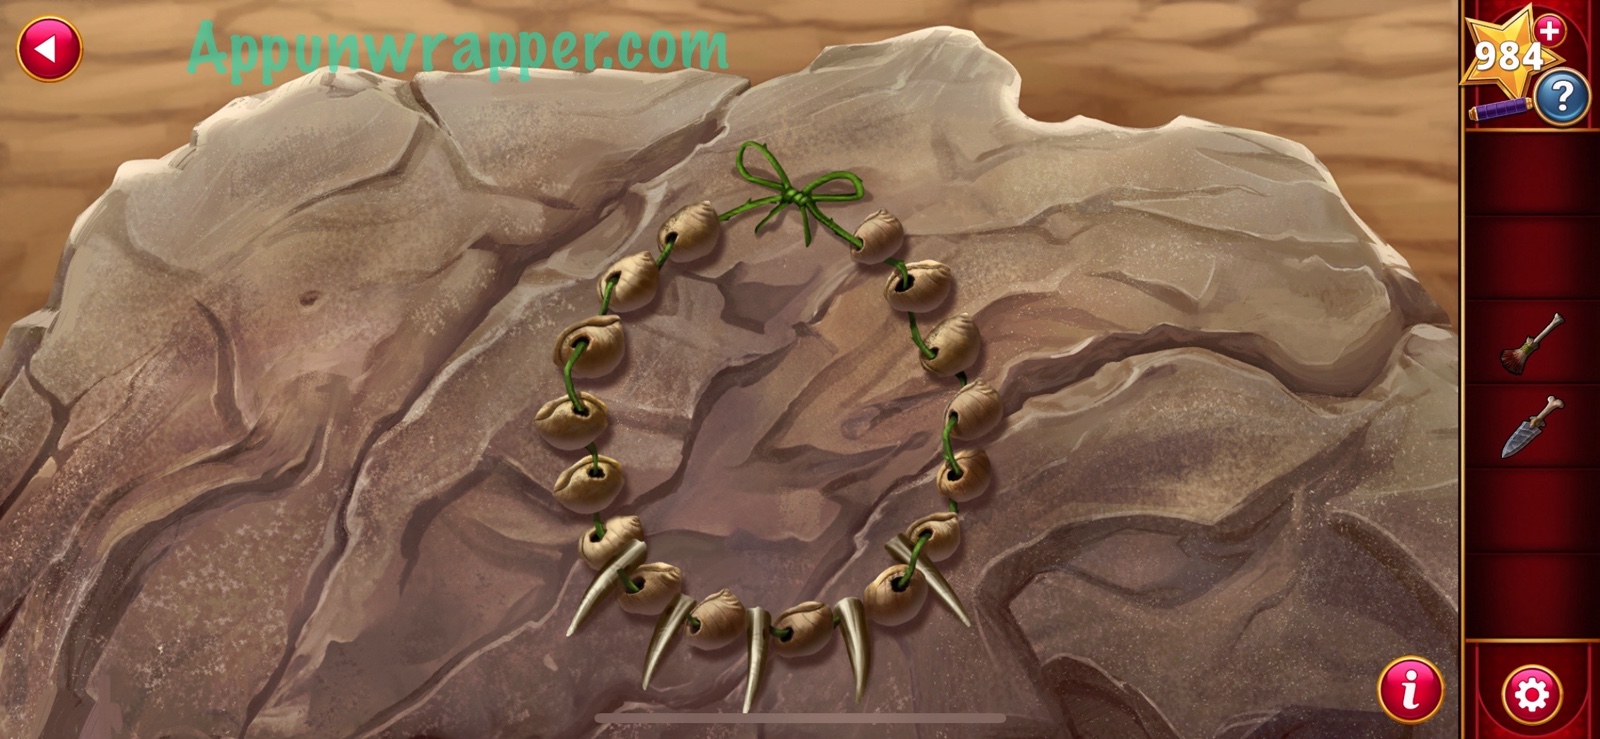
11. Go back to your workshop. Place the incomplete necklace down and use the knife to remove the old vine. Then add the animal teeth and shells. And last, add the vine to complete the necklace.
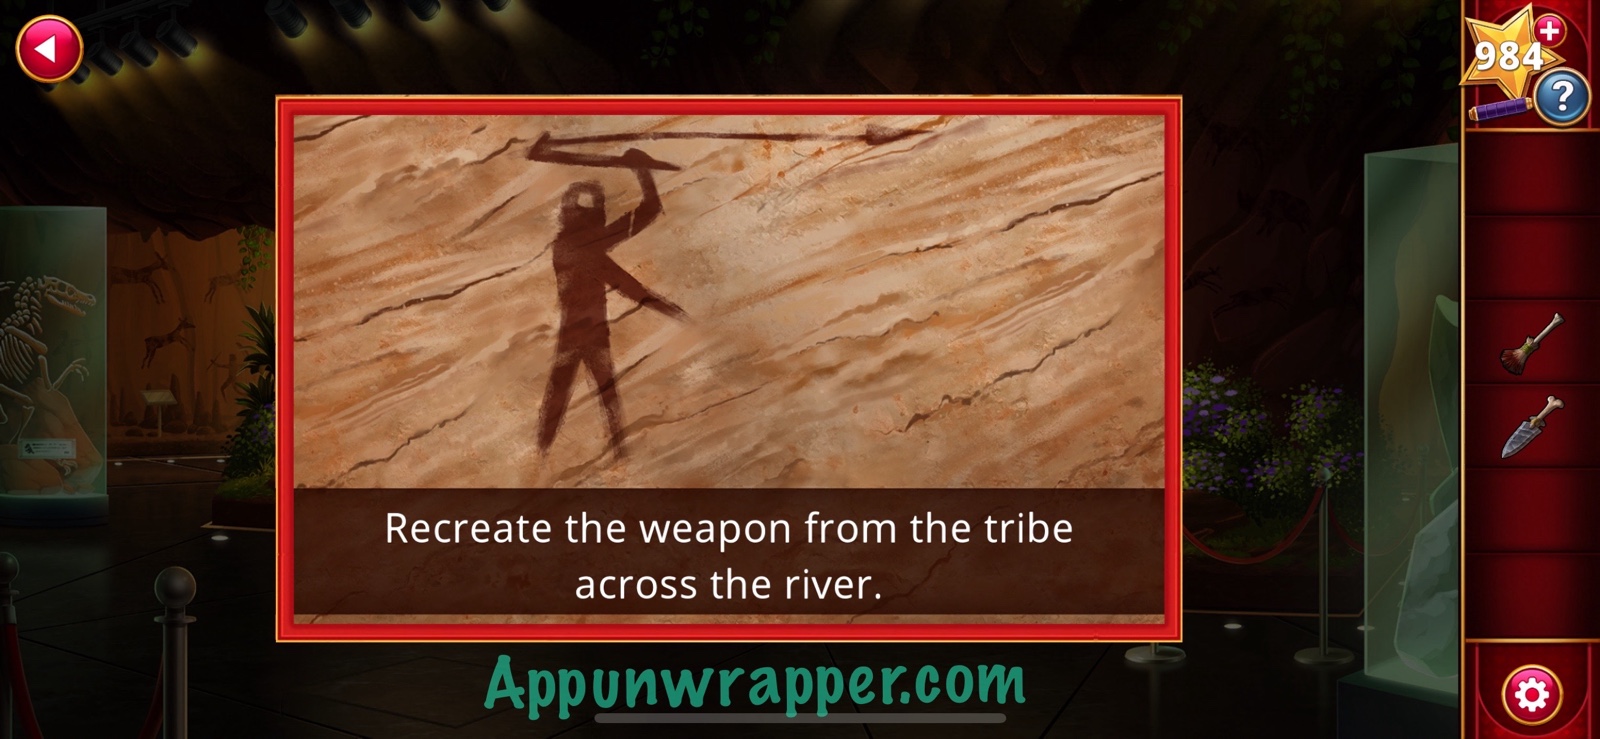
12. Now the screen changes and says, “Recreate the weapon from the tribe across the river.”
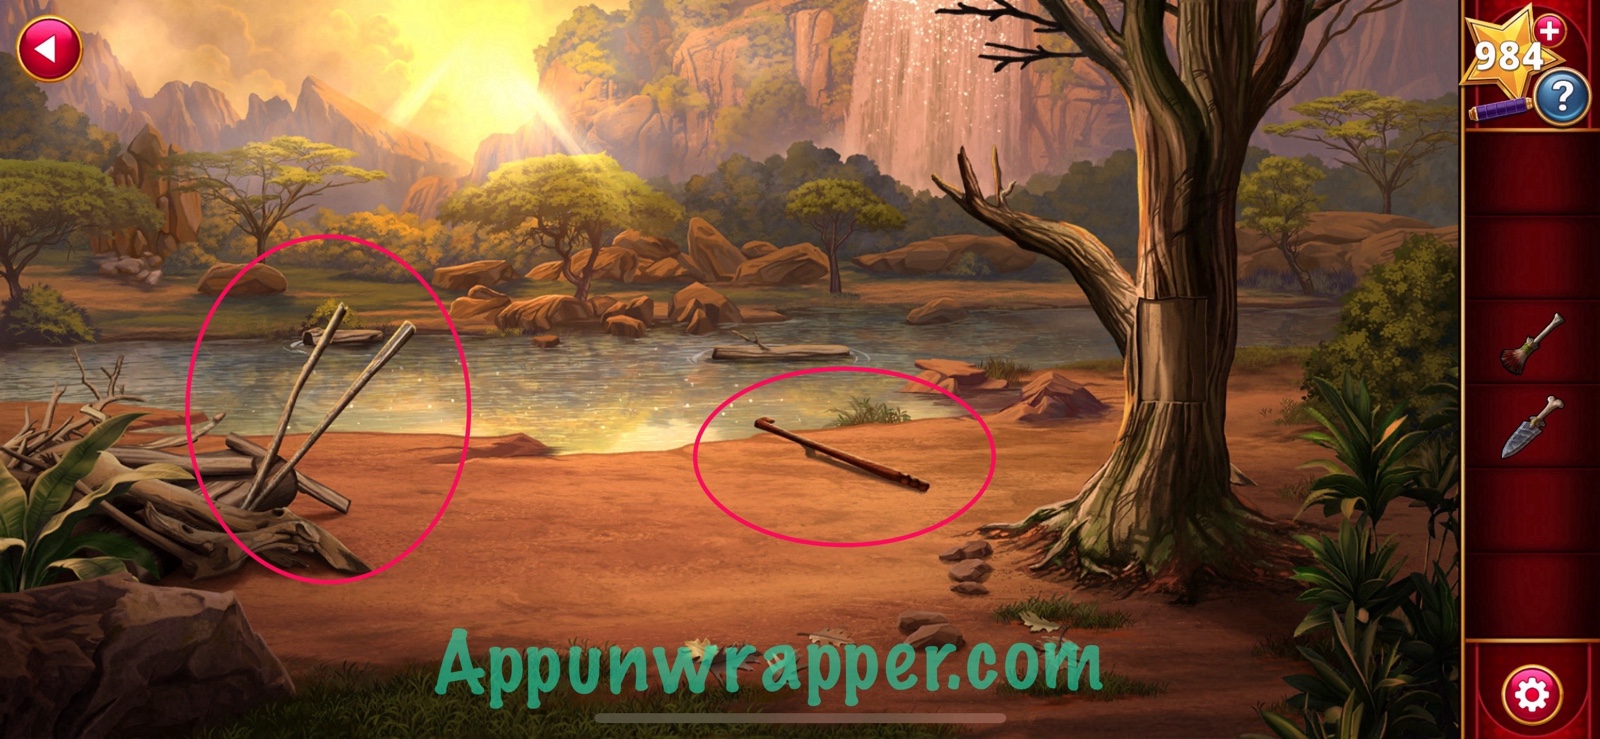
13. Go back to the exhibit. Clear out the junk again. Use the knife to cut the vines and then grab the V-shaped branch and spear thrower.
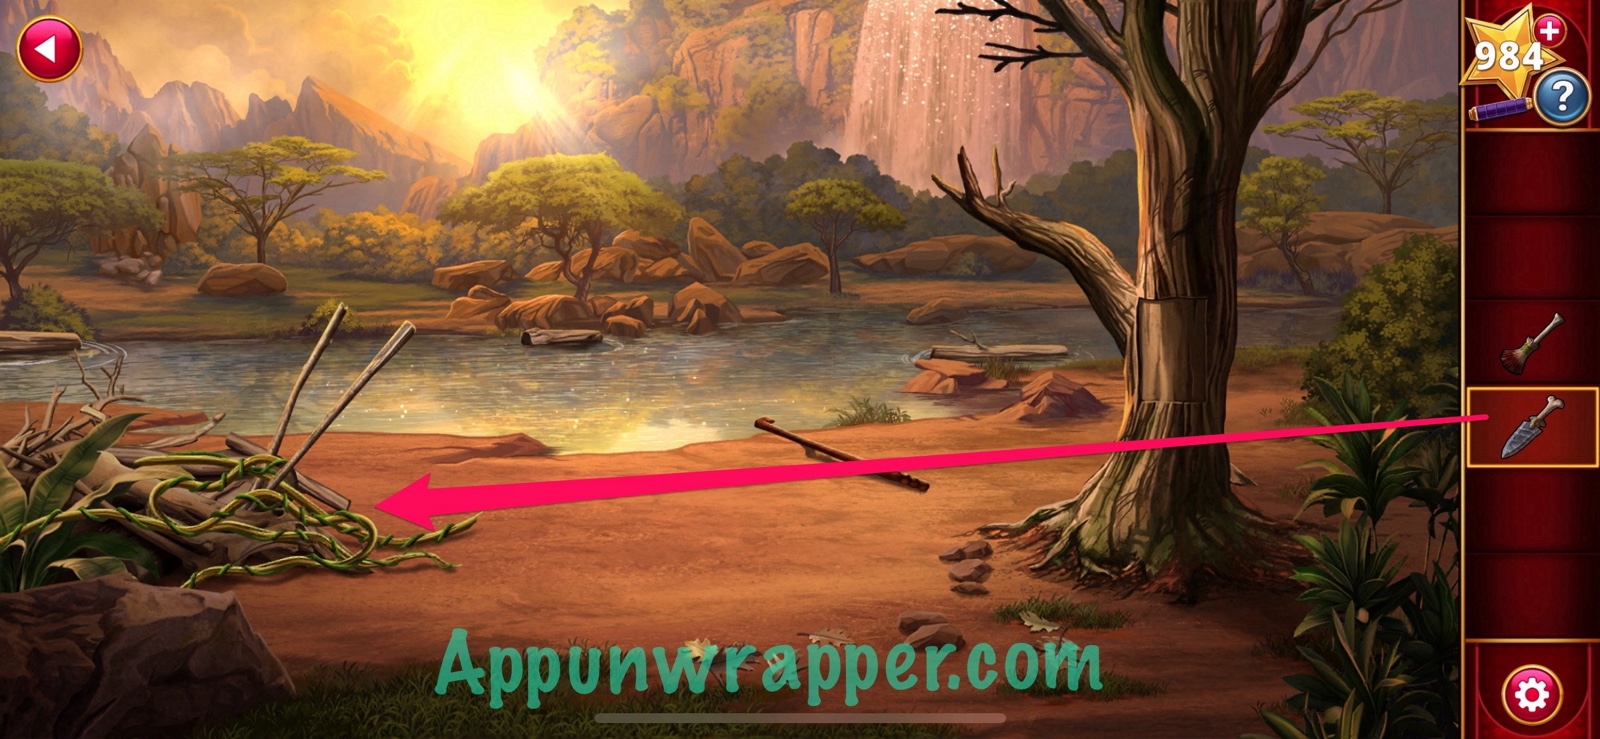
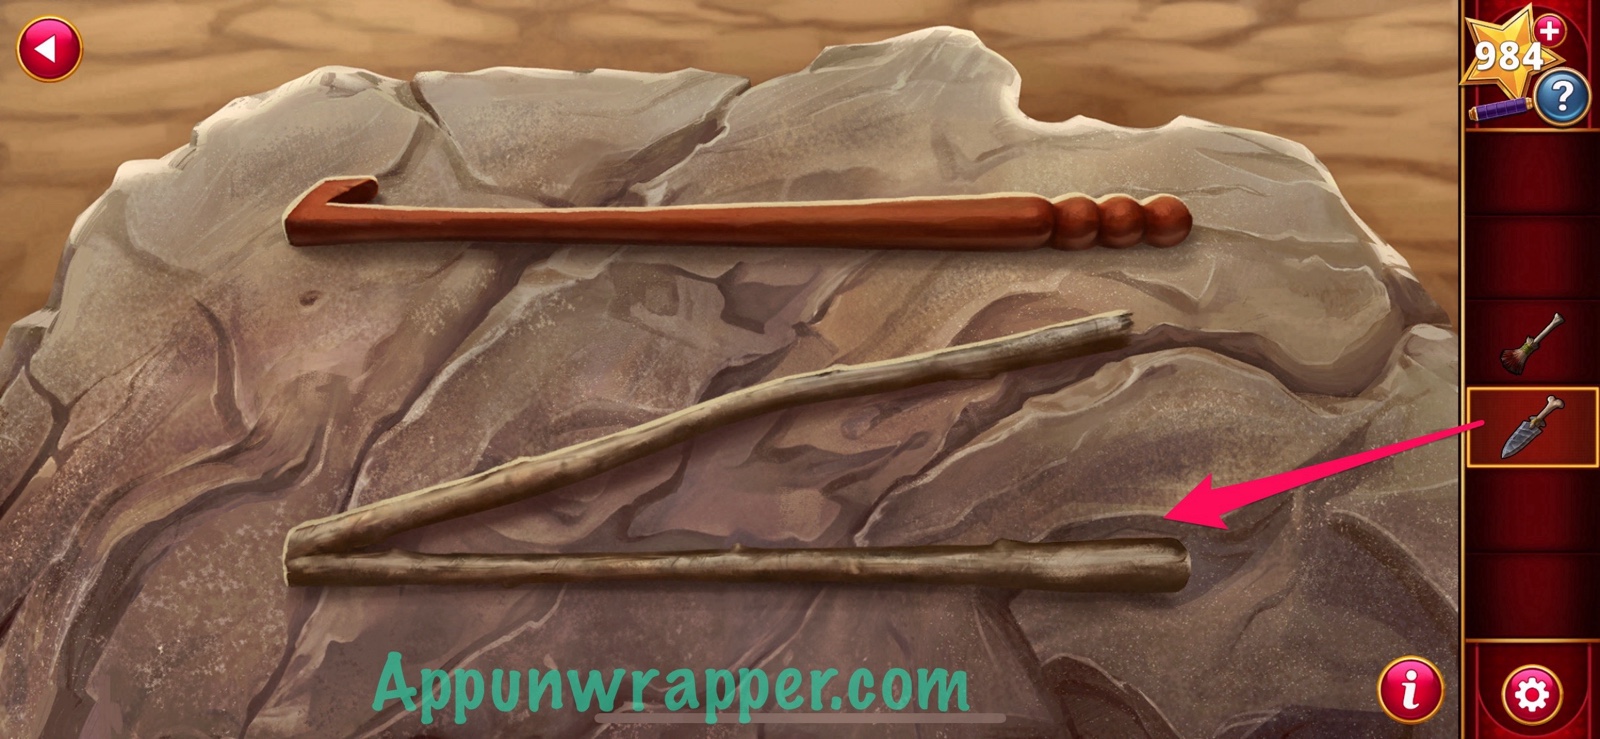
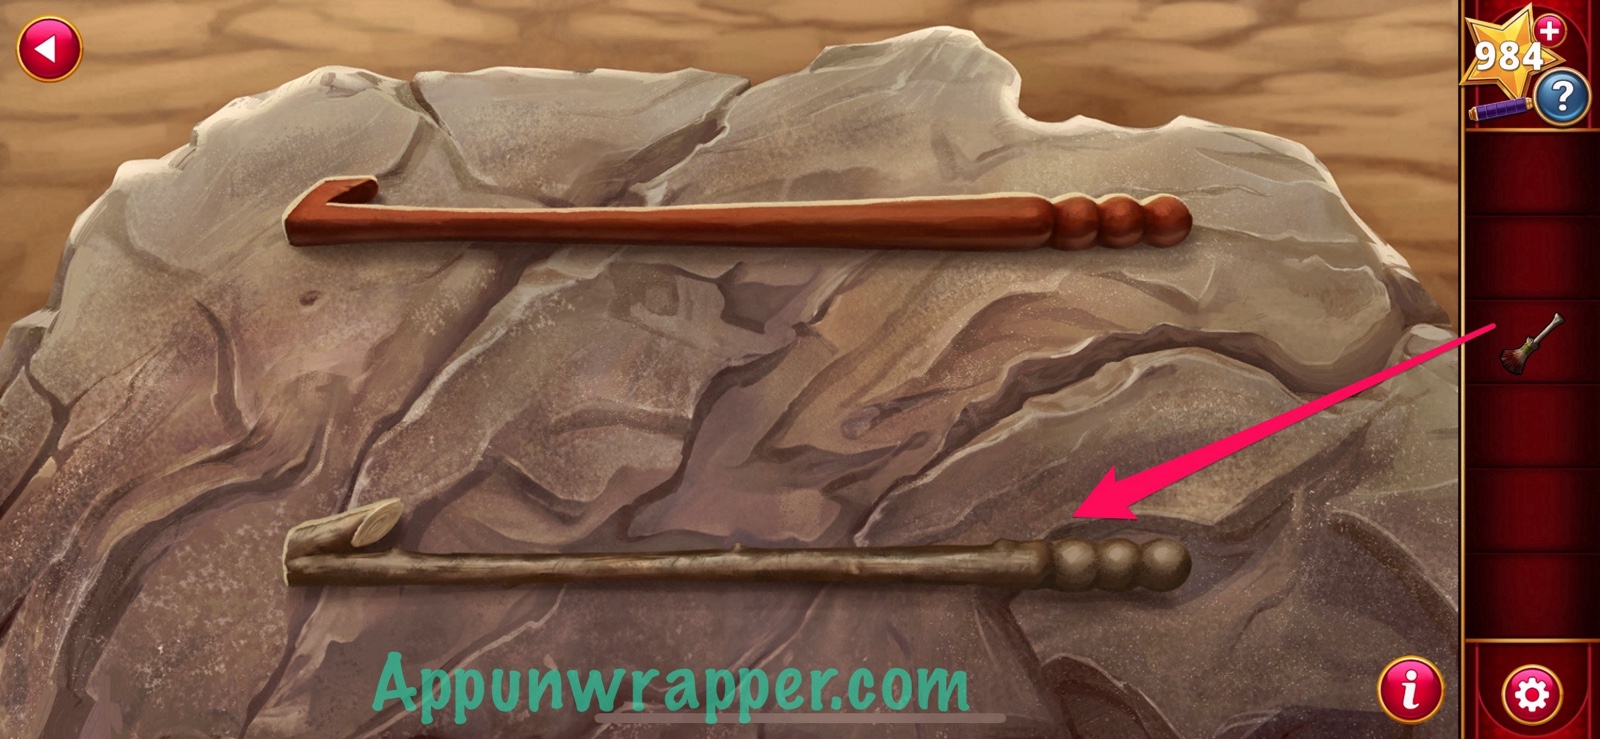
14. Go back to the workshop. Place the spear thrower and V-shaped branch on the table. Use the knife to carve the branch twice so it matches the spear thrower. Then paint it with the paint brush.

15. You have another dialogue option. I’m not sure it matters what you say.

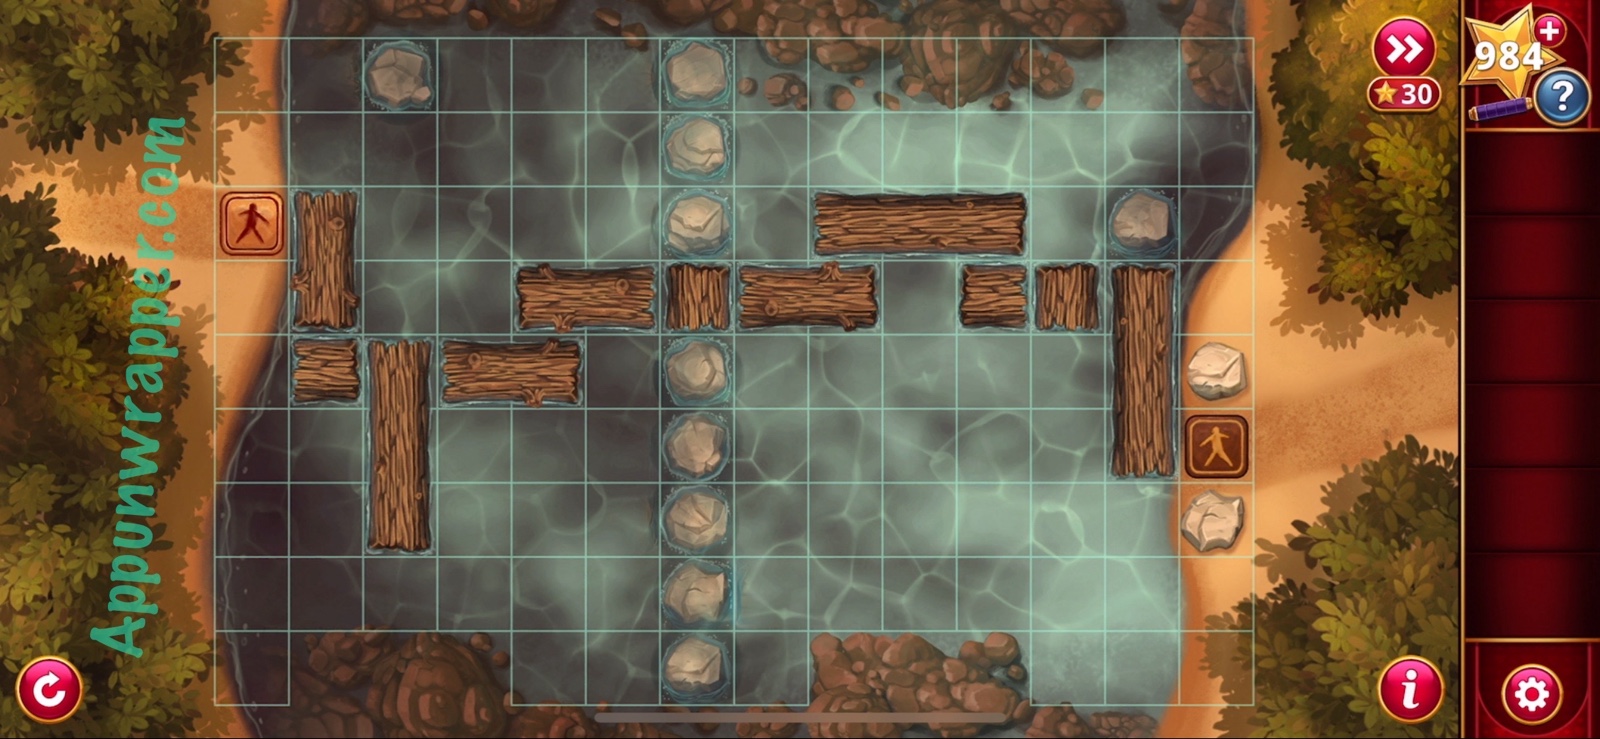
16. A puzzle rises from the floor. Tap on it and solve it. Roll the logs so they form a path from the icon on the left to the icon on the right. You can only cross over on logs. Horizontal logs only roll up or down. Vertical logs only roll left or right. When a log rolls, it continues until it hits a rock, sand, or another log. You can use my video if you get stuck.
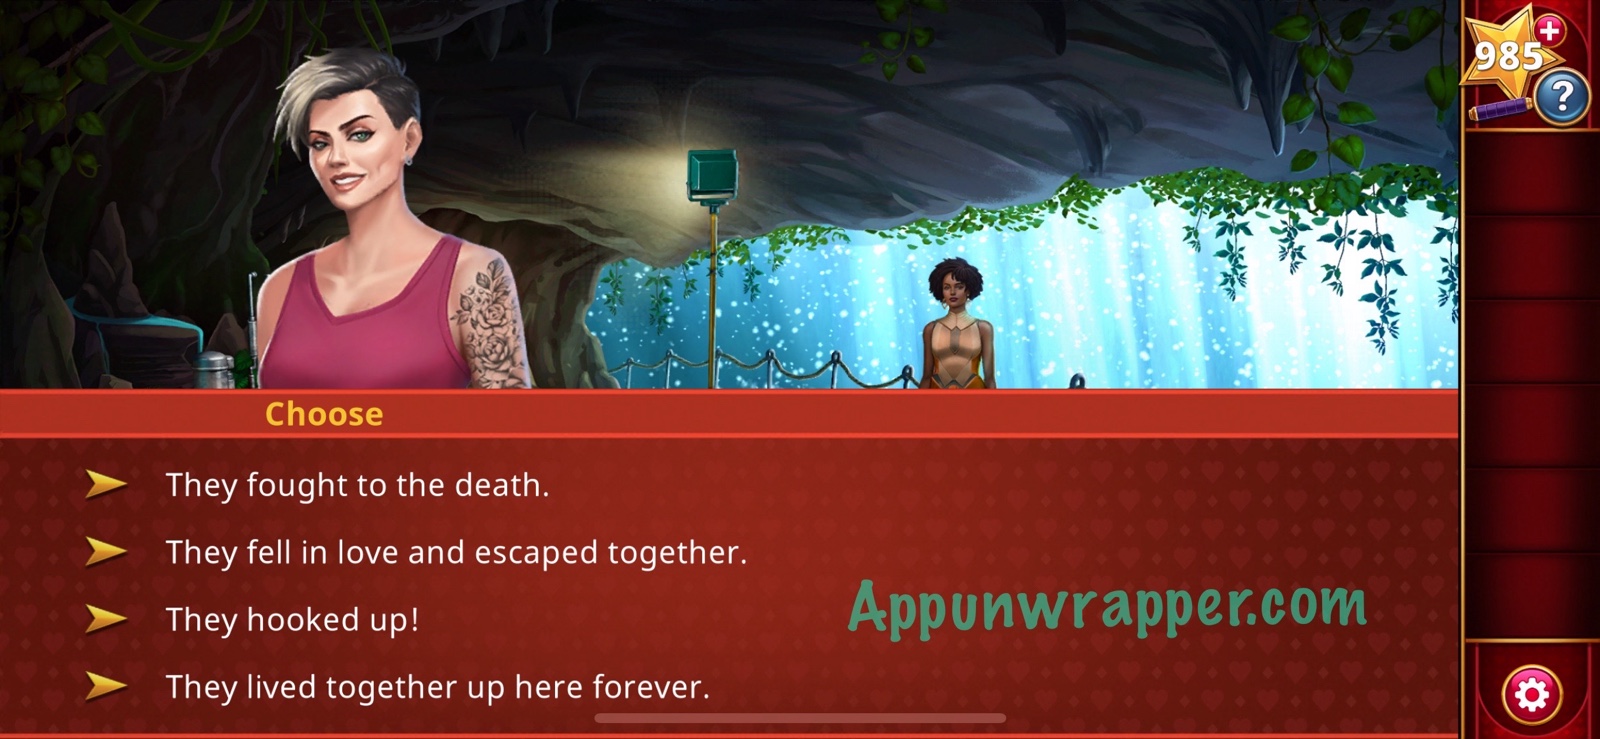
17. You’re finally reunited with Jon. He’s playing as the other tribe. Choose what you would do and then climb the ladders.

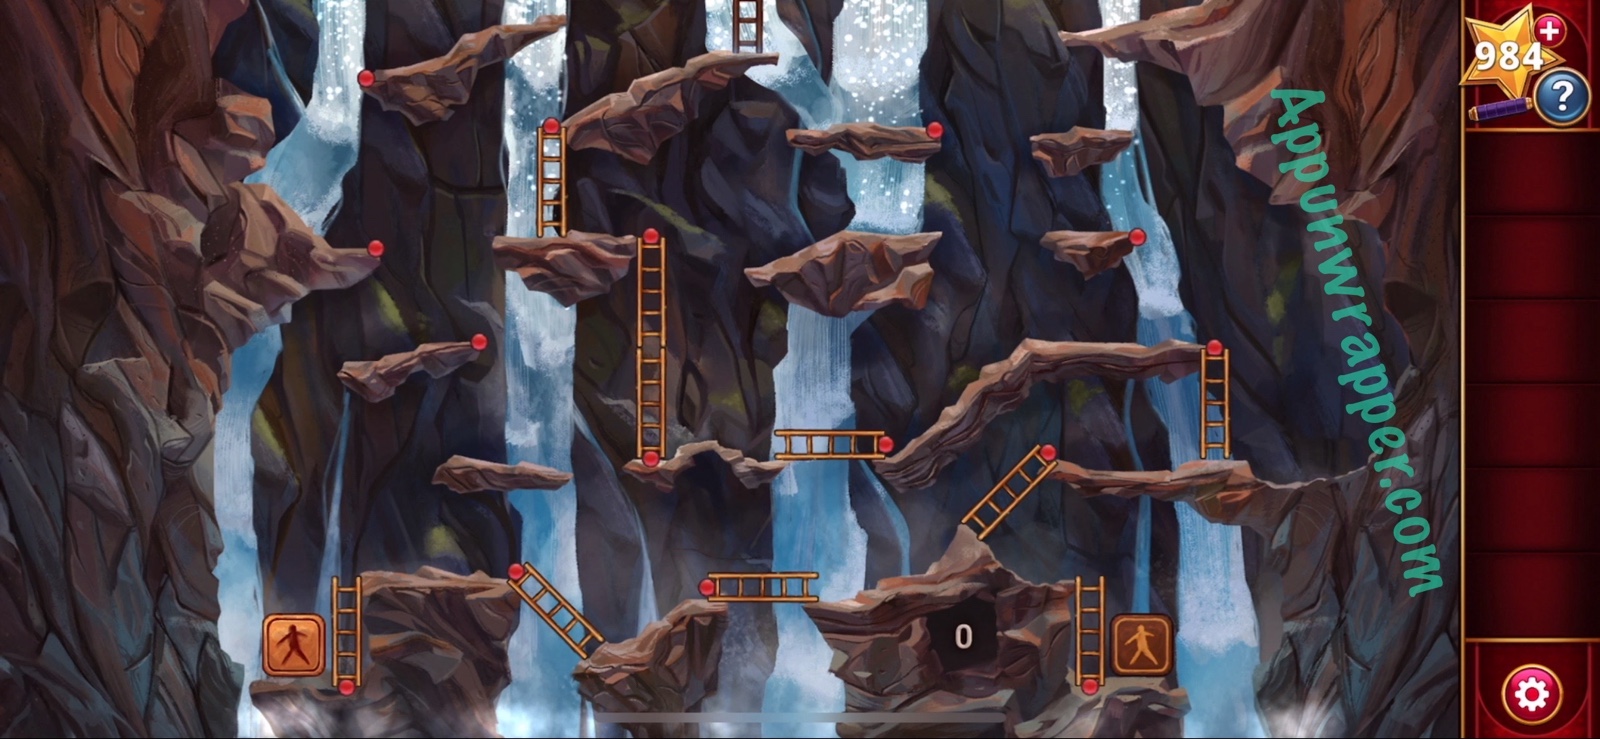
18. Now we have to solve the 10-Ladder Problem. Tap 10 red dots to place 10 ladders. Tap a ladder to rotate it. Drag a ladder off a red dot to remove it. Your goal is to create a path for BOTH players to reach the top. You only get ten ladders. You can copy my solution.
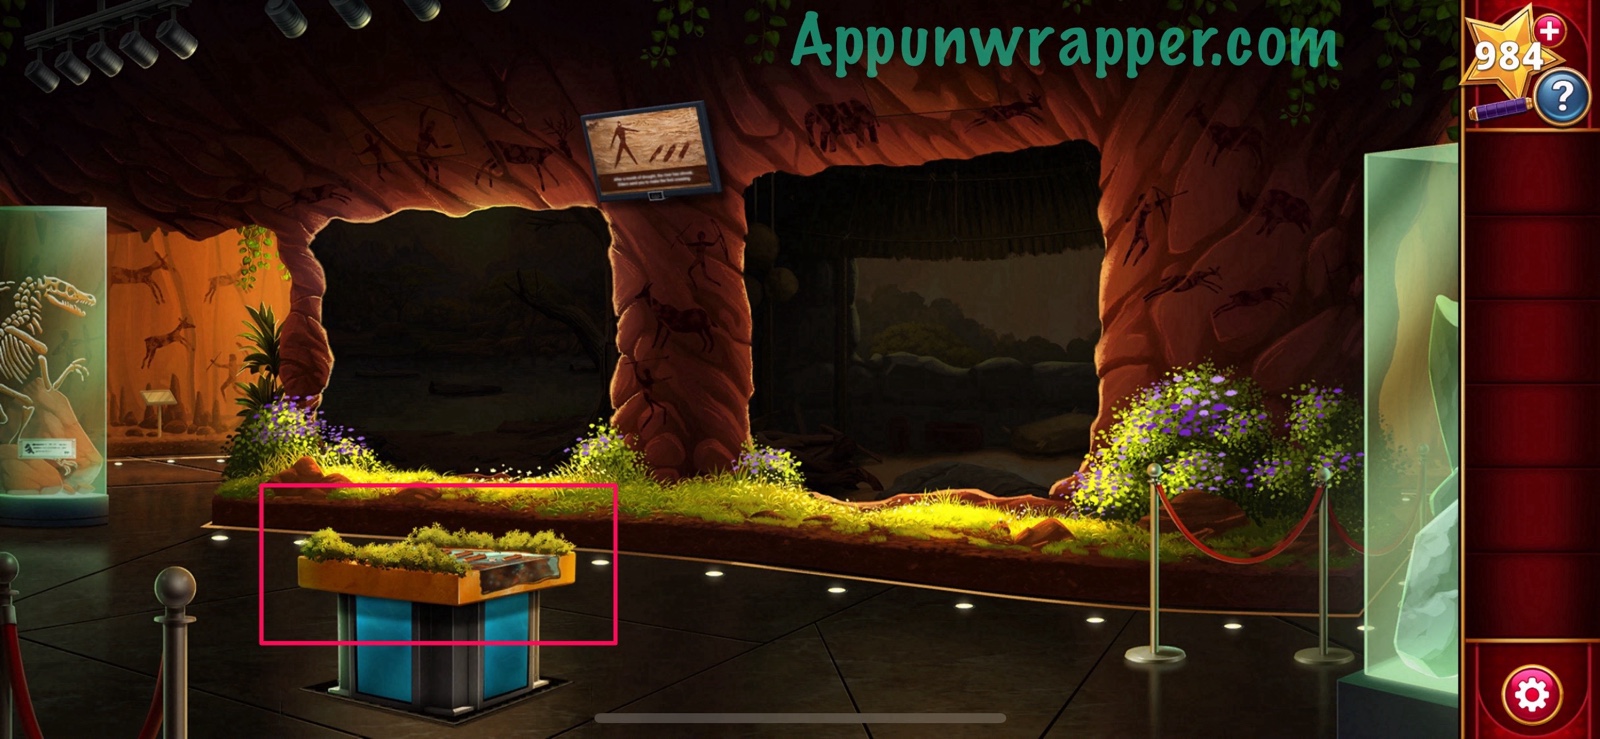
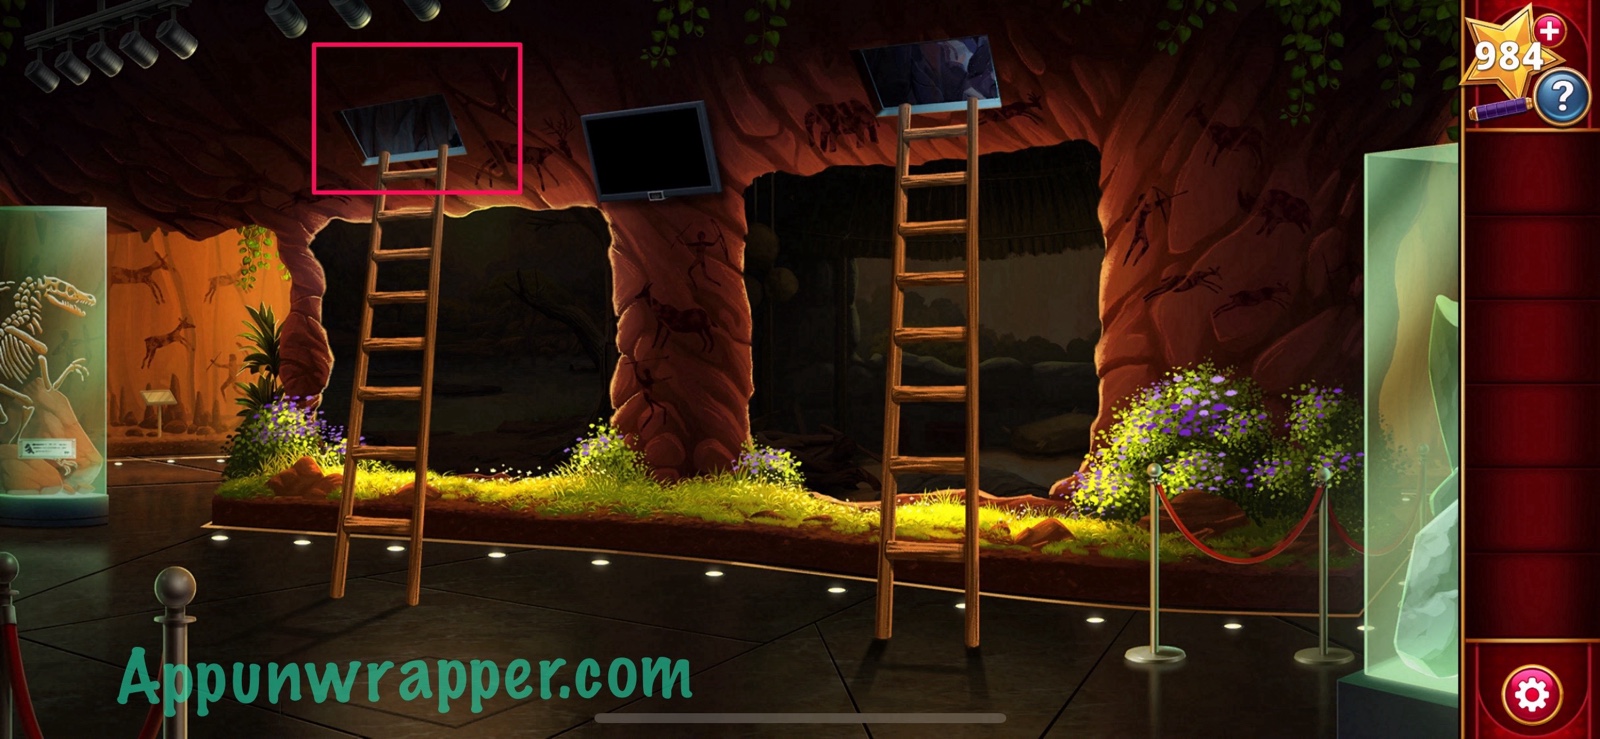
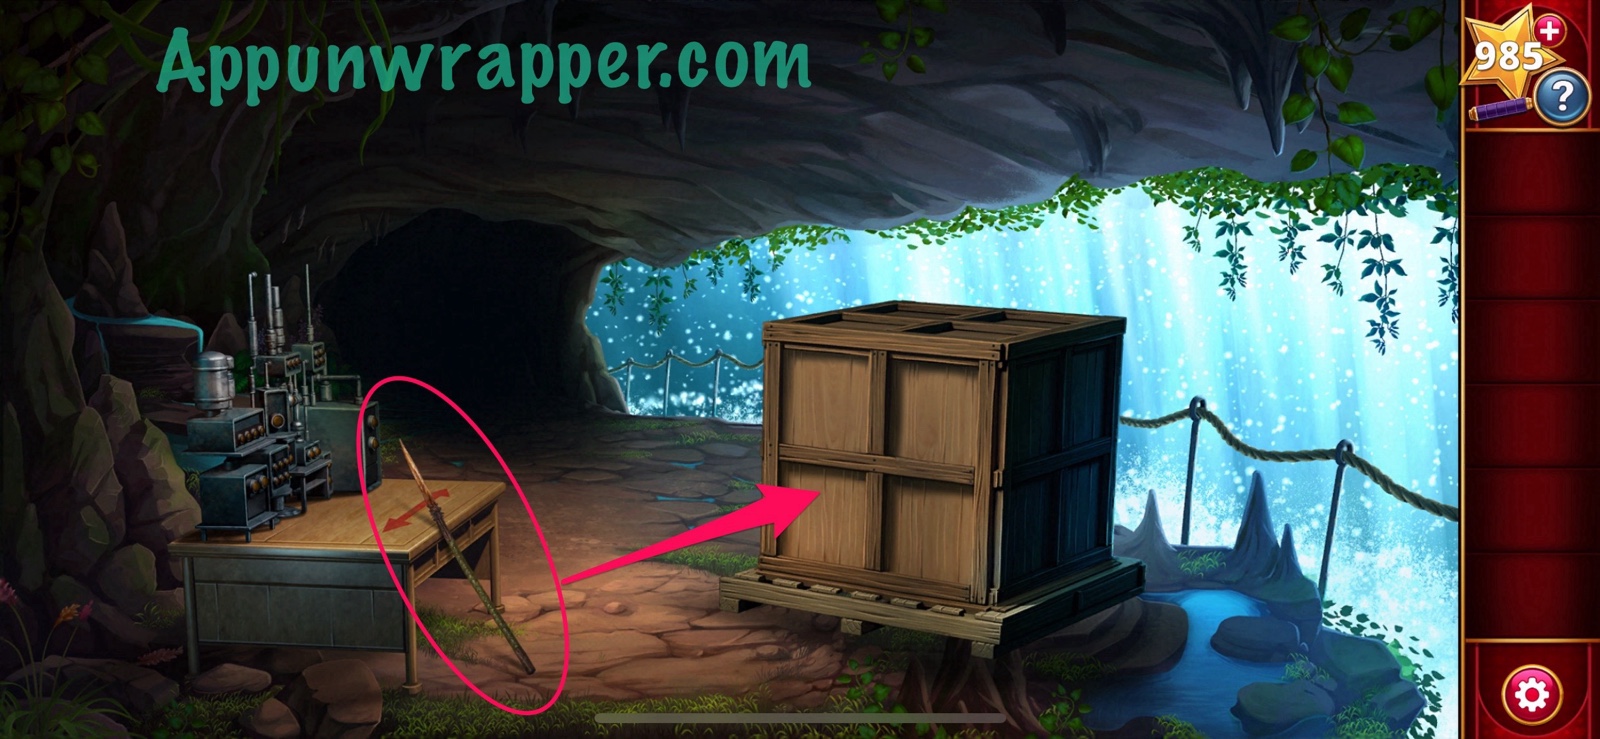
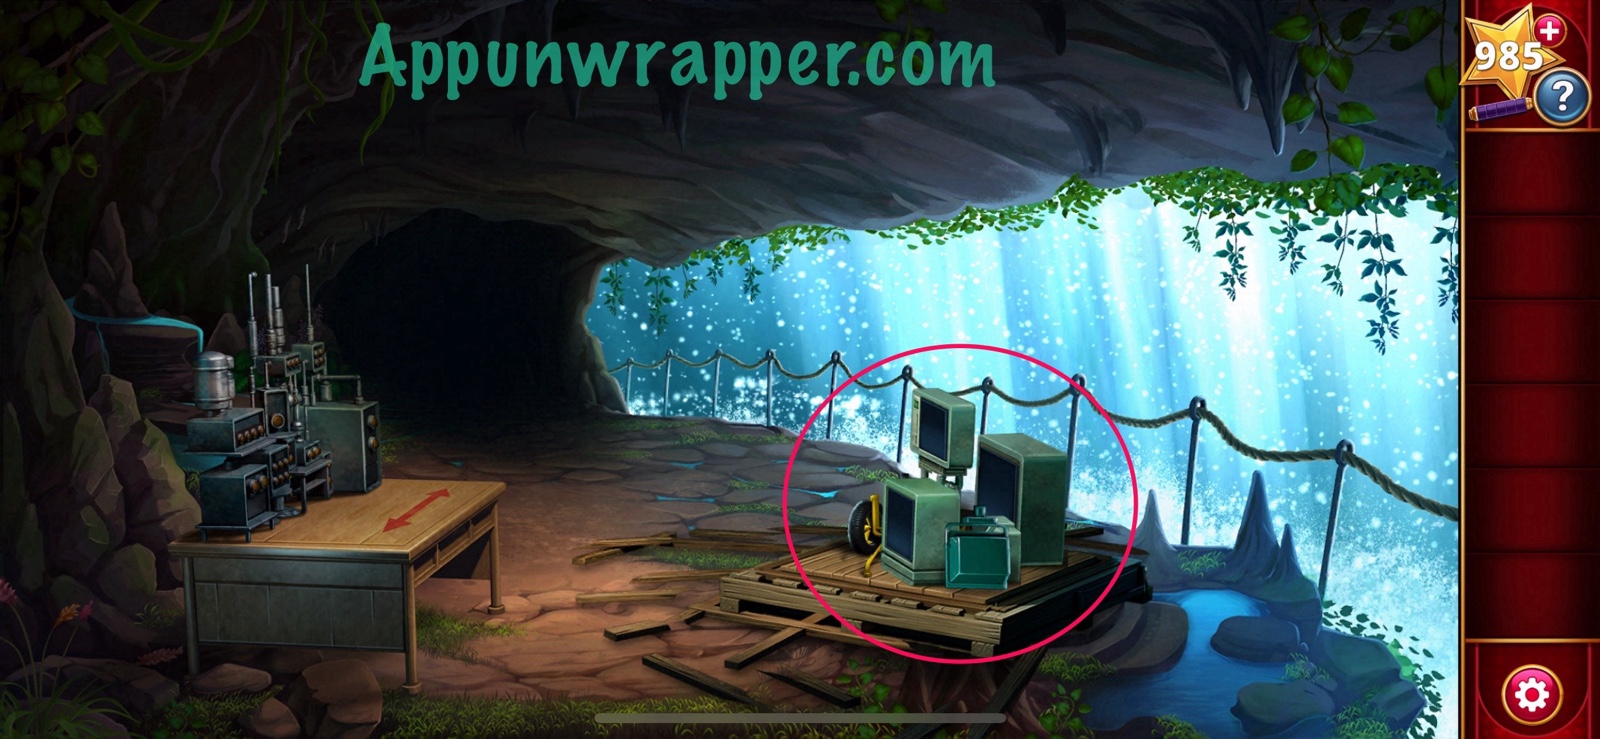
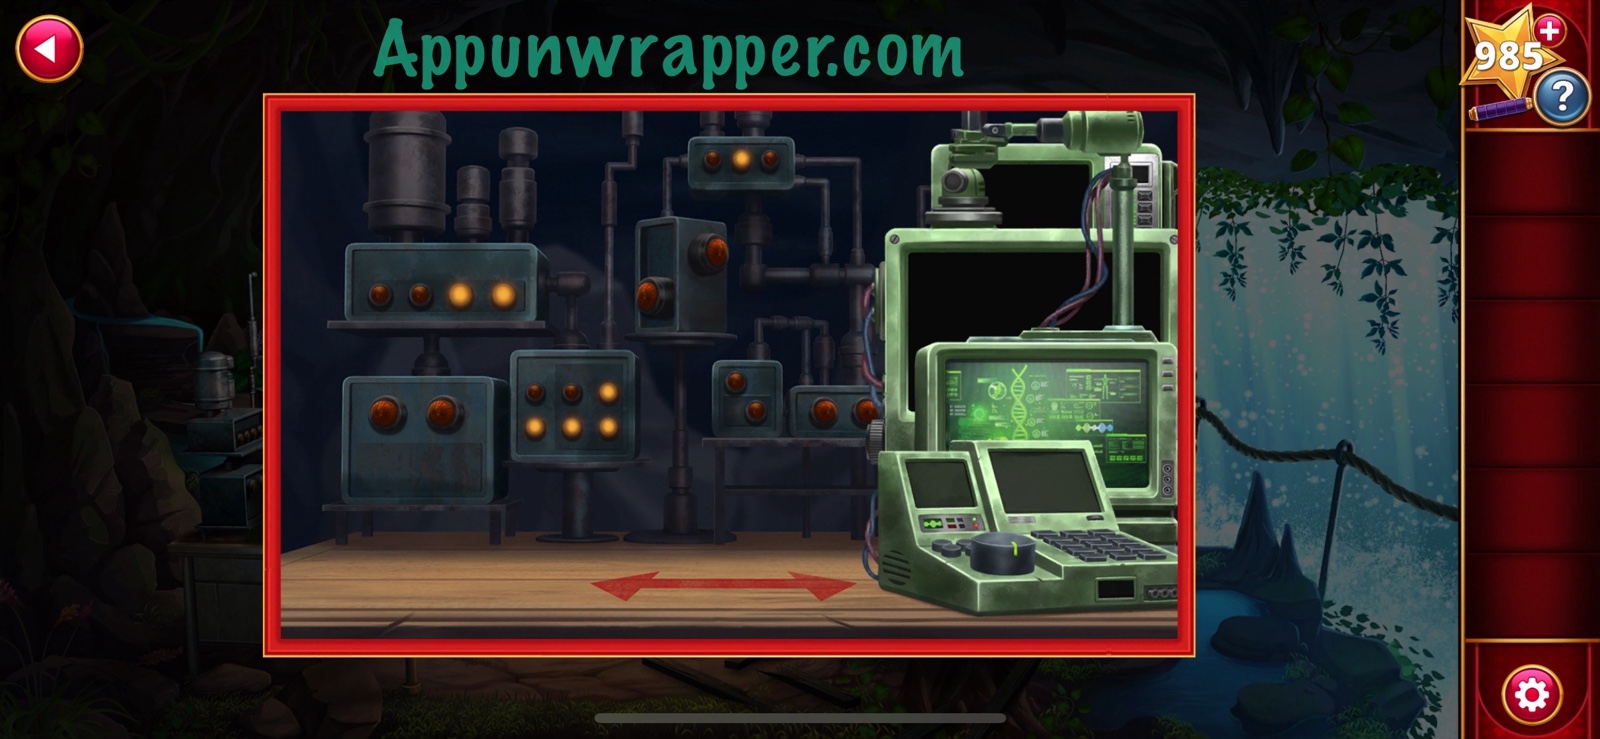
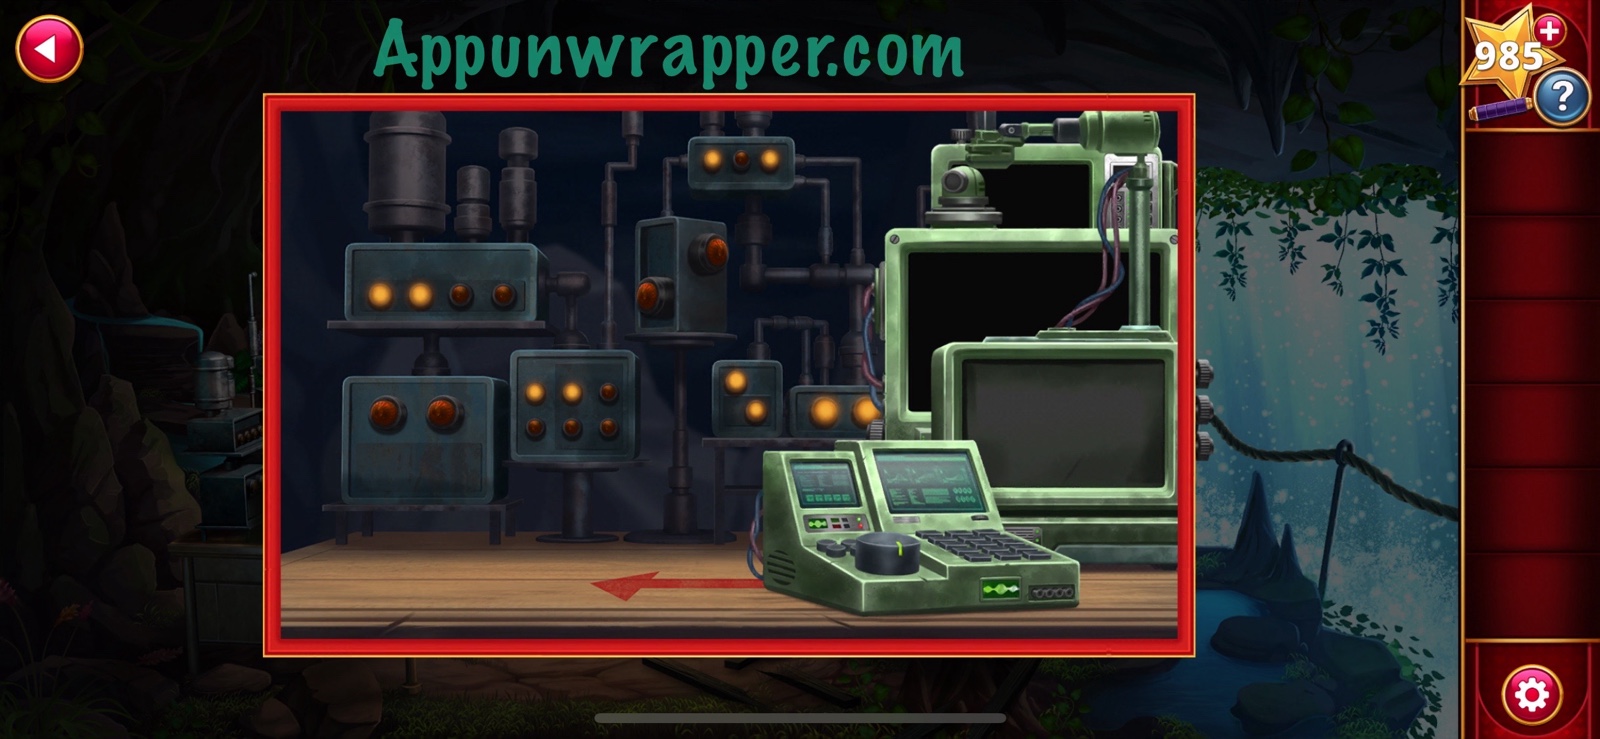
19. There’s one last cave painting that we have to help uncover. First, grab the spear and use it to open the crate. Take all the equipment (low monitor, strange monitor, tall monitor, rectangular monitor, lamp base and lamp head) from it. Place the lamp base and lamp head down near the wall and place all the monitors on the desk. Take a look at the wall. It’s a puzzle, but we first need to arrange the monitors to get the clue we need.
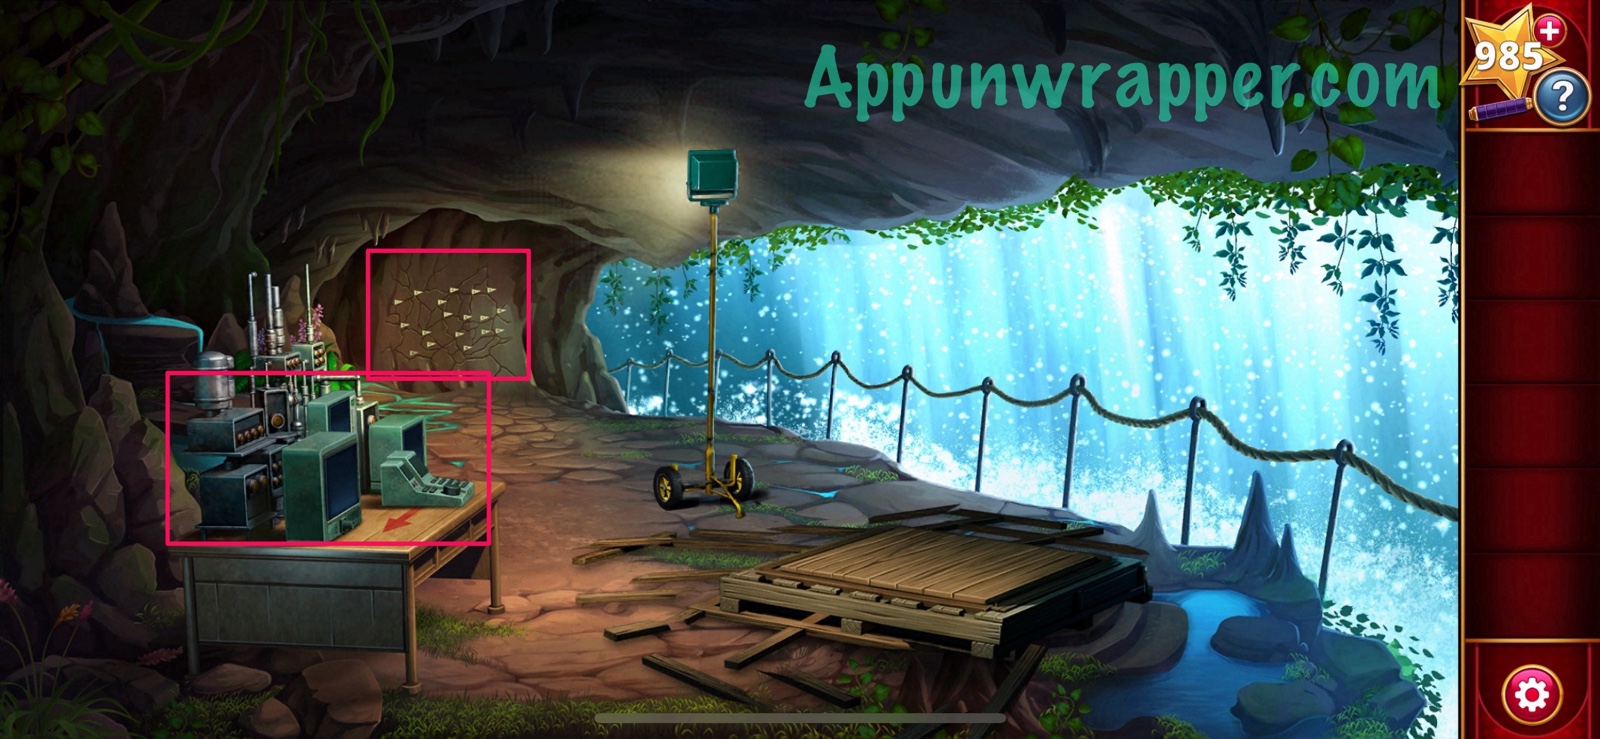
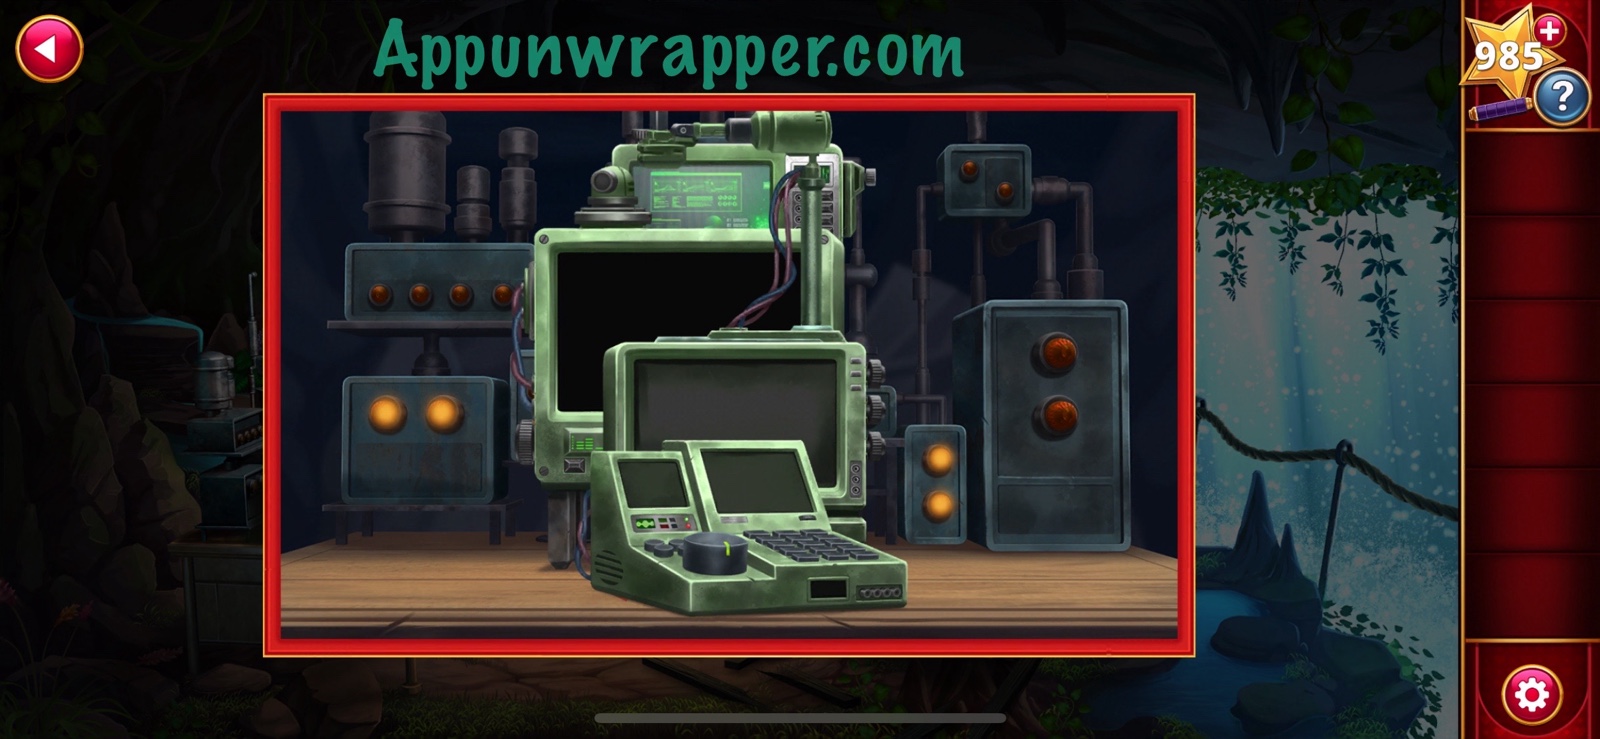
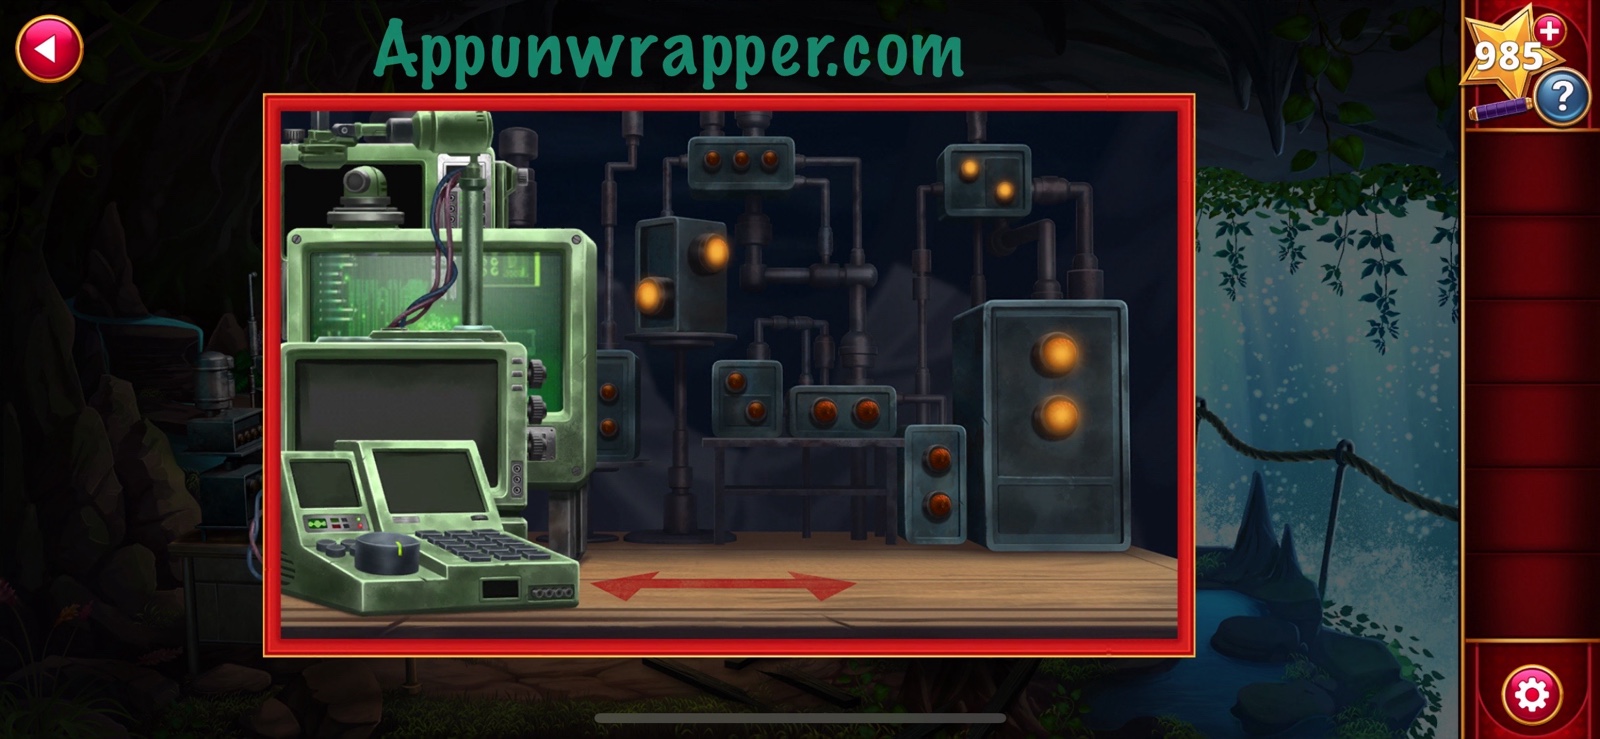
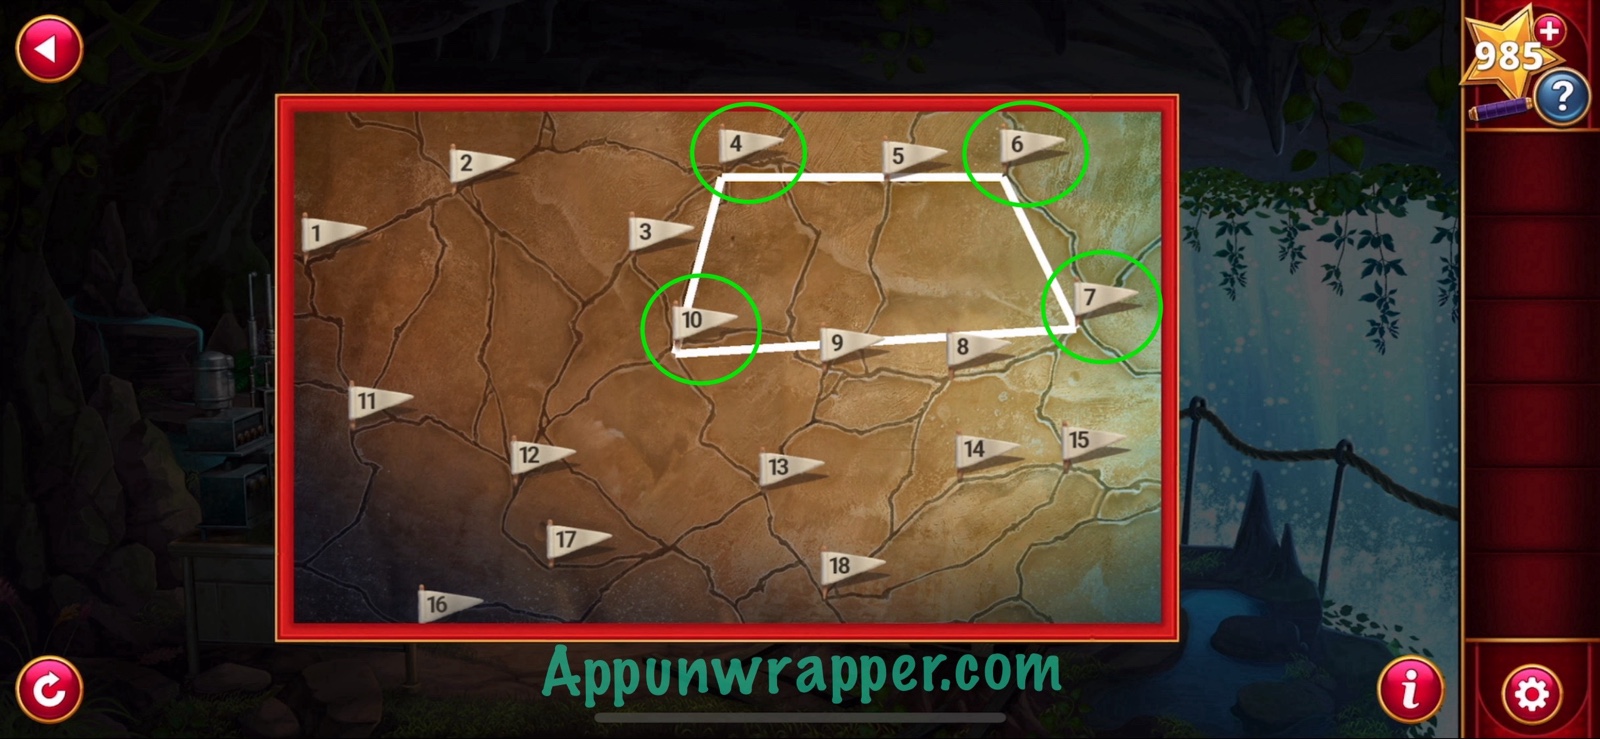
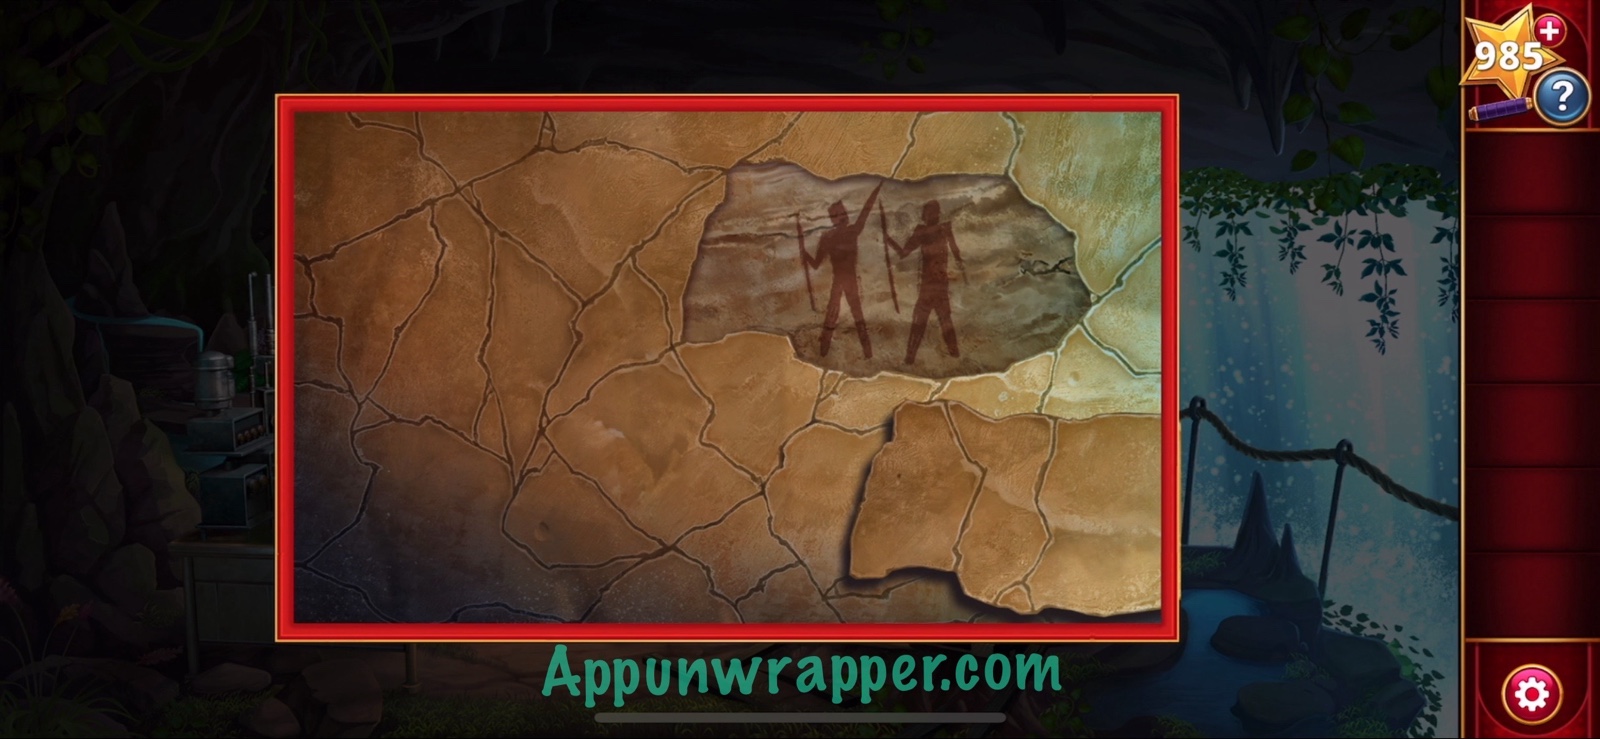
20. Notice that when you drag the monitors left and right, they’ll turn on at certain positions and then lights behind them will also turn on. We need to use this information to figure out which four flags to pick on the wall. Basically, count how many lights turn on for each monitor and that’s the flag you choose. I posted screenshots for each. You end up with 4, 6, 7, and 10. Select those flags to reveal the last cave painting.
21. Now you have another dialogue choice.
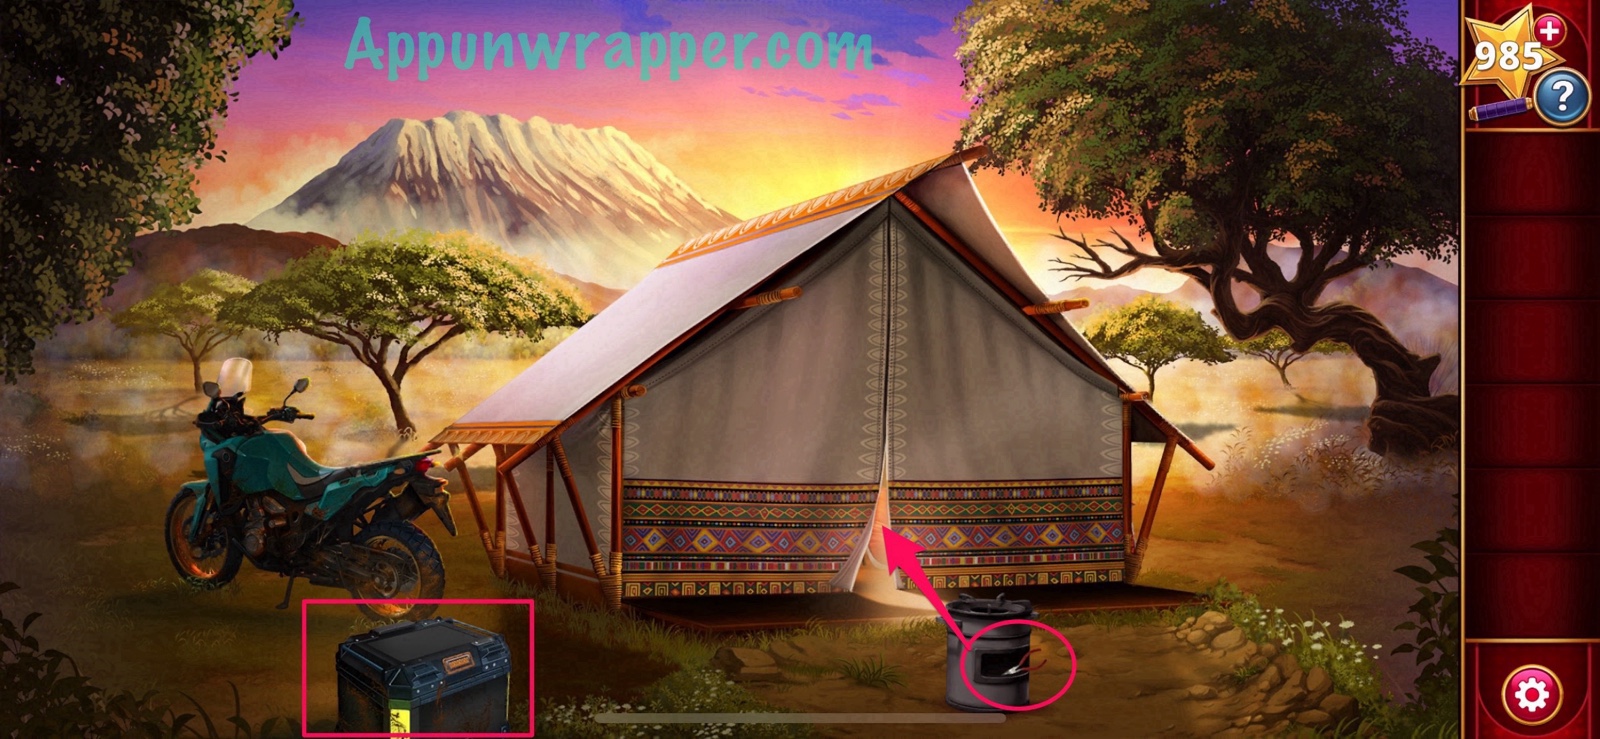
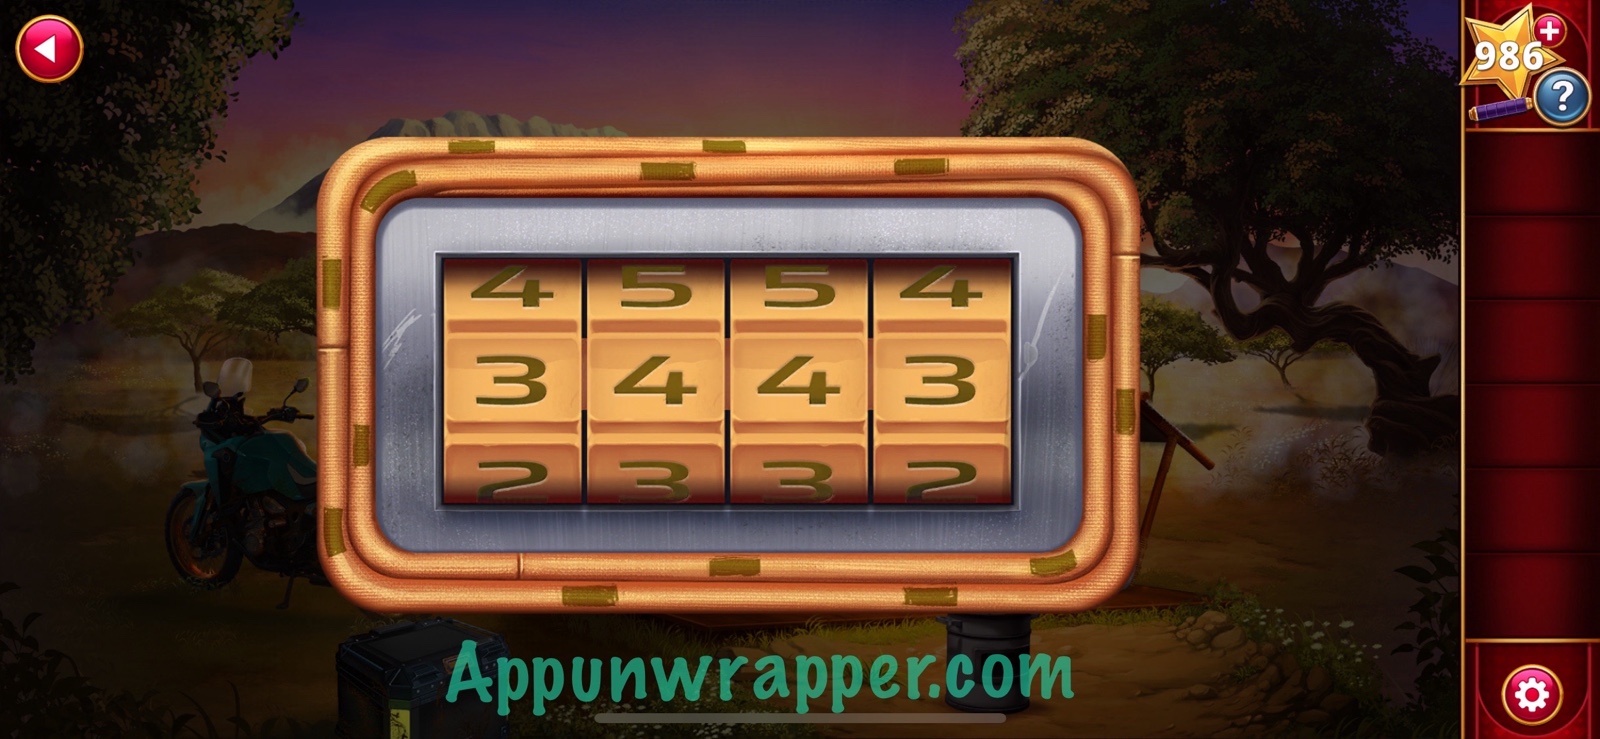
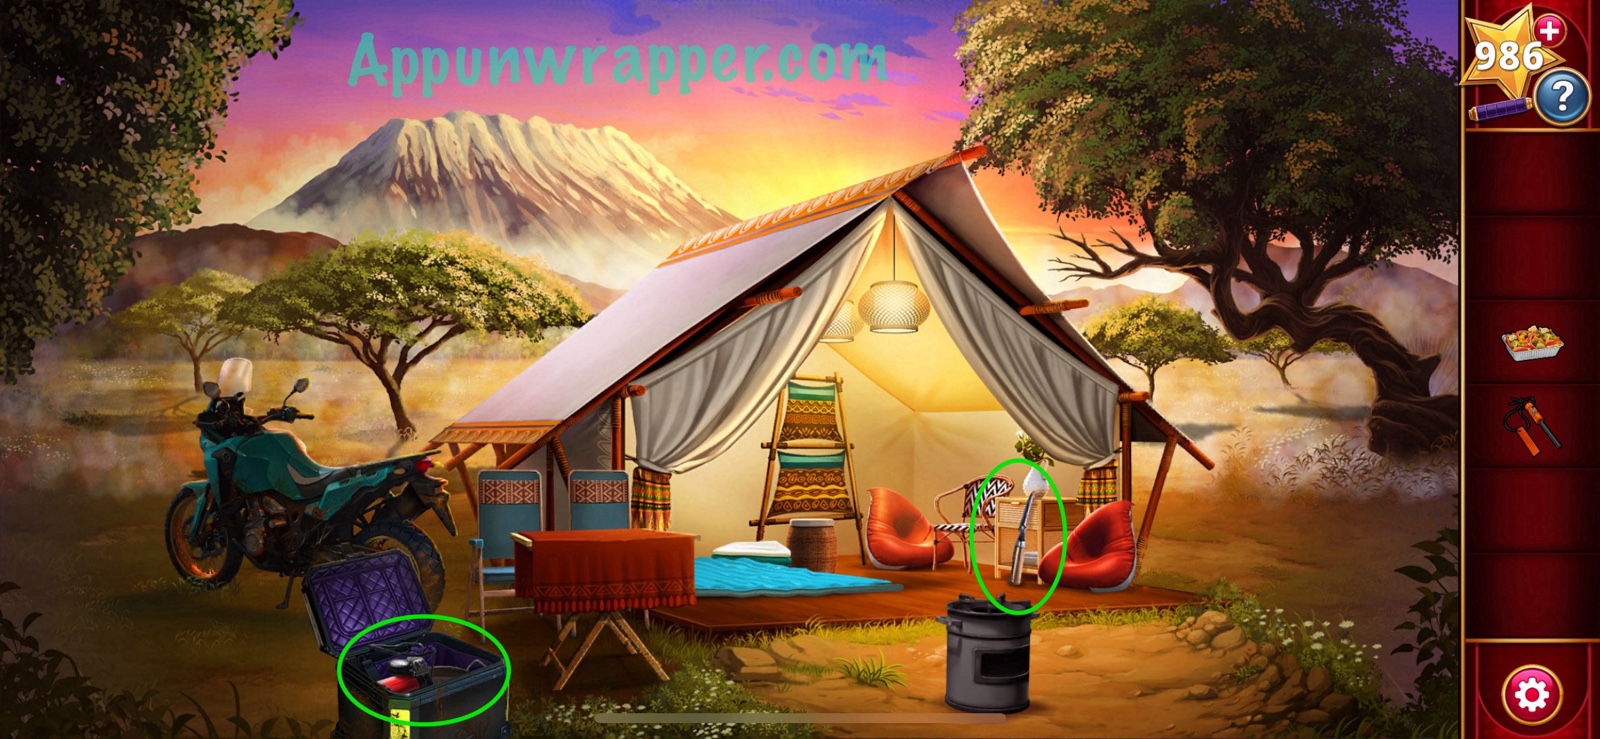
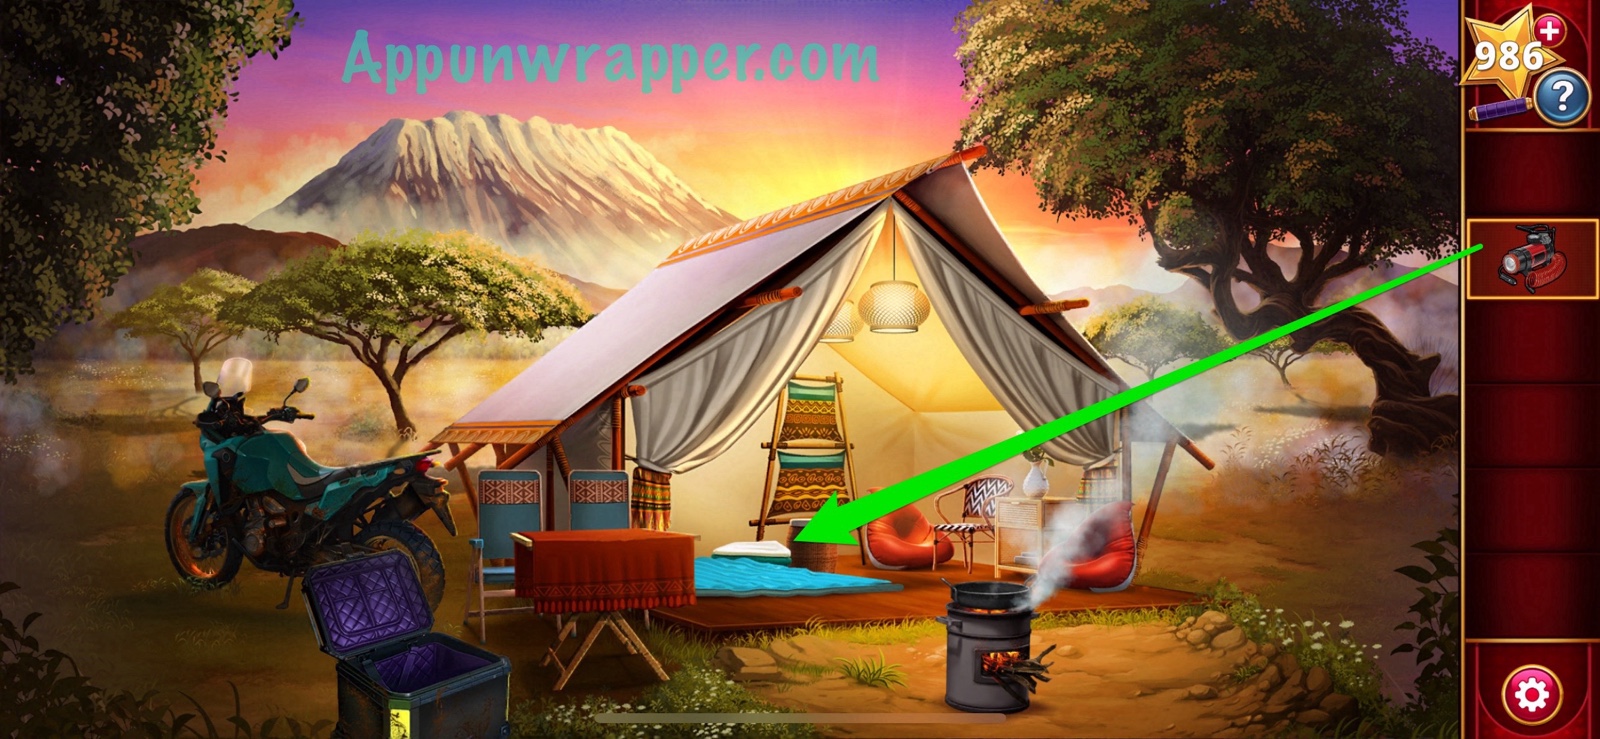
22. Instead of going back to the plane, we’re directed towards a campsite for the night. The tent zipper is stuck, so grab the pliers and use it to open the tent. Also, remove the cargo from the bike. It’s locked! But the code is actually on the lock itself. Notice the little lines around it. If you start on one end of it and count until the piece ends, then count the next one and so on, you’ll get four numbers 3443. Enter that to open the cargo.
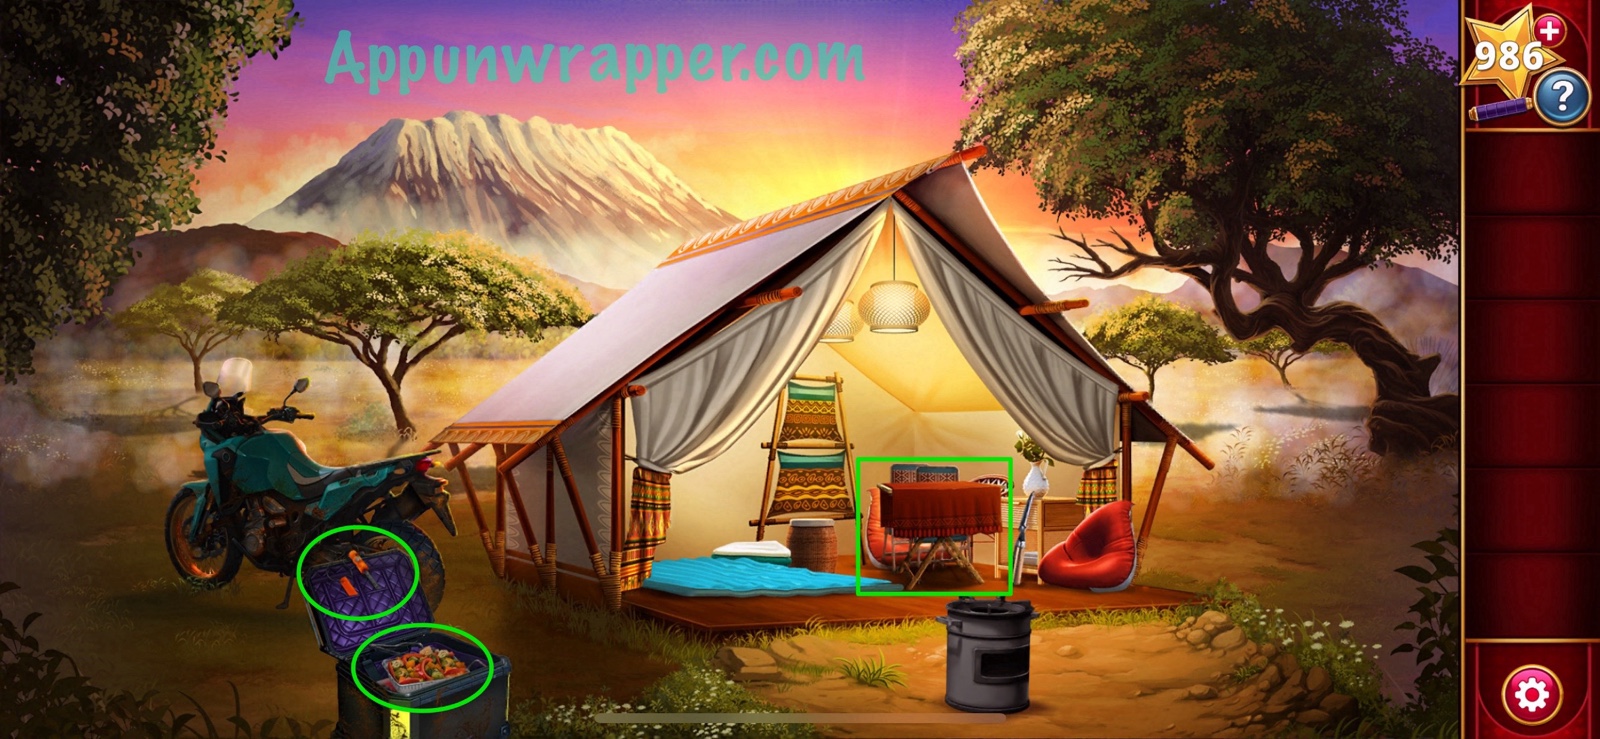
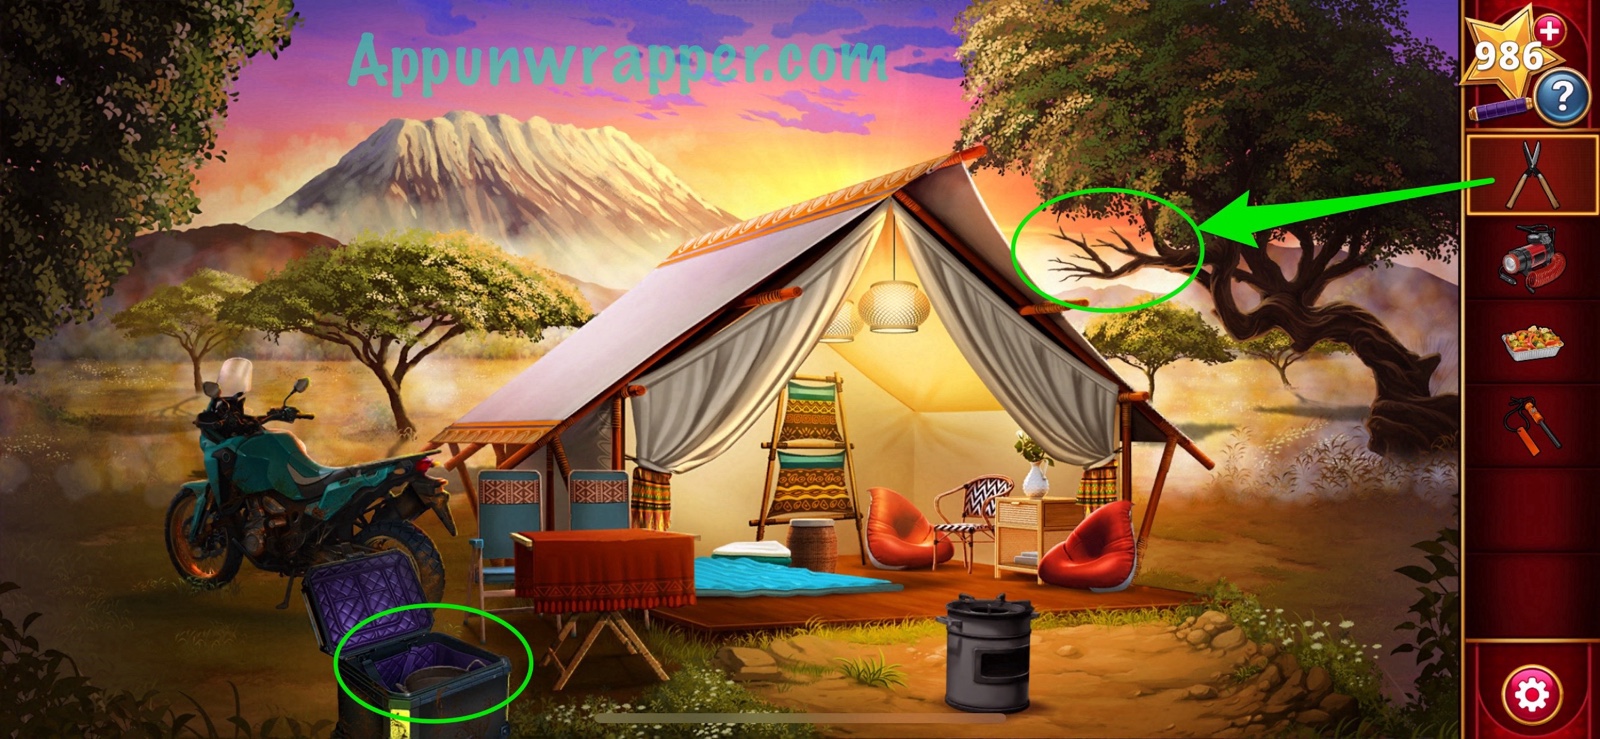
23. Move the table and chairs out of the tent and grab the hedge clipper. Also, grab the camping firestarter, easy-cook meal, air compressor and pan from the cargo. Use the hedge clipper to trim some branches off a tree.
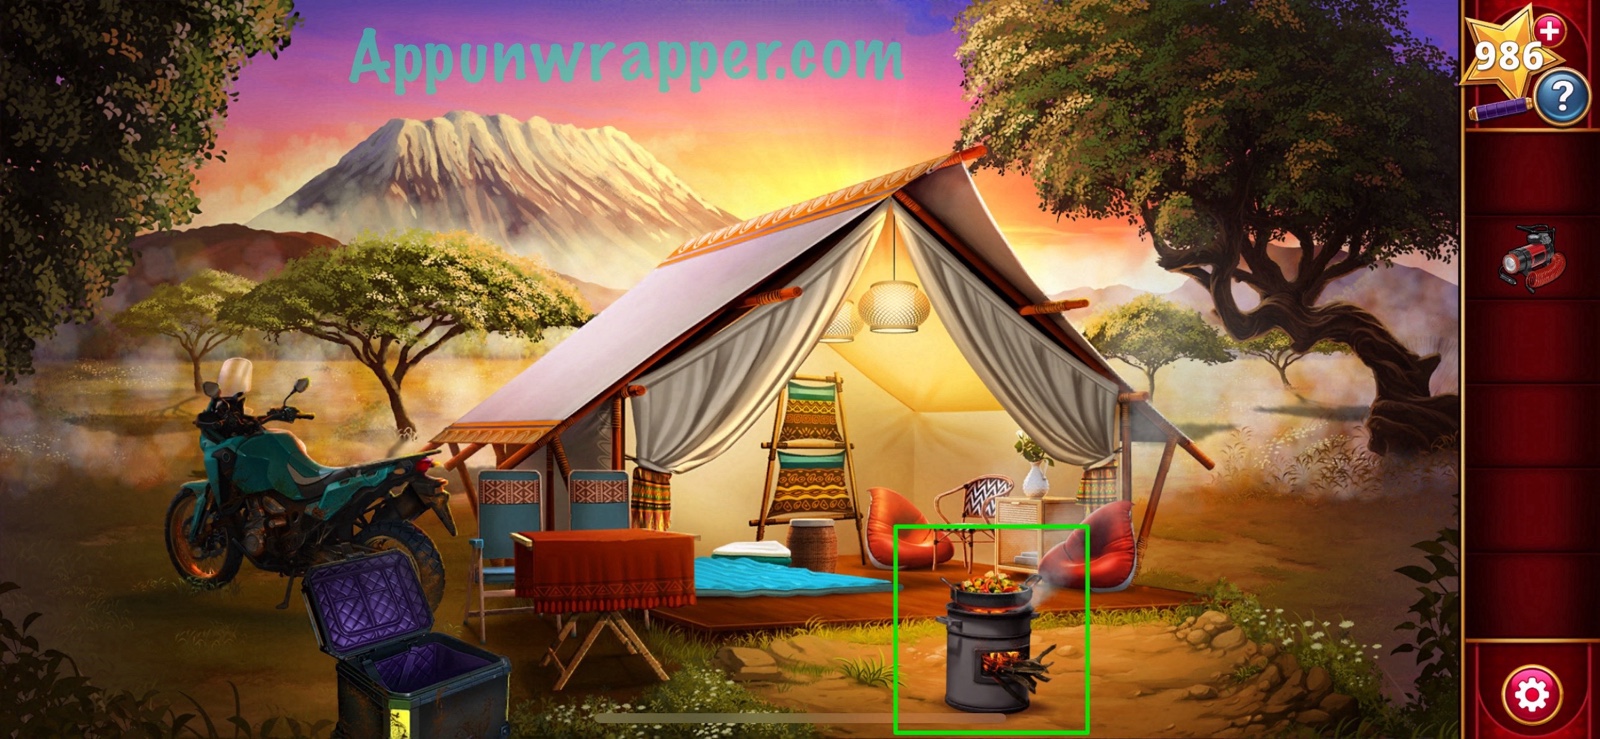
24. Place the branches in the stove to use as firewood. Use the firestarter to light a fire. Then place the pan on top and add the meal. Your partner will set the table when it’s ready.
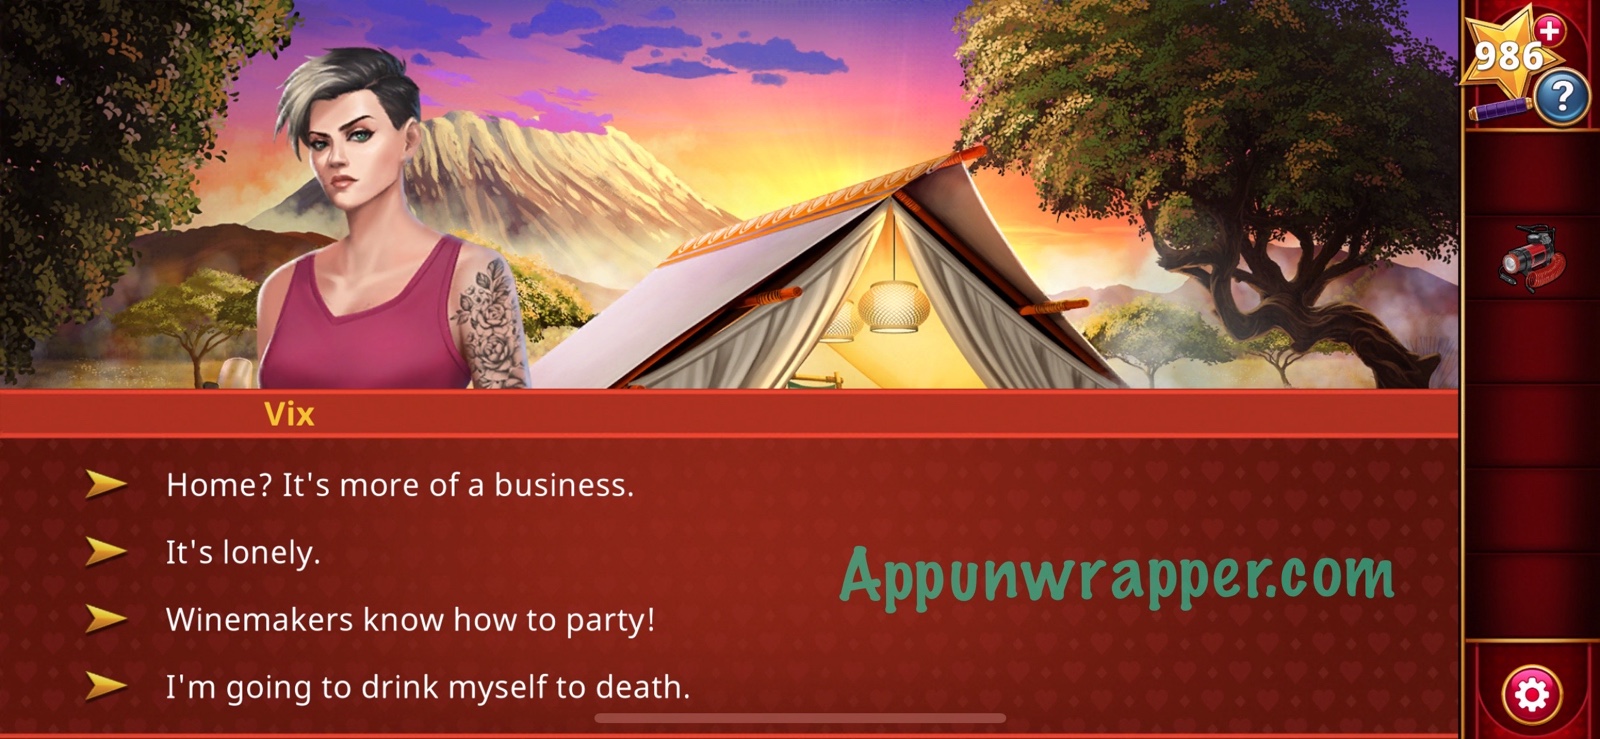
25. You have three more dialogue choices.


26. After the meal, use the air compressor to inflate the air mattress.
27. Then you have another dialogue choice

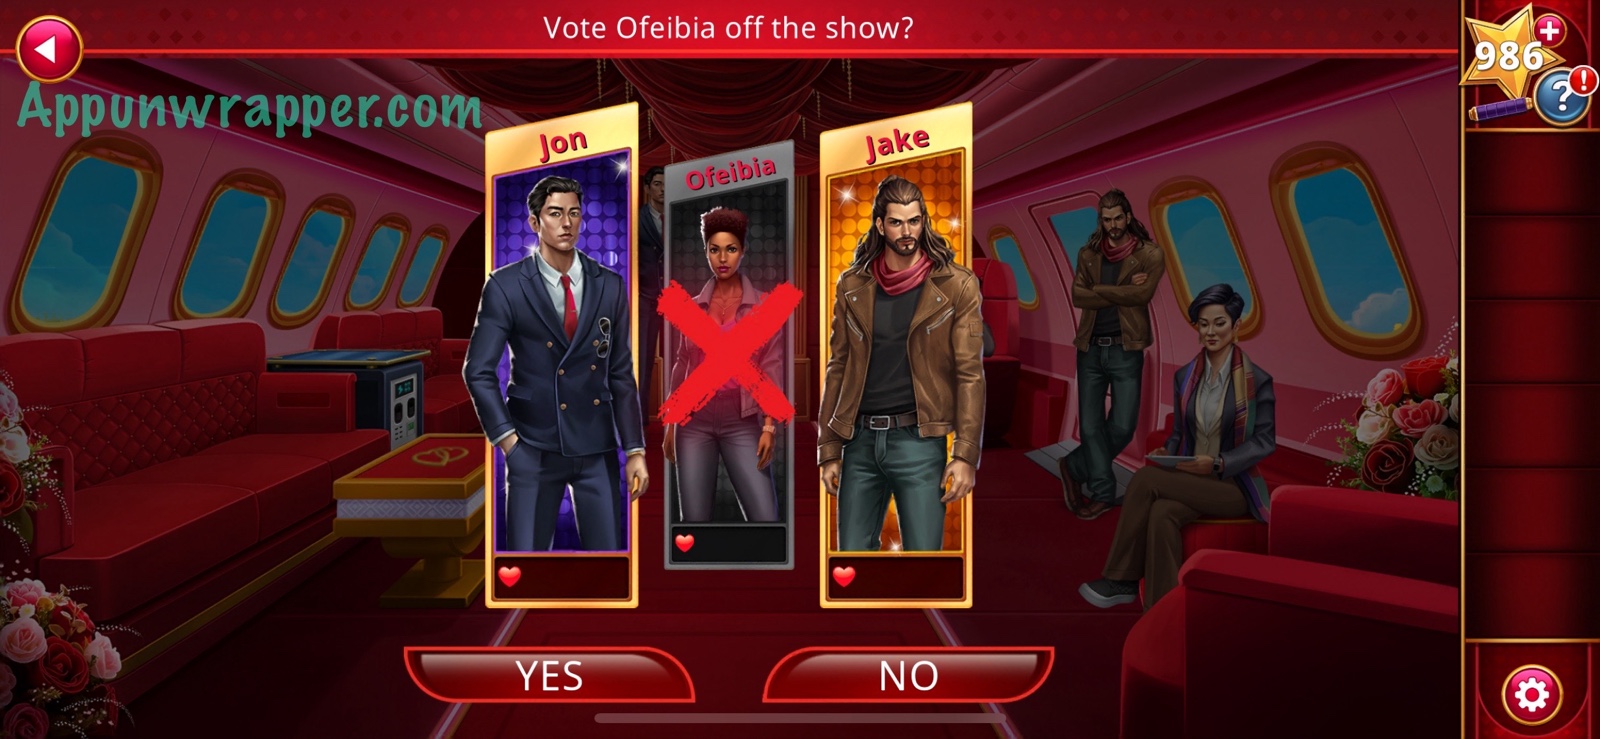
28. After the camping, you’ll be back on the plane. You can’t reach your stepmom so you ask everyone to vote you off. Some agree but others refuse. And we have to make another hard choice. I decided to vote off Offeibia. I’m not sure how it worked, since I had at least two votes against me. Or, at least they claimed as much. Anyway, there’s only two contestants left now besides your own character.
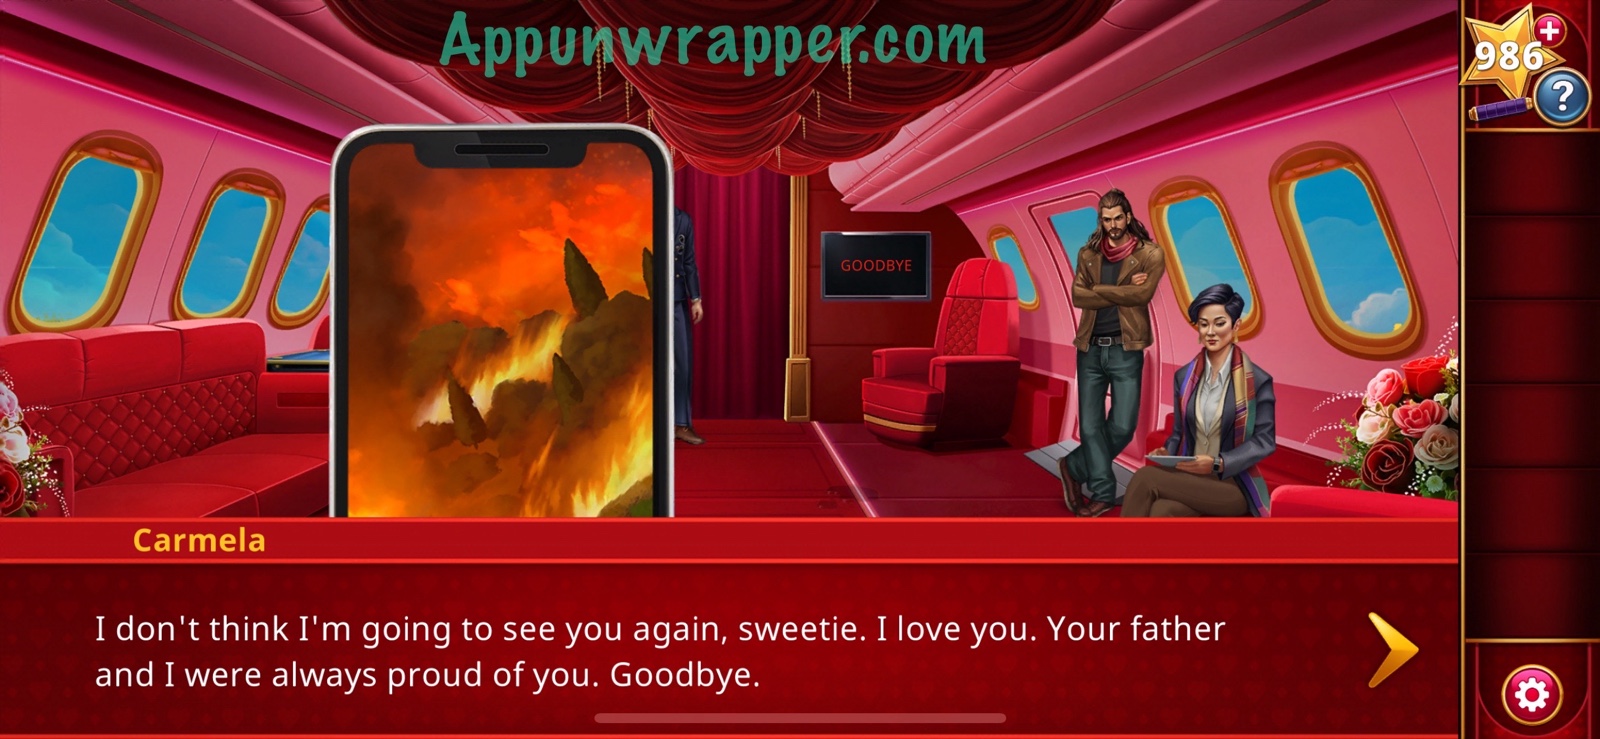
29. A call finally comes in from your stepmom and it’s not good! Let’s see what happens in the next chapter.
And that’s the end of Chapter 5! Click here to continue to Chapter 6 or choose a chapter below.
Chapter 1 | Chapter 2 | Chapter 3 | Chapter 4 | Chapter 5 | Chapter 6